This guide will talk you through everything you need to know on Journey to the Savage Planet’s Photo Mode.
Photo Mode has become a popular feature for developers to include in their games. It allows players to capture their favorite moments in-game, and edit them with native editing tools and sliders. Here’s how to use photo mode in Journey to the Savage Planet.
Using Photo Mode in Journey to the Savage Planet
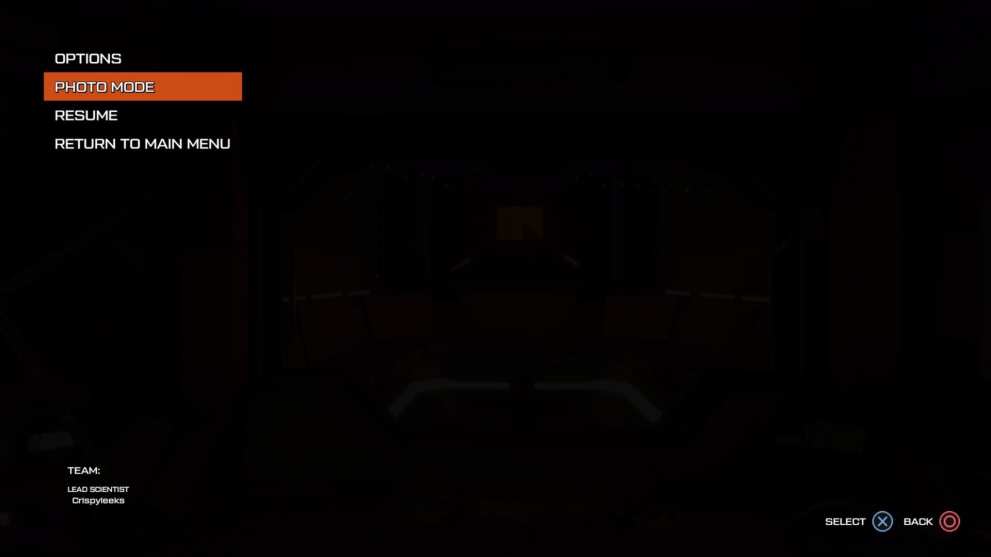
First off, to use photo mode, you’ll first need to open it up. Press Options on PS4 or the Menu button on Xbox One to open the pause menu.
From here, select ‘Photo Mode’ just underneath ‘Options.’
You’ll now be thrown into a third-person view of your surroundings. By moving the left analog stick you can move the camera around, while the right analog stick tilts it.
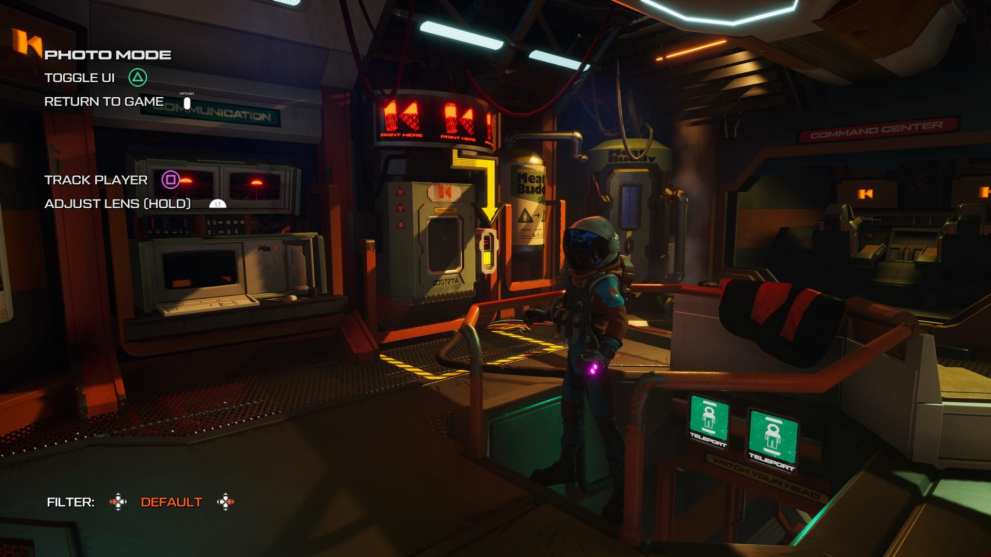
By holding L1/ LB you can adjust the lens, and using left and right on the d-pad will apply a Filter for you.
Once you’re all happy with how the image looks, simply press Triangle/ Y to hide the UI, and then use your PS4 or Xbox One’s native screenshot feature to snap that shot.
When you’re all set to return to the action, simply press the Options/ Menu button again.
Unfortunately, Journey to the Savage Planet’s photo mode does feel a little barebones compared to a lot of others that enable you to adjust contrast, saturation, the graininess, filters, skews and more.
To add to your woes, if you were hoping of nabbing a shot in first-person, it appears that’s not possible to right now either. From our experience with the photo mode, there’s no first-person option available at the moment.
That’s everything you need to know on how to use photo mode in Journey to the Savage Planet. Head on over to our wiki for more tips and tricks, or you can search for Twinfinite.





Updated: Jan 27, 2020 09:51 am