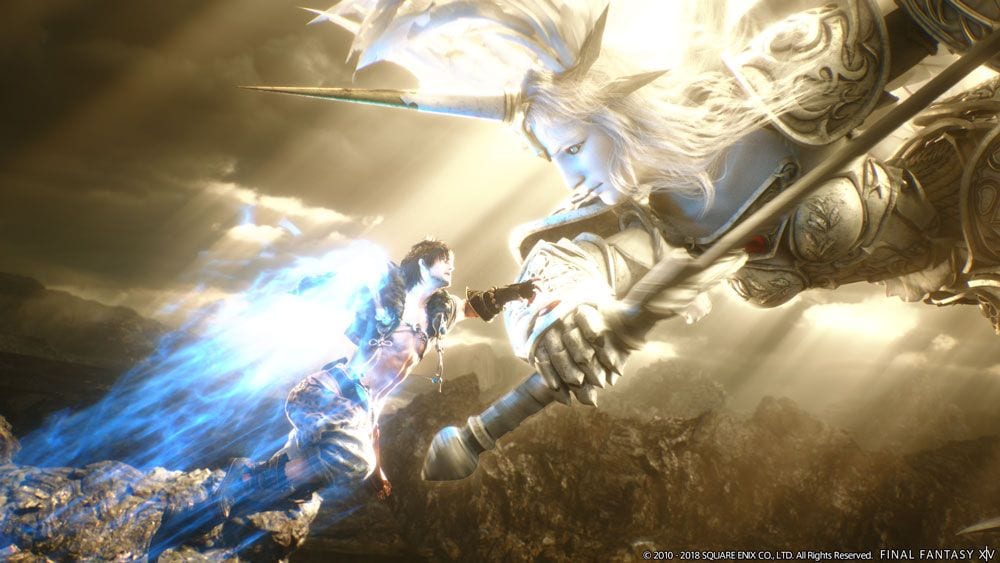
FFXIV’s Shadowbringers expansion is finally formerly launched and players are able to jump into the main quest line and tackle new dungeons and trials, experiencing an incredible plot along the way. If you’re here, you’re probably looking for a walkthrough guide of The Dying Gasp Trial in FFXIV Shadowbringers. Let’s break it down for you, but a quick warning first…
Spoiler Warning: In this guide, we are going to talk about the final boss of FFXIV Shadowbringers. We get that some people are looking for an idea of how to approach this challenging enemy without being spoiled on it before hand.
However, in this guide for The Dying Gasp Trial in FFXIV Shadowbringers we will not mention the boss’s name nor any details of the plot that led up to you fighting this battle. We will, of course, have to mention and describe some attacks as there is no other way to adequately prepare you for certain important parts and we will also disclose how many phases there are in the fight.
If that is still too many spoilers for you, then we encourage you to click off this guide for The Dying Gasp Trial and try the fight blind and come back if you’re having a hard time. It’s doable without a guide, but like many of the final boss trials in the past in FFXIV, it’s more challenging than your average one.
How to Beat The Dying Gasp Trial in FFXIV Shadowbringers
There are three distinct phases in the The Dying Gasp Trial fight in FFXIV Shadowbringers. At the bare minimum, you should have basic knowledge of your role, and a firm grasp on your job’s rotation (if you’re a DPS) in order to be a valuable member of your party.
You should also be properly geared. You can get a full set of 430 armor for your job by talking to Grenoldt after finishing his quest in The Tempest. It might be tougher to obtain comparable accessories, but there is no excuse to not at least have the 430 job-armor before entering this fight.
There will be various healing checks, DPS checks, and tank busting maneuvers throughout the battle, so you’ll need to know what you’re supposed to do in these scenarios. We’ll note when a particular move is of upmost importance to a role.
However, the most important ability is availability. In other words, if you’re dead on the ground, you’re useless. In fact, if you’re constantly dying, you’re more of a help staying dead than distracting healers from helping someone else.
Don’t be that person. The biggest key for beating The Dying Gasp Trial in FFXIV Shadowbringers is to stay alive, and to do that, you’ll need to know all the moves that the final boss will throw at you. Let’s break them each down, phase by phase.
Important Moves – Phase One
Ravenous Assault (Tanks & Healers) – This is a tank buster move that shouldn’t be hitting anyone other than your main tank. Use your tank buster cooldowns to survive this attack. If you’re a healer, be prepared to top that person back off.
Bad Faith – The boss’s arms will outstretch and will have a set of arrows on each. Move yourself to stand on the side of the arrows that are not pointed at you. You won’t have time to react when the attack goes off if you mess up, so pay attention to this one. We’re looking at you DPS!
Double – When this is casted, the next ability is used twice. Often used with Dark Eruption and Shadow Spread from what we’ve seen.
Dark Eruption – This will put AoE target markers on various members of the party. This can be doubled by the boss (see the move above). For this one, you’ll want to move the marker away from everyone else, and then also move out of the way yourself. It will fire it once at the location you left it, and then again at wherever you are for the second shot. So try not to kill anyone.
Broken Faith – Platforms begin falling from the sky but don’t try and jump on them! These are large bombs that will explode for lots of damage, will apply a vunerability up, and have a very large AoE.
Try and look for areas on the battlefield that already have recently been hit and hang out near there until it’s time to move again. The attack has a large AoE so try to not cut it too close, stay as far away as you can. Try tilting the camera down a bit if you’re having a hard time seeing where they are coming from.
Shadow Spread – This one is pretty straight forward but you need to react fast. The battlefield will be cut into pizza slice size AoEs. Don’t stand in them. If double came before it, you’ll need to dodge them twice.
Shadow of the Ancients (DPS) – The boss will spawn enemies that will need to be taken down ASAP as the boss will count up to 100 for a wipe mechanic. Gather them together and let fly the AoE attacks on them.
They have low health, so it won’t take long, however the boss will do many times. If you’re clearing them at an average clip, you’ll probably end up around 70-75 on your timer.
During this final part of the first phase, the boss will throw in some rudimentary AoE and stacking attacks. Simply dodge and stack. However if you have the AoE marker, don’t stack with everyone else. It’s not necessary to get everyone on the stack marker to keep the damage manageable.
Important Moves – Phase Two
Once you reach phase two, you’ll receive a checkpoint for the rest of the fight. Nice!
Titanomachy (Healers) – This just does damage to everyone in the room so don’t stress it, but healer should pay close attention to when it’s being used to make sure anyone close to death is prioritized.
Shadow Stream – This attack hits anyone in front of the boss. You don’t get markers on the ground. Just get to the far sides of the battlefield ASAP when you see it being used.
Polydegmons Purgation – This is the reverse of Shadow Stream. Everyone should get in front of the boss. It’s important to remember which does which with these two attacks to avoid getting punished.
Dual Strike (Tanks & Healers) – Another tank buster that will hit both tanks. Both will need to pop their cooldowns for this. Healers, be ready to top off both tanks.
Echo of the Lost – The boss will take its arm and swipe it across the majority of the battlefield. Everyone should move behind the hand to avoid the attack. It will not be marked.
Captivity (DPS) – Up to two party members will be held hostage by the boss. DPS down the new target that will appear to free them.
Wall of the Lost – Markers will point in a certain direction. Go as far in the opposite direction as possible to the one that they are pointing to avoid being knocked out of the stage. So for example, if it’s pointing right, everyone should go all the way to the left of the battlefield.
Hellborn Yawp (Tanks) – The boss will target both tanks and apply a huge AoE to each of them, covering the majority of the battlefield that everyone will have to dodge (is marked). Ideally, both tanks should go to the opposite sides of the edge of the battlefield to create as wide a safe zone as possible with risking getting yourselves both killed.
Circles – The boss doesn’t actually use a move for this, but circles will appear on the ground. Get someone to each of the circles ASAP otherwise you’re all going to die.
Life of Captivity – This is an active time event that will appear towards the end of the fight one time. Simply mash buttons to free yourself when the timer begins. This will kick off the final phase.
The Dying Gasp Trial Guide – Final Phase Three
The third and final phase, roughly the last quarter of the boss’s health is one massive DPS (damage per second) and HPS (healing per second) check. The boss will pump out constant party-wide damage pretty much non-stop.
There will be a massive pocket of light that you will need to DPS from. However that light will slowly shrink as you bring the boss’s health down and after the light is completely gone, the boss will start to cast Black Cauldron.
You must kill the boss before Black Cauldron finishes casting or you wipe. Like the last part, this is heavy on DPS and HPS. Healers will need to constantly be healing as a strong bleed effect will be present on the entire party while this is going on. Burn it down, hold nothing back and you’ll emerge victorious.
That does it for our guide on The Dying Gasp Trial in FFXIV Shadowbringers and how to beat the final boss. If you pulled it off, congratulations! Enjoy the epic final cutscene.


Updated: Jul 8, 2019 02:50 pm