Shrines have some of the most entertaining physics found in the whole game. Most shrines have you dealing with Zonai Devices in different ways, but sometimes it’s things you can’t just manipulate, like electricity. If playing with electricity appeals to you, this is the shrine for you. Here’s our full walkthrough for the Turakamik shrine in Zelda: Tears of the Kingdom.
Zelda: Tears of the Kingdom Turakamik Shrine Walkthrough
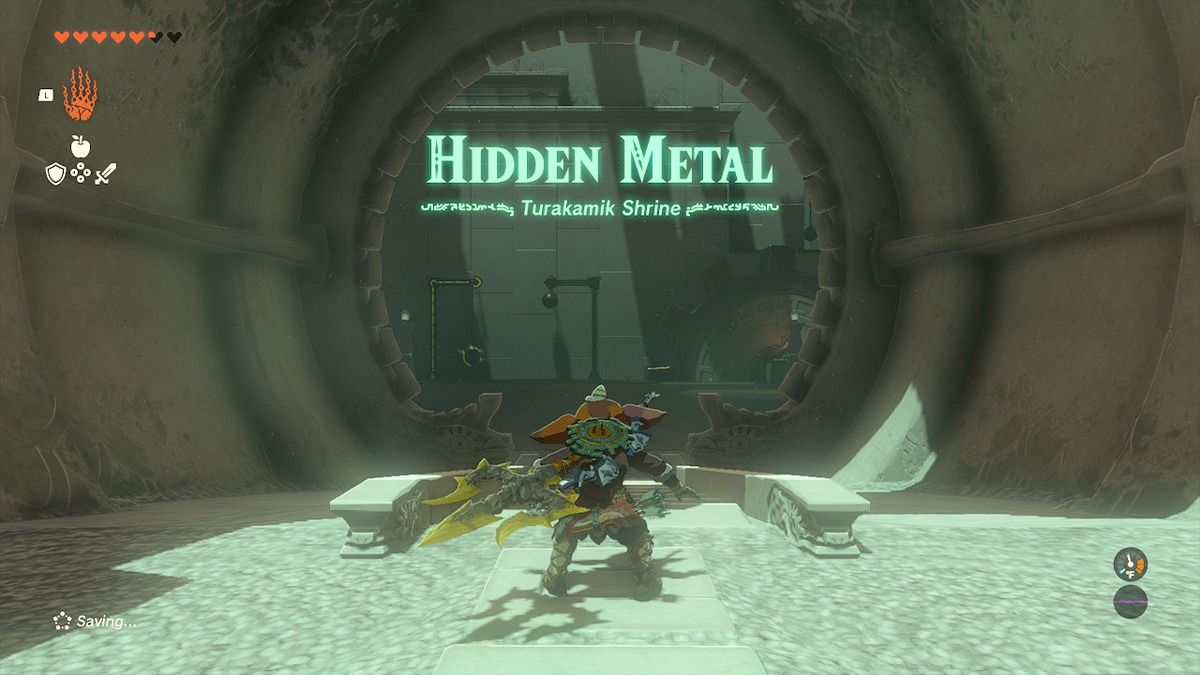
The Turakamik shrine is found only a bit southwest of the Tsutsu-um shrine at the coordinates -2658, -2236, 0067. It incorporates the same electricity physics as the Mayachin shrine.
Part One
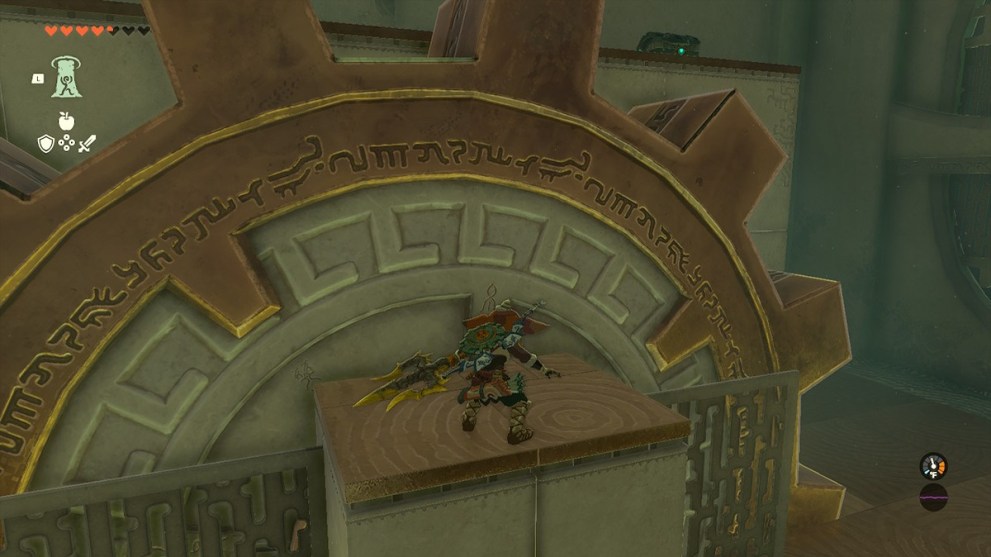
Grab the left ball with Ultrahand and connect to the right ball to make the big cog spin without stopping. You might have to do this twice, as the first time the balls touch, the camera automatically pans over to the cog. Once they are connected, you can walk onto the cog and let it move you up to the level above.
Part Two
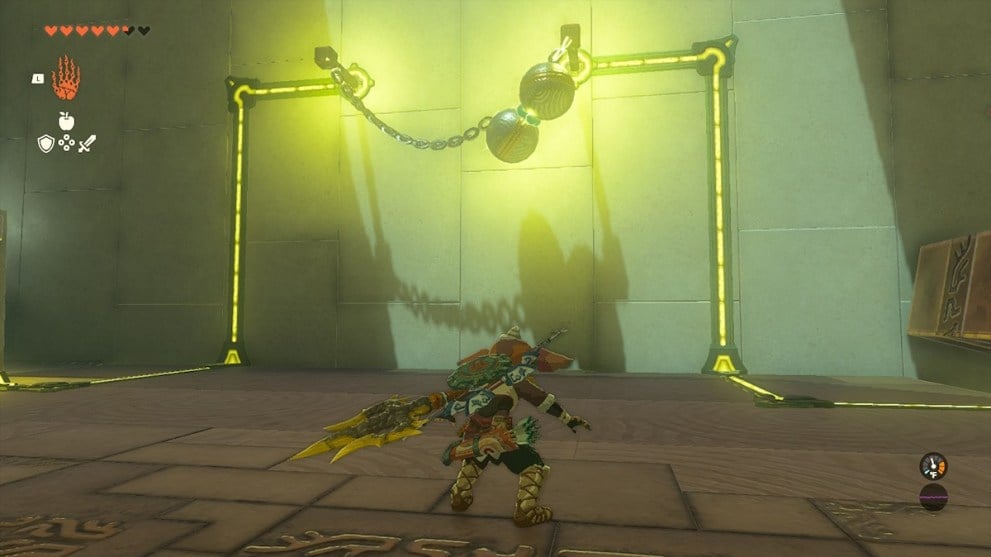
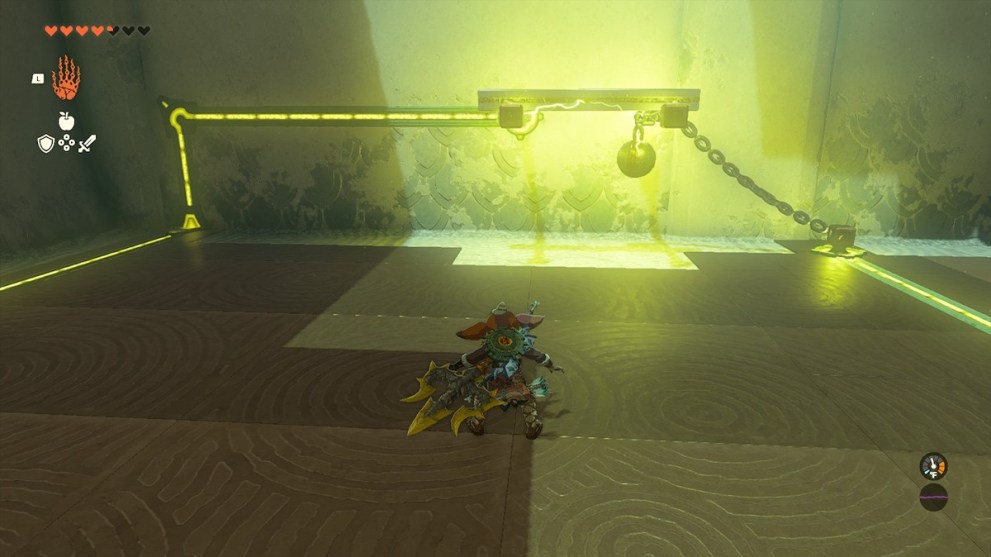
Look to the left at the new two balls when you’re up here. They won’t reach, but you still need to stretch the left one all the way right and let it go. While it swings, grab the right one and stretch it left so you can fuse them together when they connect.
This will turn another large cog above and push two pillars simultaneously out from the wall. Use Ascend when the furthest right pillar is out so you can walk to the platform and into the next area.
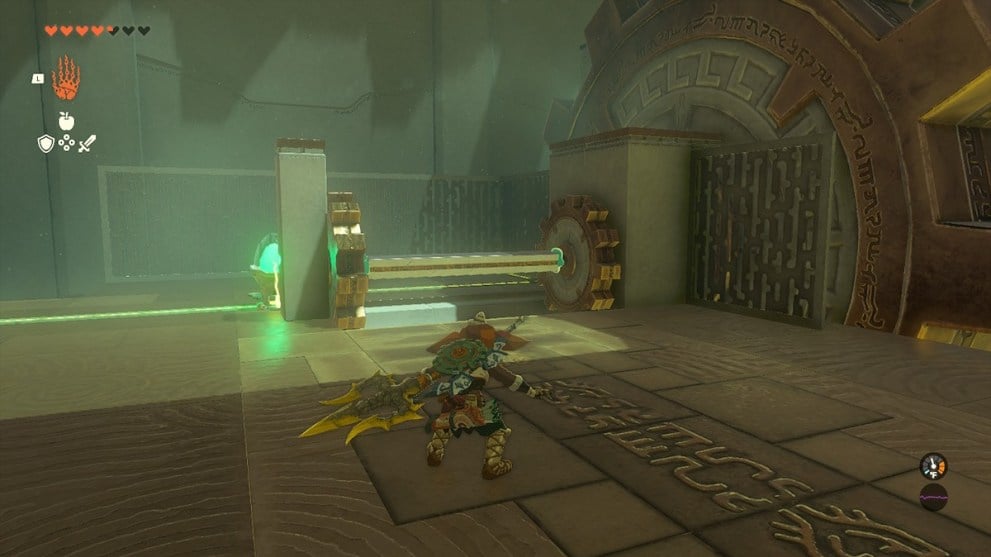
Part Three
Before doing anything else, get onto the pillar in front of the large spinning cog. From here, jump over the fence to the left so you can use the cog to get onto the platform above for the shrine chest. You can open it for a 26-defense Strong Zonaite Shield.
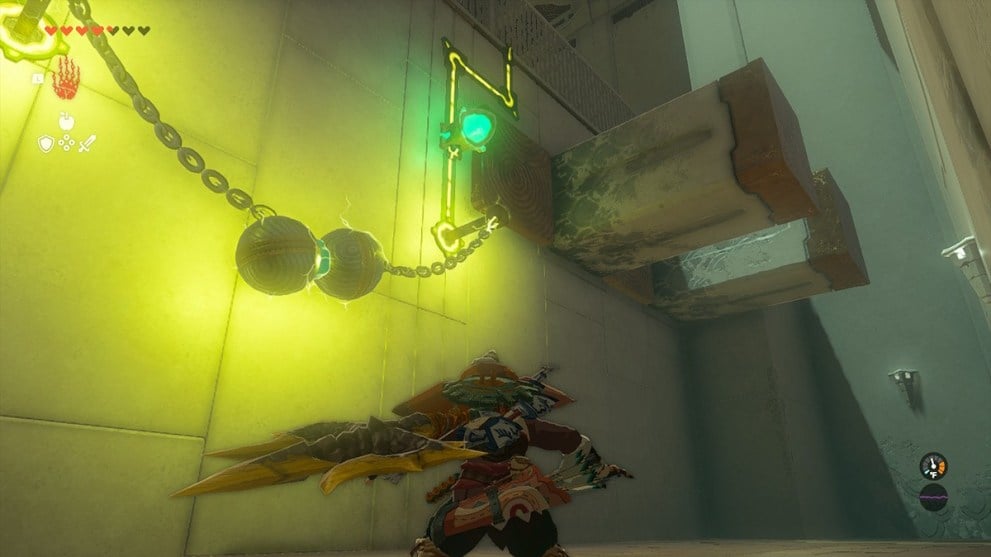
Turn around and follow the electricity to a ball lying on the floor. Take the ball, stretch it over the right pole, and let it drop so it just hangs there and keeps the rod charged. Walk back to the large cog, take the square pole from between the two smaller cogs, and drop it over the top of the charged and uncharged rods. This will complete the circuit and open the shrine exit so you can now collect your Light of Blessing.
All this fun with electricity concludes our walkthrough of the Turakamik shrine in Zelda: Tears of the Kingdom. For more shrine guides and helpful tips on making the most out of your journey through Hyrule, check out our links below.


Updated: Jul 6, 2023 08:17 pm