The building puzzle shrines are enjoyable when they only give you one type of item. This means the player can create and test many things to find a workable solution. It also allows you to be goofy and see what nonsense might do the trick. If you’re needing help, we also have the answer. Here is our full walkthrough for the Siwakama shrine in Zelda: Tears of the Kingdom.
Zelda: Tears of the Kingdom Siwakama Shrine
The Siwakama shrine is located in the Gerudo Desert, not far south of the region’s chasm located at the coordinates -2445, -3345, 0042. You can head southeast of the Mayatat shrine through the desert if you have the right equipment. Otherwise, it is best to glide from the Gerudo Canyon Skyview Tower.
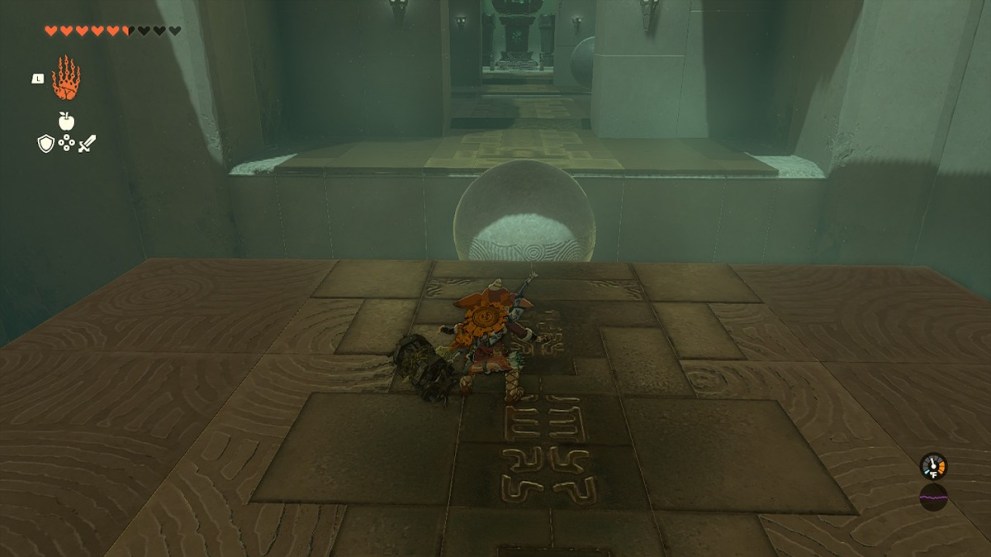
Part One
Simply pick up the ball and place it into the gap to use it as a bridge you can jump from and onto the next section.
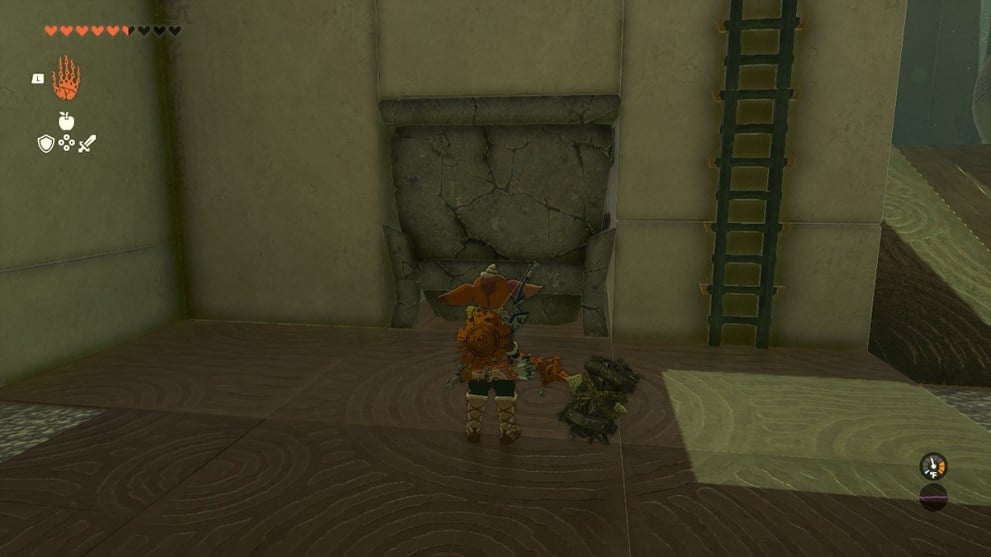
Part Two
Before dealing with this puzzle, drop off the right side of the platform and break through this crumbling wall. You can pick up one of the balls and set it on top of the ramp to let it break through the wall. However, that’s only necessary if you don’t have a weapon to handle it. Opening the chest on the other side of the wall will get you five Bomb Flowers.
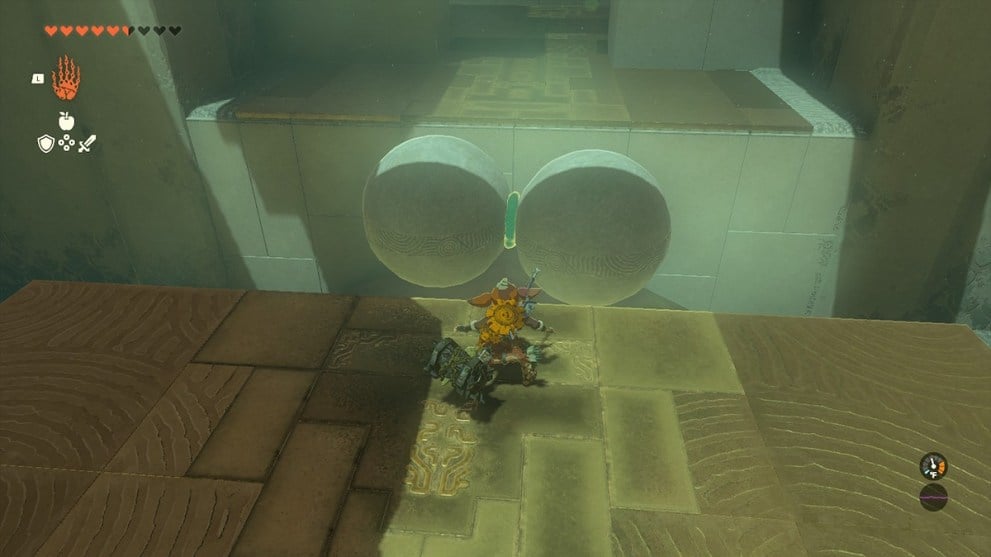
Return to the platform to continue the puzzle and grab the ball you used in part one. Attach it to the new ball and place that over the piece on the floor so you can jump onto them and continue.
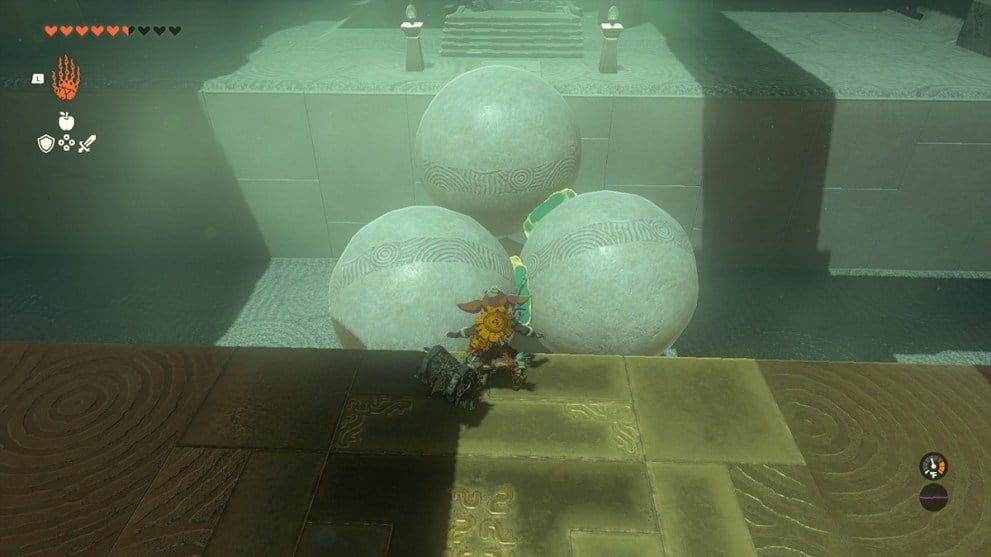
Part Three
Grab the two previous balls and attach the new one on top to make something that looks like a triangle. Placing this on the pyramid below should angle it just right so you can jump on one of the lower balls and climb the third ball to get to the Light of Blessing pedestal.
This concludes our walkthrough of the Siwakama shrine in Zelda: Tears of the Kingdom. Be sure to check out our links below for more shrine guides and tips on where to find the best gear.


Updated: Jul 6, 2023 08:14 pm