
After entering the Still World with Tri, Zelda finds herself back at the Suthorn Ruins. This is the first dungeon crawl Zelda must complete in The Legend of Zelda: Echoes of Wisdom. Use our helpful walkthrough tips below to get through this two-floor cave in one piece!
Suthorn Ruins Dungeon Walkthrough
The very first thing to do is to activate the fast travel point in the Suthorn Ruins. This will mean you can come back any time, or end back here if you fall into the abyss. Don’t forget to learn every Echo you may come across, and smash pots to find consumables. This dungeon has two levels and multiple rooms to explore so take your time and make sure you clear each one!
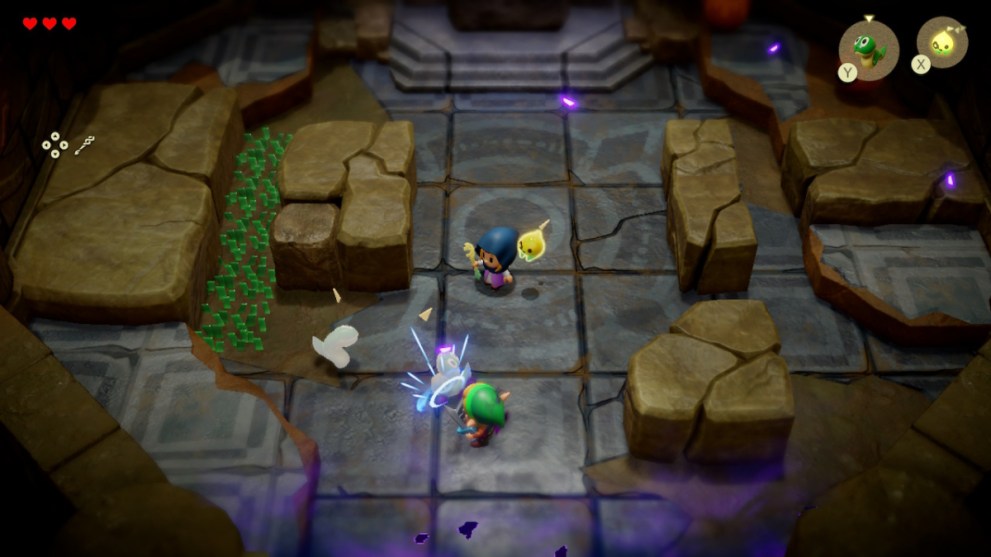
Suthorn Ruins Room One
As you explore the dungeons in the Suthorn Ruins, you get to learn new skills like Bind, Follow, and Swordsman Form. Make sure to practice using these as you progress.
- Approach the huge rock and press A to check;
- Use Tri’s ‘Bind’ feature to grab and move the rock;
- Step on the white button to open the door;
- Before touching the next rock, walk behind to the slope;
- Place three beds as a path to the doorway;
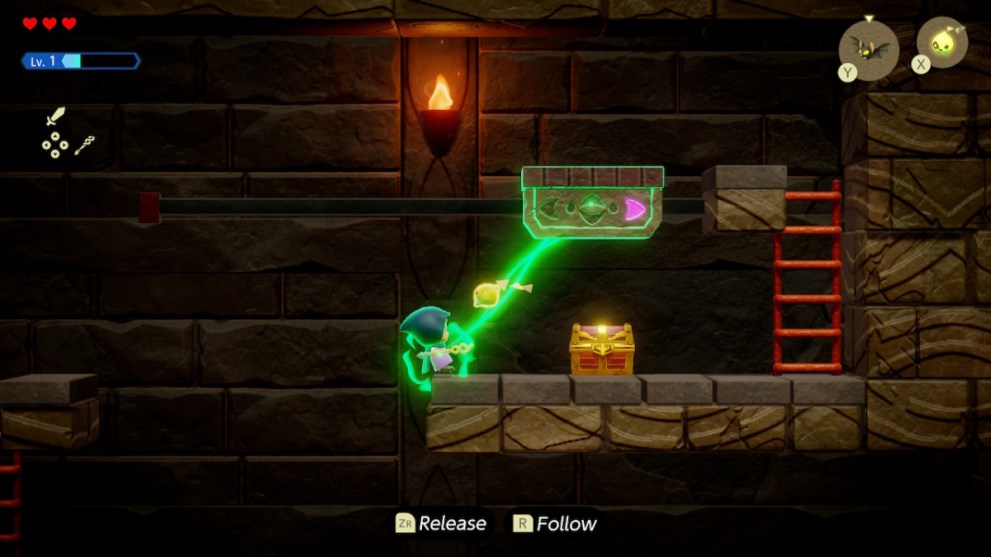
- Use Tri’s Bind to grab and pull the chest from the ground;
- Make your way back to the other room;
- Use Tri’s Bind to grab and move the rock to the left to find a ladder;
- Go down;
- Use the web ropes to head to the right;
- Summon a Spear Moblin to kill a Strandtula;
- Learn the Strandtula Echo;
- Head up towards where the chest is;
- Use a Strandtula to climb up the chest;
- Head right and summon another Strandtula to get to the ladder and climb out.
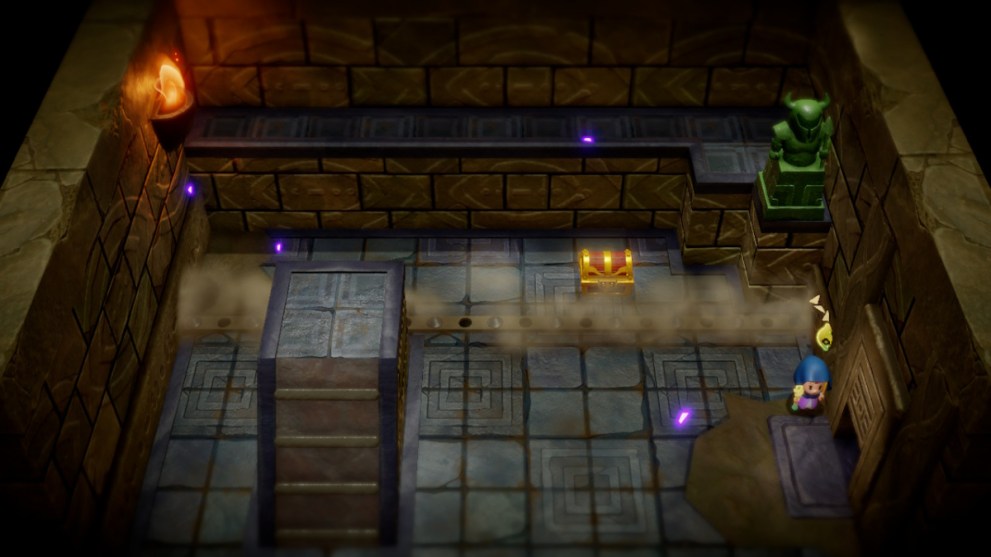
Suthorn Ruins Room 2
- Place a trampoline to help you jump up to the platform on the right;
- Use two decorative plants as a path to the other side;
- Use a Spear Moblin to defeat the Ignizol;
- Learn the Ignizol Echo (if you haven’t discovered it already in a previous cave);
- Walk onto the lift platform;
- Summon a Spear Moblin to take out the Darknut;
- Learn the Darknut Echo;
- Place a trampoline to jump up to the rocks;
- Go down the ladder into the next room.
Suthorn Ruins Room 3
- This will be tricky if you have not learned the Ignizol Echo;
- Aim at the extinguished light and throw an Ignizol at it;
- Summon three wooden boxes and walk across;
- Push the boulder past the ladder and climb up;
- Throw an Ignizol at the wooden boxes;
- The flames will spread and light the lamp;
- Jump over the boulder and up the ladder to the next room.
Suthorn Ruins Room 4
- Activate the fast travel point;
- Use Tri’s Bind to grab and pull the shield on the wall;
- Stack beds and a trampoline to reach the top of the rocks on the right;
- Reach the chest by stacking wooden boxes and a trampoline;
- Summon a Spear Moblin to take out the Darknuts;
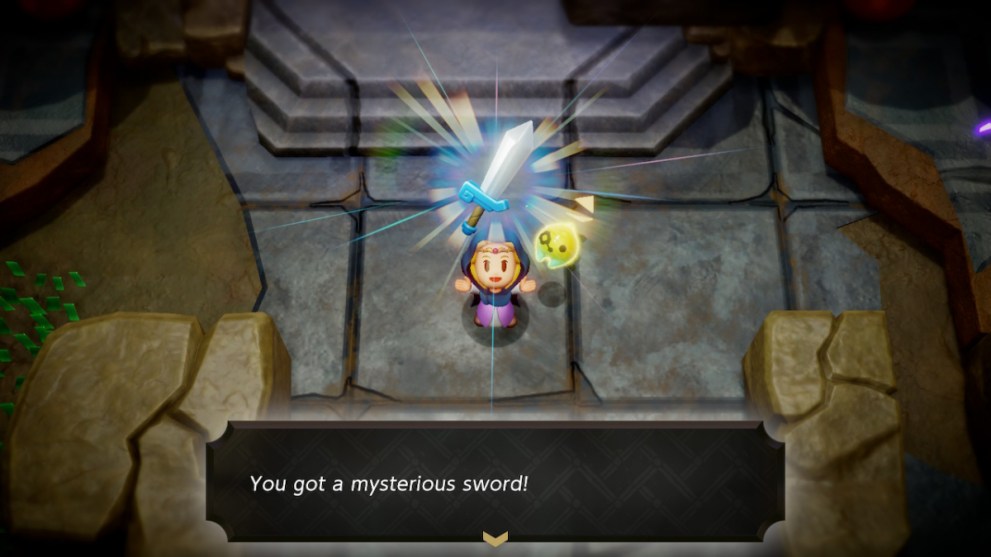
- Summon a Peahat to take out evil Link;
- Pick up the sword;
- Go down the ladder.
Suthorn Ruins Room 5
- Use Tri’s Bind to grab and move the rock to the left;
- Summon Strandtulas to climb up to the right and get the chest;
- Go back down and to the right;
- Climb down the ladder;
- Go through the door on the left;
- Summon a Peahat to defeat the Deku Baba;
- Learn the Deku Baba Echo;
- Enter Swordfighter Form to break the barrier;
- Let the Peahat defeat the final Deku Babas;
- Enter the door to the back of the room;
- Summon a Spear Moblin to defeat the Deku baba through the fence;
- Open the chest;
- Go back to the previous room.
- Go through the door to the left;
- Use Tri’s Bind to grab the green statue;
- Walk up the slope so the statue is on the platform above;
- Release the statue and walk down the slope;
- Bind the statue again and move it to the right;
- Position the statue so it lands on the white button (you may have to pick it up and put it down a couple of times);
- Open the chest before leaving.
Suthorn Ruins Room 6
- Go back to the first room;
- Use the small key to unlock the door to the right;
- Use Bind to grab the green statue and move it to the square tile;
- Go down;
- Go across on the moving platform;
- Use Bind and Follow to let the next moving platform take you across;
- Step onto the same platform and head left;
- Go up the ladder;
- Move onto the moving platform;
- Bind and Follow the platform above;
- Release when you are on the other side;
- Use the platform to head left;
- Go up the ladder and hop right to the small ledge;
- Bind and Follow the final platform to get to the chest;
- Head back to the left to go up the ladder.
- Create a table and a wooden crate in line with the button;
- Bind the green statue and drag it to the button, using the objects to position it properly;
- Open the chest.
Suthorn Ruins Final Room
- Head out of the two doors to the main area and activate the fact travel point;
- Use the large key on the door;
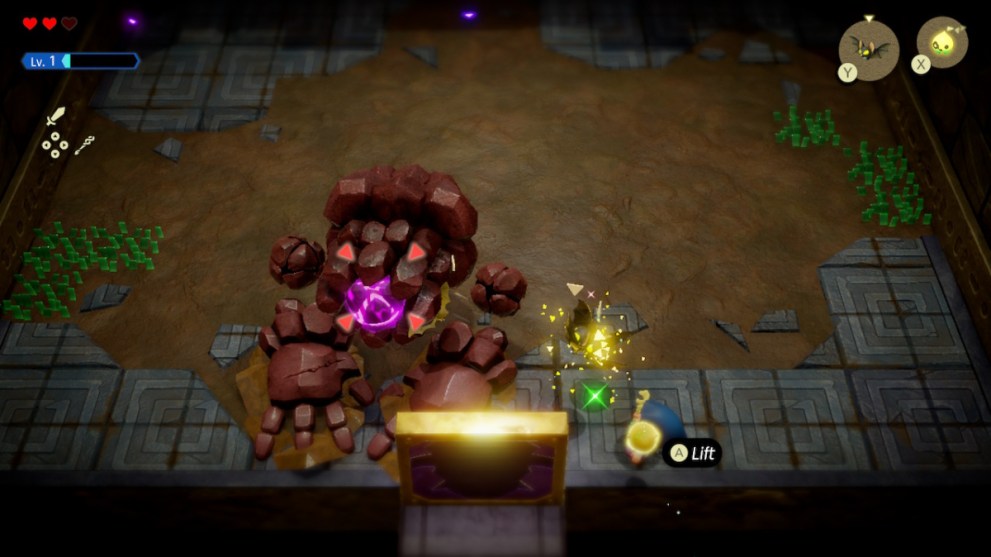
- Defeat the Seismic Talus:
- Avoid his ranged attacks;
- Enter Swordsman form then quickly attack the purple weak points;
- Attack the purple orb that drops;
- Avoid his spinning arms;
- Attack when he slams into the ground and is stuck for a moment.
That ends your epic journey through the Suthorn Ruins in The Legend of Zelda Echoes of Wisdom! For more tips and tricks to help Zelda restore Hyrule, check out our list of every smoothie you can create.


Updated: Sep 26, 2024 09:36 am