In the world of Marvel’s Spider-Man 2, there are other colorful characters outside of the two webheads that are Peter Parker and Miles Morales. From supervillains to beloved family members and loved ones, this is a cast of characters that will leave players wanting more as the overarching narrative progresses. One of them is Aaron Davis, AKA The Prowler, who just so happens to be Miles’ uncle. Now set on his road to redemption, he is trying to help the young hero out, and this guide to finding and solving all the Prowler Stashes in Spider-Man 2 will help players do just that.
What are Prowler Stashes in Marvel’s Spider-Man 2?
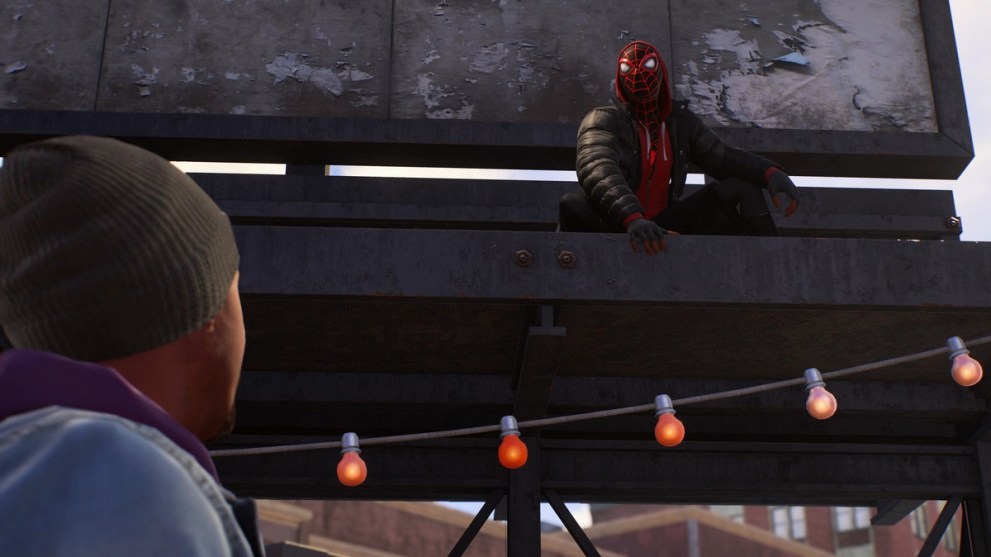
Early on in the game, Davis contacts Miles to catch up, asking that the hero visit him at his place in order to impart some knowledge. This knowledge comes in the form of former stashes that his criminal alter ego had prepared in the past, which is his way of reconnecting with his estranged family and for Miles to learn more about his uncle.
Of course, we wouldn’t be making a guide on how to get these valuable items from these stashes if getting them didn’t require some effort. Fortunately, you can learn a decent amount about how to obtain these collectibles by completing the first challenge tied to them.
How to Solve First Prowler Stash
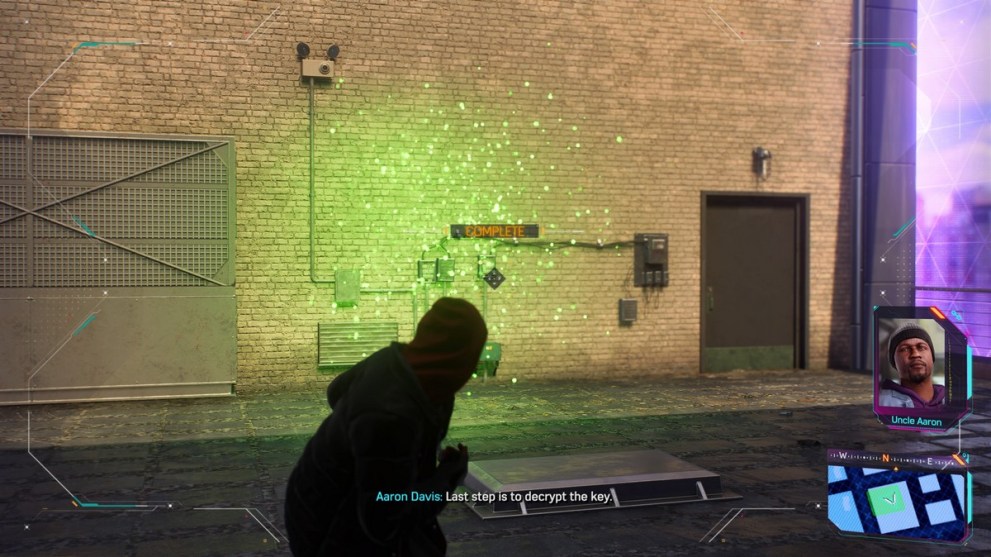
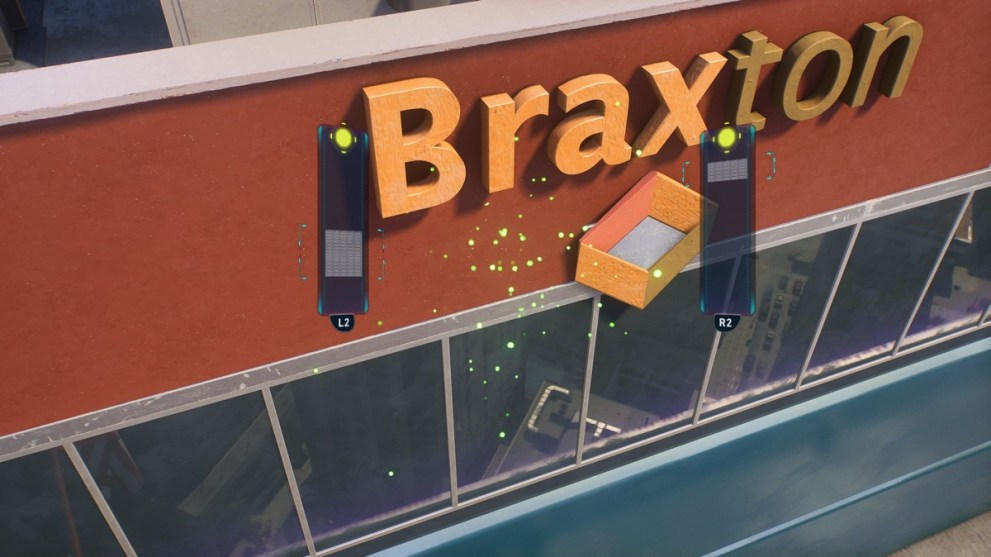
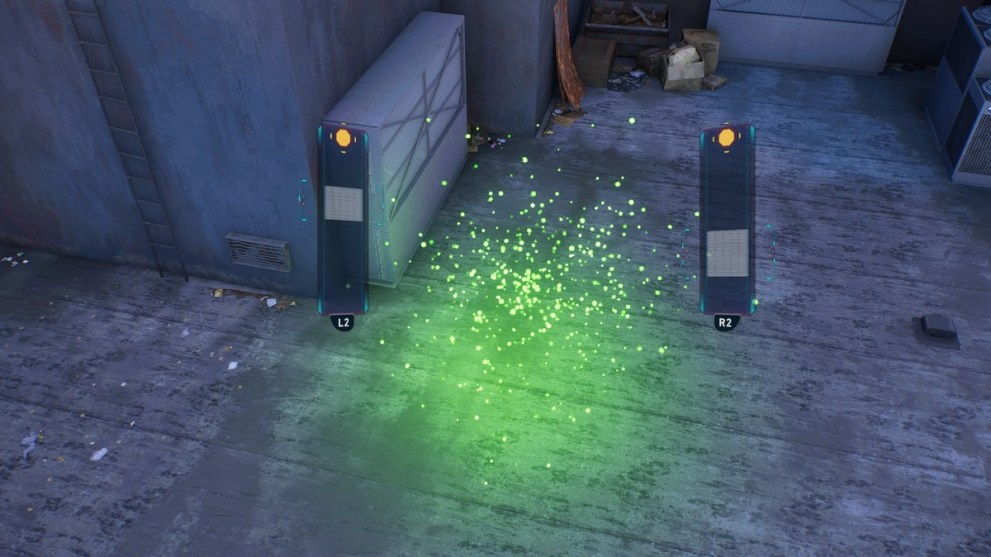
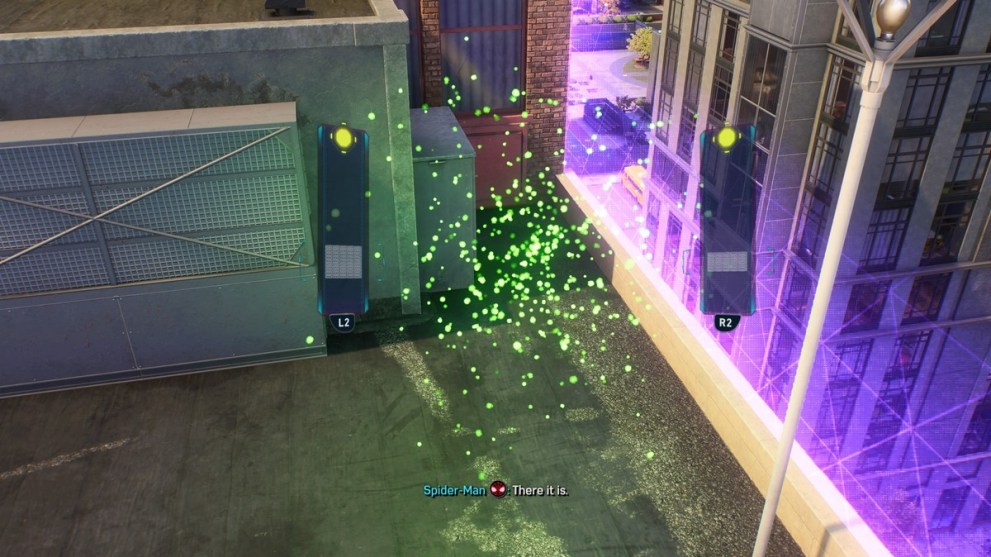
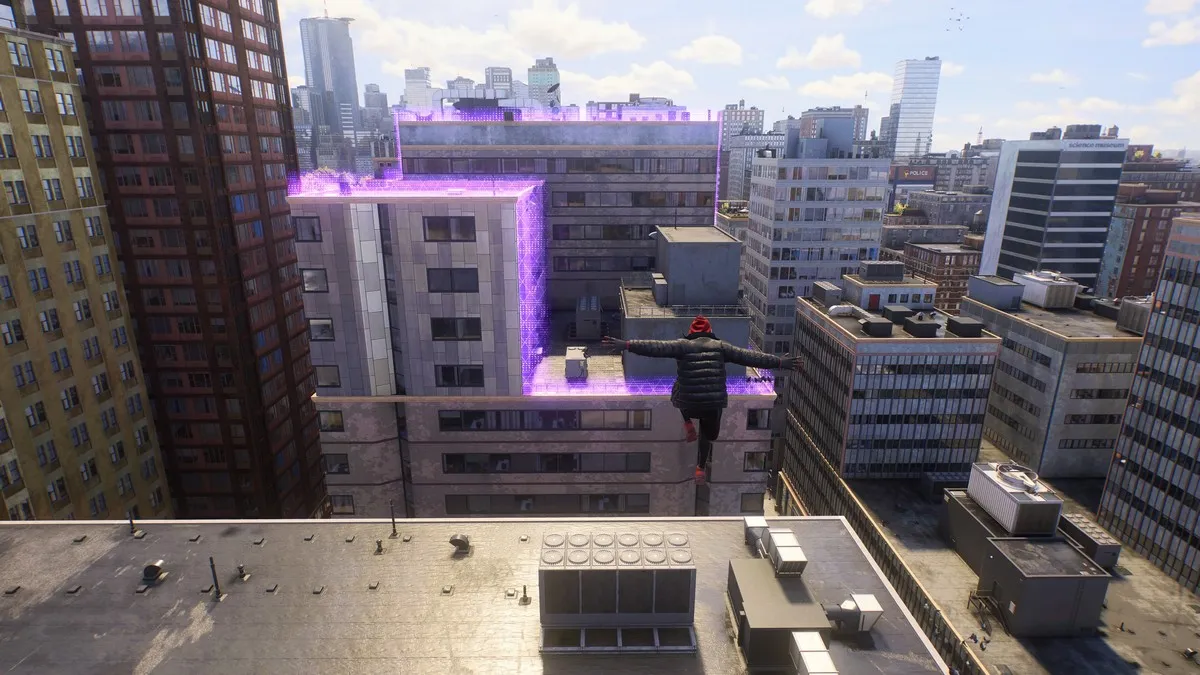
Once within the confines of the highlighted areas in purple, players will need to use their scanners by holding L2 to look for the way in. A smattering of green particles will signal the right place to scan, which then brings up a minigame involving the L2 and R2 triggers.
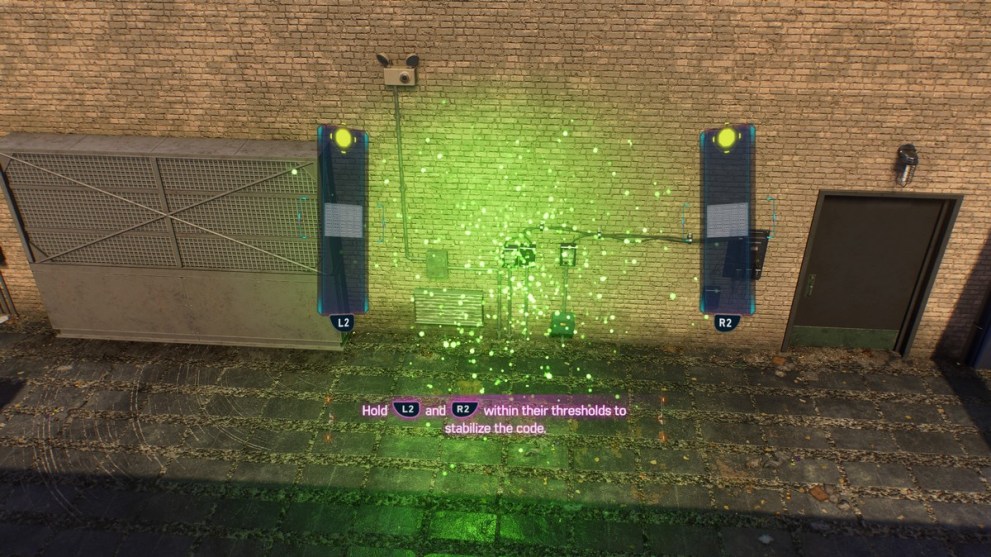
Depending on the location of the grey areas, you will need to apply differing pressure on the corresponding triggers to get the glowing dot in the sweet spot. Once that is done, you must keep them in place so that the code can be stabilized. This might take a few tries to get right, but it becomes more intuitive once you get a feel for how the haptic feedback plays into the puzzle.
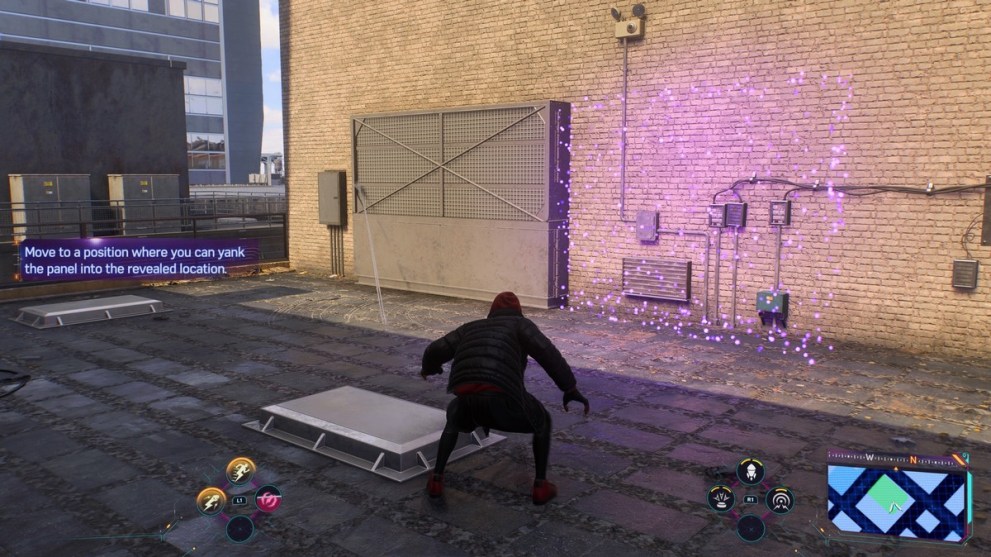
Upon succeeding, it will reveal a purple outline of where the obstacle needs to be moved, and players must move into the right position to get the L1+R1 prompt to appear. This can be to the sides, upward, or even downward.
Finish everything up, and it will lead to a secure area where the actual Prowler Stash and a hoard of goodies are awaiting. You can then Interact with the safe to finish up this introductory mission and begin the hunt for the rest.
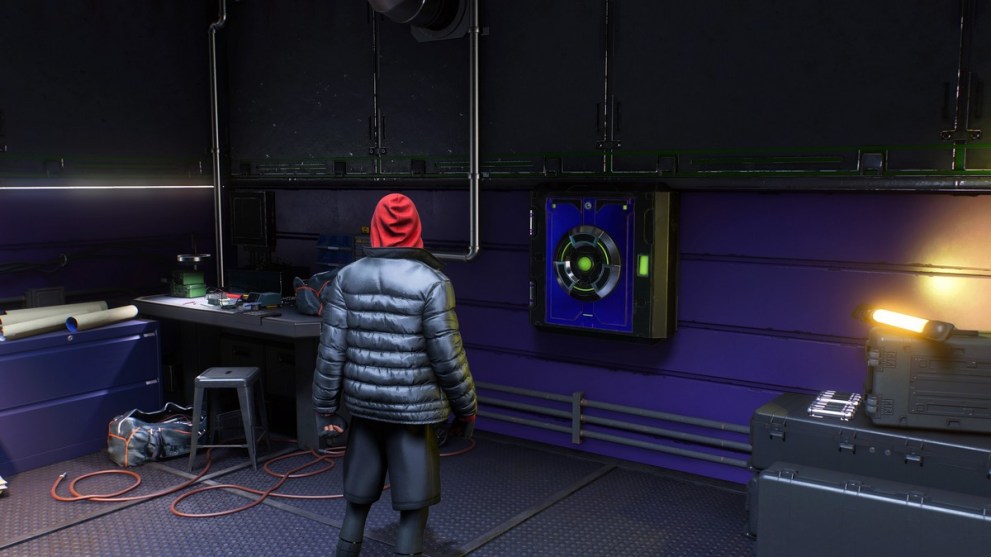
Hell’s Kitchen Prowler Stash Location
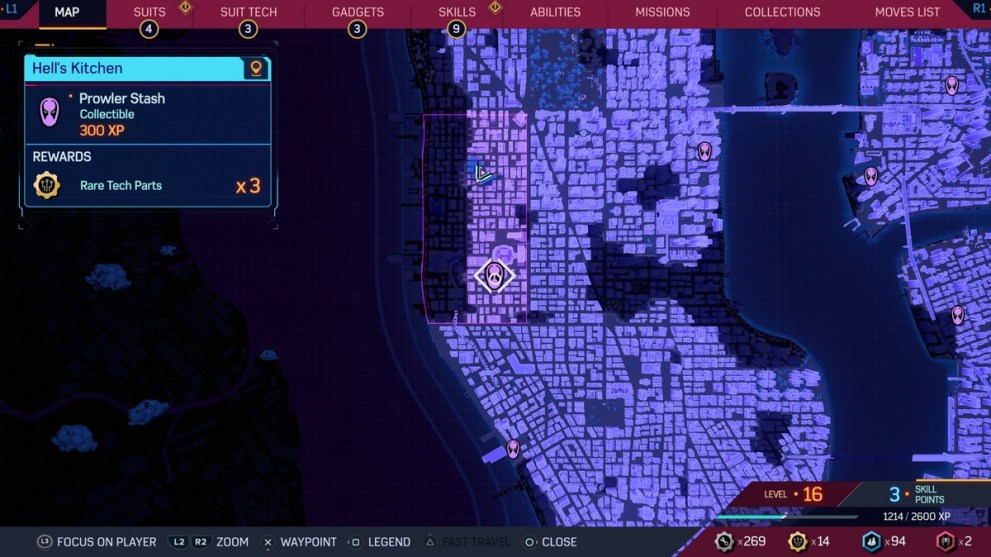
Swing your way over to Hell’s Kitchen for this particular Prowler Stash. The process is similar to the intro mission, in which Miles must scan the area for the right triggers, solve some puzzles, and open the hideout door. In this case, get up on the roof and scan the pole to begin the stabilization.
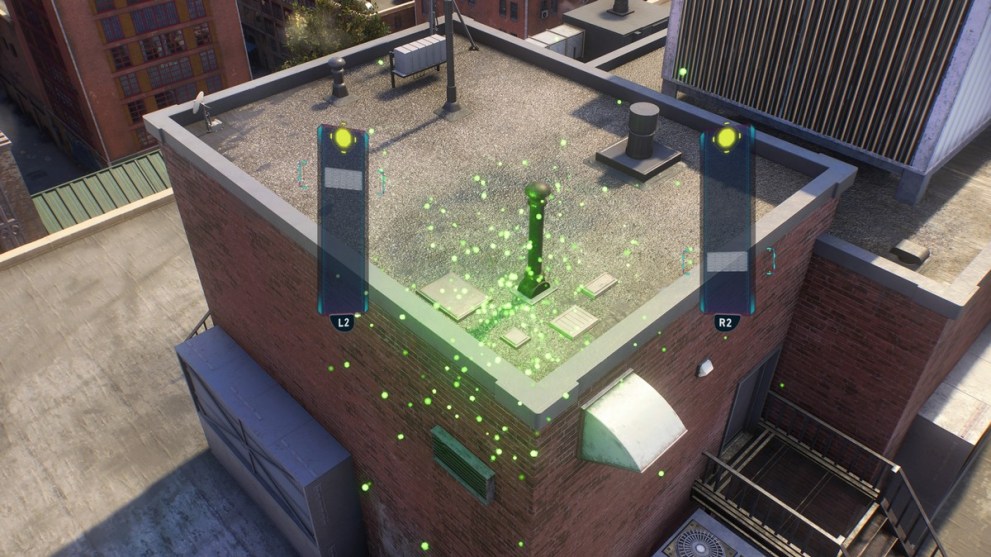
Next, get on the opposite side of the pole via the nearby storage crate and pull on it to start the next step. A generator will be revealed, but there’s not enough juice to open the way. Use R3 to scan the immediate area for power lines leading to other generators, which can then be activated by getting right up next to them and pressing L1+Square.
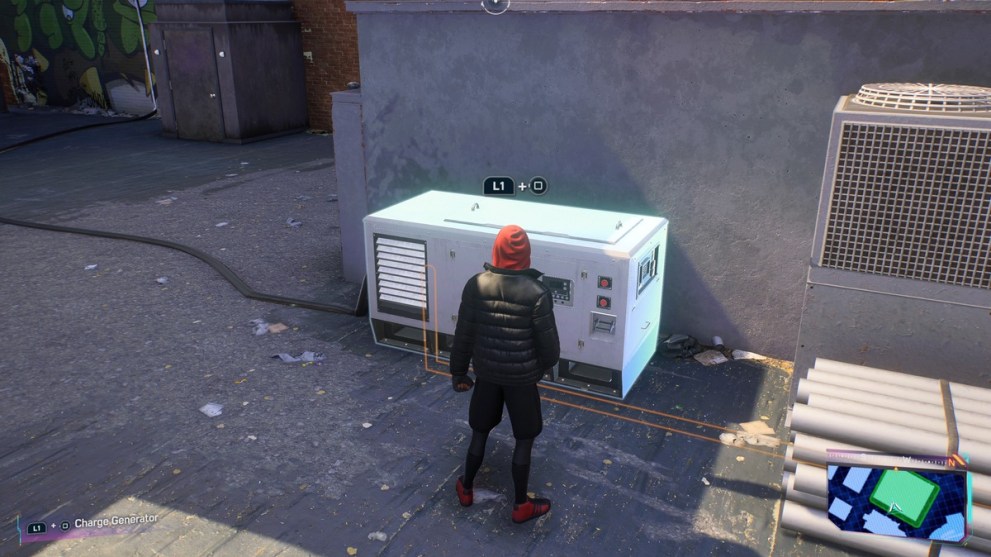
Even with power, the Stash door won’t open because there are breaks in the power lines. Watch out for those sparking wires and fix them up using Miles’ web. This is done by aiming with L2 and then firing off web Blasts with R1. Just follow the power lines and it will lead to all breakages.
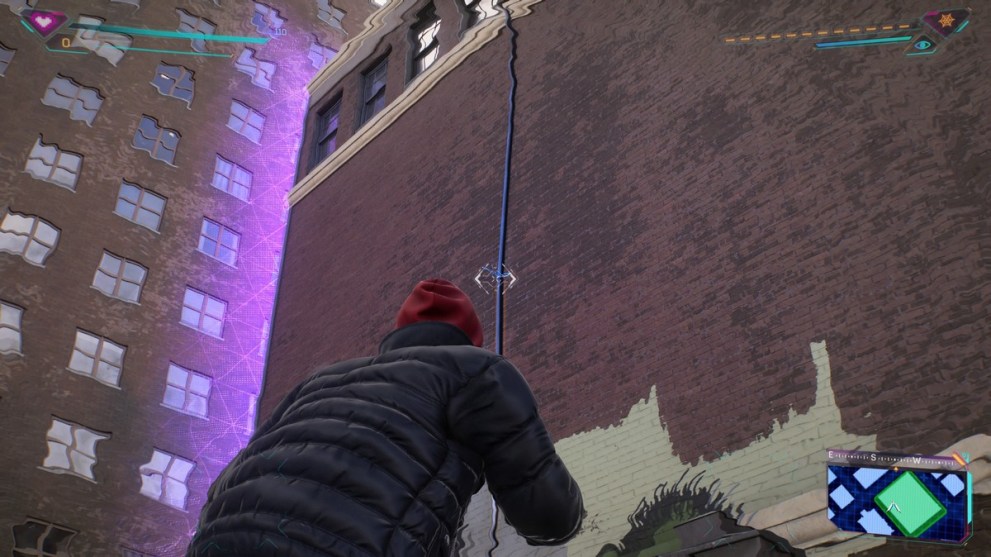
Once every break is patched up, the door to the Prowler Stash in Hell’s Kitchen will open right up. Grab your rewards and move on to the next one.
Greenwich Prowler Stash Location
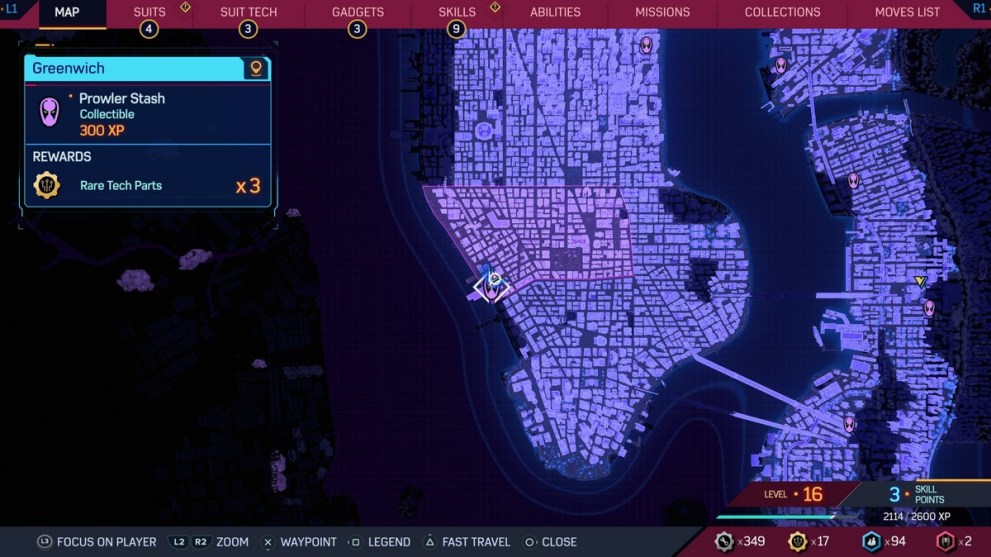
Get to the location marked on the map above to find this Prowler Stash, and then look in the middle of the area for a rectangular grey structure that can be scanned to begin the code stabilization. Remember to use different levels of strength on the two triggers to get to the right sweet spots.
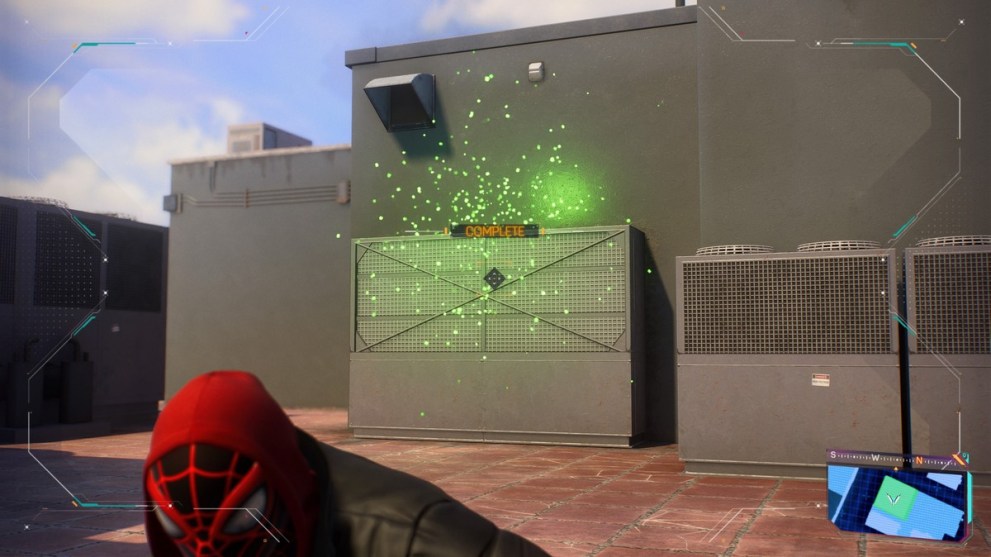
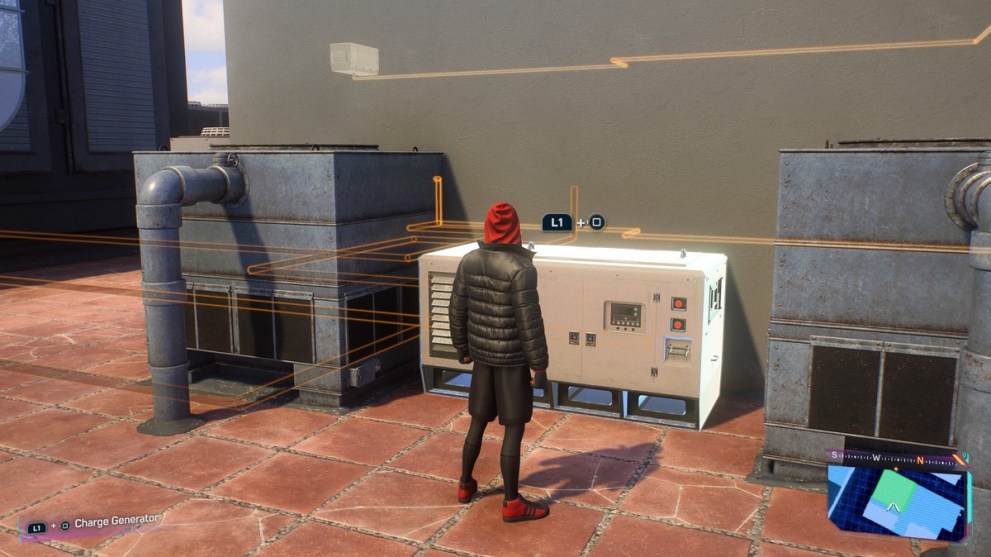
Once that’s done, you will need to get higher up in order to shift the secret door upward. The next door will require electricity in order to be opened, and there are two generators out of three that need to be turned on. The first can be found when facing the water, and you can press L1+Square to have Miles give it a boost.
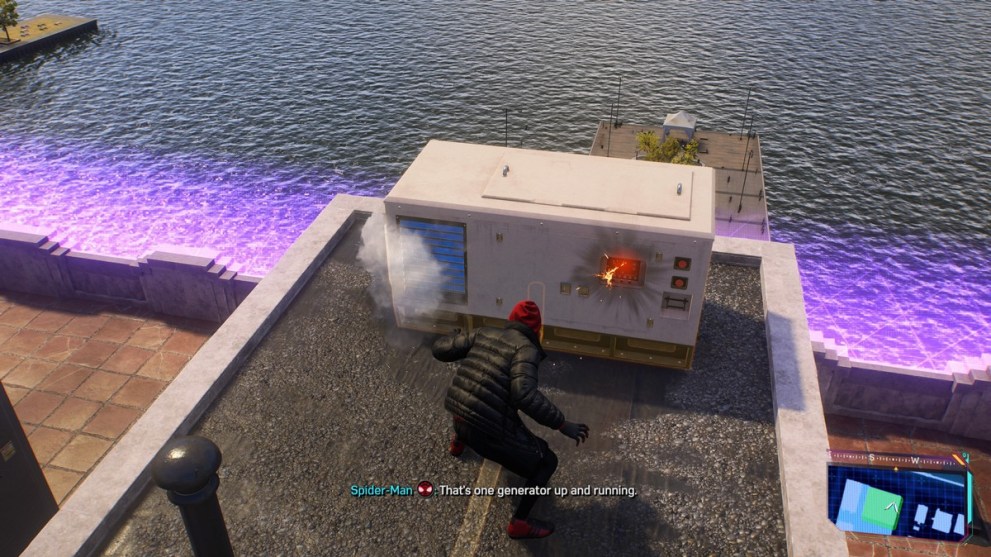
The second generator is found just around the corner from where the door is, with it sitting between two HVAC units. Punch it up, and it will open the door to this particular Prowler Stash.
Midtown Prowler Stash
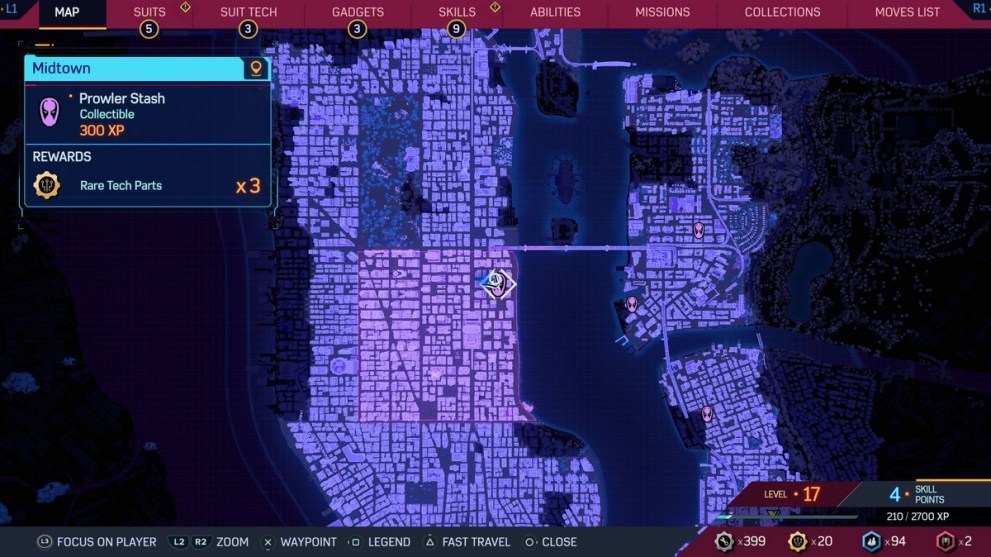
The Midtown Prowler Stash is found on the Braxton building, and the building’s sign is where your scanning should take place. Get near the logo and start scanning, which will reveal the code stabilization sequence below:
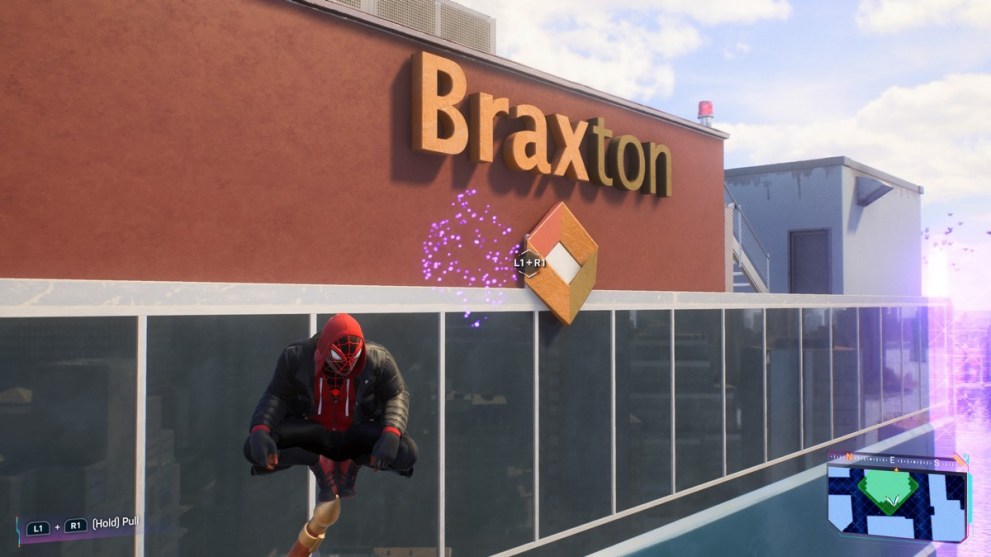
Zip up to the pole next to the logo in order to get into position to yank it, revealing a vent in which Miles can now crawl through to reach the second sequence.
Within the vents, there is a straightforward enough path to the safe. However, there are a bunch of stationary and moving laser traps that must be avoided to prevent any damage to Miles. Take your time to see the pattern, and start moving when the time is right.
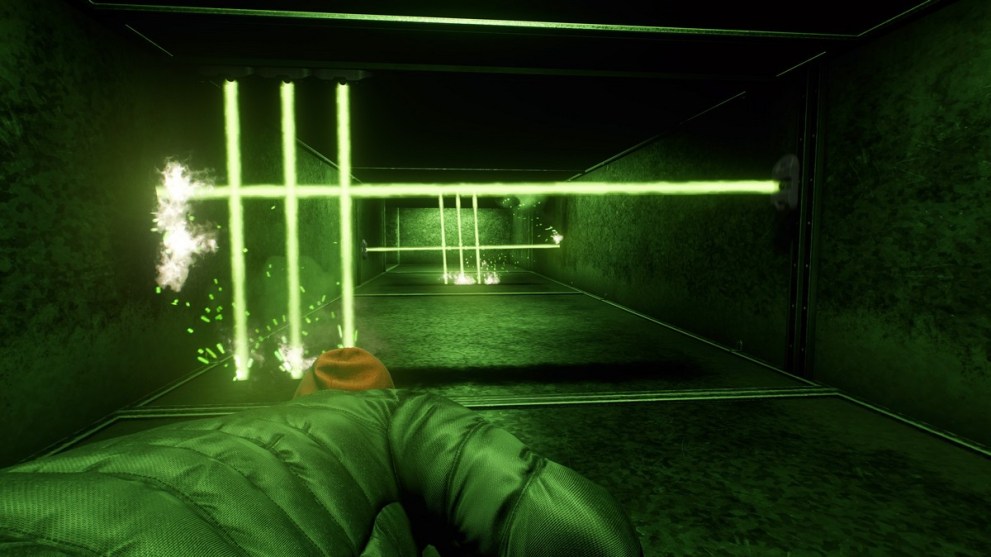
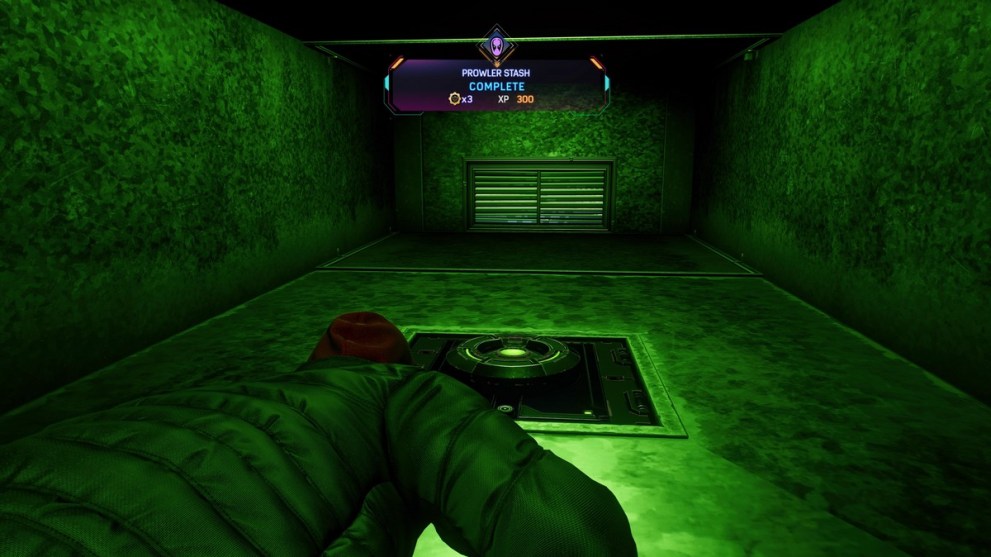
Things will get slightly more complicated toward the end, as there are multiple sets of lasers you’ll need to avoid, With enough patience or health though, you’ can just power through them if need be’ll be able to get past them and reach the safe to complete this Prowler Stash.
Astoria Prowler Stash
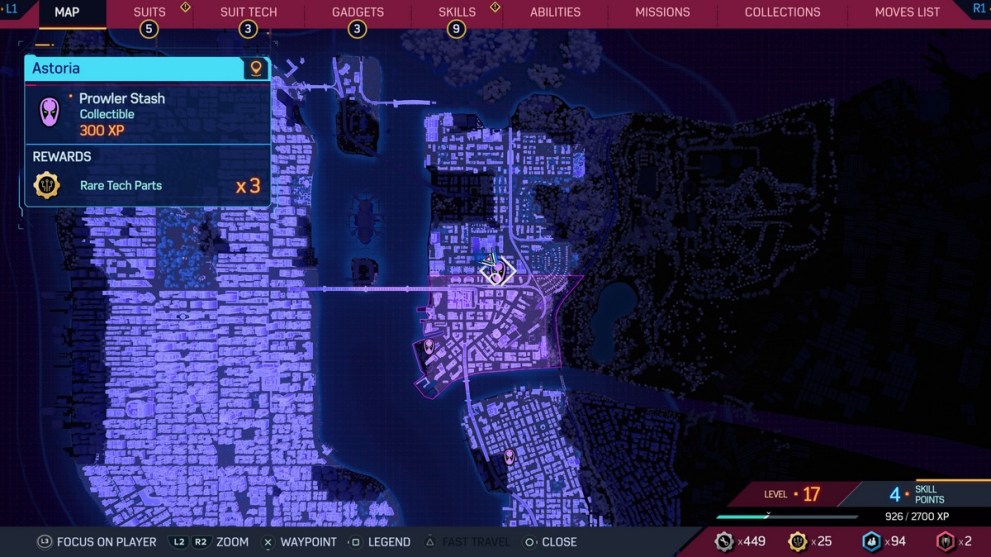
For the next Stash, make your way across the waters to Astoria and locate the purple area once again. Rather than scanning a particular object though, you’ll need to scan the central space between the pole and the grey door-like structure to find the puzzle.
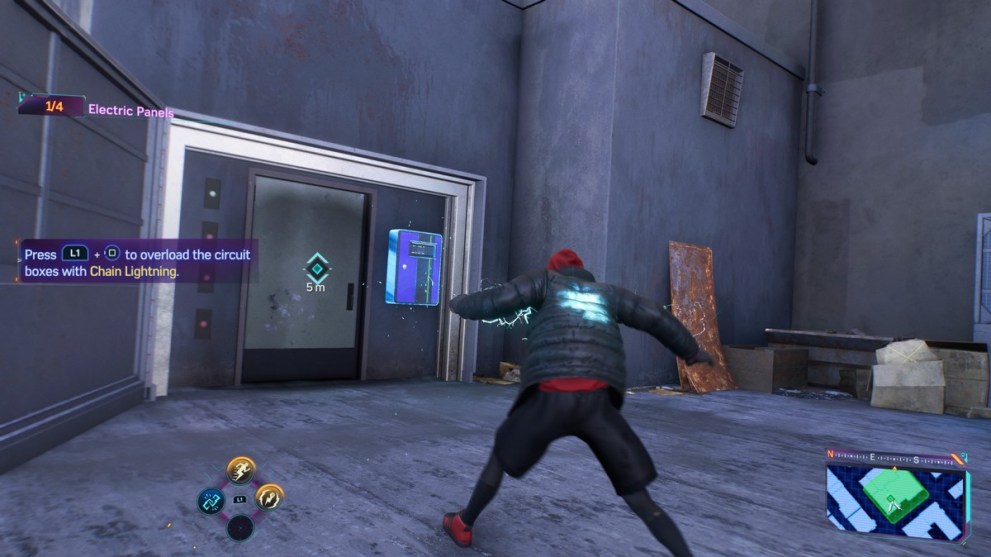
Facing the same way, you will be able to use L1+R1 to pull the door open, which reveals a purple electrical panel; one of four which must all be activated in quick succession to open up the door to the safe. You’ll need to equip Miles with Chain Lightning to get this done.
The first electrical panel is right where the door was first yanked open. Use the ability to charge it up.
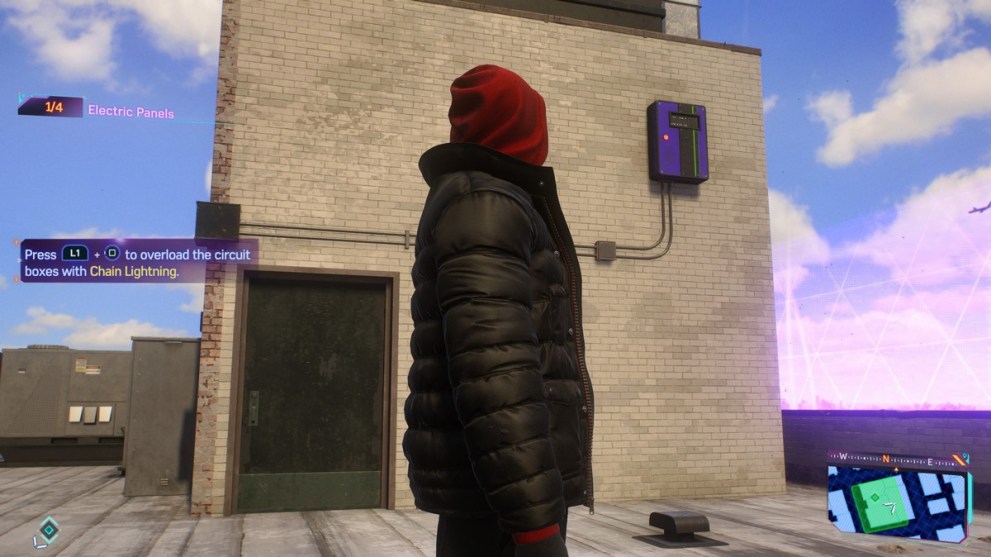
Now, look to the left around the side of the protruding structure to find the second electrical panel that can be charged up.
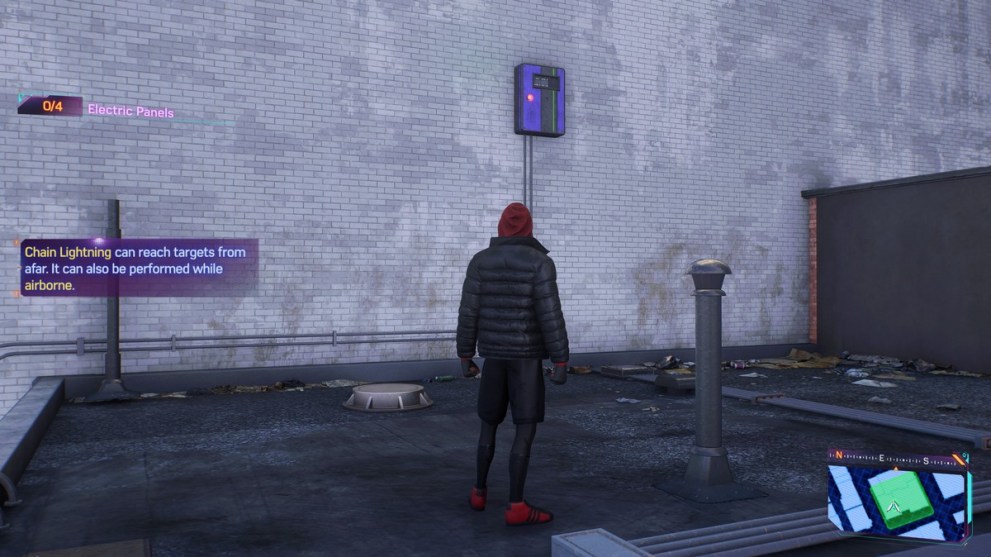
Moving on up, head toward the right side of the area to the next tallest rooftop to find the third electrical panel that can be hit with Chain Lightning.
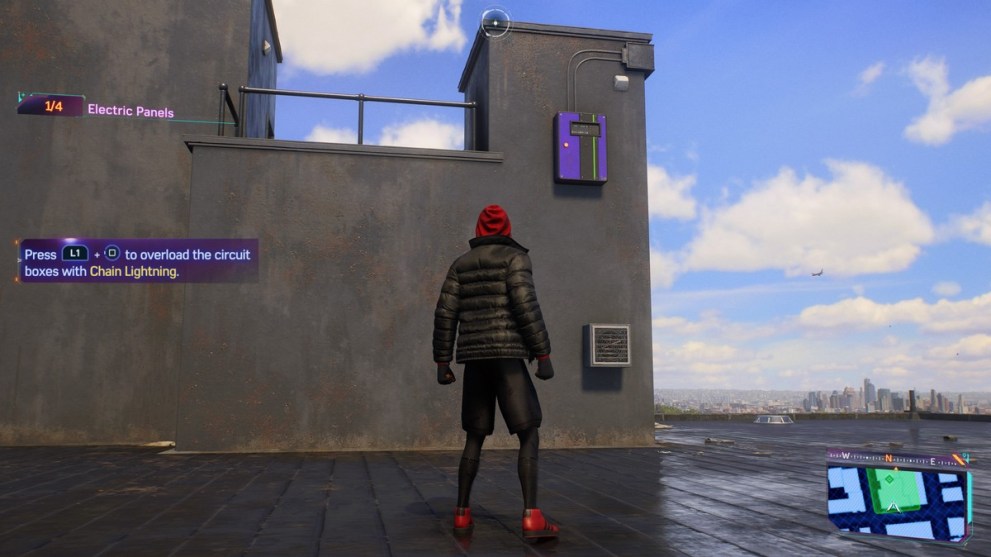
Finally, head all the way up to the tallest rooftop within the area to find the last electrical panel. Get it started, and it will cause the door to open next to the first panel. Grab the goodies, and this Prowler Stash will be in the books.
Downtown Queens Prowler Stash
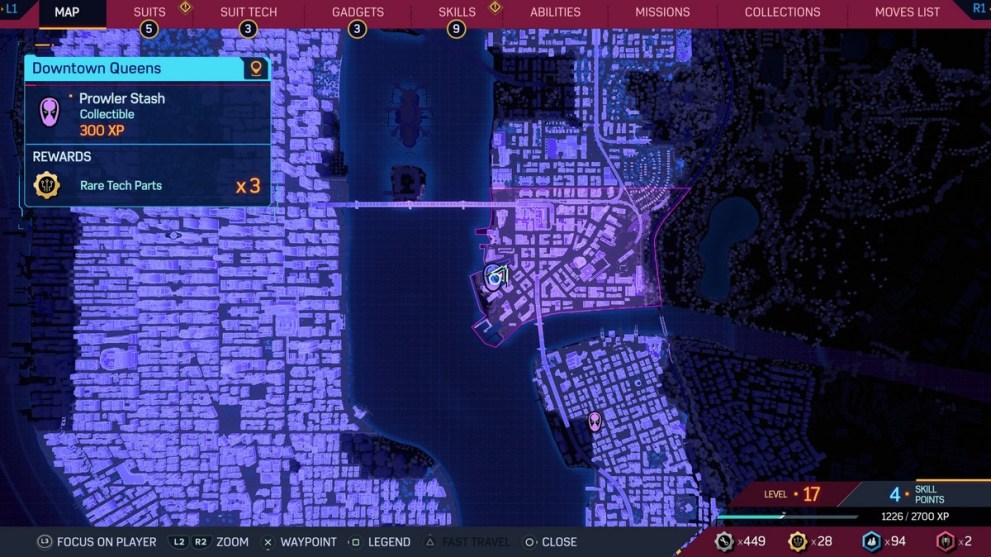
Look for the grate near a couple of vents, and scan it to begin the process for this Stash. Finish up the code stabilization, open up the grate, and climb in.
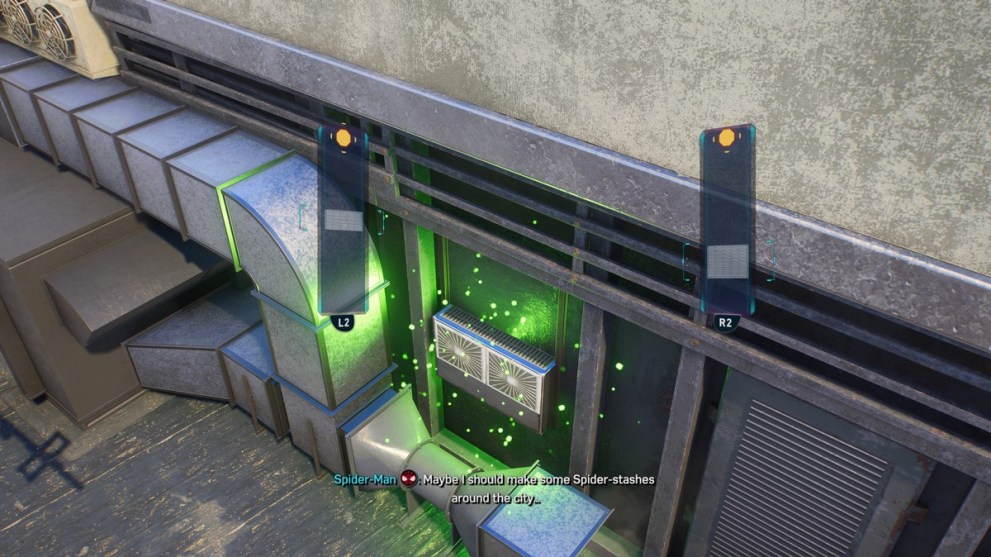
It’s time for more vents and lasers, which shouldn’t pose too many problems for players. However, there will be one section that is completely impenetrable to Miles, so track down the controls via the power lines to turn off the lasers to proceed.
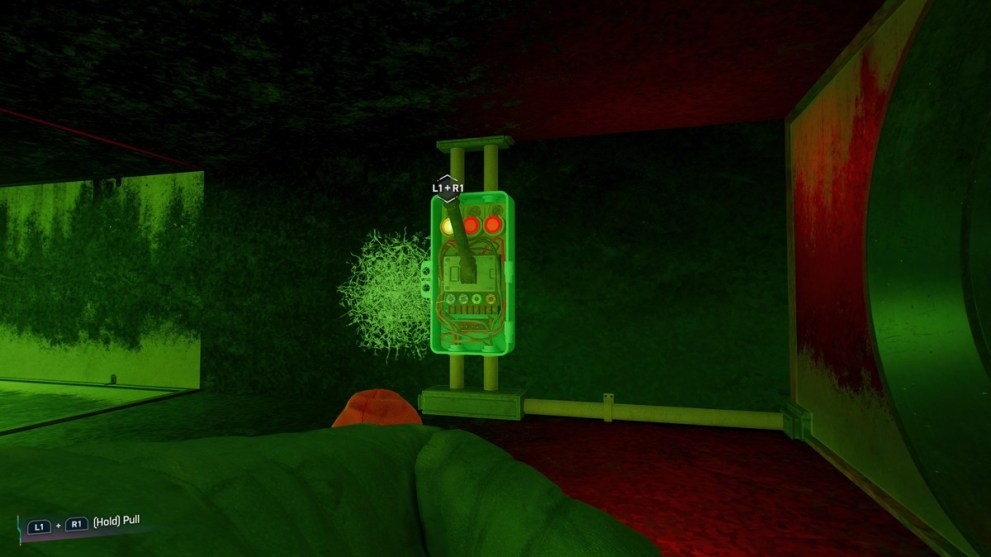
Keep climbing and avoiding the groups of moving lasers, or just bite the bullet and bulldoze the way through. Either way, once you reach the safe, this Prowler Stash will be considered done and dusted.
Little Odessa Prowler Stash
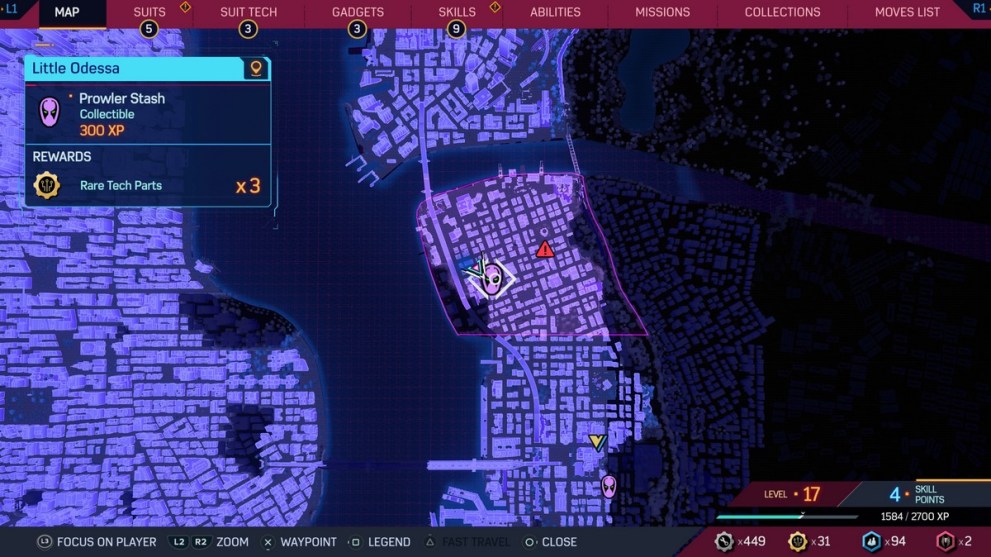
A slightly more straightforward Prowler Stash in Spider-Man 2, you’ll want to go across town to Little Odessa and look for the Prowler Stash between two large trailers. Scan the middle of them to get the code stabilizer puzzle to reveal the opening.
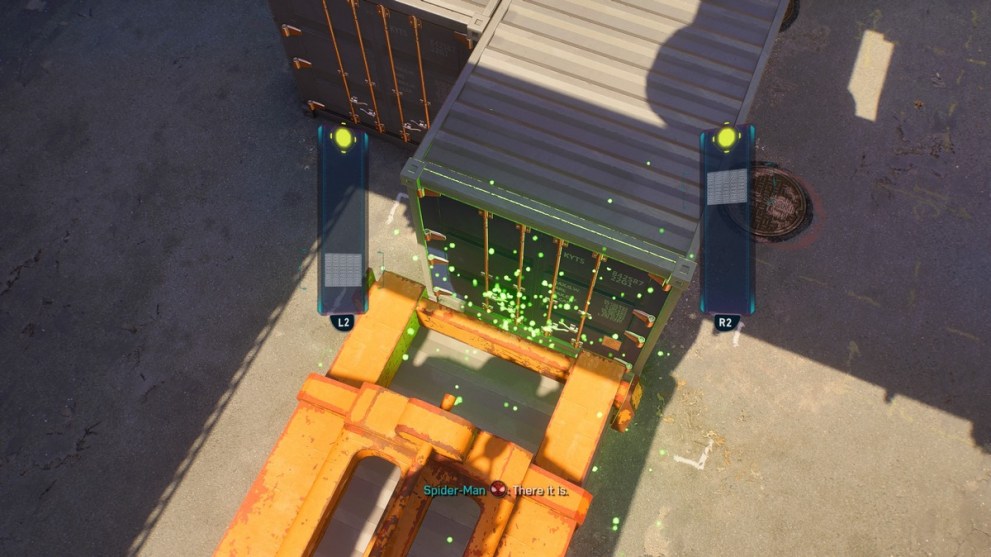
The current state of things won’t allow Miles to open up the secret door, and the solution is to remove the trailer that is blocking the way. Look up to the crane above and get on the eastern side, where there’s a wheel. Use your web to get it moving, and then web it up to stop it from coming back down again.
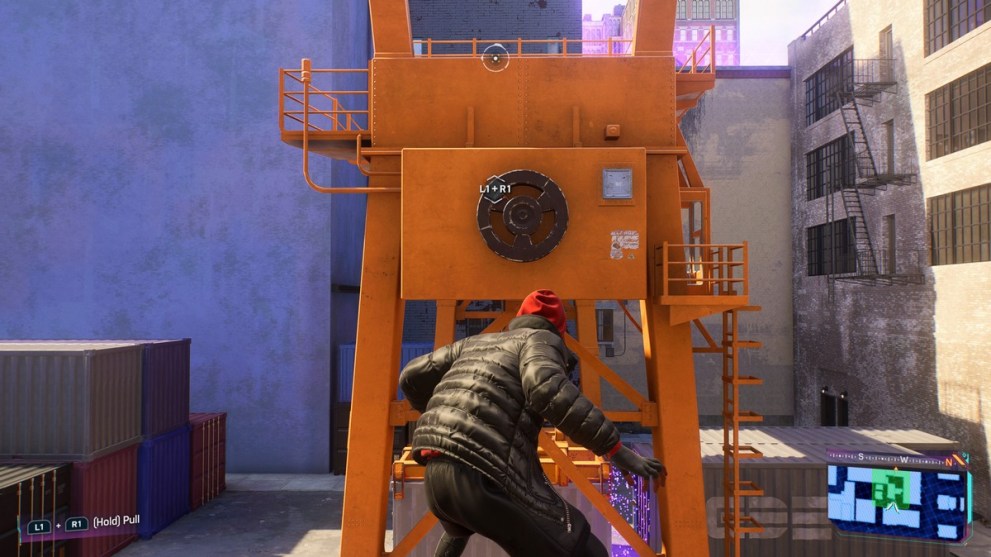
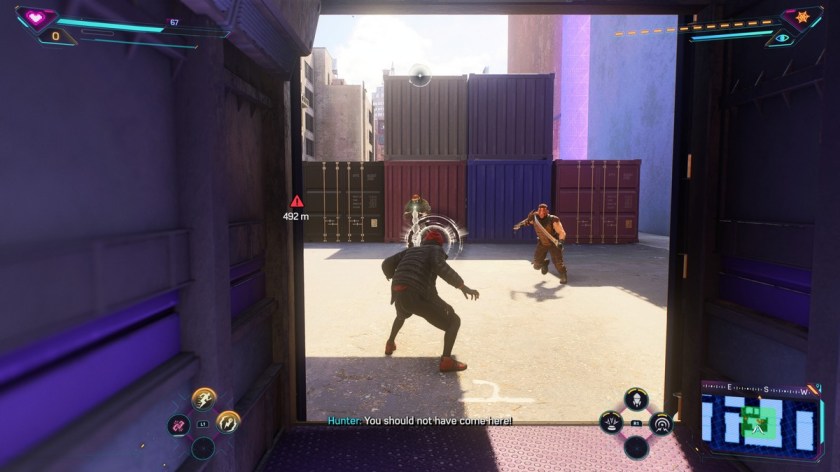
All that’s left is to open up the trailer and access the safe to get the valuables inside. However, it doesn’t take too long before the Hunters show up to crash the party, hoping to profit from your hard work. Beat up the small team of enemies, and walk away with the spoils.
Williamsburg Prowler Stash
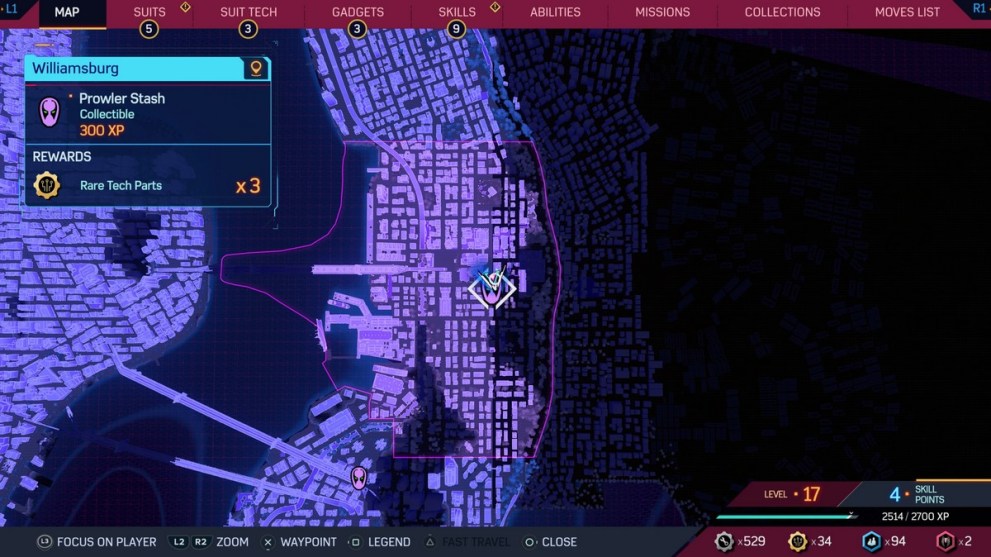
Just a couple more Prowler Stashes to go before you’ve found every one Spider-Man 2 offers.
This time, go to Williamsburg and find the highlighted area. Scan the familiar-looking grey door once again for the puzzle, and perch on the edge of the building to get a good angle on opening it.
Once that is done, it will reveal a movable wheel inside. Yanking on this using L1+R1 will open up another compartment with another wheel. The catch here is that both wheels will rotate back to their original states if they aren’t held in place, so you need to web them up after rotating them.
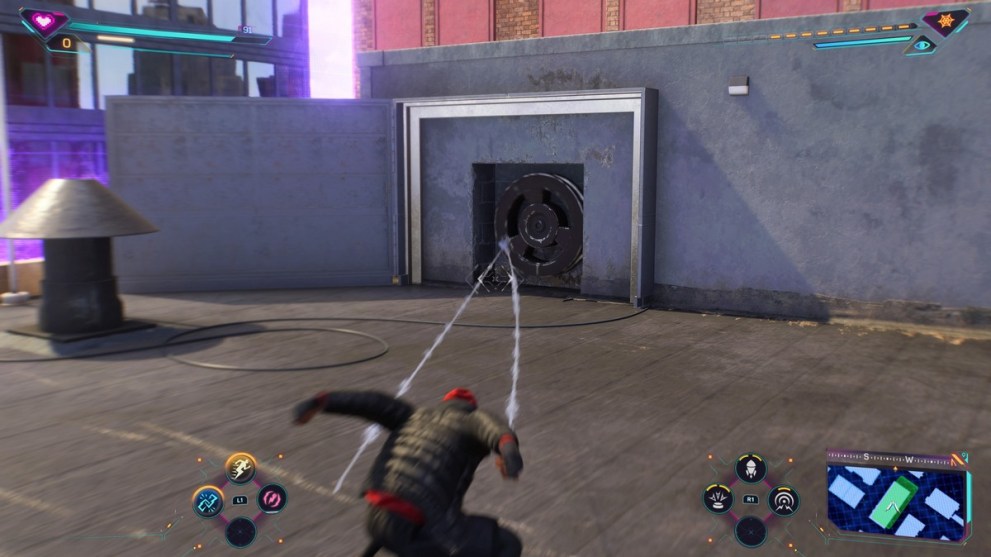
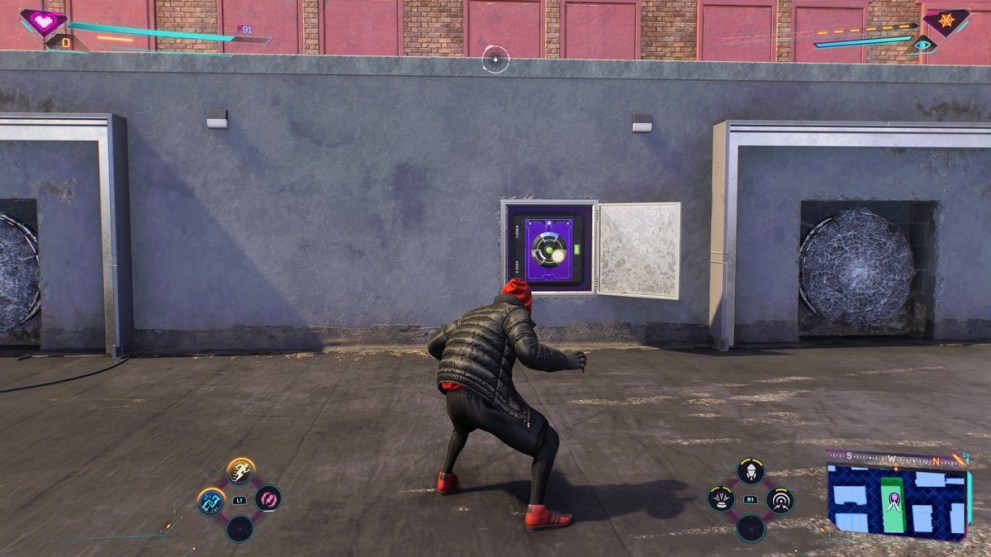
And so, the solution is to do everything in sequence by pulling on the first wheel and then webbing it up via your Web Shooters. Do the same to the second wheel, and the safe will finally be accessible.
Downtown Brooklyn Prowler Stash
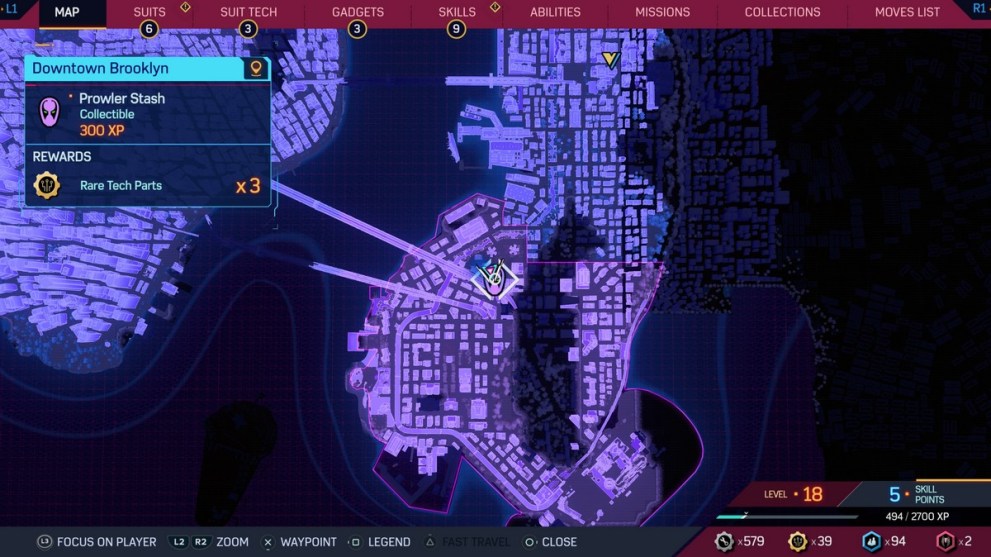
The penultimate Prowler Stash can be found in Downtown Brooklyn. Once you are in the area, scan the pole protruding from the side of the structure to find the first puzzle.
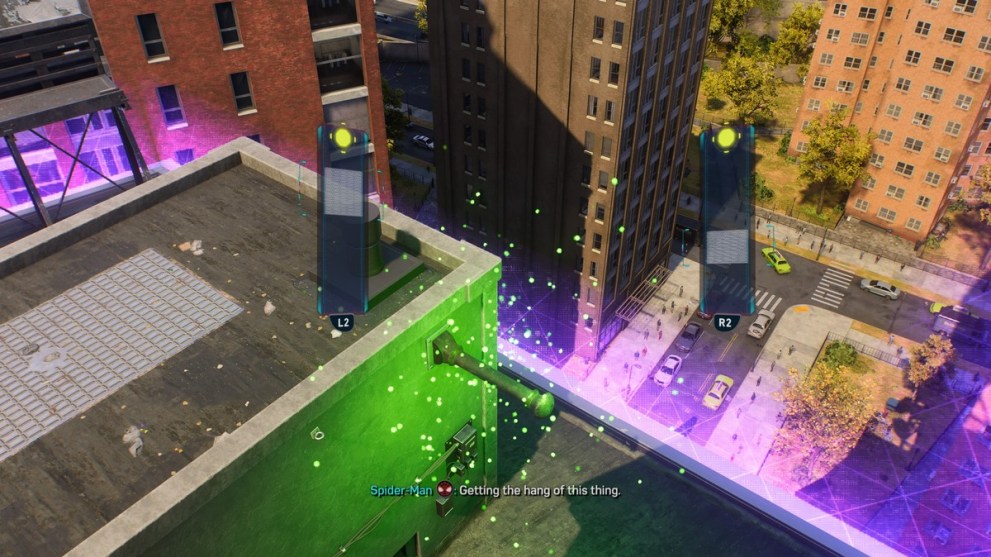
Get up high in order to be able to move it in the right direction, which will open up the first door. Then, scan the second locked door for the next puzzle.
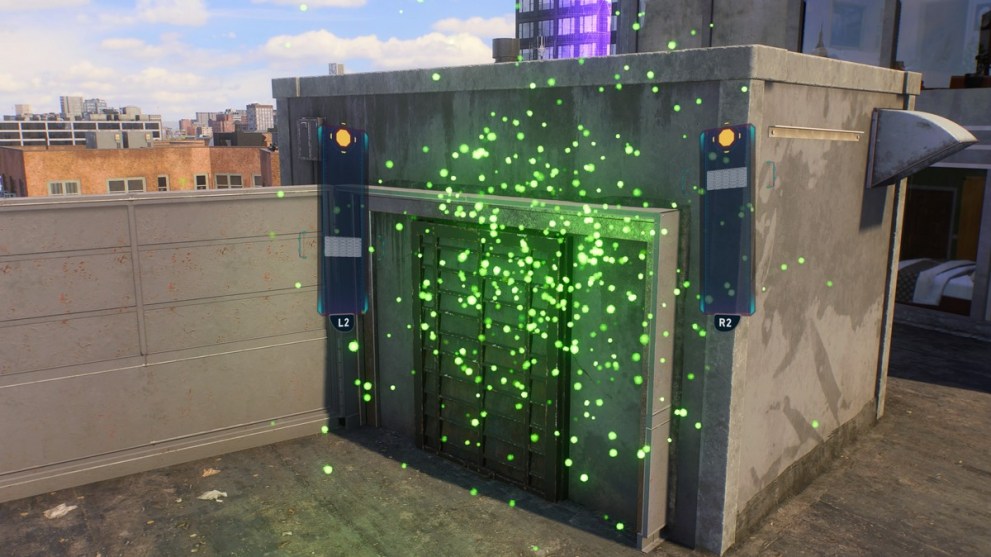
Once more, get to higher ground so that you can pull the door upward. This will reveal the safe, making this Prowler Stash one of the easiest ones in the entire game.
Harlem Prowler Stash
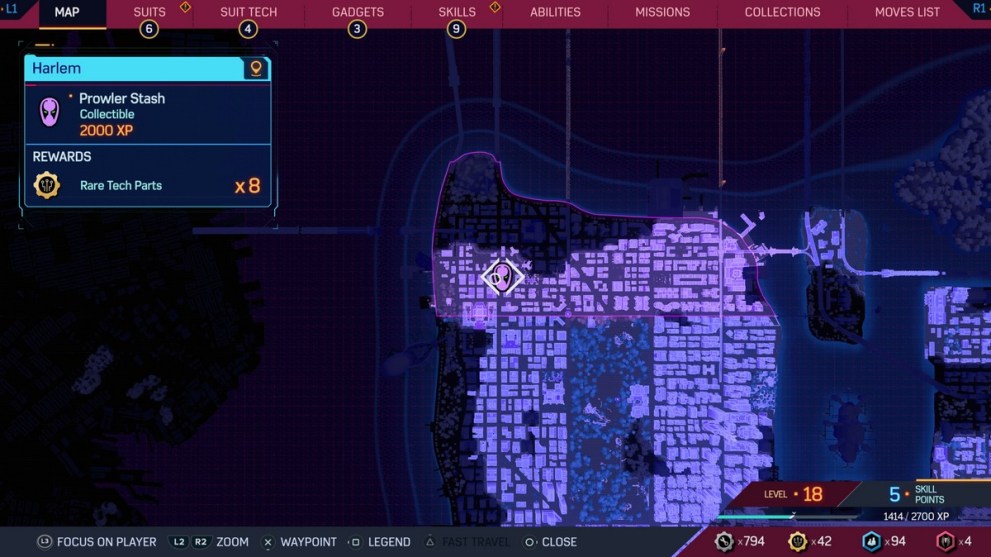
The final Prowler Stash will see Miles go on quite the emotional journey, leading to a heartwarming sequence. Head to the designated area and scan another protruding pole on the side of the structure near the edge of the building.
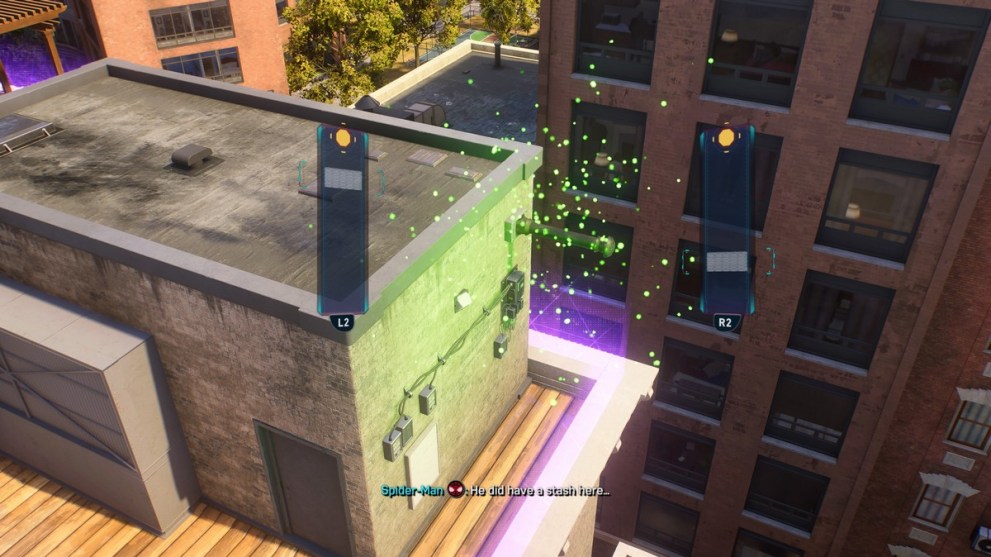
Yank the pole downward, and a nearby door will open. Head inside and investigate everything inside, which includes a blueprint of Miles’ current apartment building. This leads to Miles getting suspicious that his uncle is up to no good once again.
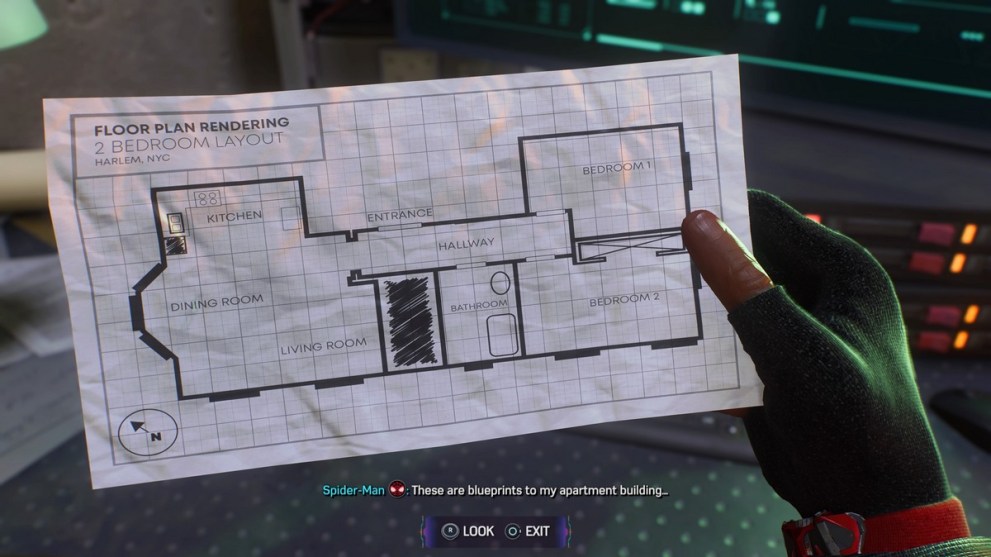
Get home quickly and change out of your costume using the backpack on the roof. This will see the gameplay transition to civilian Miles in his own home, after which you need to move around and interact with objects of interest. The main one will be a photo of the Davis brothers and the spot where a missing record player should be.
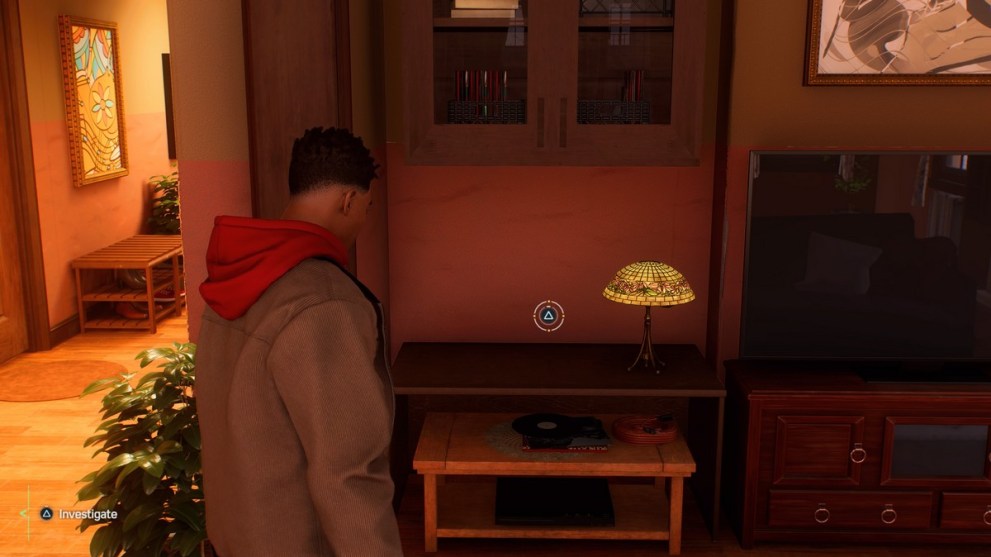
At this point, familiar music will echo through the hallways. Head out the door and go up the stairs to find a door that’s slightly ajar. Go inside to find the record player belonging to Miles’ dad. Aaron will now enter, being questioned by our hero about his intentions before the appearance of Rio solves this potential crisis.
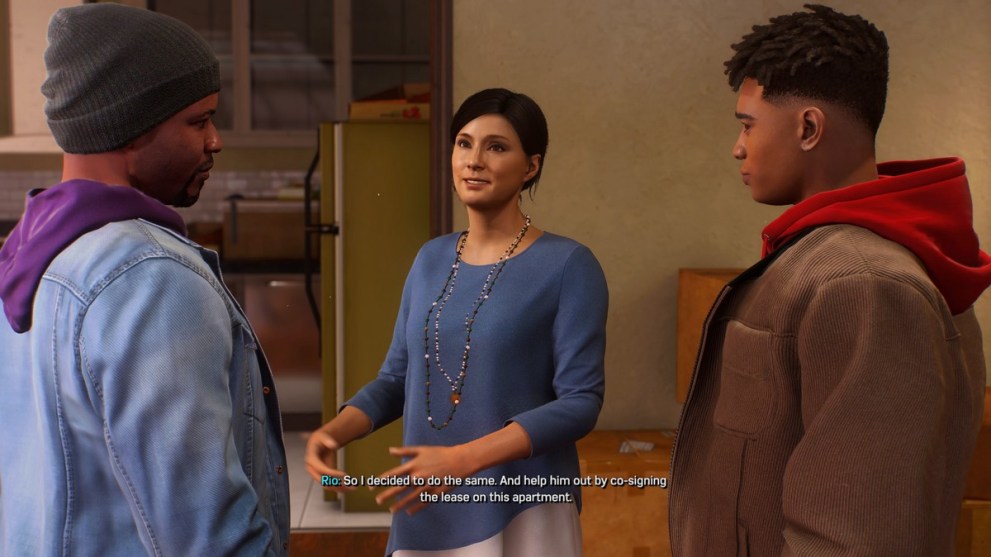
The Prowler is really trying to turn over a new leaf, and with help from his family, that may well be something that can be done in no time.
What Do You Get for Completing All Prowler Stashes in Spider-Man 2?
Other than the many rare tech parts and XP that can obtained after solving each location, getting to the conclusion of this questline in Spider-Man 2 will see players get the Prowler Strike ability for Miles. This allows the first melee attack while camouflaged to be empowered and knock enemies back. The Co-Signing trophy will also be yours, taking you yet closer to completing the game and unlocking its Platinum Trophy.
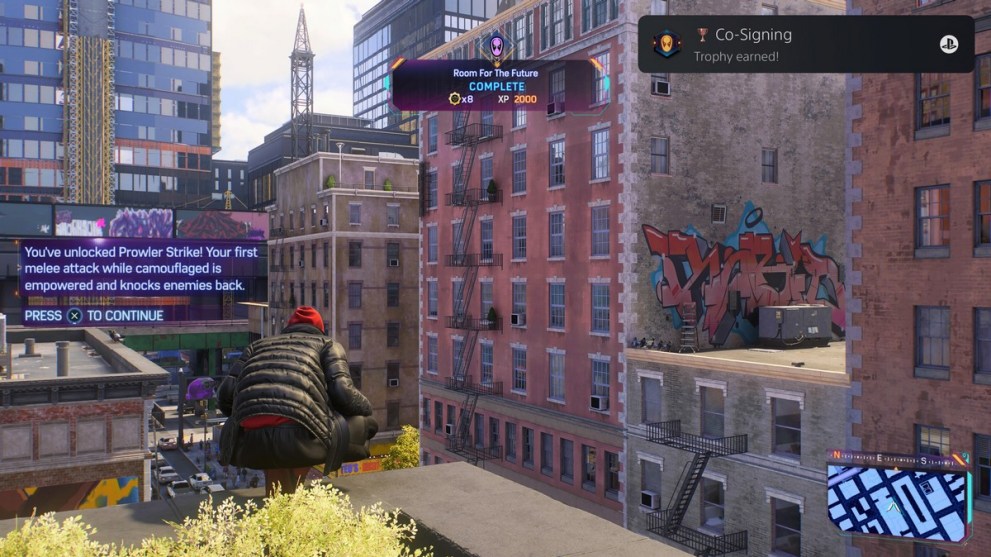
There you go. That’s everything you could need to know about finding and solving all the Prowler Stashes in Spider-Man 2. For more help with the game, be sure to check out our related content below, or search Twinfinite for more tips and tricks.











Updated: Oct 19, 2023 07:09 pm