Apex Legends is one of the most famous battle royale titles out there. Although the game is available across multiple platforms, Mac users still suffer when they try to download Apex Legends on their system. Therefore, PCs will always be a more reliable option for playing the majority of the games. But that doesn’t mean you can’t play Apex Legends on a Mac. By the end of this guide, you’ll definitely learn how to download and play Apex Legends on Mac with a few tweaks.
Download and Play Apex Legends on Mac
Before moving forward, it’s essential to meet some requirements in order to bring Apex Legends to your Mac. First of all, make sure that your system is up-to-date, which includes the latest version of Boot Camp Assistant. In addition, create a bootable Pendrive of Windows 10 and ensure that at least 64GB of free storage space is available on the Mac.
Once you fulfill these requirements, here are the steps to run Apex Legends on Mac:
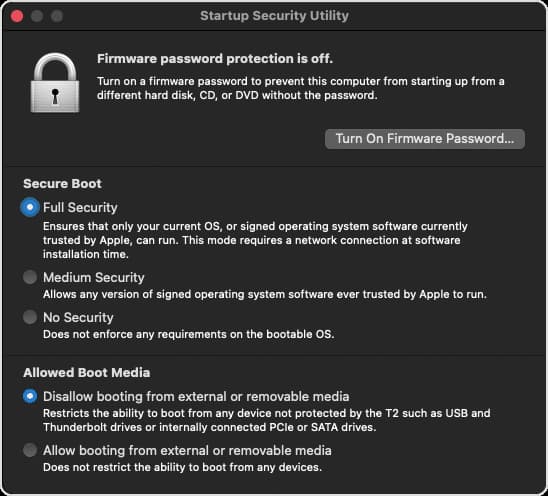
- Change your Secure Boot setting
The first step is to change the Secure Boot setting of the Mac to Full Security. In order to do this, press and hold Command (⌘)-R immediately after you see the Apple logo while booting up. Then, choose Utilities > Startup Security Utility from the menu bar and change the secure boot to Full Security.
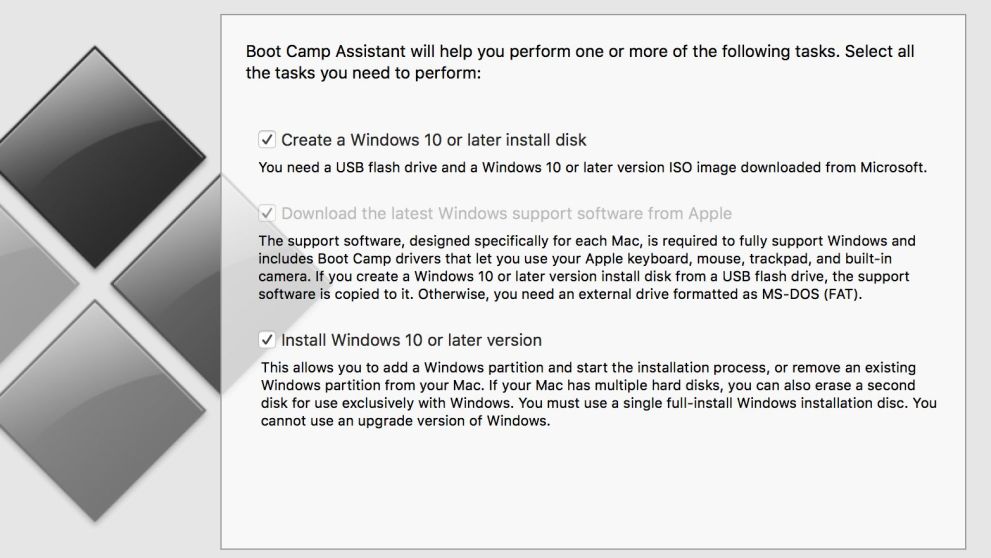
- Launch Boot Camp Assistant
You can launch the Boot Camp Assistant from the Utilities folder in Applications. Then, insert the bootable pen drive when prompted by the system.
- Set the size of the partition
When Boot Camp Assistant asks you to set the size of the Windows partition, make sure that you allocate at least 64GB for a seamless installation.
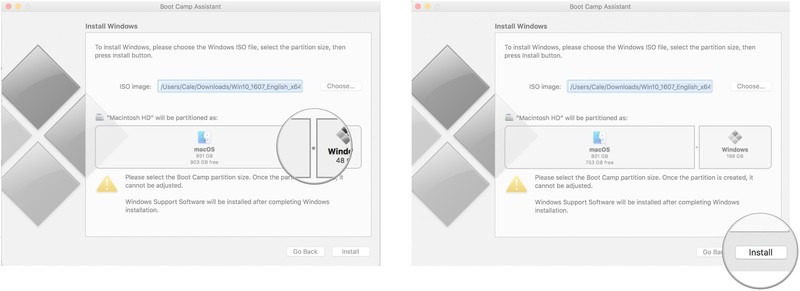
- Format the partition and install the Windows
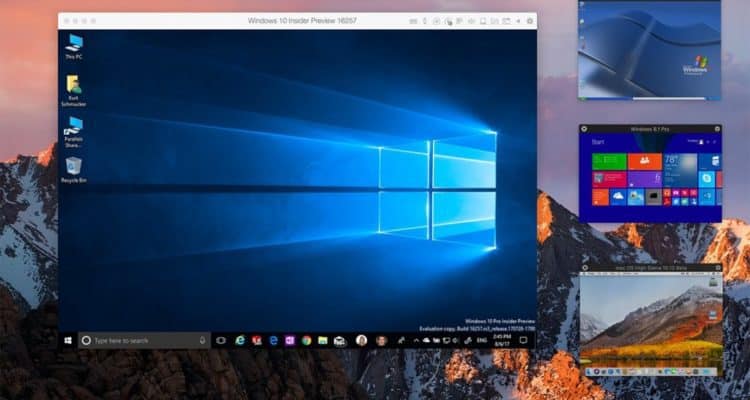
After allocating some free space, hit the Install button within the Boot Camp Assistant and format the whole partition. After installation completes, your Mac will reboot into Windows OS and follow the on-screen instructions to proceed.
- Download the Steam launcher and login into the account
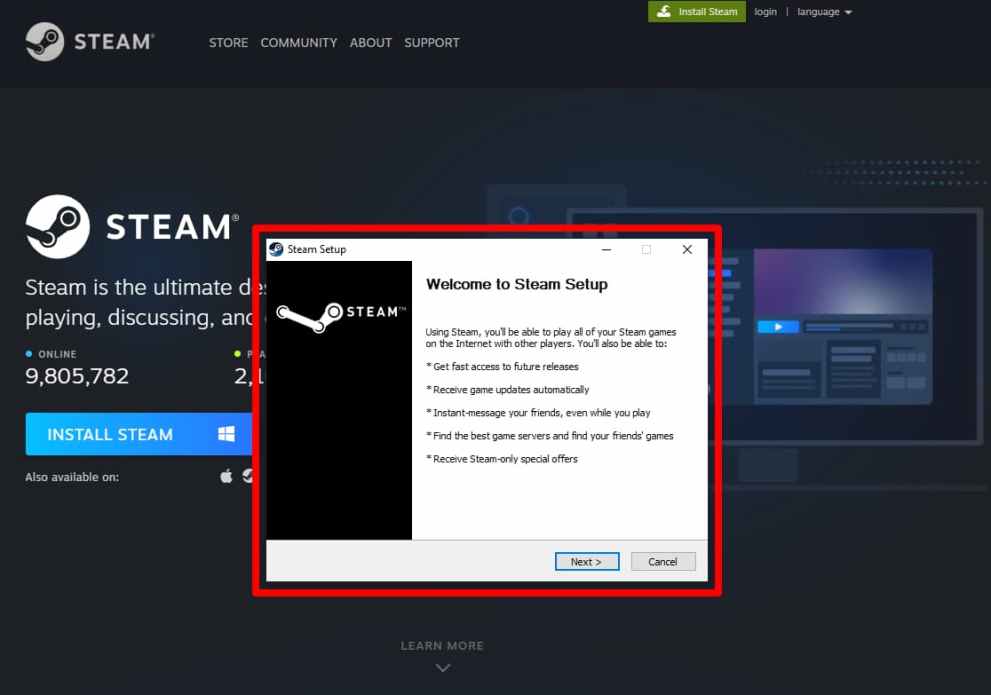
Steam is one of the most popular video game digital distribution services that distribute Apex Legends’ digital copy as well. Simply, download and install its setup from the official website. Then, login into your Steam account or sign up for a new one.
- Install and play Apex Legends from the Steam store
One of the final steps is to download Apex Legends from the Steam store by navigating to Steam launcher >> store >> Apex Legends >> Play Now. After installation, you will need to sign in to your EA account in order to play Apex Legends on the Mac.

So, there you have it. That’s everything you need to know about playing Apex Legends on a Mac. For more tips and guides, be sure to search for Twinfinite.


Updated: Apr 22, 2022 12:57 pm