
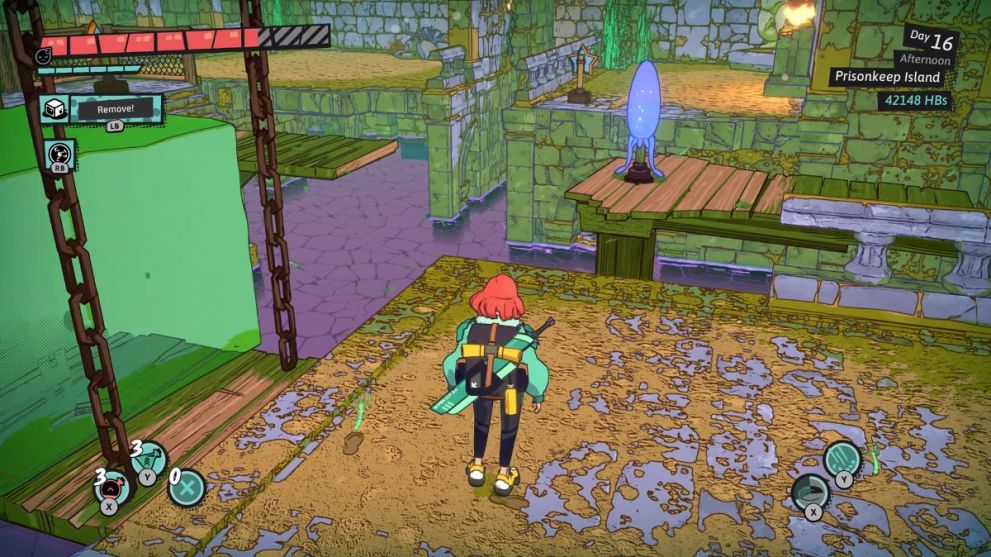
The Prisonkeep Island is a tier 5 dungeon in the Brünnelsumpf region of Dungeons of Hinterberg. It’s one of the prettiest dungeons in the game, but also quite challenging to clear. Continue reading to learn how to solve all the puzzles in the Prisonkeep Island dungeon in Dungeons of Hinterberg.
How to Solve All Prisonkeep Island Dungeon Puzzles in Dungeons of Hinterberg
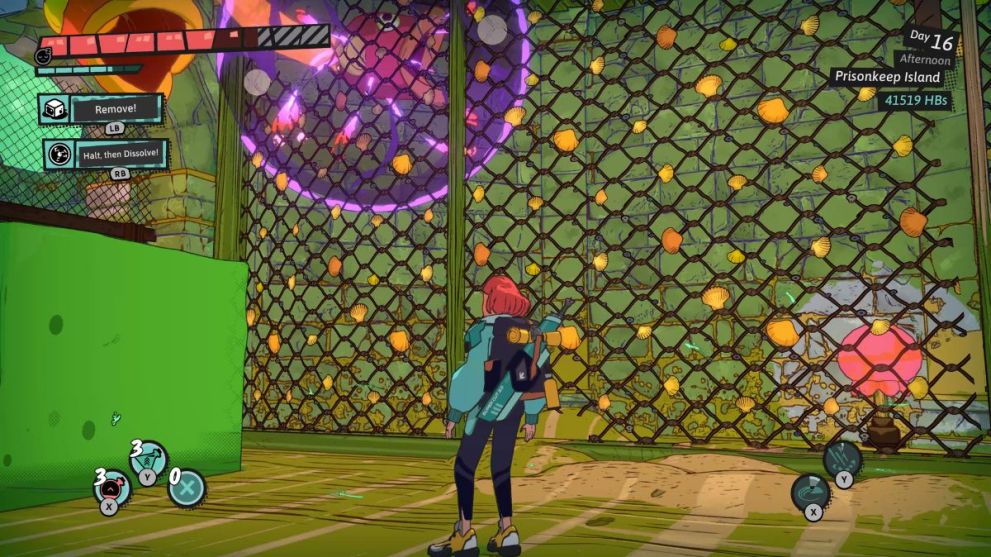
Most Prisonkeep Island dungeon puzzles require you to use the Plasma Ball ability to pass electricity through fish tunnels and charge up these lamps to open locked doors.

Tread forward until you reach the castle’s entrance. You can’t cross the purple pool without a wooden pathway. For that to appear, you must use the Plasma ball ability on the lava lamp. Make sure to halt the ball over the lava lamp so the pathway doesn’t submerge under the water while crossing.
Proceed to the next area, where you will get ambushed by a couple of monsters. No surprises here – the gate ahead is locked, but you will find two open paths on either side of the room. There is nothing significant in the room on the right, so instead, make your way to the one on the left. As soon as you enter, the gate will be locked behind you.
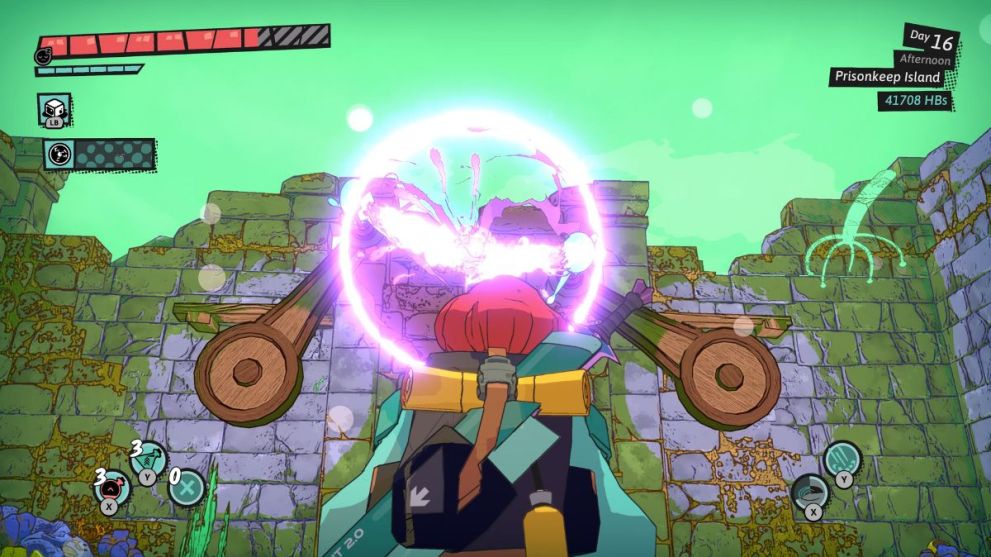
Look up, and you will find one of those fish tunnels. Throw the Plasma ball on the fish tunnel so that it reaches the other side and charge the lamp. It will open the gate on the opposite side of the room. Continue straight ahead until you reach an open area with two fish tunnels and a star switchboard.
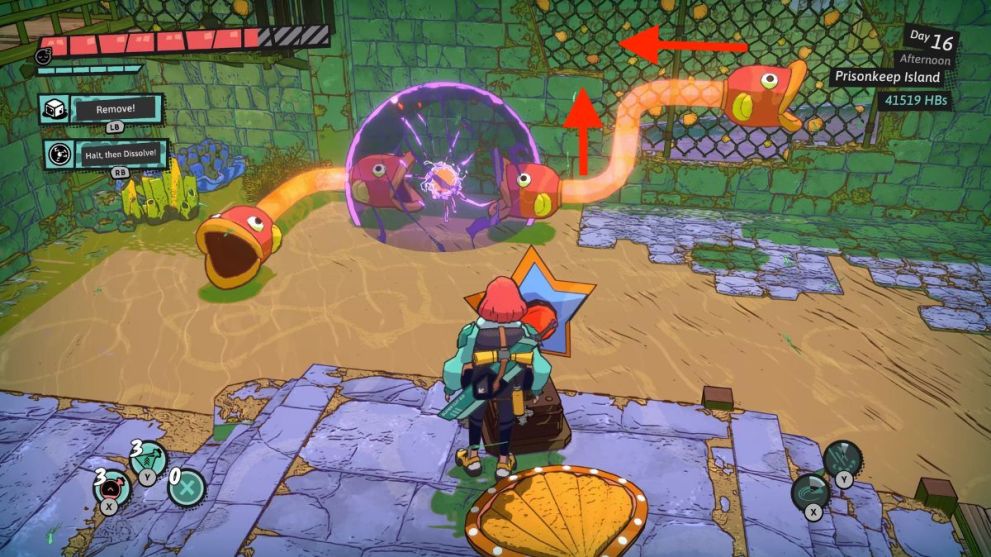
Firstly, use the Jelly cube ability to reach the star switchboard. Pressing the switch will rotate the right fish tunnel, but ignore it for now. Throw the Plasma Ball on the mouth of the left fish tunnel so that it passes on to the right one.
Now, before it reaches the other side, quickly use the switch to turn around the right fish tunnel so that the ball reaches the lamp. Doing so will drop down the nearby ladder, and you can use it to crossover to the other side. You’re not yet out of the water, though (pun intended), because as soon as you climb down the ladder on the other side, you will find another fish tunnel waiting for you.
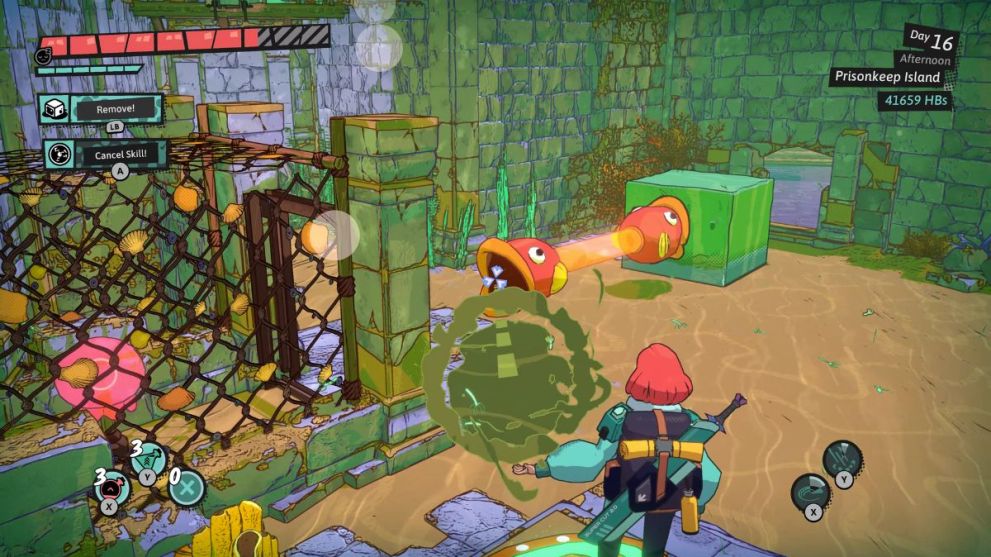
Firstly, place the Jelly cube on the right face of the tunnel. Now, go stand on the shell-shaped pressure plate on the left side of the room. Next, send the Plasma Ball through the left face of the tunnel so that it reaches and activates the lamp. Doing so will drop down a ladder on the other side of the room.
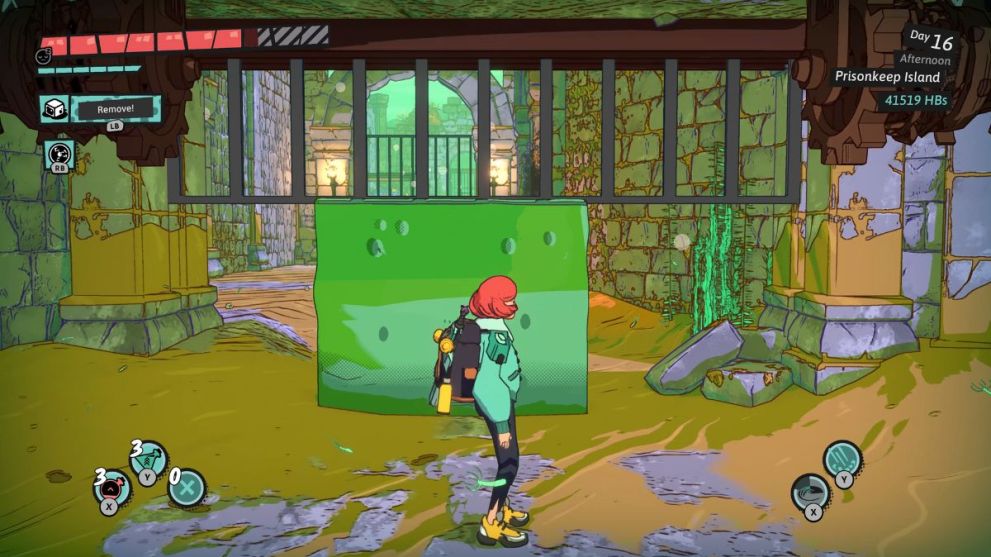
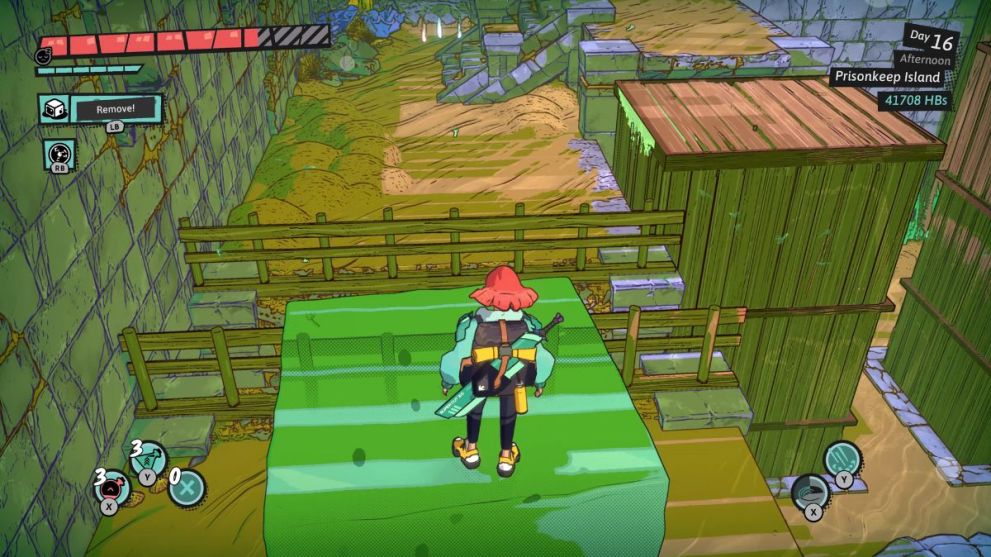
After finishing another set of monsters, take the ladder to reach a room with nothing but a switchboard. Press it, and you will be dumped into a secret floor beneath that room. There is a Waystone here, so don’t forget to save your progress.
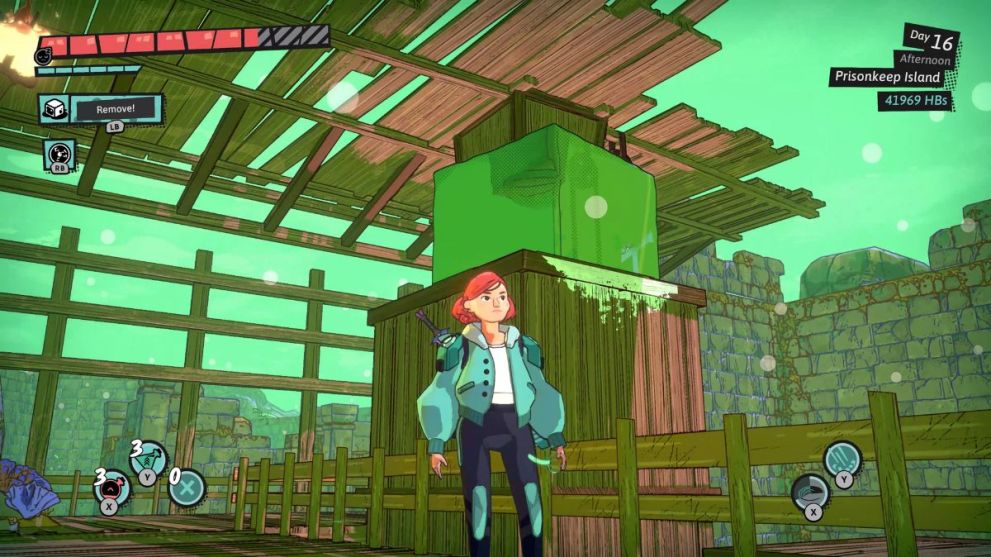
This is where things get tricky. There are no visual cues on how to get out of this room, but if you try using the Jelly Cube ability on the gate, you will see it can pass through it.
Position the Jelly Cube between the gate so that it pushes the gate upwards. Proceed ahead and apply that same trick on the three gates in the next room. Take the one straight ahead to reach the next area.
The puzzle in the next room may seem a bit confusing but it’s actually quite easy to solve. Use the Jelly Cube ability on the far end of the room to reach the other star switchboard. Press it to rotate the nearby structure upside down. Now, kick down the ladder and go to that structure. Place the Jelly Cube there to open the gate ahead.
The next room has four electric lamps; two together and the other two on these needles. You can charge the two lamps that are together with the Plasma Ball to start rotating the needles.
The trick is to uncharge the lamps when the needles face each other, as shown in the screenshot above. Now, use the Plasma Ball to charge the lamps on the needle. It will unlock the gate ahead.
Thankfully, the next room has only one lamp, or say it may seem. Charge it up and use the Jelly Cube to climb the left pillar and reach the upper floor.
Now, place the Jelly Cube near the boundary to cross it and reach the other side. There is another lamp here, but ignore it for now. Use the Jelly Cube on the next platform and crossover to the other side.
You will notice that the cornermost pillar has a pressure plate over it. Place the Jelly cube over that pillar and use the Plasma Ball on the lamp to open the gate. You have almost made it to the end!
The next puzzle takes place in a massive area full of laser beams. Try not to get overwhelmed by this, as the solution is quite simple. You will find a floating wooden board sitting idly over the purple pool. You have to use this to reach the other side of the area past all the laser beams.
Before you charge the lamp, place a Jelly Cube around the center of the board. Don’t climb over it because Luisa will jump over the pool and die if you move even slightly.
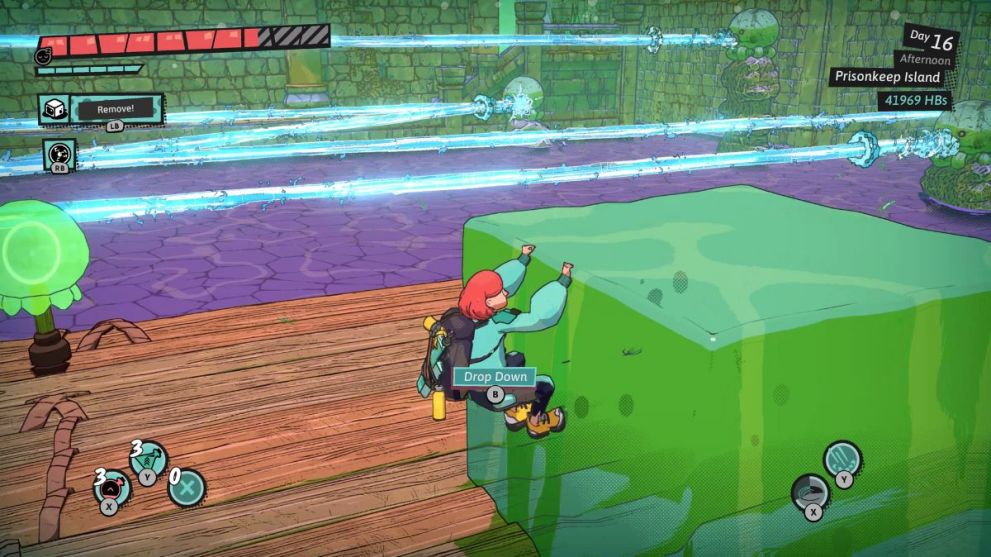
It’s best to stay hidden on the left side of the cube when the beam is coming from the right and then quickly move over to the right side of the cube when the beam is coming from the left. Do this, and you will reach the other side safely.
The final puzzle isn’t anything extraordinary. You will find multiple platforms with those lamps. There are also a few star switchboards that can move the platforms vertically. Use the Plasma Ball ability on the nearest platform and cross over to the other side. Press the star switch to bring down a nearby platform containing a chest.
Before you move forward, place the Jelly Cube on the platform you used to reach here. Cross over to the other side and press the second switch to raise the platform with the Jelly Cube. This will open up a path on the opposite side.
From here, use the same Plasma Ball technique to cross over to the right side. There’s another switchboard here. Press it to rotate the platform you are standing on and move to the other side.
And that’s pretty much it! Don’t forget to loot the chest on the right side before you move to the final area of the dungeon. It’s just a bunch of monsters here, so defeat them and collect the stamp to complete the Prisonkeep Island dungeon.
For more on the game, don’t forget to check our guide on all Jelly Tunnel dungeon puzzle solutions in Dungeons of Hinterberg.


Updated: Jul 19, 2024 07:55 am