For anyone who has enjoyed God of War in 2018, the realm of Muspelheim was home to some of the more enjoyable combat encounters thanks to the Surtr trials. In God of War Ragnarok, we will once again return to the fiery realm to test our mettle, and if you are wondering just how to complete The Crucible Favor in God of War Ragnarok, here is everything you’ll need to know.
As usual, there will be some spoilers ahead due to the nature of the Favor, so please do not read anymore if you wish to experience things on your own.
How to Beat The Crucible in God of War Ragnarok
Muspelheim is initially locked as a realm, and throughout your adventures, you will eventually find the two parts of a seed that will allow you access. Once here, you can begin to prepare for some tough challenges as part of The Crucible Favor.
Essentially, you will be taking on six different challenges at the onset, with access being broken up into three parts, as indicated on the map below:
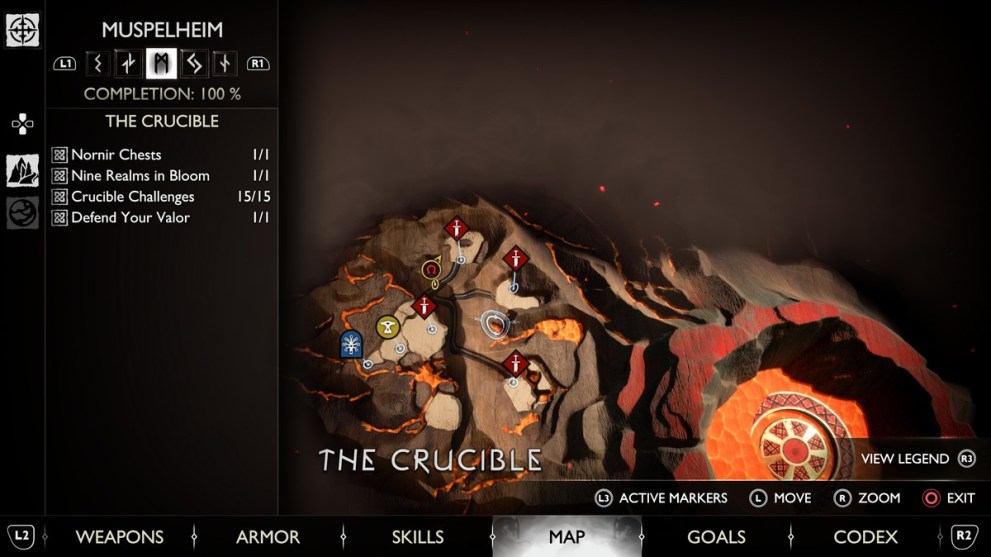
Each giant sword will contain two challenges, and starting from the top sword to the bottom, they are:
- Weapon Mastery – Defeat all enemies within the time limit
- Flawless – Avoid taking damage
- Ring Out Challenge – Opponents rapidly regenerate from any damage
- Feed the Rift – Throw orbs into the realm tear to close it before time runs out
- Population Control – Kill the elite while keeping the population under the limit
- King of the Hill – Keep enemies out of the rings until the time expires
How Muspelheim Final Challenges Work in God of War Ragnarok
You will need to complete all six challenges in order to accomplish The Crucible Favor. It goes without saying, these will test all of your abilities with the various conditions, but fear not, we are here with some tips.
Weapon Mastery
16 enemies to face, each carrying different elemental properties. This will require you to be quick on the change when it comes to using all three weapons at your disposal. At least the waves are not too difficult, and as long as you are using the right elements, you will have more than enough time to complete the challenge.
Flawless
Staying out of danger is always going to help you here, so make full use of your ranged attacks as much as possible. Don’t forget about your ally as well, so call on them to extend your combos. The challenge doesn’t throw too many enemies at you in a single instance, just remember to keep moving and dodging while unleashing your ranged prowess to get through.
Ring Out Challenge
The objective here is not to kill enemies the conventional way, but to throw them into the lava that flows around the arena. The Leviathan Axe’s Serpent’s Snare is a great skill to use, as are the Blades of Chaos’ Scorched Earth and Draupnir Spear’s Gale Force skills. Using Kratos’ kick when unarmed is also a great way to get rid of enemies.
Feed the Rift
This challenge is also more interesting in that killing your foes is just one part of the solution. Every defeated foe will drop an orb of energy that must be picked up and thrown into the realm tear.
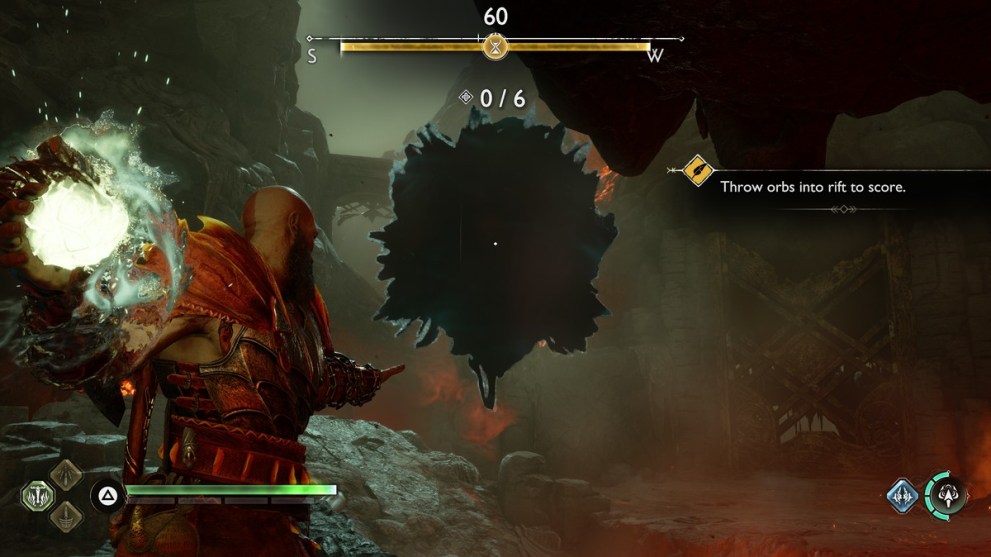
Focus on making your throws count, and concentrate on the tougher enemies as their orbs are worth more.
Population Control
As the name suggests, it is imperative that you keep the number of enemies within the limit of 4, but also do enough to kill the elite foe, namely the Bergsra. Try to group the Grims together and use the Blades of Chaos for crowd control; once you have one or two of them down, focus on the Bergsra. Stunning it quickly with barehanded or axe strikes will open up damaging grab attacks to make this process even faster.
King of the Hill
There will be three rounds in this challenge, each with a longer time limit but more enemies. It also goes from one ring to three rings by the end. It is important to keep moving around to clear the arena of enemies in the ring, and the Draupnir Spear’s Gale Force skill is perfect for this. Charging it will not only draw all nearby enemies closer, but releasing it fires a powerful blast that will send them flying away. Just be wary of tougher foes that will need to be eliminated to keep things smooth, and don’t let the meter fill up.
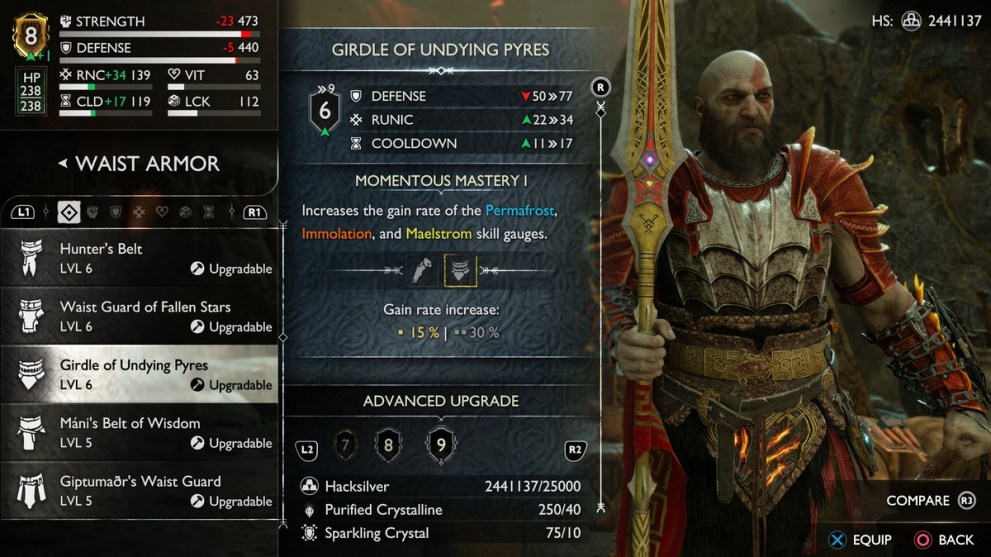
Completing each challenge will also reward you with some valuable resources, such as Divine Ashes and Smoldering Embers, which can then be used to craft and upgrade Muspelheim-themed equipment.
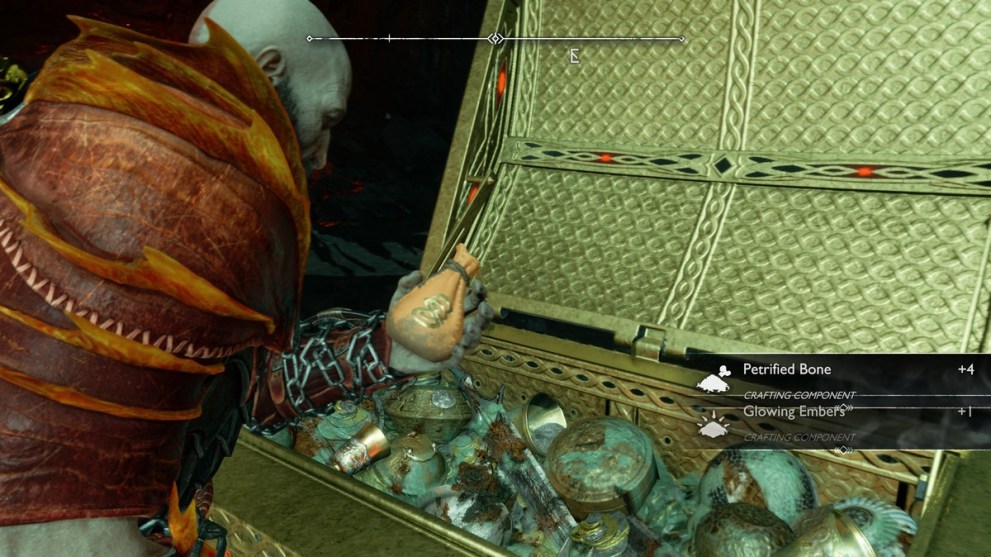
The experience points will also come in handy. However, completing The Crucible is not the end just yet.
How to Beat The Final Challenge in God of War Ragnarok
After completing The Crucible, a new giant flaming sword will appear in the central arena near where the Blacksmith Shop is. This is where the real fun of Muspelheim truly begins.
The previous three areas will now gain a third challenge each, namely:
- Rampage – Defeat at least 20 enemies within the time limit
- Health Steal – Take constant damage, but recover health by dealing damage
- Kill Fuse – Rapidly kill enemies to increase the timer
Rampage
Easy enough, it’s all about using Kratos’ most damaging skills and moves to kill everything in sight. Again, be sure to utilize elemental advantages as well as the arena to thin the herd, before focusing on the Elite enemies with your ally’s help.
Health Steal
Although your health is constantly on a timer, there will always be enough weaker enemies to keep you fighting fit. Just be sure not to get caught unawares by crowds, and always be ready to block, parry, and dodge your way out of trouble against the tougher foes.
Kill Fuse
A different take, your job is to keep the timer going until the end, and killing things effectively will get you to the end. Don’t be afraid to change things up with ranged and melee attacks alike, and always defeat those support enemies first.
Completing these challenges is the first step, as in order to gain access to the final challenges, you will need to activate combinations of runes by completing different combinations of previous challenges. Each sword actually corresponds to a particular rune, which you can see below:
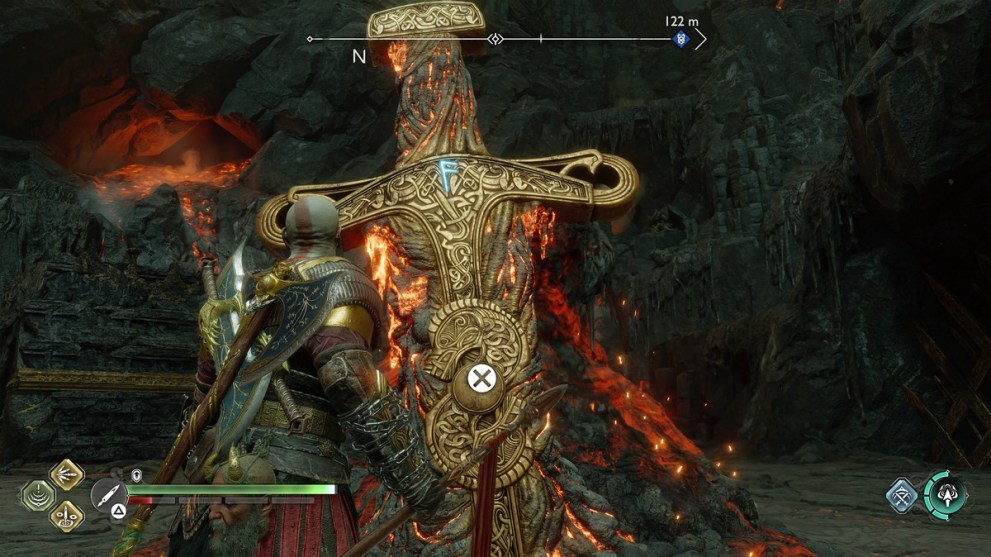
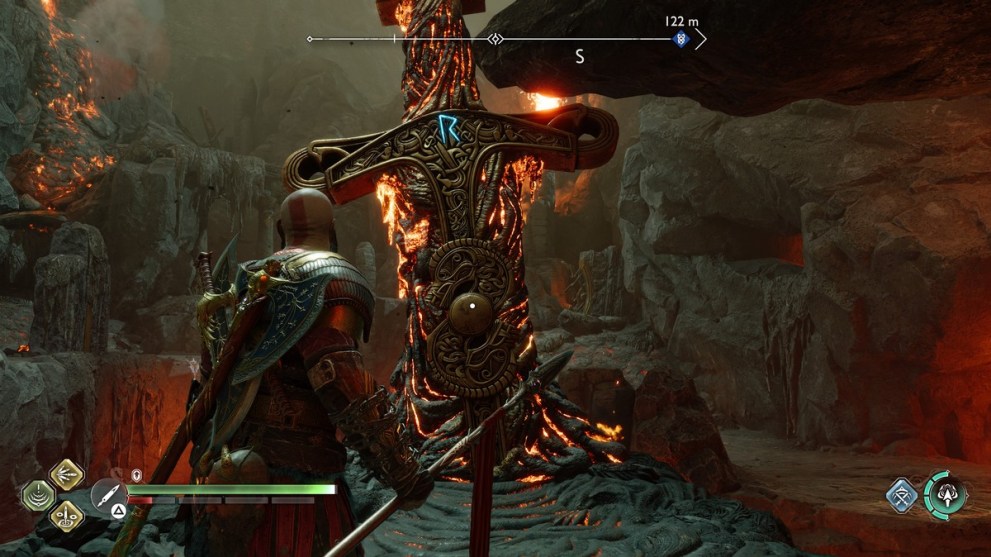
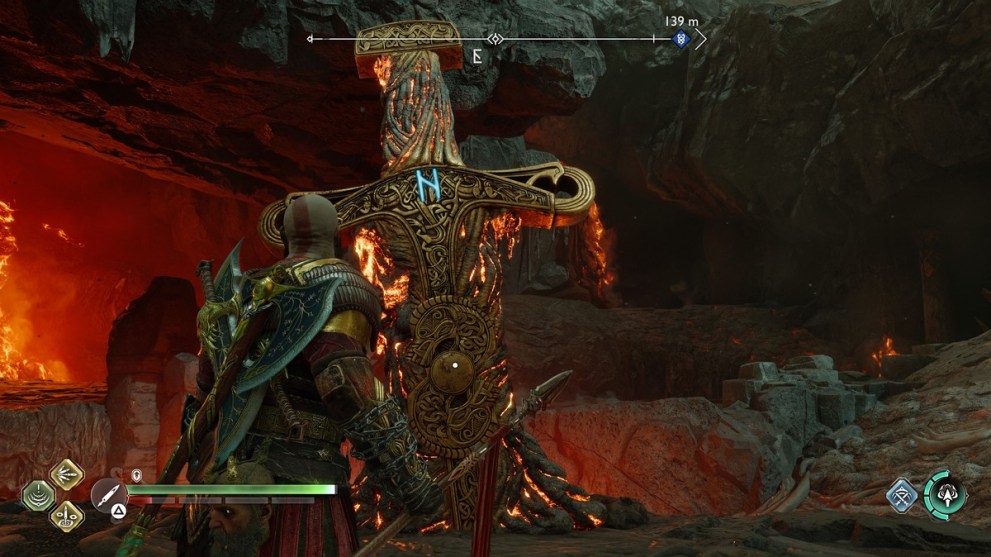
You can see the various combinations here, so make sure you hit all four combinations as you continue your trials in Muspelheim:
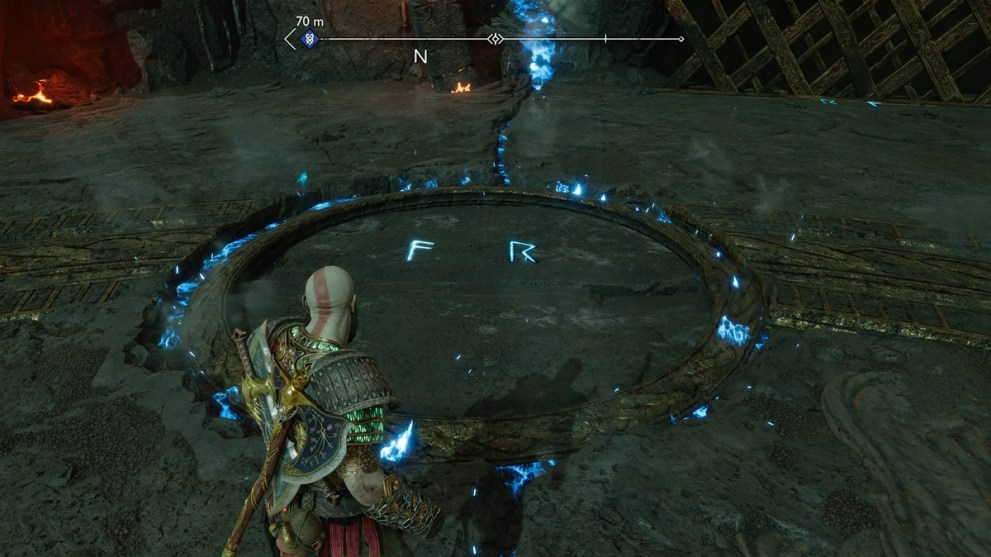
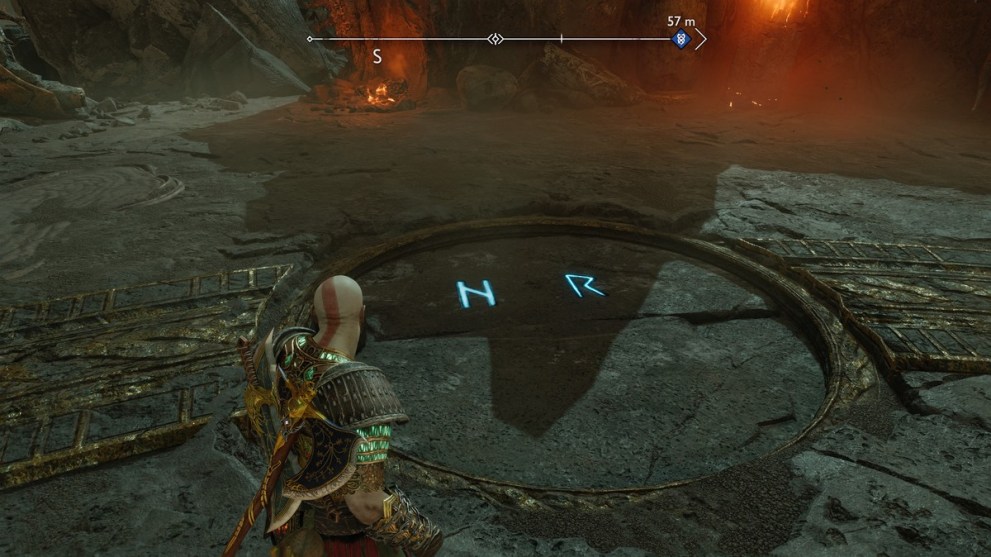
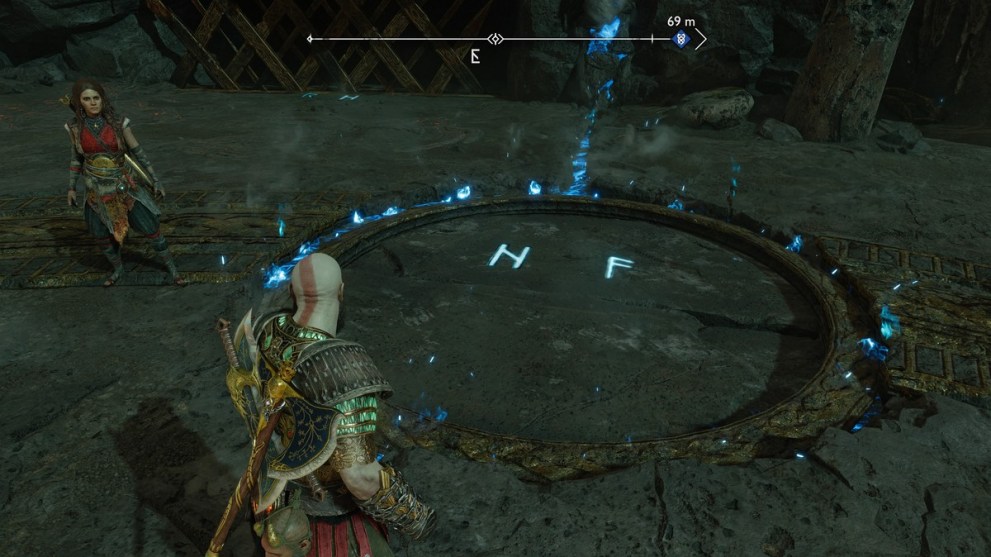
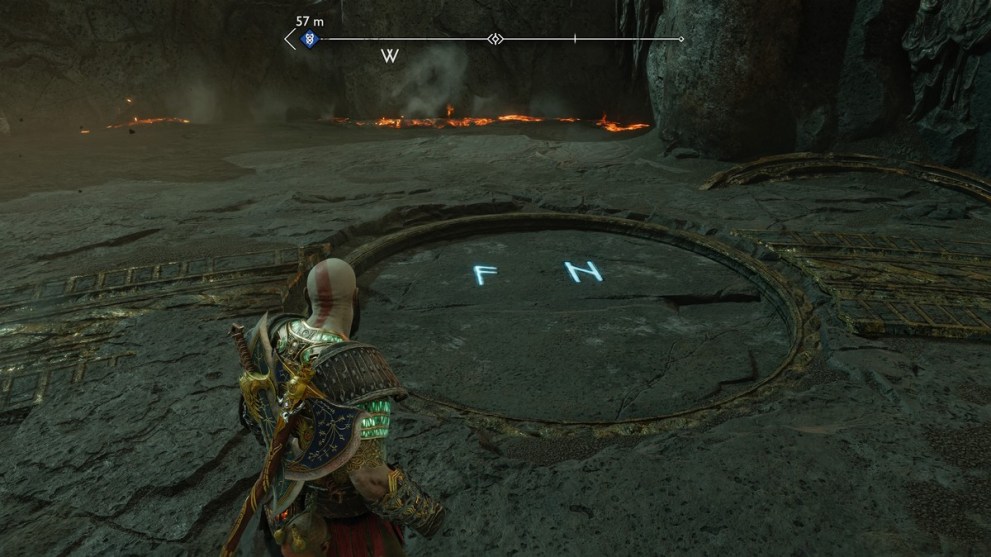
Activating the correct combinations will then lead you to the final challenges in Muspelheim, which includes:
- Endurance Challenge – Survive
- Shield Breaker Challenge – Kill grunts to break the Elite enemy’s shield
- Ring of Fire Challenge – Stay within the ring
- Onslaught Challenge – Survive until the time elapses
- Phantom Challenge – Defeat all enemies
- Boss Rush Challenge – Defeat a series of challenging enemies
Endurance Challenge
A marathon of 99 enemies to kill, with each wave getting more and more difficult. Expect to face resistance from raiders, elves, Draugrs, and beasts alike.
As per usual, focus on those pesky support and ranged enemies first, before turning your attention all towards the Elite enemies. Always be on the move and watch out for flanking attacks.
Shield Breaker Challenge
Another twist to contend with, this fight will require you to eliminate smaller grunts before you can even damage the Elite enemy. Perhaps more surprising is that nearing the end, the Einherjar Captain gives way to a Stalker, requiring to contend with two dogged opponents while still trying to clear grunts.
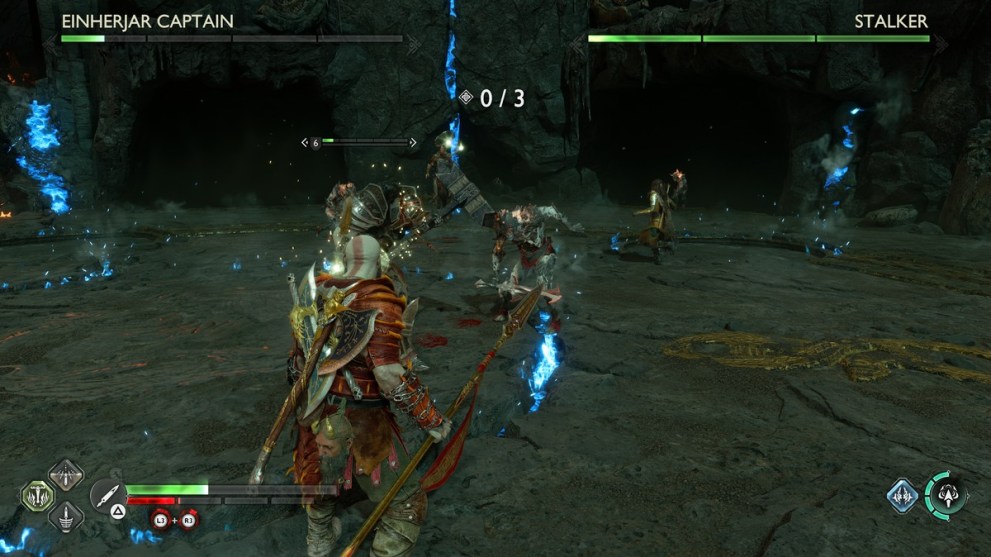
Be sure not to get distracted by the Elites, and use your ally to disrupt any attacks as you take out the grunts. Changing Kratos’ Spartan Rage ability to Valor can help you heal in case of an emergency.
Ring of Fire Challenge
Who knew that a battle royale staple would make it into God of War Ragnarok? While the foes you will face are already a challenge, the main damaging aspect of this challenge is the environmental hazards. Always be sure to keep yourself within the moving ring to avoid extra damage, and count on your ranged skills to take out enemies from afar. Never get too ambitious with combos that can take you out of the circle as well.
Onslaught Challenge
300 seconds to survive, and instead of a moving ring, you are confined to the central area of the arena in order to do battle. This challenge is not afraid of throwing numbers at you, and with enemies not taking damage from the lava, playing defensive is your best bet. You don’t necessarily have to rely on combat, as your aim is to survive. Fight at range and keep dodging, and your ally will also help be a distraction as the clock winds down.
Phantom Challenge
At this stage, you have probably faced a few Phantoms in your adventures. These are orb-like creatures that use materials around them to form a body. Focus on hitting the orb, especially when they are glowing to stun the being, before wailing on it as it lies defenseless on the ground. Do enough damage and it will retreat, allowing you to target the glowing purple columns that are the true targets.
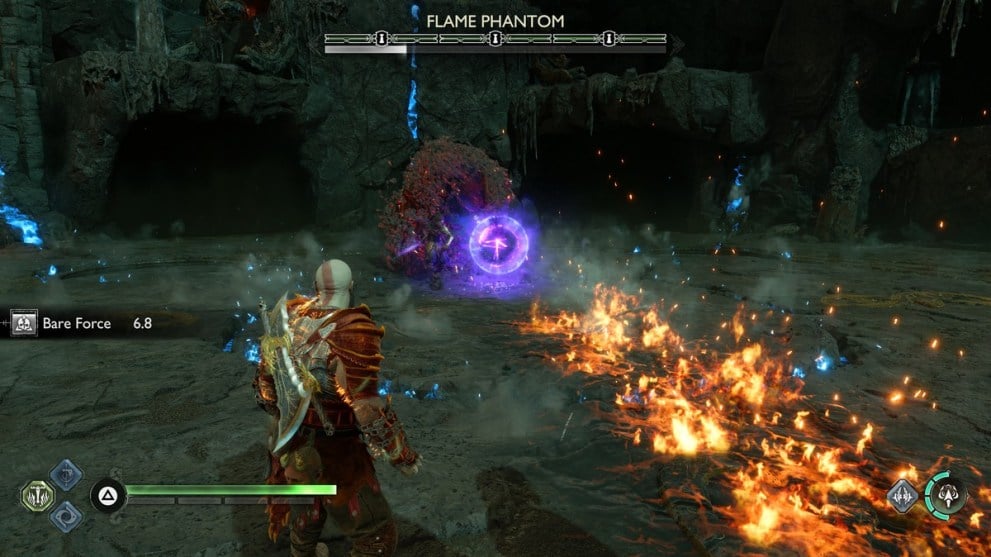
In between, it will also summon help from other enemies, so get rid of them as quickly as possible to avoid being ganged up on. Do this for three columns, and you will have bested another challenge.
Boss Rush Challenge
Ah, the toughest test of all Muspelheim challenges. Be sure to prepare yourself adequately, be it skills or your equipment, and get ready to be smart with defense and merciless on offense.
It all kicks off with a Midgardian Traveler, which is simple enough to deal with. Just dodge those red attacks, and parry whenever possible to get your free strikes in. Next up is the Fierce Stalker, an annoying enemy that can attack both at range and up close. Watch out for her charge, and if you happen to be behind her, be wary of her hind kicks. Don’t overcommit and you should be fine.
As for the Dark Elf Warrior, it is an elusive target that loves to drop explosives in its wake. Dodge any ranged attacks, and get your hits in whenever you can. Just don’t stay in one spot too long or you might get blinded. Defeat the Dark Elf Warrior, and up steps the Light Elf Slayer, a more aggressive enemy that should be familiar enough by now. It will unleash long chains of sword attacks, so block and parry, and don’t let it heal up either by striking with a Shield Strike.
Last but not least, the Einherjar Captain will be your final test. The recommendation is for you to be aggressive, as it can teleport around the arena anyway. So hit him when you can, block his attacks, and don’t let the Bifrost effect build up. Use all your skills, and hopefully, you will have enough to send him to Valhalla again.
Best all of the worst Muspelheim can offer, and you will be walking away with tons of XP, Hacksilver, and plenty more resources to upgrade all the Muspelheim gear.
That’s it; all you will need to know about how to complete The Crucible Favor for the Muspelheim final challenges in God of War Ragnarok. This end game challenge is sure to frustrate some, but satisfy those eager for something tough. For more help about the game, be sure to check out our guides on where to find all of Odin’s Ravens, how to master Weapon Skill Labors, and see our ranking for the hardest bosses in the game. Otherwise, feel free to peruse the related content below.









Updated: Nov 17, 2022 04:57 pm