
During the ‘Afternoon Delight’ Visionary Lead, you’ll be tasked with figuring out the Deathloop Data Cassette puzzle solution. This is required in order to open Charlie and Fia’s hideout, which will make killing these two Visionaries at once possible. Just as in the rest of Deathloop, however, the solution to this puzzle is actually randomized, and so there’s no one code that will let you in without skipping the process of actually finding the solution yourself. To get the solution, you’ll need to find the Deathloop pictograms located throughout Fia’s fortress. Here’s what you need to know about the cassette order for Charlie’s machine in Deathloop.
How to Solve the Deathloop Data Cassette Puzzle
The solution to Charlie’s machine depends on finding four pictograms (called Fractured Art) scattered around Fia’s underground bunker fortress, which is over at Fristad Rock. You will need to visit during noon while she’s there. When you’ve got all four of these, you’ll need to return back to Charlie’s machine and look at the blueprint on the right-hand side of the console to line up which images correlate to which cassette number.
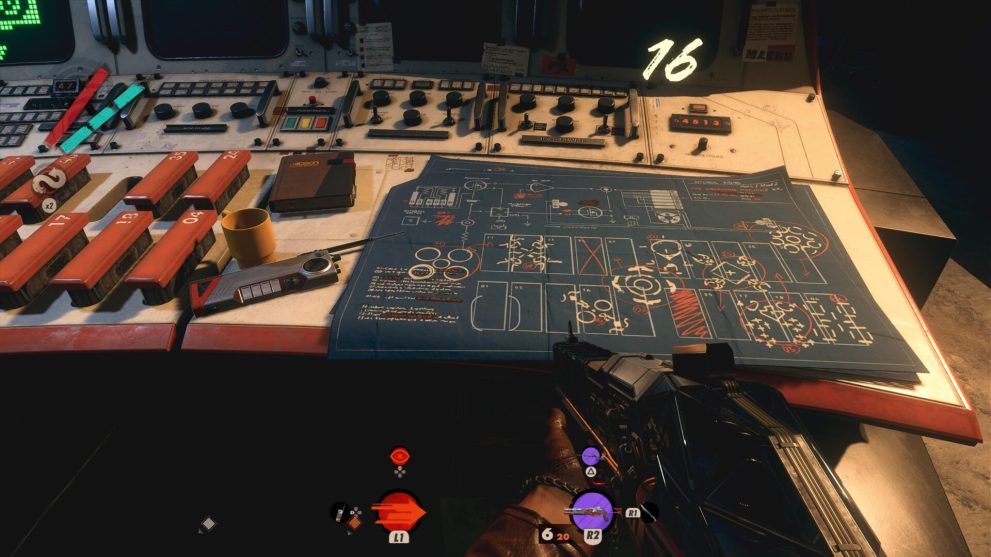
You’ll see all four of the pictograms you found, circled in orange. There will also be little arrows pointing to specific cassettes in each one on the blueprint. From there, all you need to do is open your ‘Leads’ screen, find the first pictogram, and move the cursor over it to see which one it is. Once you’ve got this, press the corresponding cassette on Charlie’s machine.
Continue to do this for each of the three other cassettes in the order shown on the blueprint. Enter all four correctly and you’ll unlock the door behind Charlie’s machine, granting you access to the rest of the level.
Where to Find All Fia Pictogram Locations
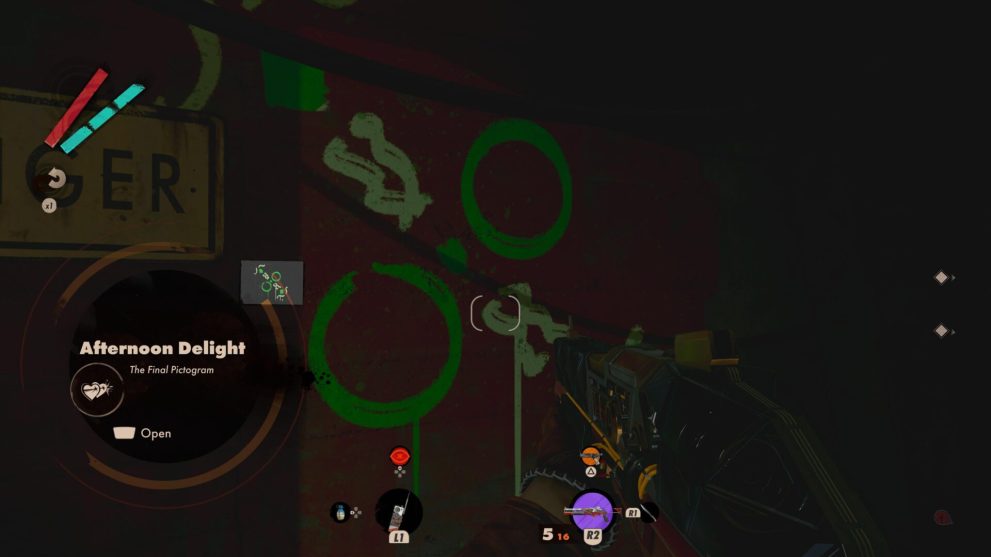
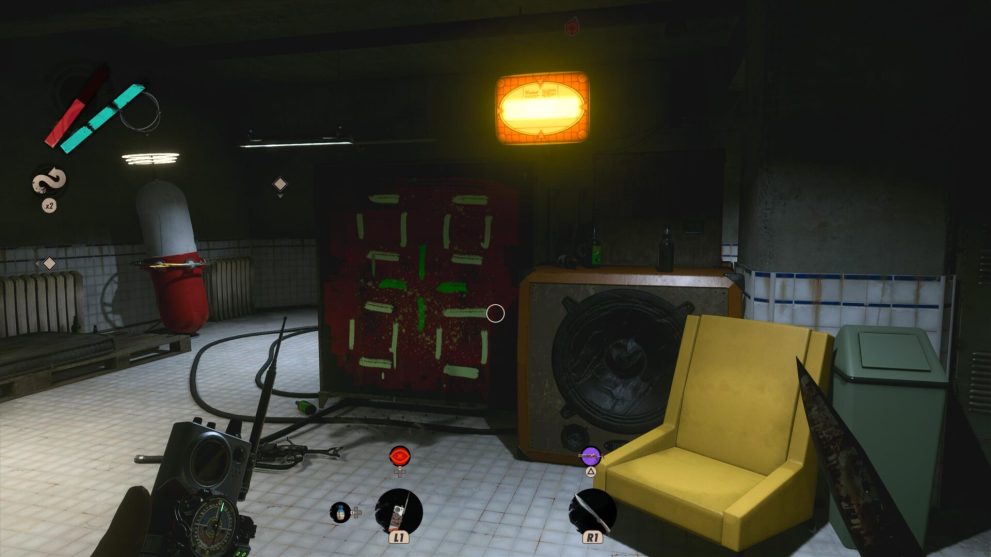
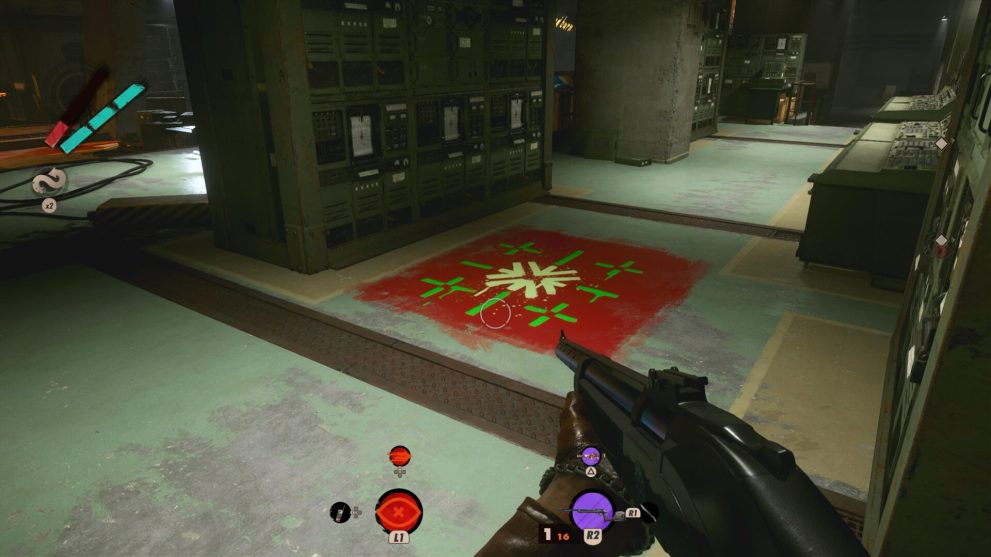
Fia’s pictograms are large pieces of art spraypainted on the walls of her bunker. We have included an example above. You will notice there are actually a lot of different spraypainting scattered around the base. The ones you are looking for have a red background, though there are actually a lot more than four of those in total.
Which pictograms you will need are randomized; the ones we required aren’t necessarily the ones you will need. So, we’ve gone around the base and snapped pictures of every single one we could find. If you follow this step-by-step you will find all four you need at some point on our guided tour!
All Deathloop Pictogram Locations
- First, enter Fia’s fortress through the main door.
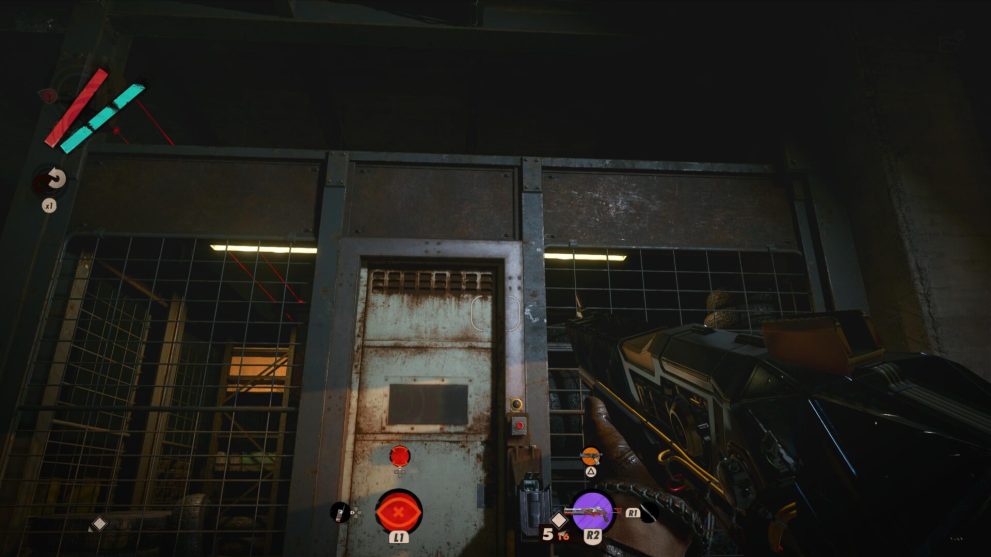
- Take a right, disable the sensor, and enter the service room. There’s a pictogram here on the right-side wall.
- There’s also a battery in this room; grab it and charge it using the power unit in the corner of the room. Now exit the room and enter the locked room opposite the service room you just entered, either with the battery or by shooting out tripwires and just climbing over the top. There’s a pictogram here on the back wall.
- Now exit the room and descend the steps beside the van, then crawl underneath it. There is a pictogram underneath it.
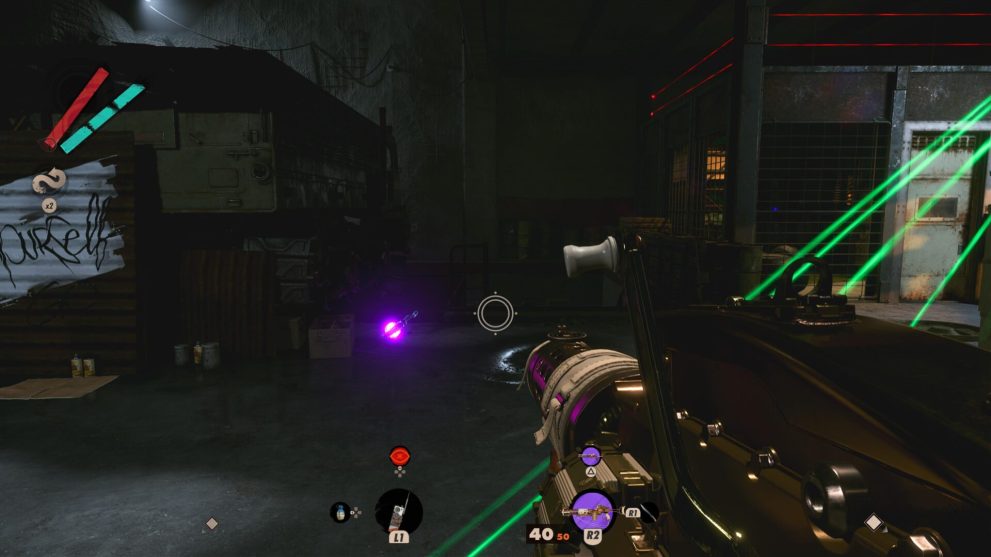
- From here, walk across to the other side of the floor, up onto the walkway and look behind you. On the wall there’s another pictogram.

- Proceed onward, disabling the sensor and then entering the doorway. Go through the room, break the glass, jump through and look at the floor. There’s another pictogram.
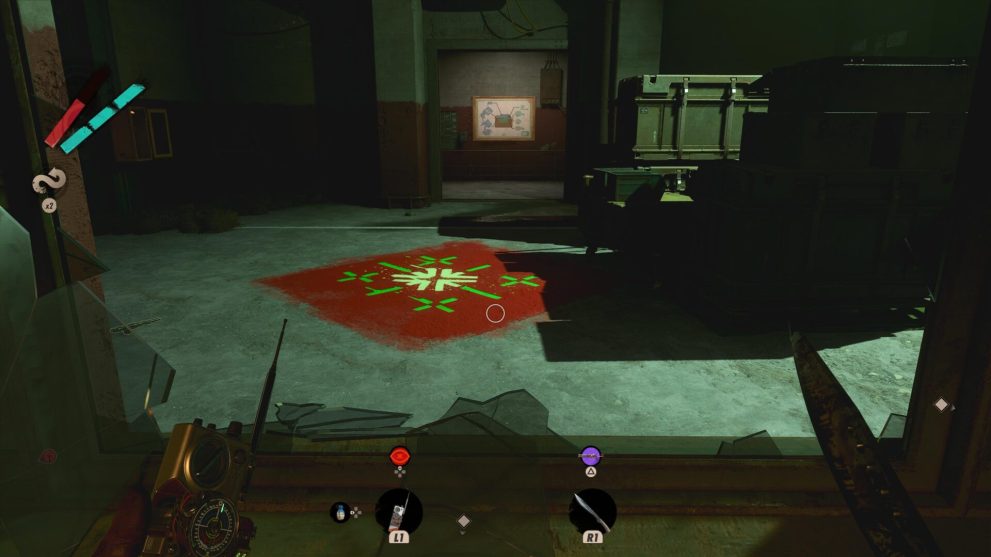
- There’s also another pictogram just to the right on the wall.
- Continue onward if you haven’t found the four you need already. Be careful of the mine. Enter the locker room. Be careful of the sensor and two Eternalists. There is a pictogram here.
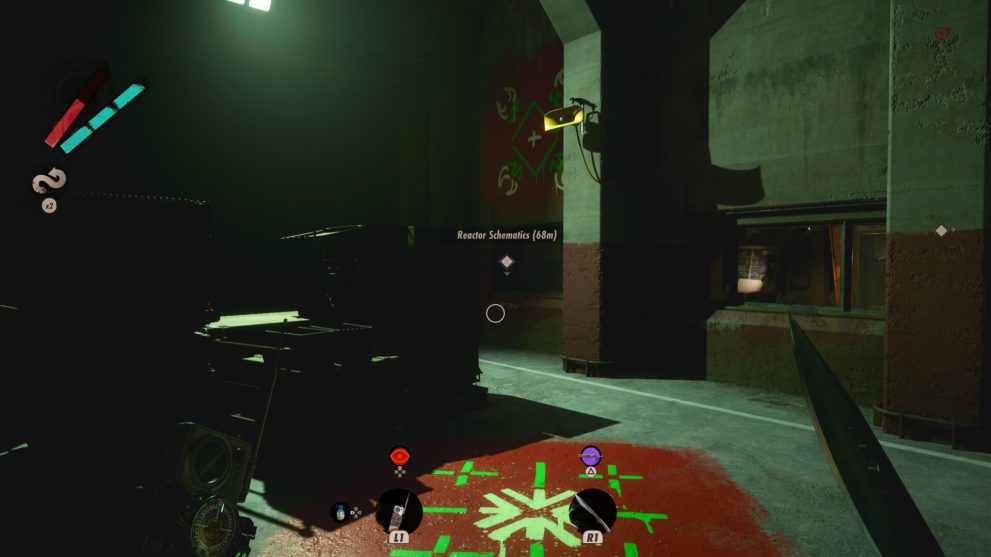
- Still haven’t found the four you need? Don’t worry. Keep going forward, through the door, into the reactor room, hug the left-hand side. Take out the two Eternalists here and go down the staircase. There is a pictogram behind the reactor on the bottom floor of this area.
- There’s also another in the bottom left-hand corner of the room.
And that should give you everything you need to know about how to solve the cassette puzzle for Charlie’s machine in Deathloop. For more on the game, check out Twinfinite’s guide wiki.


Updated: Sep 15, 2021 08:18 am