
In Act 2 of Cyberpunk 2077, you’ll find yourself cooperating with a man named Takemura for a series of missions in a main questline. One of those missions is Gimme Danger. Here’s a Gimme Danger quest guide for Cyberpunk 2077 if you’re in need of some pointers.
Cyberpunk 2077 Gimme Danger Quest Guide
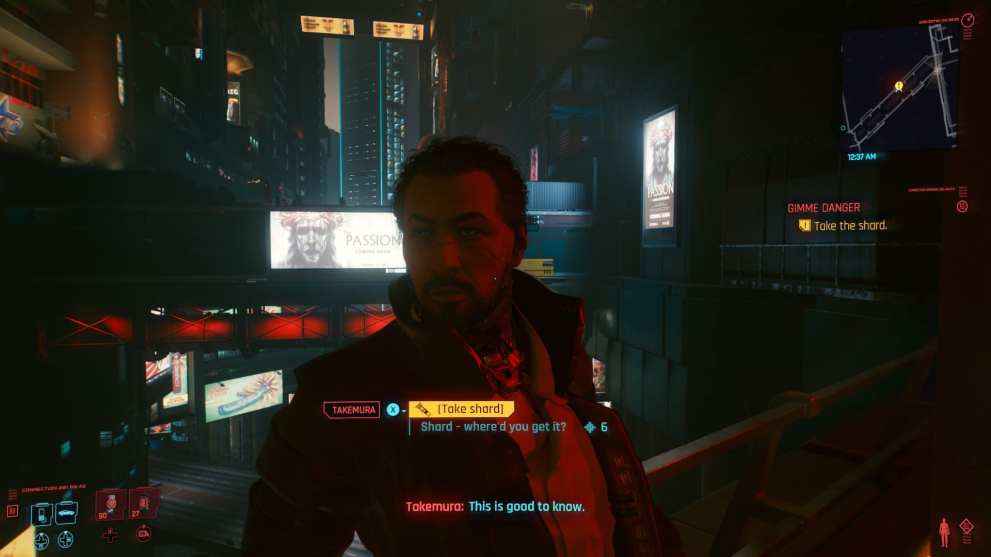
To start the quest, you’ll need to meet Takemura in an upper section of Japantown to go over his plan. You’ll have a few extra dialogue options available here if you have enough points in the Intelligence attribute.
He’ll give you an infected shard that you’ll need to use in order to infect the network in the camera control room. The first order of business is to break in.
Breaking Into the Control Room
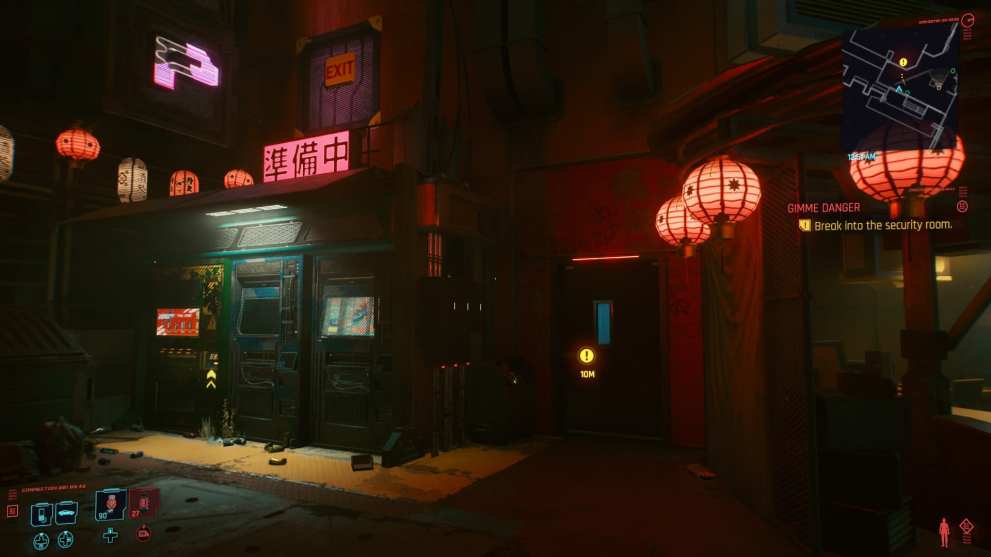
The easiest way to get inside is to force the front door open, but to do this, you’ll need at least six points in Body. If that isn’t an option for you, you’ll need to climb up to the vent labeled “EXIT” that’s located above the door to the left. Use the dumpster to get up there.
There are no enemies inside, so you can just install the software on the security system and head right back out through the door on the second floor to speak with Takemura again.
Offering to Help Takemura (Major Choice) – Gimme Danger
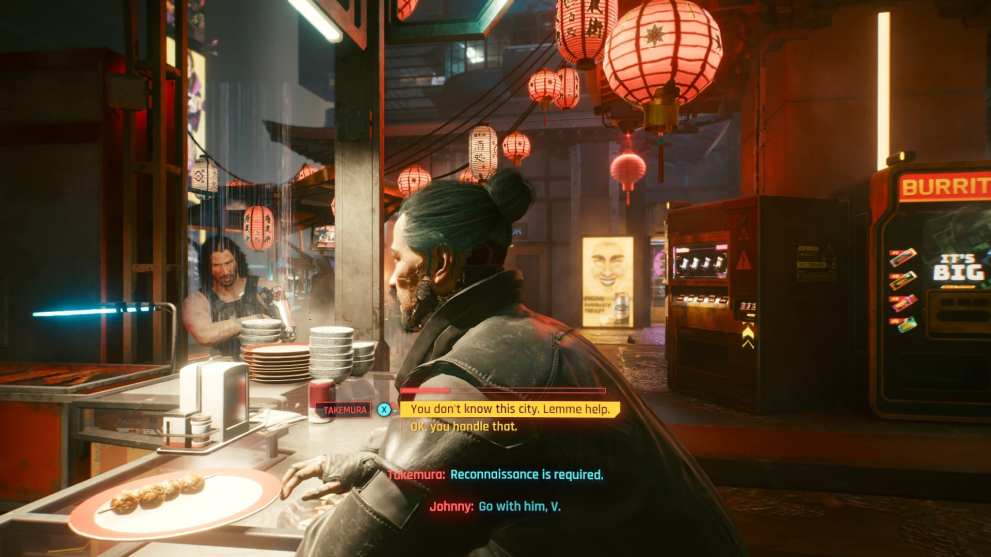
Takemura will go over the plan once again while the two of you sit down to eat an apparently bad meal. After he throws his food down in disgust, he’ll state that he needs to do reconnaissance for the mission.
This is a major decision, and you should offer to help Takemura. Doing this not only gives you a preview of the area that you’ll need to infiltrate next, but it also allows you to form a bond with Takemura, which affects future dialogue with him.
If you let him do reconnaissance alone, you’ll miss out on a lot of dialogue, and you’ll need to wait a day before you can continue the quest.
Recon With Takemura
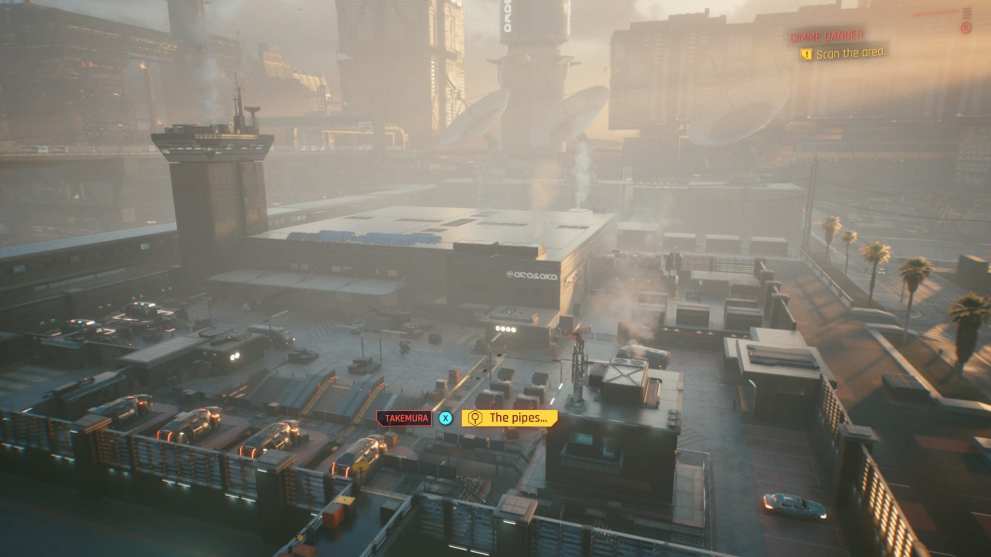
The game will automatically skip time at this point. You’ll be at a construction site with Takemura. Simply follow him through the site until you reach a lookout point high above the Arasaka facility.
You’ll need to scan the area in front of you to gather intel on how to get inside. Be sure to look at every little thing that glows in your scan vision to give yourself as many options as possible for the infiltration part of the mission.
Infiltrating Arasaka Industrial Park
There are a number of different ways to get inside the Arasaka Industrial Park, and you should have seen them all while scanning from above. Now, it’s time to pick one.
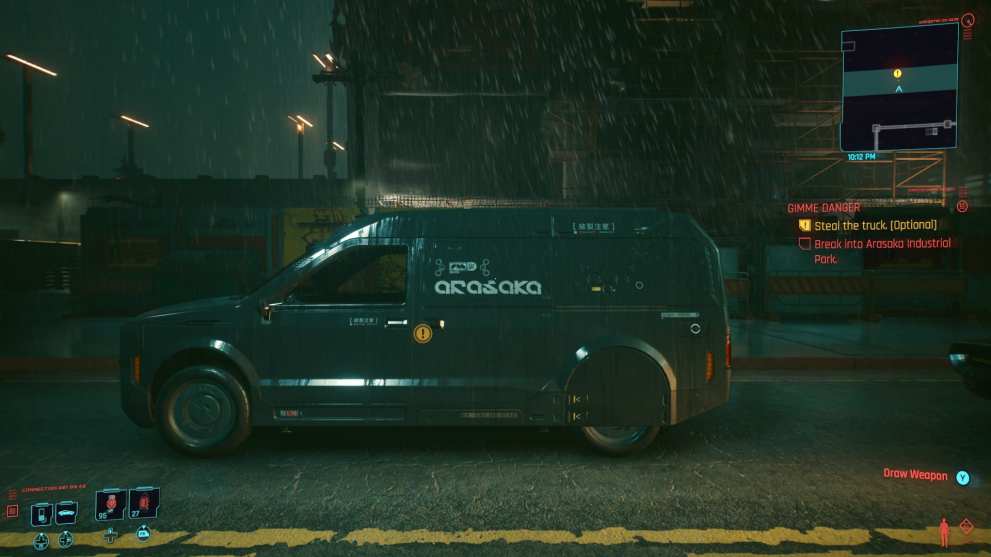
Depending on your play style, the easiest way in might just be to hijack the van that’s circling the facility. You’ll need at least six points in Body to hijack it by pulling the driver out. You can also just shoot at the car and the driver will get out and run away.
If you’re successful, you’ll be able to drive right into the compound without sneaking around or fighting your way in. Once inside, you can park the van immediately to the right, next to the guard house – or anywhere else that you won’t be seen exiting it.
At the time of writing, all Araska personnel inside the facility also act friendly towards you if you enter using the van. This may be a bug, but if not, using the van makes this mission much, much easier.
Getting Inside the Warehouse – Gimme Danger
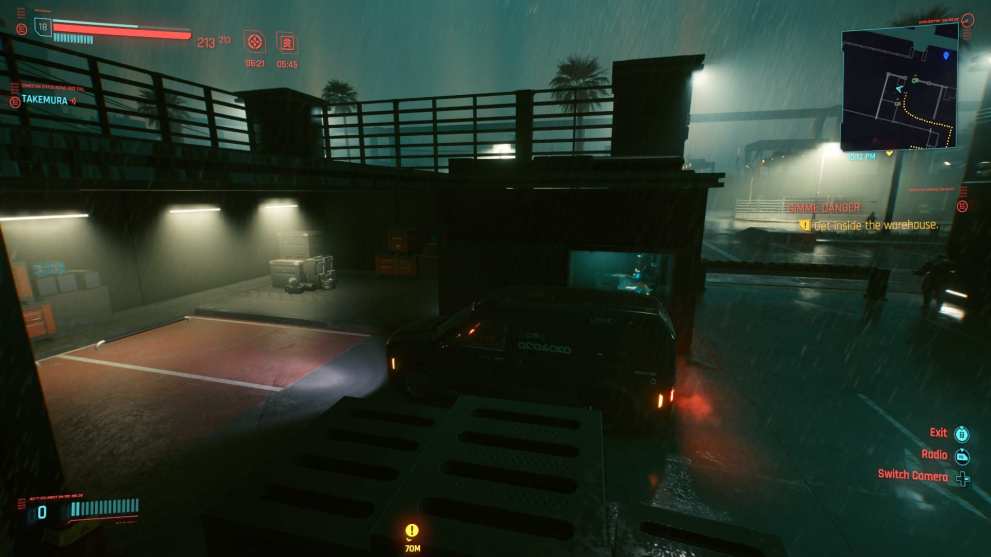
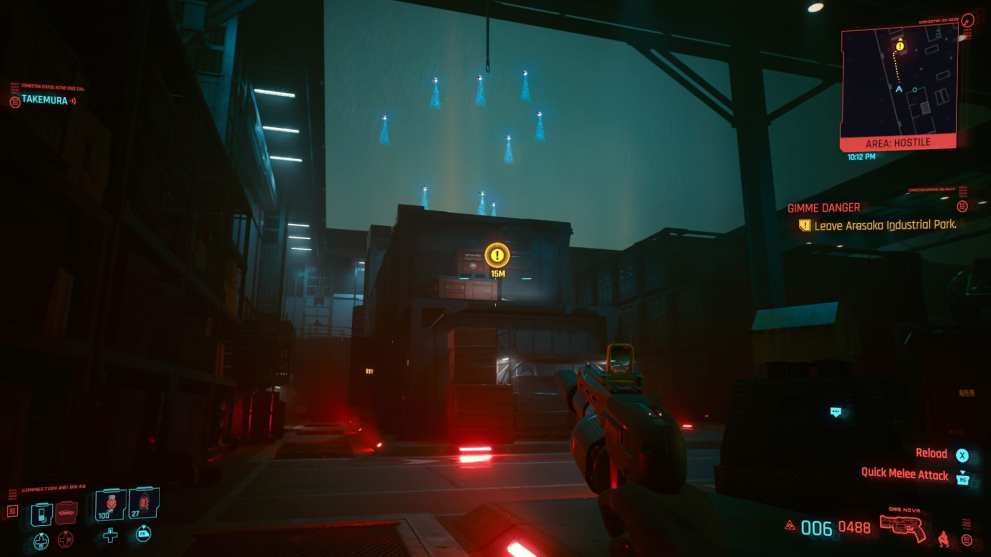
Once you’ve parked the van in the red parking space shown above, you can climb up above it using the wooden palettes shown at the bottom of the image.
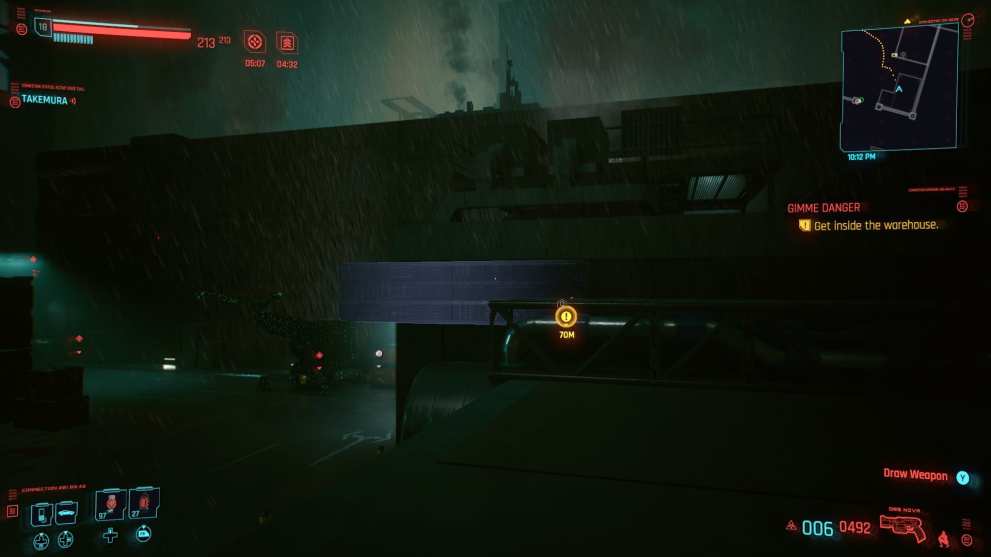
Once you’re above the parking space, you should see the pipes that you marked while doing reconnaissance. Jump onto the pipes, and they’ll lead you to a door on the roof that’ll get you inside the warehouse.
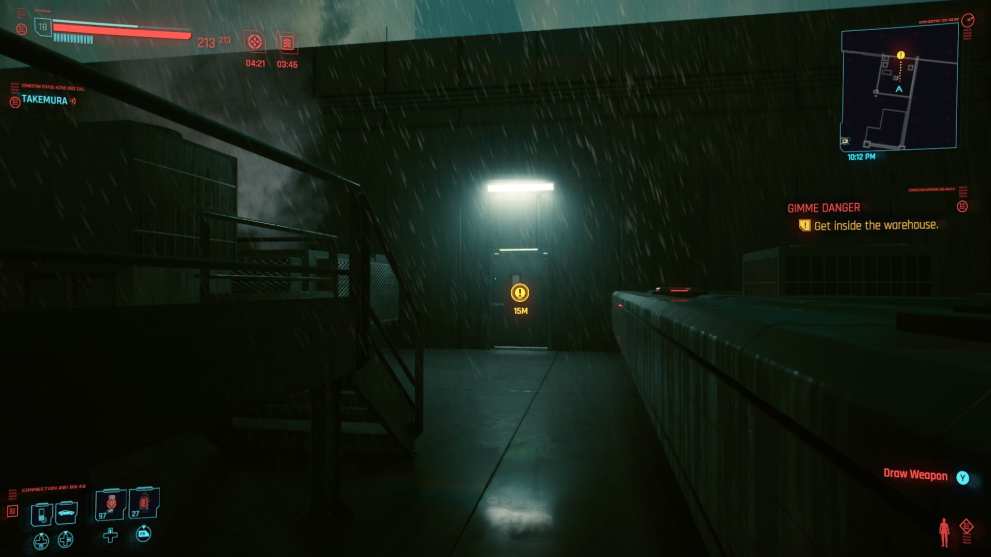
This door will lead you to a walkway that’s being patrolled by one guard. You can take them down silently, or simply slip past them through the use of quickhack distractions.
Regardless of what you choose to do with the guard, be sure to disable the two security cameras above the walkway so that you don’t get spotted.
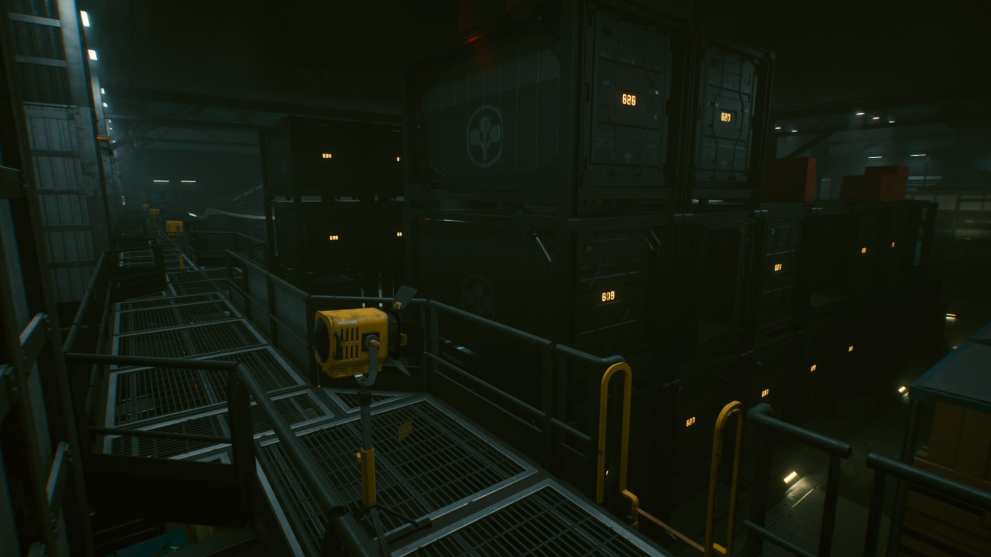
Climb down the yellow ladder and head straight towards the objective marker on the bottom floor.
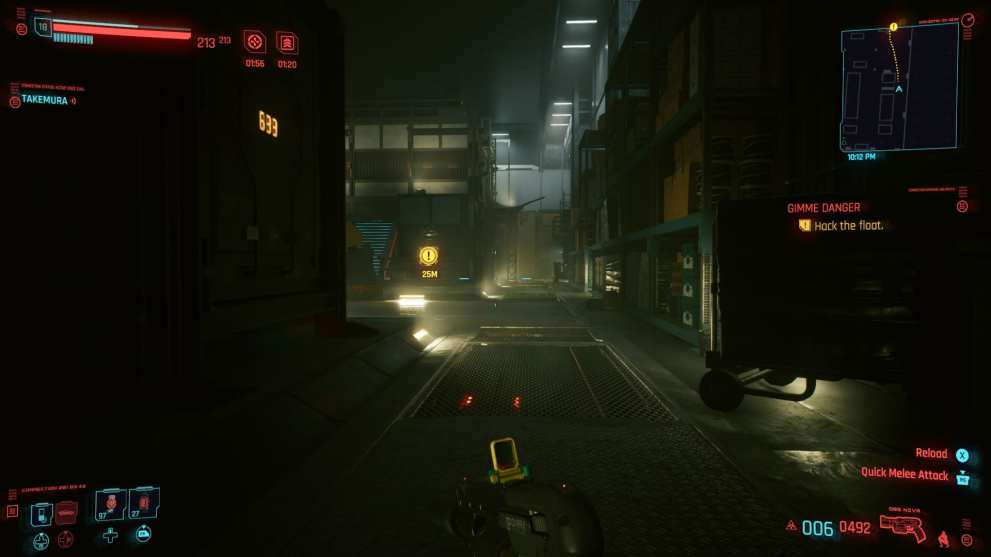
Hack the forklift in front of you to distract the guard standing in front of the objective room. They should walk forward just enough for you to be able to sneak in behind them.
Alternatively, you can enter through the second-floor window on the right side of the structure. You can climb up to it using the crates, boxes, and shelves behind it. Body mods that enhance your jumps can also help here.
Escaping the Warehouse
Once the task is completed, Takemura will open up the roof of the warehouse for you to escape. Climb up onto the crates directly in front of the room you were just in. From there, jump to the outer rim of the warehouse roof on the left, and climb down the ladder to exit.
That’s everything you need to know about how to get through the Gimme Danger quest in Cyberpunk 2077. If you’re looking for more Cyberpunk 2077 pointers, be sure to check out our guide wiki for the game.


Updated: Dec 29, 2020 01:35 am