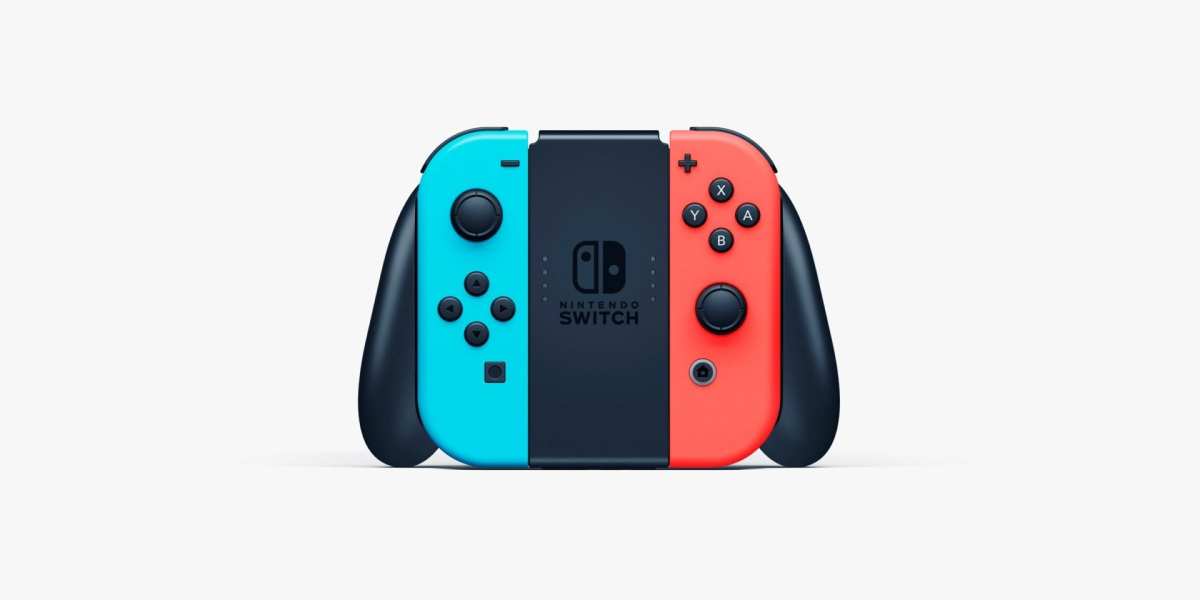
Since its release in 2017, the Nintendo Switch is one of the most popular consoles of the last few generations. Thanks to a combination of accessibility and portability, casual and hardcore gamers alike can jump right into the console with no issues. That doesn’t mean that there aren’t slight issues with the product, though, especially when it comes to the Joy-Con controllers. Here is everything you need to know about how to fix Nintendo Switch Joy-Con drift.
In layman’s terms Joy-Con drift is when your controller registers input where there is none. This means that it thinks you’re pressing a button or direction when you haven’t actually pressed it.
How to Fix Nintendo Switch Joy-Con Drift
Before you dive into any of the drastic fixes for drift on your Joy-Cons, simply try cleaning out your joystick. To do this, carefully pull the soft rubber flap on the analog stick.
Use a lightly damp cotton swab or toothbrush with 91% – 99% isopropyl alcohol to gently swap under the rubber flap. This removes materials like dust and dirt that can get trapped under the stick and cause drift.
Be sure to also try and calibrate your Joy-Cons as well, as this resets them and solves drifts for some devices.
Repair Kits
If you’re still having issues and don’t mind a little DIY, there are a handful of repair kits on the market that you can purchase that will let you fix Joy-Con drift pretty easily. We will use the $20 iFixit kit as an example.
It is important to note that the left and right Joy-Cons require slightly different steps for repairing them correctly. We will start with the left one.
Left Joy-Con
- Use the Tri-point Y00 Screwdriver to remove the four Tri-Point Y00 screws from the back panel.
- Insert the blue opening pick into the seam opposite the L and ZL buttons and slide the flat edge up the side.
- Open the Joy-Con with the charge rail facing away. Don’t try to remove the back panel yet.
- Gently pry the battery connect straight up from its socket on the motherboard using the spudger.
- Use an opening pick to gently pry the battery from the Joy-Con housing.
- Remove the three 3.5 mm golden Phillips #00 screws from the midframe. Don’t remove the midframe yet.
- Flip the midframe away from the motherboard.
- Use tweezers or a spudger to flip up the ZIF connector lock on the opposite side of the ZL button cable.
- Pull the ZL button flex cable from the ZIF connector, then disconnect and remove the midframe.
- Unlock the minus button’s ZIF connector and disconnect the cable.
- Flip the ZIF lock upward and disconnect the cable.
- Unscrew the two 3.5 mm Phillips #00 screws from the joystick.
- Remove the joystick from its housing and set the new one in its place.
- Screw the joystick back into place.
- Reattach the ribbon cable and flip the clip for the ribbon cable back down.
- Reattach the ribbon cable under the joystick and flip the clip for the ribbon cable.
- Replace the battery tray and screw it back into place.
- Place the battery back in and screw the back cover on.
Right Joy-Con
- Use the Tri-point Y00 Screwdriver to remove the four Tri-Point Y00 screws from the back panel.
- Insert the blue opening pick into the seam opposite the R and ZR buttons and slide the flat edge up the side.
- Open the Joy-Con with the charge rail facing away. Don’t try to remove the back panel yet.
- Gently pry the battery connect straight up from its socket on the motherboard using the spudger.
- Use an opening pick to gently pry the battery from the Joy-Con housing.
- De-thread the upper half of the grey antenna cable out of the battery cavity (note its location to reinstall).
- Use a spudger to pry up and disconnect the antenna cable’s coaxial connector from the motherboard.
- Remove the three 3.5 mm golden Phillips #00 screws from the midframe. Don’t remove the midframe yet.
- Flip the midframe away from the motherboard.
- Use tweezers or a spudger to flip up the ZIF connector lock on the opposite side of the ZR button cable.
- Pull the ZR button flex cable from the ZIF connector, then disconnect and remove the midframe.
- Unlock the minus button’s ZIF connector and disconnect the cable.
- Flip the ZIF lock upward and disconnect the cable.
- Unscrew the two 3.5 mm Phillips #00 screws from the joystick.
- Remove the joystick from its housing.
- Screw the joystick back into place.
- Reattach the ribbon cable and flip the clip for the ribbon cable back down.
- Reattach the ribbon cable under the joystick and flip the clip for the ribbon cable.
- Reattach the grey antenna cable.
- Replace the battery tray and screw it back into place.
- Place the battery back in and screw the back cover on.
Send it to Nintendo
If you aren’t looking to fix it yourself, you can always send your Joy-Con and Nintendo Switch back to Nintendo for free repairs or a refund. To do so, go to their support and submit a ticket.
You can also call 1-855-548-4693 to get your refund.
Just keep in mind, this method will likely take the most amount of time, meaning you won’t have your Nintendo Switch back until it is fixed. The Joy-Con that can’t be repaired also may be sent back in a different color.
That is everything you need to know about how to fix Nintendo Switch Joy-Con drift. If you’re still looking for more helpful tips and tricks, check out the rest of Twinfinite.


Updated: May 22, 2020 03:19 pm