How to Fix Analog Stick Drift on PS4 Controllers
Our controllers are bound to take a bit of a beating every once in a while. Whether it’s that boss on Sekiro that’s caused you to launch it across the room in a fit of frustration, or just hundreds of hours of general wear and tear playing fast-paced, intense shooters like Destiny or Call of Duty. If you’re noticing analog stick drift on your PS4 controller fear not, here’s what you need to know to fix it.
Pressurized Air Technique
First things first, we recommend picking up a pressurized air duster. This can be bought from Amazon for pretty cheap, and it comes in pretty handy for generally taking care of other electronics, such as cleaning our dusty vents or blasting out trapped debris.
If you’re unable to get your hands on one, or you need an immediate fix without having to wait for this to arrive, then you can just use your own breath and blow strongly, but more on that in a moment.
With the correct equipment now in hand, you’ll want to first ensure that your PS4 controller is turned off. This is important so as not to lead to any accidental damage, as well as to avoid doing anything on your system by mistake when fixing the analog stick drift issue.
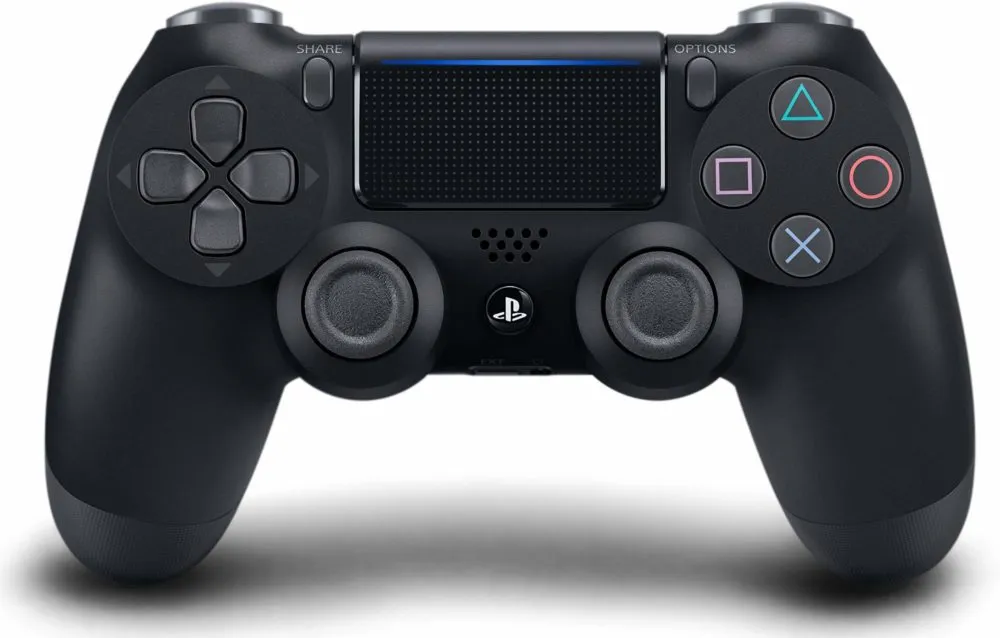
Now that the controller’s off, all you want to do is use your pressurized air duster (or your breath), and begin blowing around the bottom of the analog sticks, where they slot into the controller. This is in an attempt to remove any bits of debris that might be disrupting the internal workings of the controller, and ensure that there should be a smooth movement whatever direction you move the stick in.
If you’re using pressurized air, at this point be careful not to blast it inside the controller. Pressurized air can liquify if sprayed too much, and if this gets into your controller, you could cause even more damage, so just take it easy on the first try.
At this point, your analog sticks should now have had a good blast of air and a nice clean. Now to try and finally dislodge any remaining debris, begin repeatedly clicking in the analog sticks (L3 and R3) while moving them around the furthest they’ll go in all directions. Do this for a good minute or two on each.
Upon doing this, turn on your PS4 and give the controller a try. With a bit of luck, this will have fixed your analog stick drift issue on your PS4 controller and you can get back to gaming without an issue. If the problem persists, try repeating the process, and be a tiny bit more generous with the amount of pressurized air you use.
What If This Doesn’t Work?
There are a few options you can use if this method doesn’t work. The first is to take apart your PS4 controller and clean it, removing any bits of debris while you’re at it. This can get a little bit fiddly, though, but if you’re wanting to save yourself from buying a new controller, it might be worth a try. You can check out a handy video tutorial down below:
If that’s not something you’re interested in trying for yourself, and we wouldn’t blame you, it might be worth reaching out to Sony if your controller is less than 12 months old. If it is, it should technically still be within warranty, and as long as the fault isn’t as a result of accidental damage, Sony should replace it for you.
That’s all you need to know to fix the analog stick drift issue on PS4 controllers. For more tips, tricks, and guides for everything video games, be sure to search for Twinfinite.


Updated: Apr 12, 2019 12:30 pm