Sonapan Puzzle Solution in Zelda: Tears of the Kingdom - How to Solve & Hidden Chest Location
Image Source: Nintendo via Twinfinite

Sonapan Shrine Puzzle Solution in Zelda: Tears of the Kingdom – How to Solve & Hidden Chest Location

Time to Ascend!

With how many shrines are strewn all over Hyrule, you are likely to find a wide scale of difficulty. Some shrines might feel nearly impossible, while others are quite simple. As the perceived difficulty in a game like this can be incredibly subjective, we are guiding all the shrines so no one gets frustrated. Here’s our full walkthrough for the Sonapan shrine in Zelda: Tears of the Kingdom.

Recommended Videos

Sonapan Shrine Walkthrough in Zelda: Tears of the Kingdom

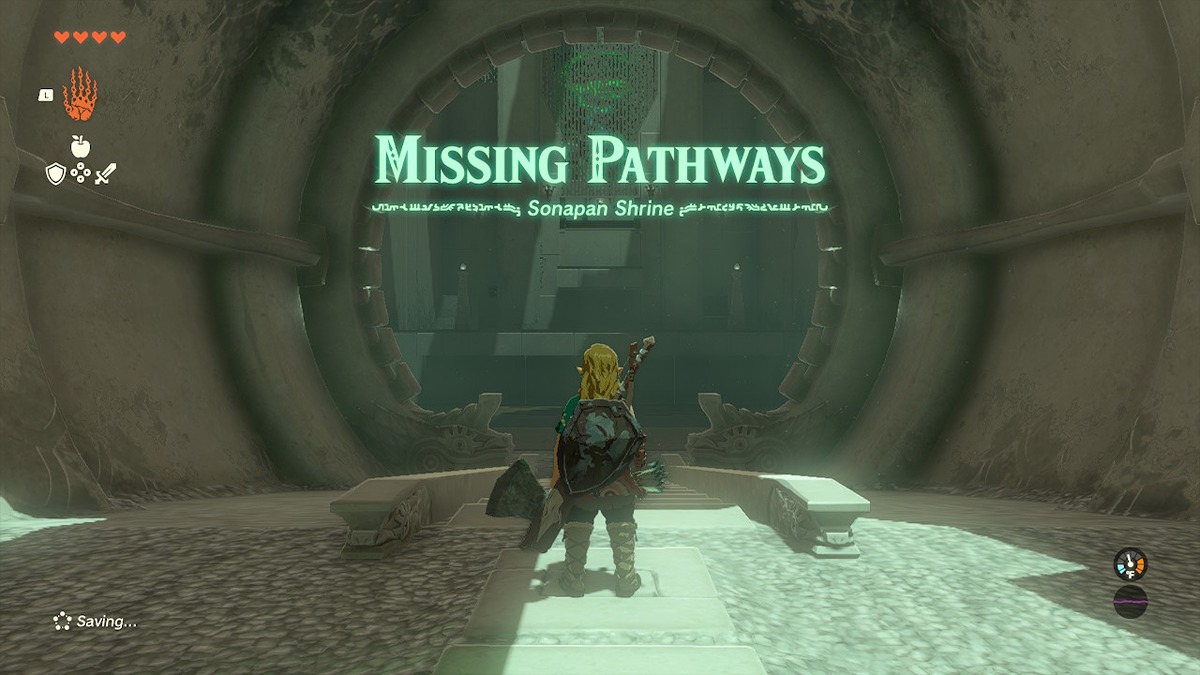
The Sonapan shrine is found to the east of the Susuyai shrine at the coordinates -1921, -037, 0228. Please note that you will need the Paraglider to complete this shrine.

Part One

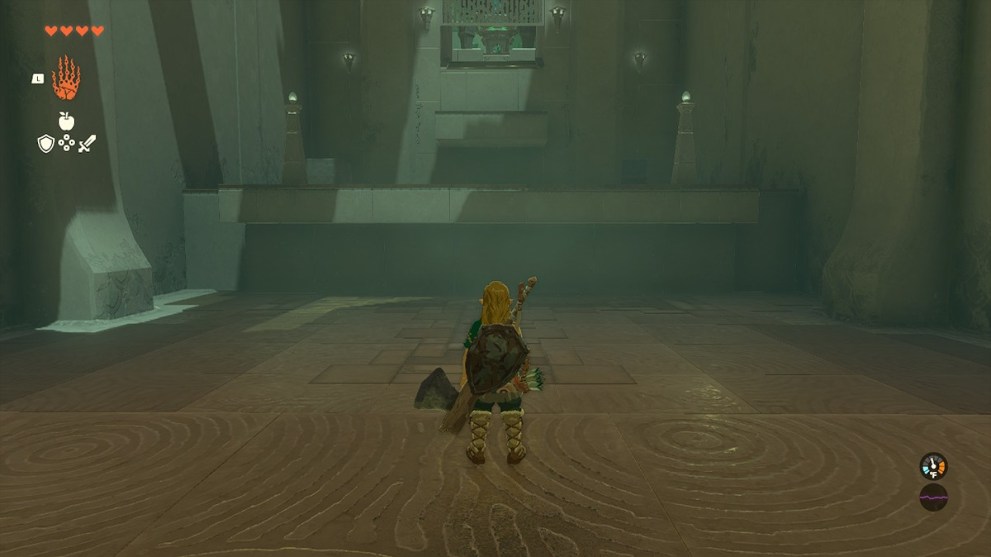
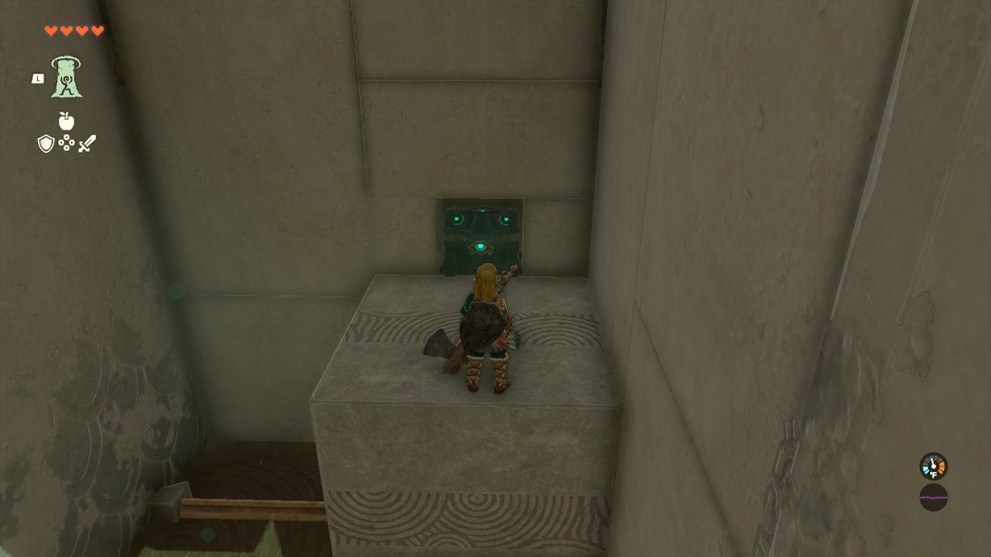
Use Ascend under the platform ahead to get to the next area.

Sonapan Shrine Part One Use Ascend
Image Source: Nintendo via Twinfinite

Once you get up here, go to the left side and move the cube to the right under the chest.

Sonapan Shrine Move Chest Cube
Image Source: Nintendo via Twinfinite

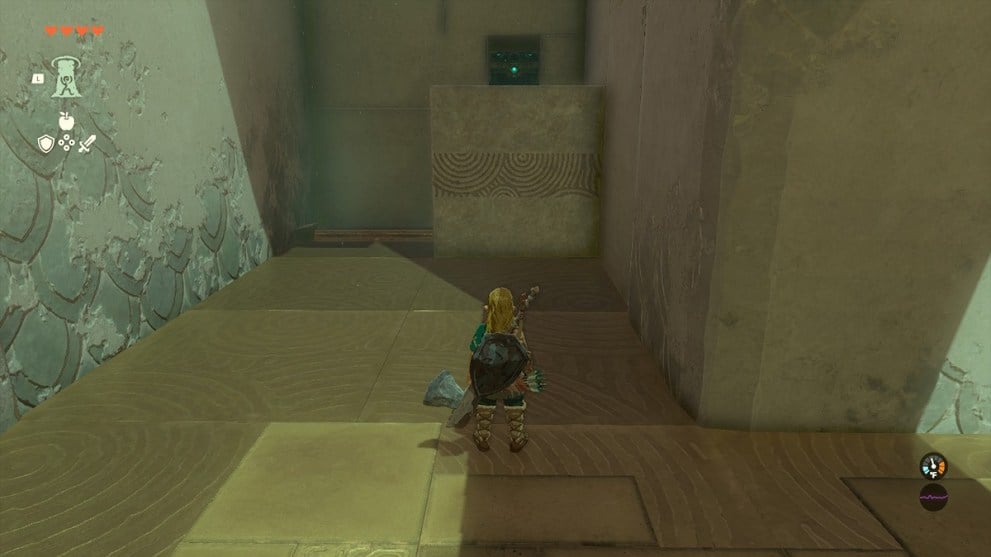
To get to the next part, you’ll need to grab the cube from the other corner and place it on top. This way, when you use Ascend, it puts you through both the platform and the cube at the perfect spot to continue on.

Sonapan Shrine Part One Cube Placement
Image Source: Nintendo via Twinfinite

Before you continue forward, however, jump and glide around to the other corner to land on the cube you moved and open the chest for five arrows.

Sonapan Shrine Hidden Chest
Image Source: Nintendo via Twinfinite

Part Two

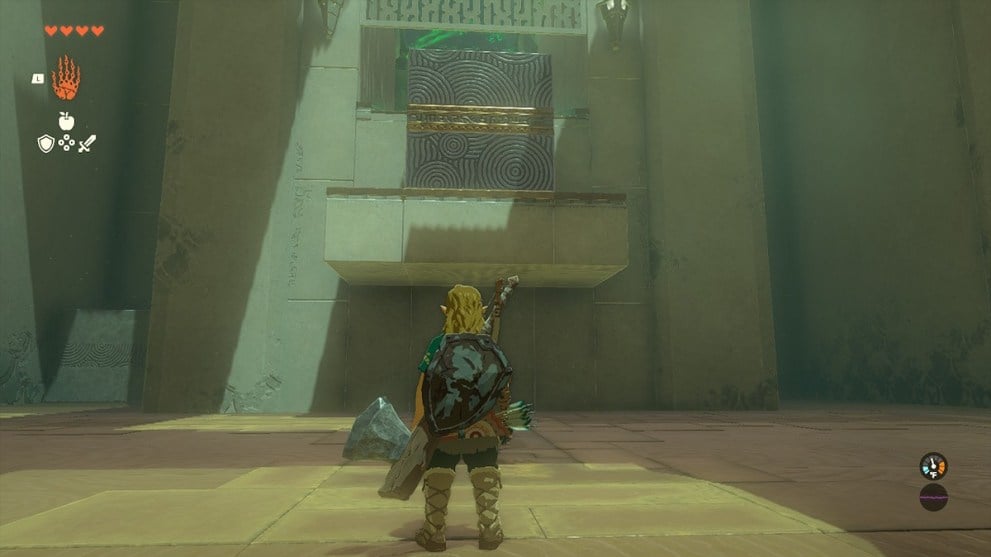
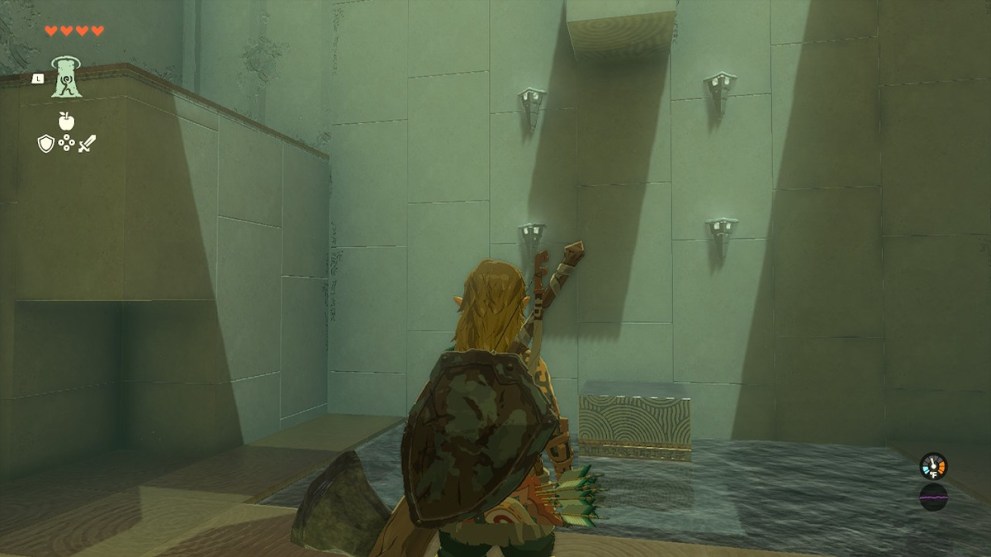
Use Ultrahand to put the cube on the left in the middle of the lanterns. Return to where the cube was and use Asend to get up on that platform.

Sonapan Shrine Part Two Cube Placement
Image Source: Nintendo via Twinfinite

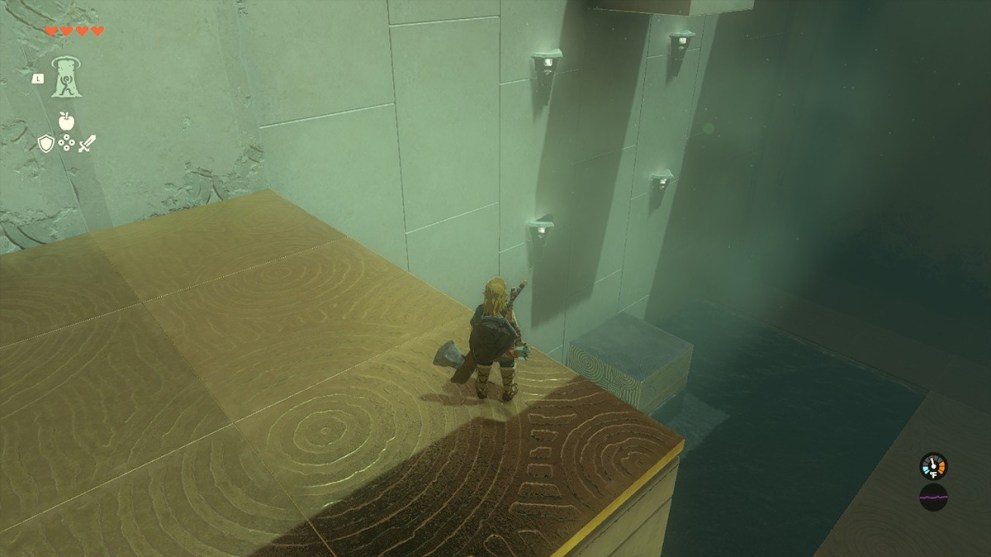
Glide onto the cube, use Ascend, and you’ll be at the shrine exit to receive your Light of Blessing.

Sonapan Shrine Glide to Cube
Image Source: Nintendo via Twinfinite

This concludes our walkthrough of the Sonapan shrine in Zelda: Tears of the Kingdom. For more shrine guides and general tips, check out our links below.


Twinfinite is supported by our audience. When you purchase through links on our site, we may earn a small affiliate commission. Learn more
related content
Read Article How to Get All Plant Seeds in Hades 2
Hades 2 Melinoe looking over plants in crossroads
Read Article Drag Project Codes (May 2024)
Drag Project promo image
Read Article All Keepsakes in Hades 2
Hades 2 Keepsake Rack
Related Content
Read Article How to Get All Plant Seeds in Hades 2
Hades 2 Melinoe looking over plants in crossroads
Read Article Drag Project Codes (May 2024)
Drag Project promo image
Read Article All Keepsakes in Hades 2
Hades 2 Keepsake Rack
Author
Cameron Waldrop
Cameron is a freelance writer for Twinfinite and regularly covers battle royales like Fortnite and Apex Legends. He started writing for Twinfinite in late 2019 and has been lucky enough to review many really great games. While he loves a good shooter, his heart will always belong to JRPGs.