
You have finally been able to arrive at the White Palace, one of the hardest stages in Hollow Knight, which means one of the hardest in recent gaming history. Luckily we have a White Palace Hollow Knight guide and walkthrough here so you can get through it without any issues.
White Palace Hollow Knight: Guide & Walkthrough
How to Enter the White Palace
First, let’s see how to access the White Palace. You need to enter the Dream World by using your Awoken Dream Nail on a knight’s corpse, located at the Palace Grounds (near the Ancient Basin). But how do you get the Awoken Dream Nail? You need to gather 1,800 Dream Essence, which is a resource you can usually get by defeating Warrior Dreams, paying attention to using all the Whispering Root Trees and by defeating various Dream boss variants.
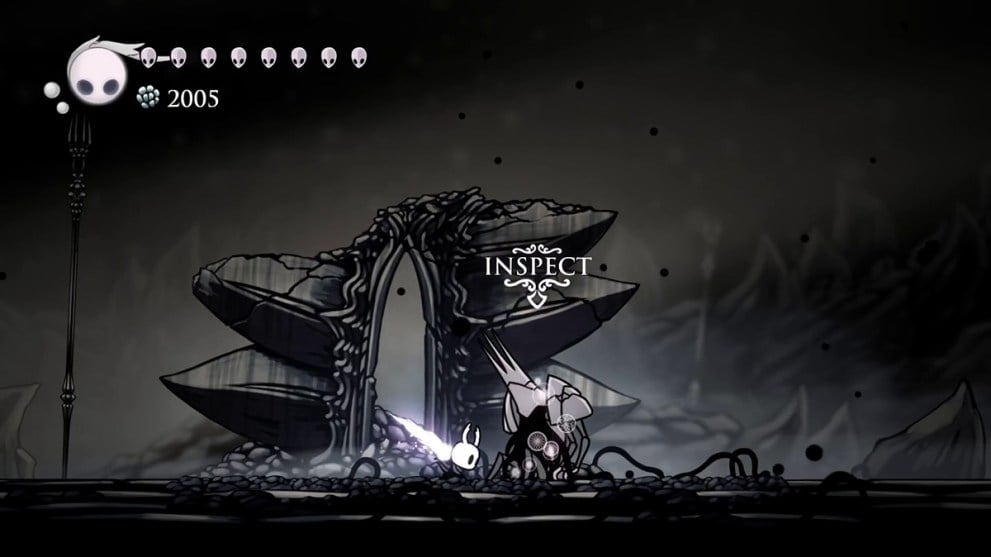
Once you have collected 1800 Dream Essence, head back to the Seer, speak to him and upgrade the Dream Nail into the Awoken Dream Nail. Now, with this new weapon in hand, you can head back to the Palace Grounds at the Ancient Basin. Use the weapon on the body of the knight and this will take you into the White Palace via the Dream World.
White Palace Walkthrough
Upon entering, you’ll find what looks like a lift, which you can’t access at the moment since the gates are locked. Head right from the bench, jump on the platforms, pogo off the enemies and reach a mini-arena. There, you will face your first enemy, a Kingsmould. They will deal massive damage to your Knight, so be careful and time those dodges. Defeat it and the gates will open.
The White Palace is ideally divided into three sections, each one has a bench that you can rest on so that you are ready for the challenge that awaits you, along with going back to it should you die (and trust us, that is going to happen). Your basic goal for each section is pushing a lever, which will get you to access the next part of the White Palace.
The best charms for the White Palace are ones that get you back health. Hiveblood is a great choice, but anything that allows you to keep fighting is good. You won’t need any “fighting” charms. Now, exit to the right and climb up the platforms you will find right there. Jump and head left to find your first lever. Activate it, and now is time to go back to where the locked gates were, being careful as to where you are falling. This platform lift is going to take you up, to a section with a lot of spikes, so use your downward slash ability, then head left and continue going up. You will meet a few bugs, the Royal Retainers, which will bow when you walk on by. You can ignore them if you want.
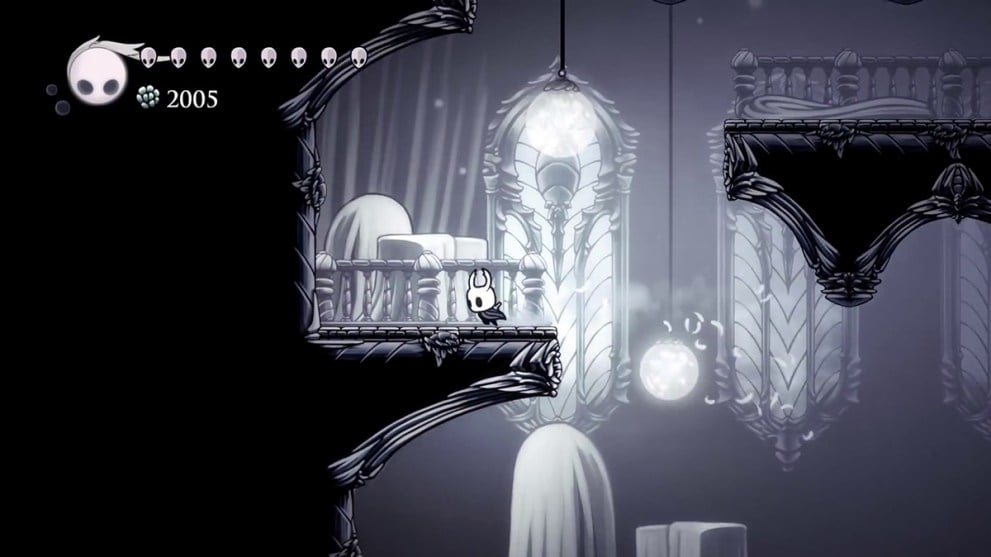
At the center of this big room, you will find a bench. Now you are in the central room, where you can access all the various sections of the White Palace. For now, head to the left. On the second floor, you will see the exit to the White Palace and, just below, a passage that you can go through. This next room has several circular saw blades which move very fast. Jump around them and use your wall-shimmying ability to get the timing right.
The next room has even more saw blades, which will move on a vertical plane. The wall dash will help you here, and if you go down right at the entrance and dash all the way to the right, you will be able to save yourself a good part of this room. Using dash and double jump, get through more of the saw blades that are just floating around. Now it is time to climb, which is best done by trying to keep close to the wall and double jumping at the right time.
After heading up, there will be more saw blades and more spikes, to just time your jumps right to get through it unscathed. You’ll have to head to the bottom part of the room where you’ll come across a spiked area to work your way around to reach the west side of the room. Upon arriving, there will be a couple of Retainers, which you can ignore as usual, and your objective: the lever. Hit it and that’s one more step towards unlocking the gates for the lift in the main room.
Head right in to the next room, and you will find yourself back in the central area. Recharge your souls if you want, but now go back to the bench to save. Head to the right, and to the bottom part of the central room, you will see the second lever we need to unlock first. Continue right and you will find… what a surprise… even more circular saw blades. Time right your jumps and use all of your abilities to go through the rooms with the saws.
This should be slightly more straightforward than the first room. Just go to the right and up, also using the small platform as a safe spot. In the room with tens of saws, just go down and use the platforms you can see to jump over, taking care not to hit anything. For the rooms with the vines, just take your time and dash your way through it, without rushing. Once you are through and headed to the room on the left, recharge your souls if you need and find the breakable floor, right next to the recharge soul. Break through it and you will skip to the lever. Activate it then head left to go back to the central room, and save.
Head up from the bench and ride the lift for the final section. You’ll find another room with more saw blades, but this time there will also be Wingmould enemies, which will be useful to pogo on. Behind a breakable wall on your left is the entrance to the Path of Pain, which we’ll look at in the next section. After a few jumps and using the Wingmoulds, you will be in a large room, save at the bench before the next section.
Go up, and dash through more saw blades, climbing up with the right timing to avoid the fast saw blade that goes up and down. For the next section, you will have to use spikes with the right timing to pogo off them and jump high enough to continue. You will definitely need some practice before you can make it through them.
Continue up, and using the downward slash you can use spikes that come out of the wall to continue jumping up. In the next section, to the right you will see locked gates which will be your ultimate objective. Jump up and dash through even more saw blades, timing your downward slash to continue. Take care of the timing of the spikes, which come next, by simply dashing through them.
Go down, avoiding the spikes and you will be at the lever, so activate it. Now go down to the next door, proceed through the next room, which has some more saw blades and Wingmoulds. Use your crystal heart when needed, especially for the final jump which will lead you before the corpse of a Knightmould.
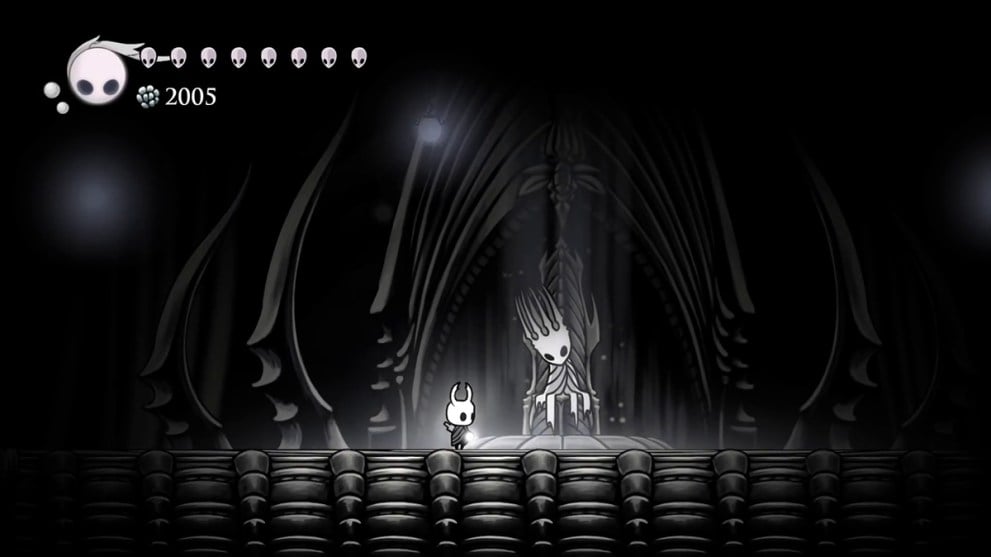
Continue up, recharge your soul if you want, and use the lift. Finally, you’ll find The Pale King, slash him a few times and you will get the White Fragment, which makes up half of the Kingsoul charm. After getting it, you will be back at the Palace Grounds. Congratulations, you’ve finished the White Palace!
The Path of Pain Walkthrough
Grubsong, the hiveblood charm. After entering the Path of Pain, you can use your Crystal heart to get a soul recharge, which is also unlimited, so definitely use it before heading up. Careful of the saw and vines, slash several Wingmounds as well on your way up. It might definitely take you a few tries while you are dashing and jumping between enemies and spikes.
Slide down, dash across to avoid the huge saw, slash across the spikes to jump through them and you will find your first safe spot. Down, use crystal heart and head across, continuing to jump across spikes and Wingmounds, heading up to the next room. Continue heading up and find another soul recharge, and now the next room with circular saws, jump carefully and time your descent with the saw on the floor.
Go up, and downward slash the saw so you can dash and jump across the spikes while being careful not to pogo right downwards or you’ll be killed by the spikes on the ceiling. Recharge once again, go up and dash through the saw blades and using your down slash across them. Next, go up and use crystal heart to dash across, but stop before the two tiny sawblades and just use downward slash the rest of the way.
Hit the lever, go down and you’ll be back at the previous recharge, so you can head right now. Head to the wall, time with the sawblade and head through the spikes while heading up. At the top right you will find the safe spot, so rest a bit (along with using a soul recharge just to the right, a little secret). Now for the crystal heart, stop right after the wall and go ahead and slash the Wingmounds to continue to the right. Time to downward slash some more saw blades, taking care of using the little ones in time with the huge ones.
Head up now and downward slash on spikes and the saws, just continue with double jumps and pogoing off them. At the end, you will go down and meet a couple of Kingmounds to fight, and as usual, time your dashes and go in for damage. But that’s the end of your Path of Pain, watch the cutscene as a reward and then you’ll be booted off without an option to come back.
That’s all you need to know about the White Palace in Hollow Knight. For more solutions, check out Dark City Vienna complete walkthrough and Complete Superliminal Walkthrough.


Updated: Jul 12, 2024 10:14 am