
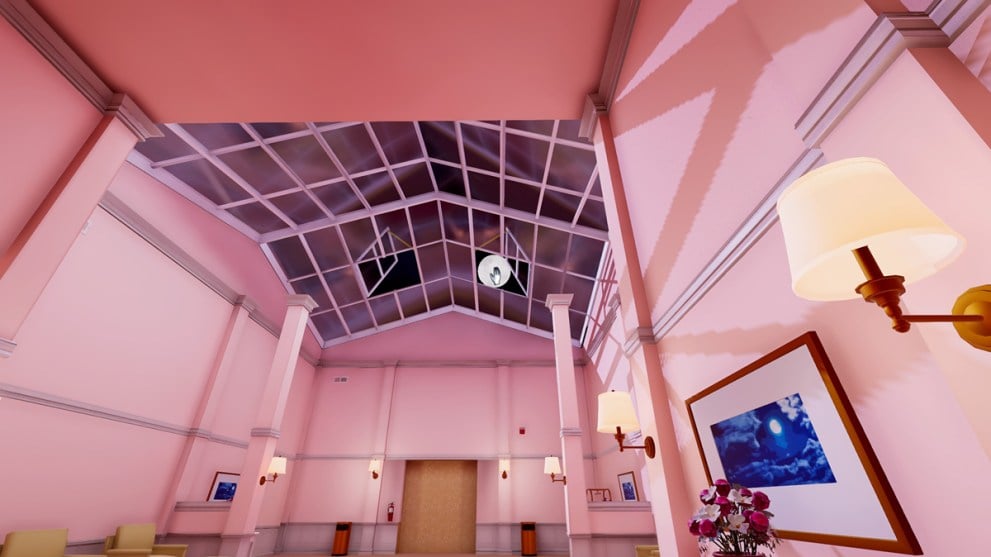
First-person puzzle games can be fun, but also a bit frustrating depending on the game. Superliminal puzzles use perspective and item manipulation to add complexity, and the solutions aren’t always obvious. If you’re stuck while working through it, we have this complete Superliminal walkthrough to help you.
There is a trophy/achievement for finishing Superliminal in under 35 minutes, so the following solutions should help you cut down on time. The options menu has a speedrun clock you can turn on only when starting a brand-new run if you want to keep track.
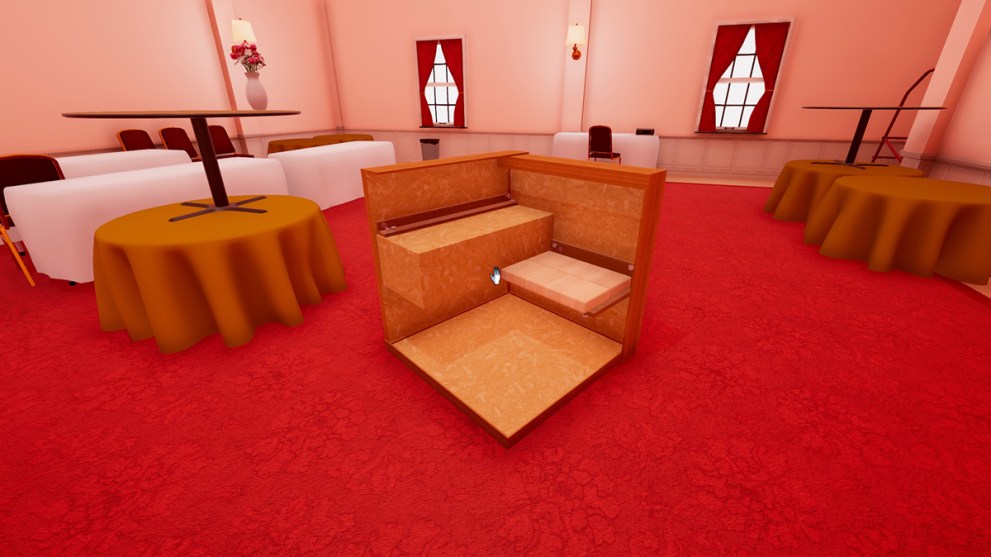
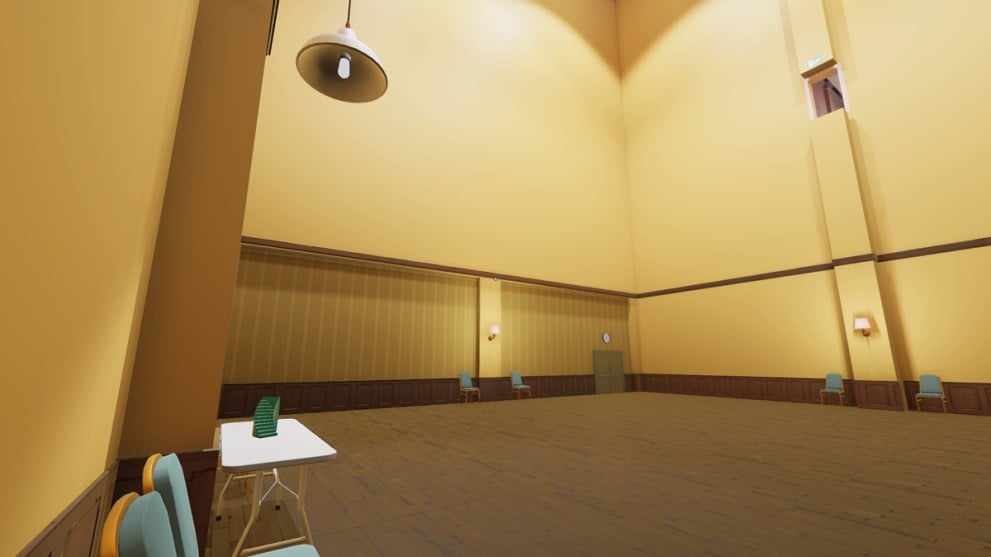
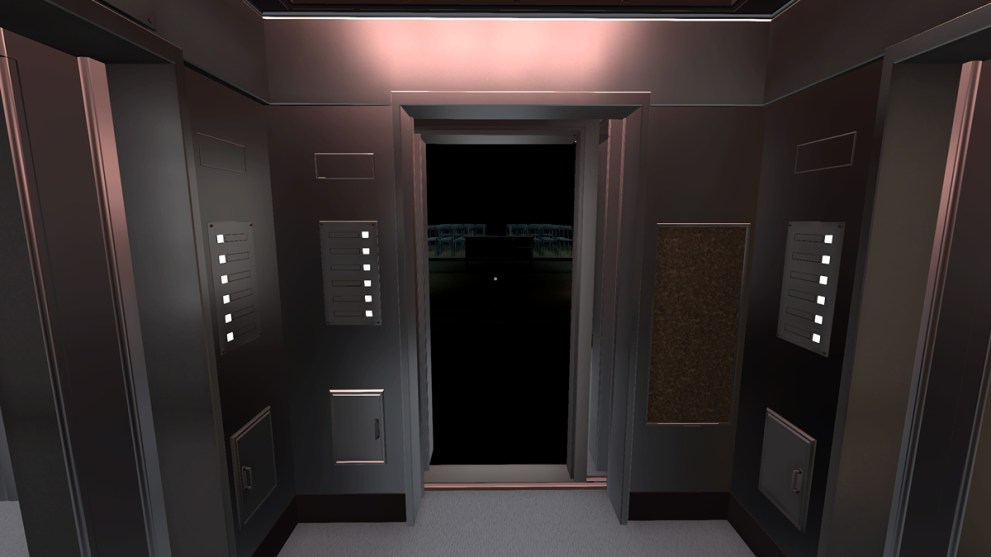
Superliminal Chapter 1 Puzzles
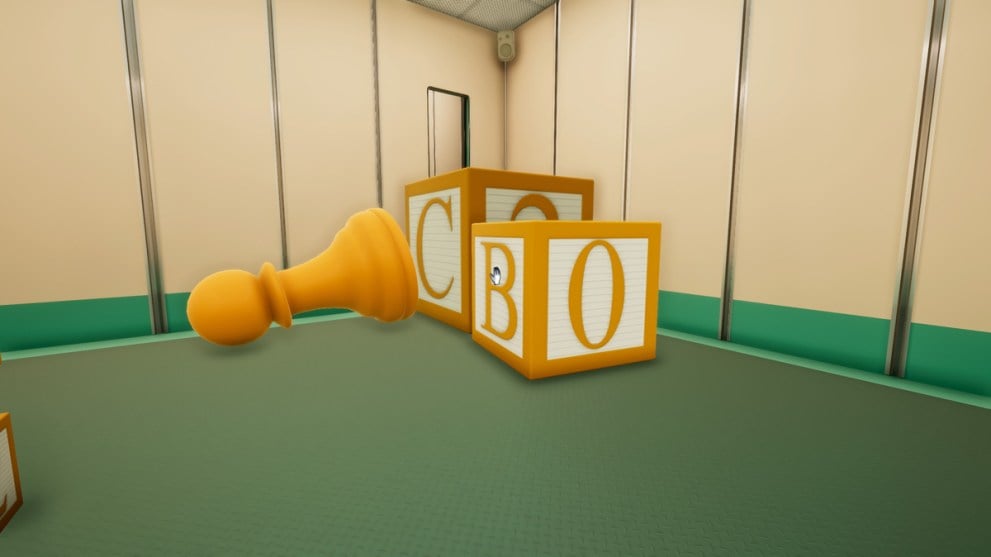
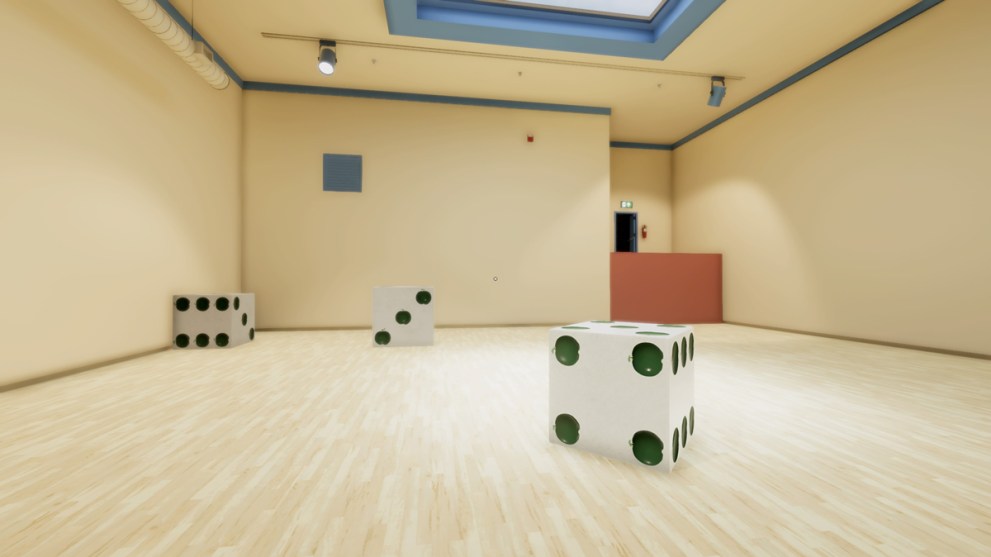
Puzzle 1

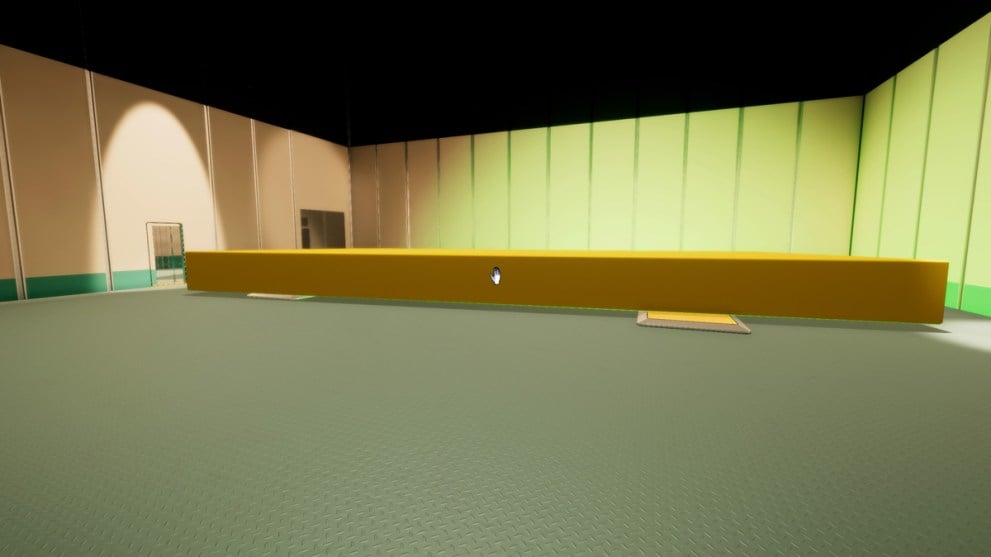
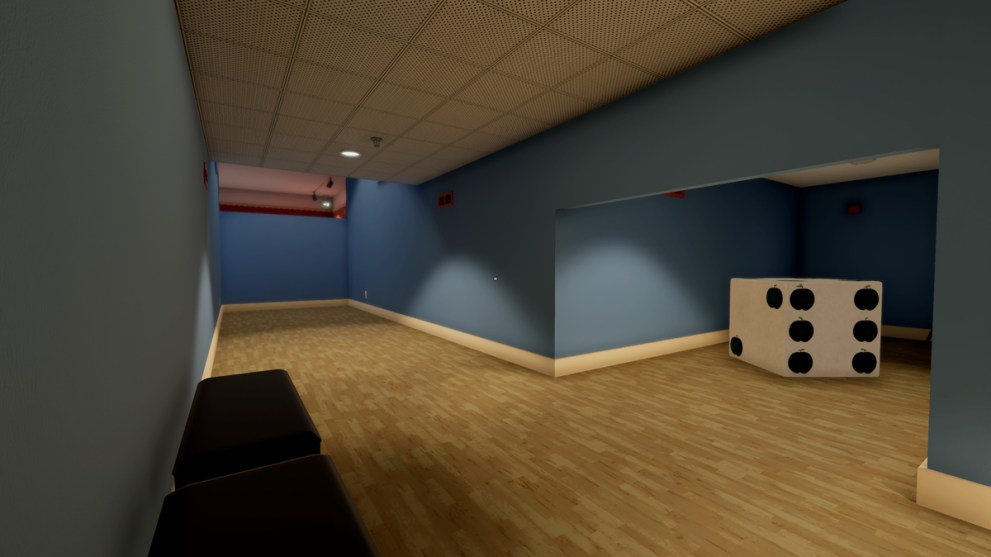
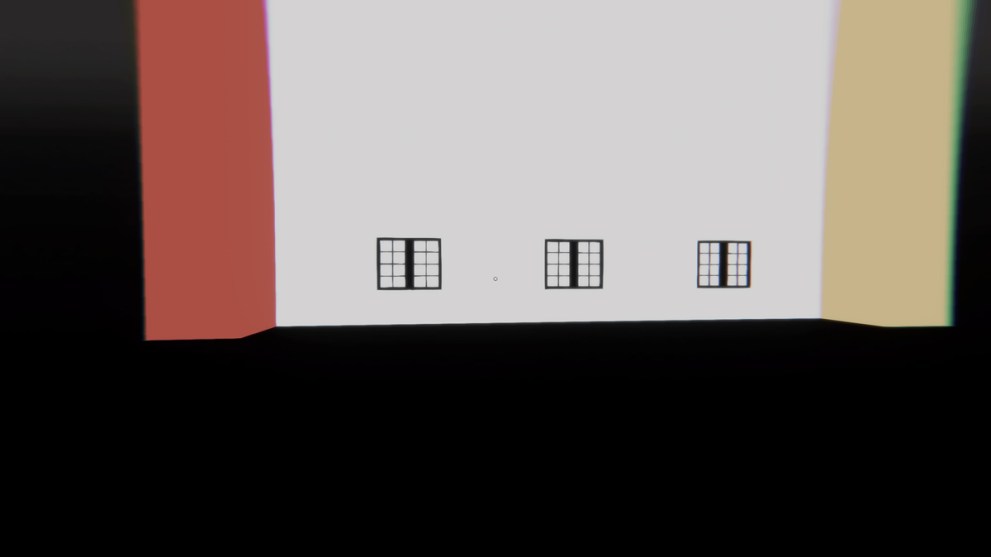
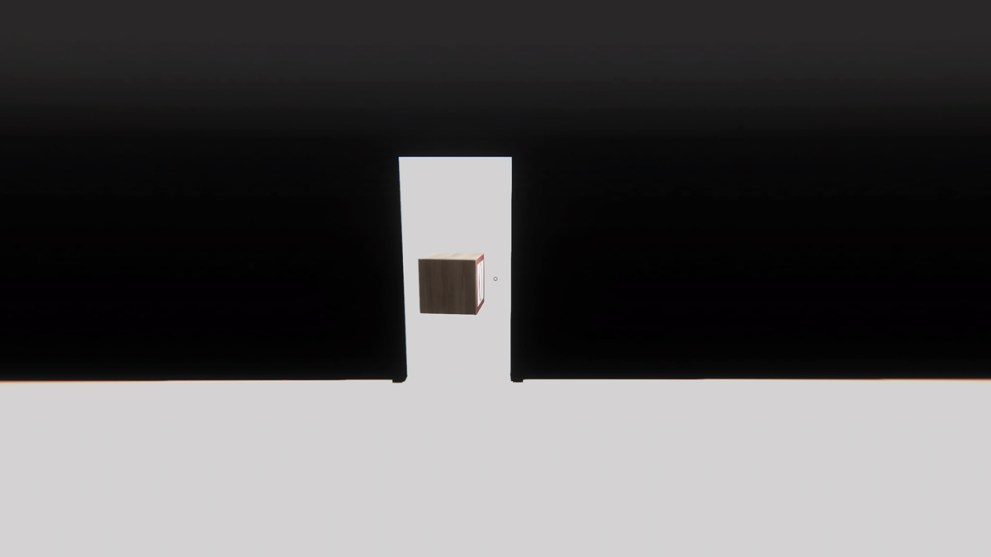
The first puzzle takes place in this room with all these blocks. The door is on the right side, over the C2 block.
Simply pick up the B0 block from anywhere and move around until it is smaller than the C2 block by enough that you can jump onto it. Now jump onto the C2 block and leave.
You can pick up any object and simply stand there and hold it for two minutes for the Vaguely Activated Achievement trophy/achievement.
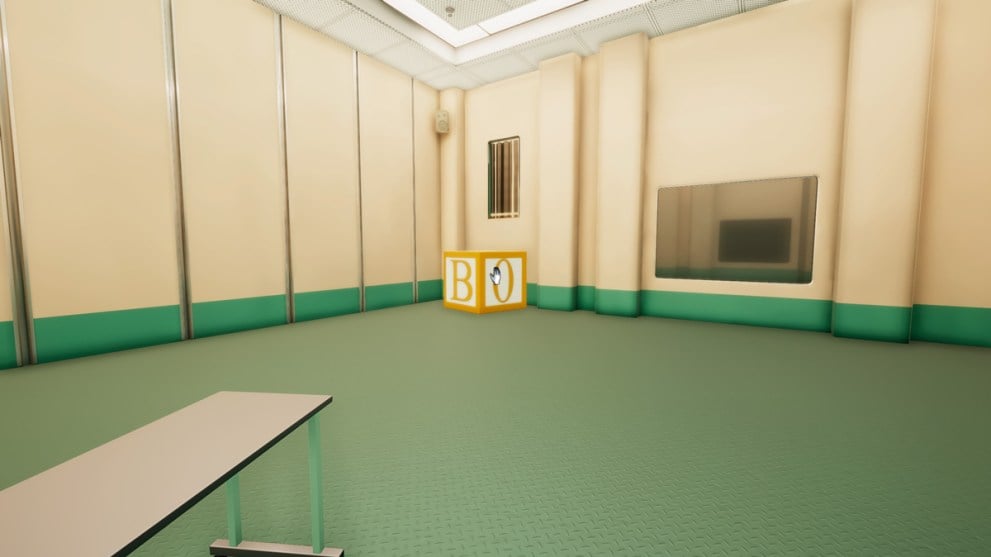
Puzzle 2
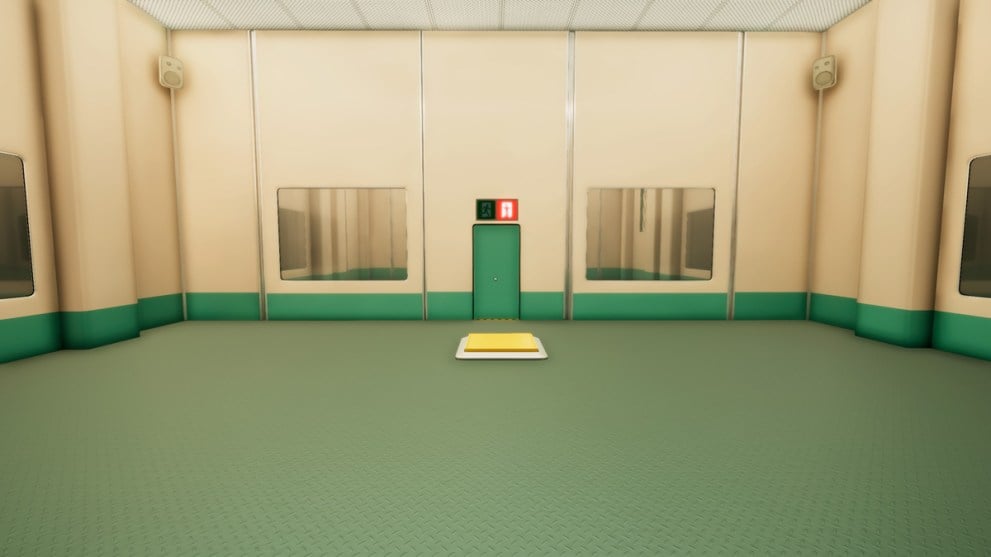
All that is in this room is a floor plate that operates the door, but there isn’t anything you can place on it. For this, step on the plate and move enough right that you can see the block on the table in the next room. Pick the block up and set it at your feet on the switch to keep the door open.
Once through the door, turn back around and pick the block up. Now just set it up in front of the exit in a spot that will let you jump up onto it and leave.
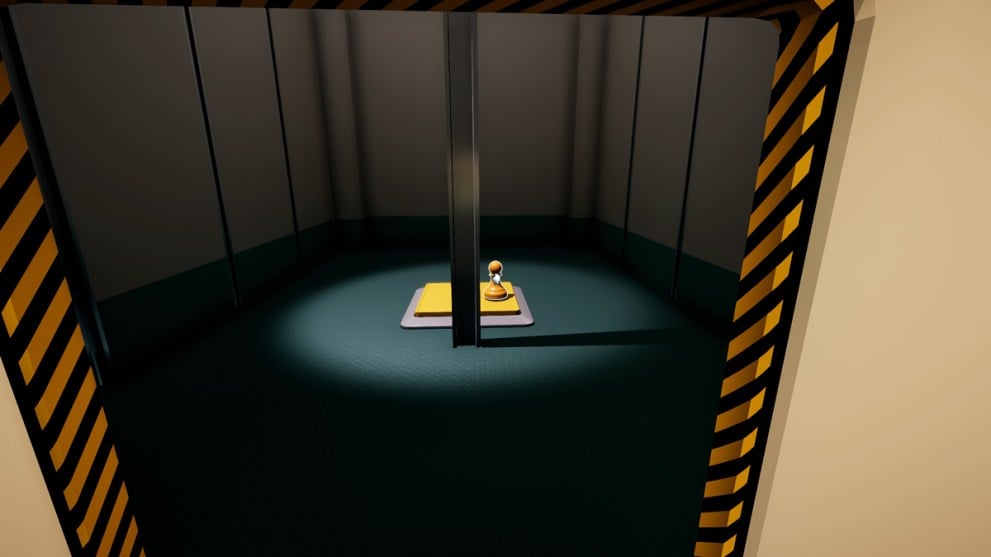
Puzzle 3
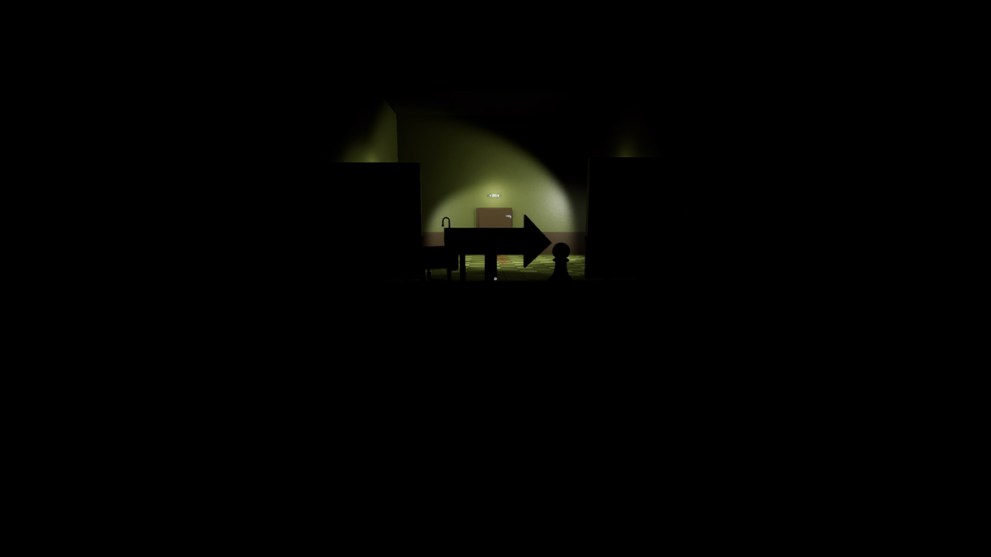
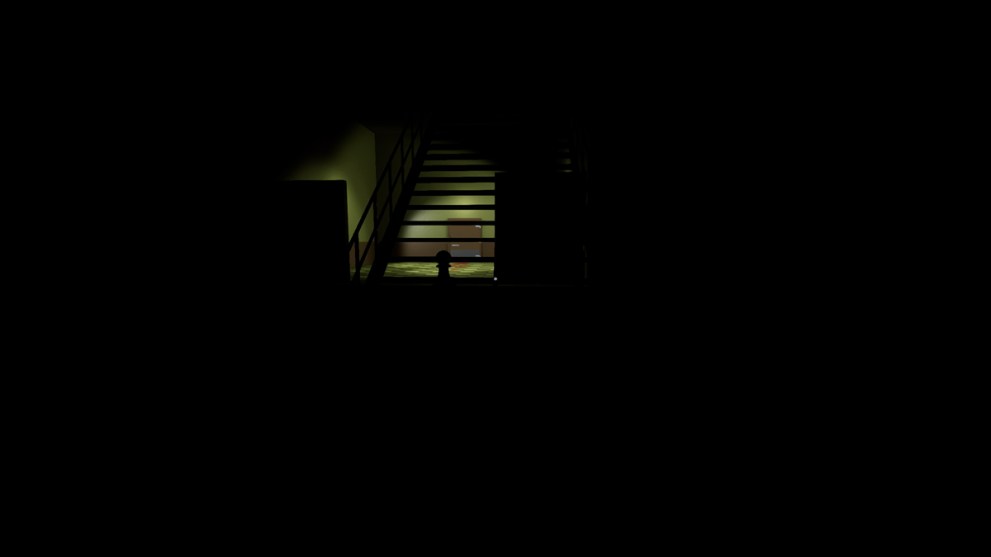
The hole on the left leads to a room with a pawn on the table. Pick up the pawn and take it to the right hole to drop on the pressure plate, this will open the door, and you can leave.
Puzzle 4
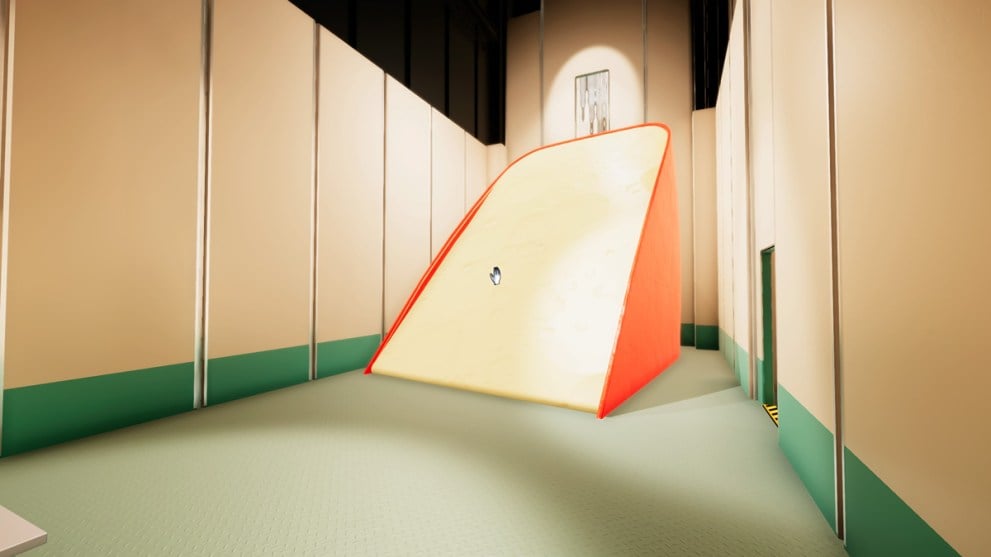
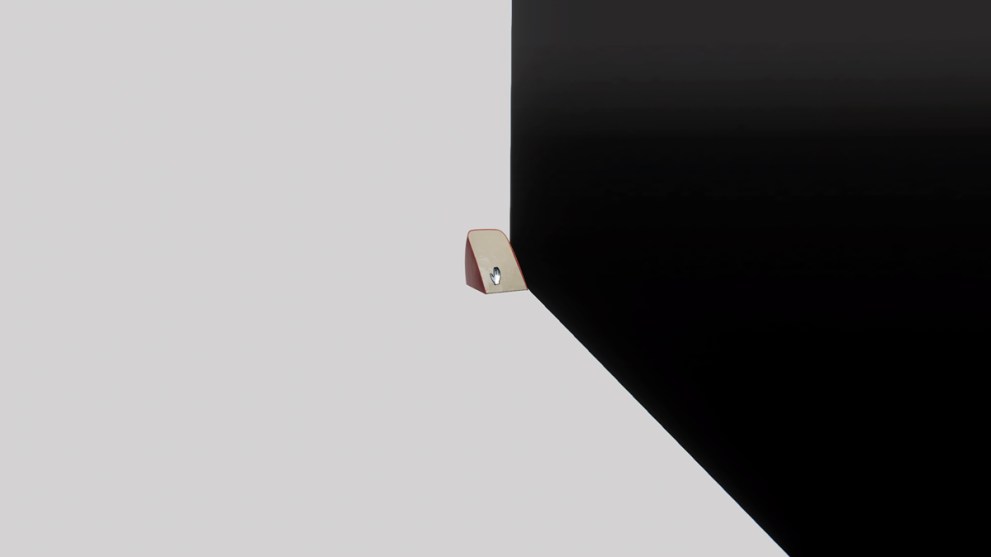
You’ll need to use the cheese wedge on the table to make yourself a ramp. The best way to make it big enough is to hold it and look straight up before dropping it to increase its size drastically.
You’ll likely have to do this a few times to get it the right size. Try to position it right on the door, as any movement might cause it to shrink.
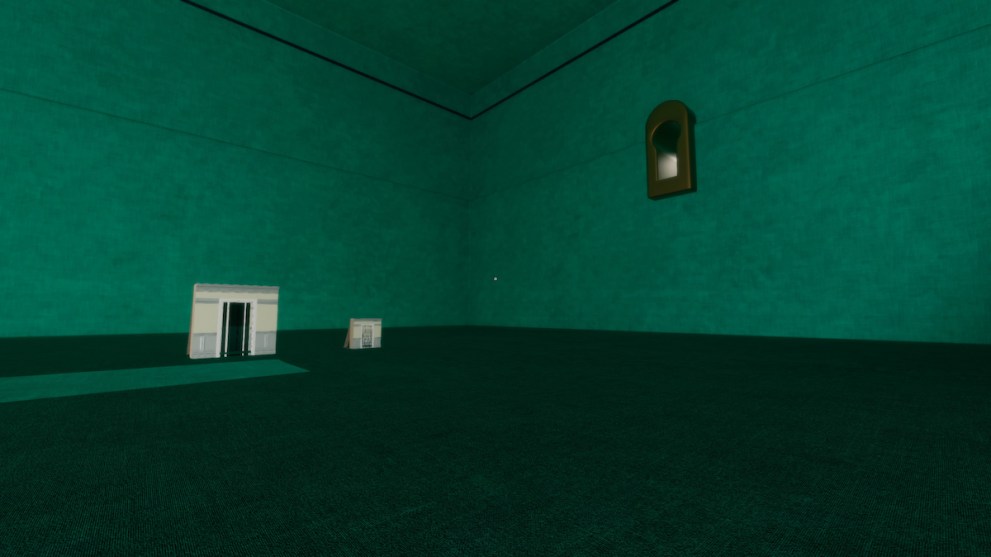
Puzzle 5

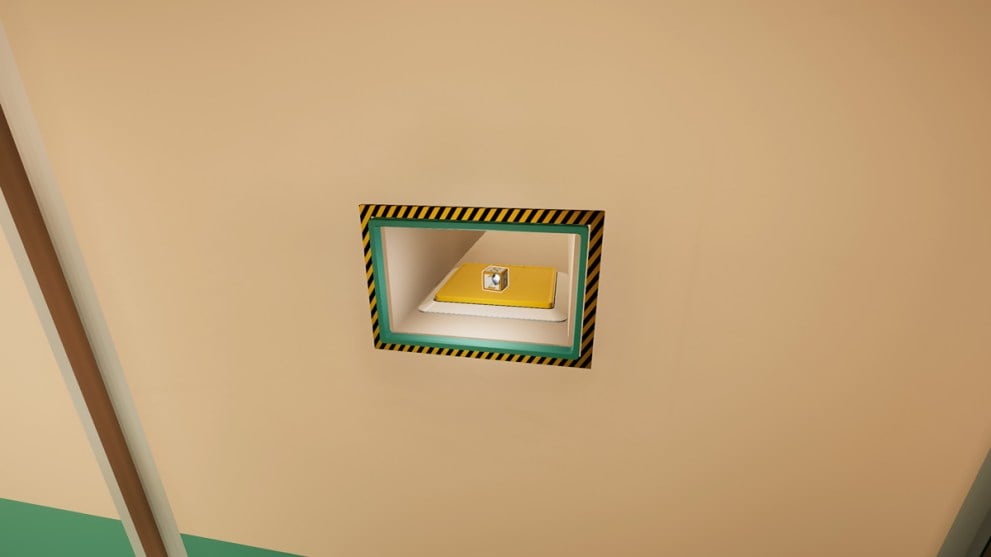
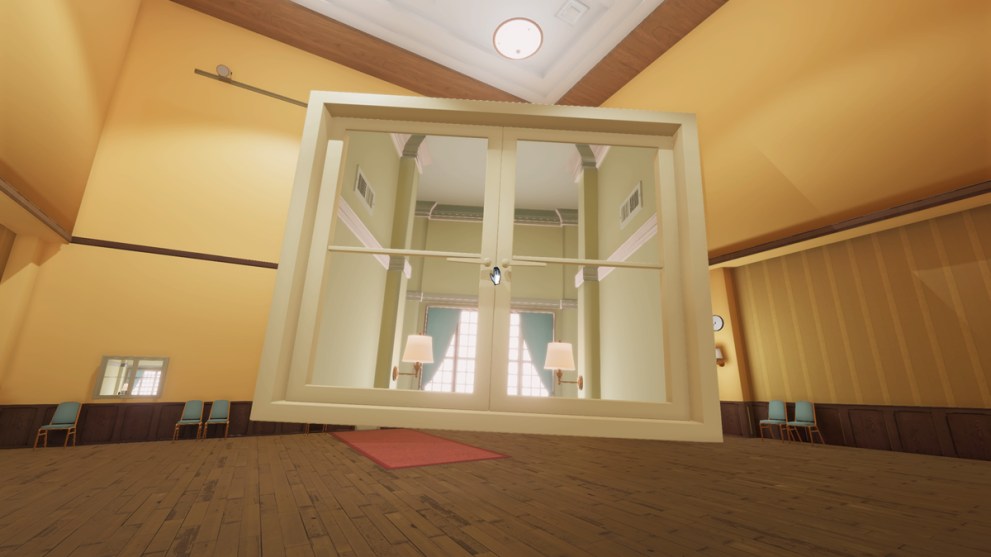
As you can likely tell, you’ll need to shrink the massive block and fit it into the slot by the door. For this, do the opposite of the cheese and look at the floor while holding it. This won’t get it small enough, so now walk to the other side of the room and pick it up from there to have it the right size. You can also walk into a wall while holding it to shrink it down.
Now all that is left is to walk back over and place it on the switch through the hole.
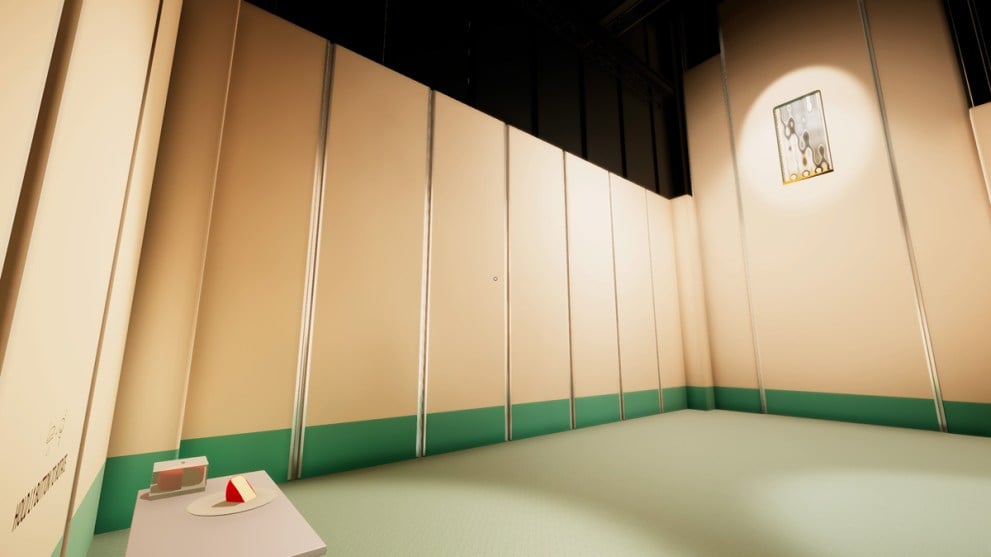
If you open up the boarded doorway, it will lead to a vending machine you can use to get a soda. Take the soda back into the puzzle room and drop it from above you so it busts open. This will unlock the Sugar Crash trophy/achievement.
You can also keep resetting the checkpoint and selecting different soda from the machine for the Soda Connisseur trophy/achievement.
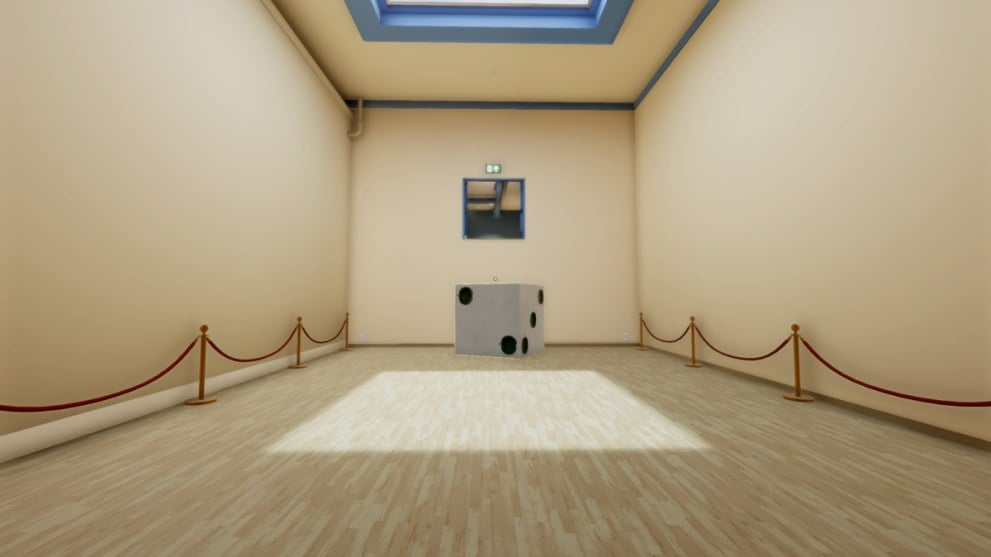
Puzzle 6
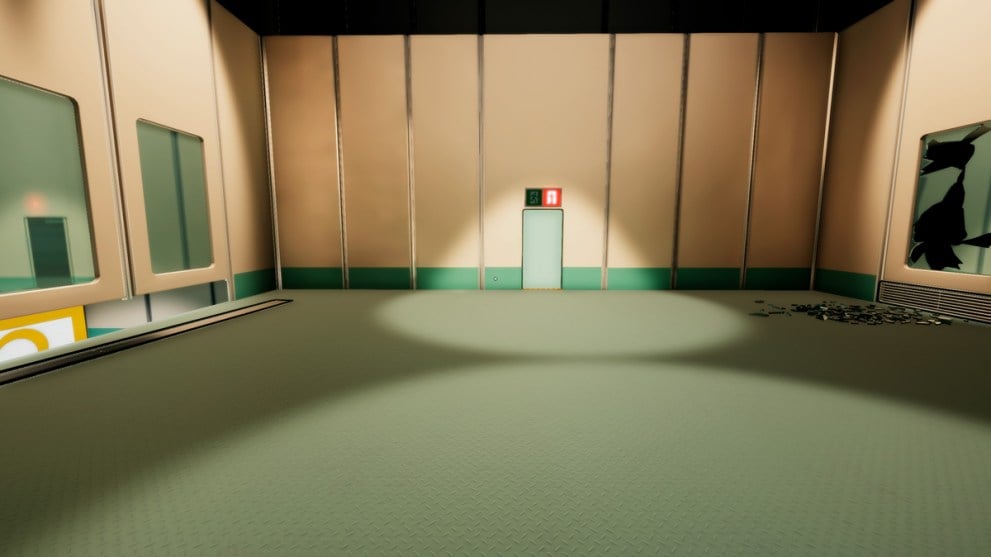
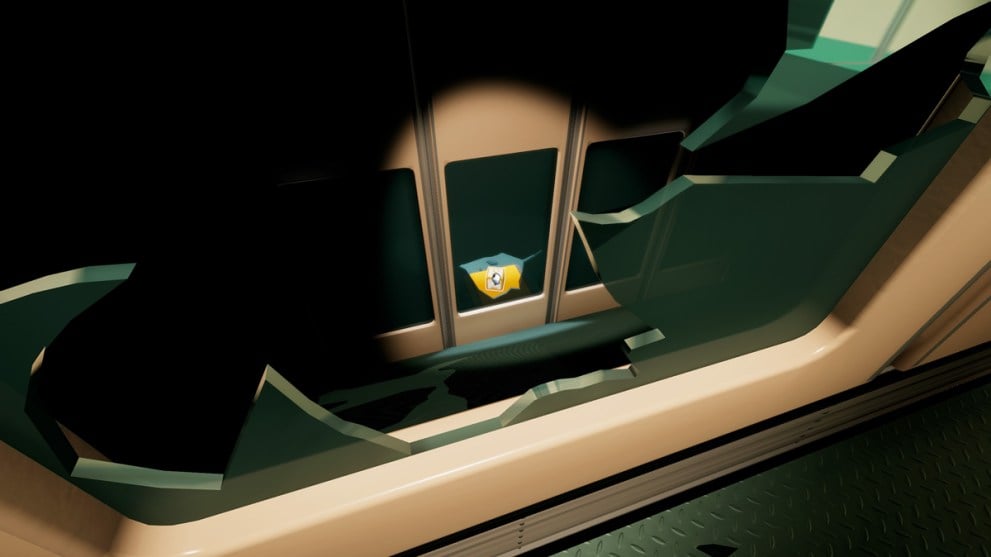
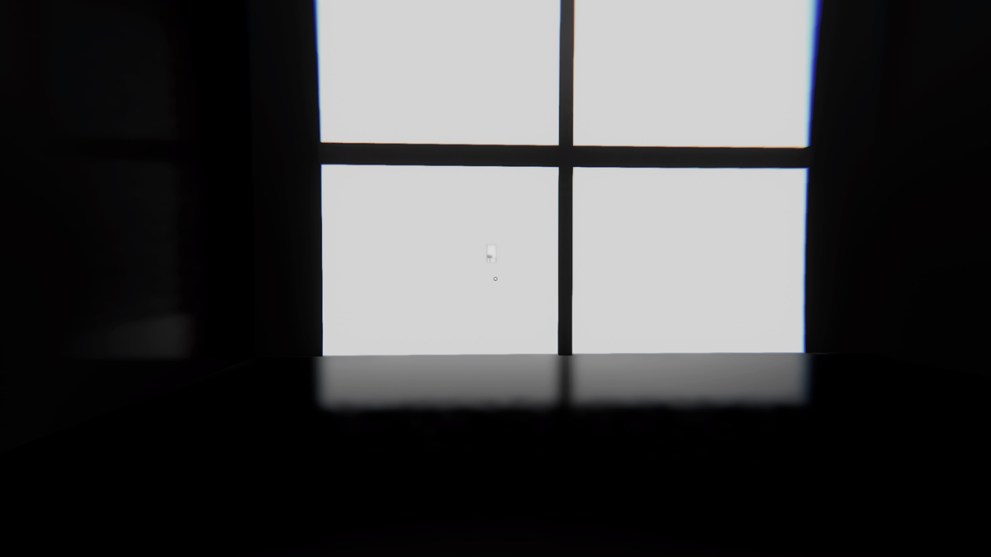
This room has a cube on the left and a broken window on the right that leads to the door switch. Simply follow the method you used in the previous puzzle to shrink the cube, then position it right here through the broken glass to drop it onto the switch.
Puzzle 7
Pick up the block while standing at the furthest corner away from it. Now look up and move to the wall with the black and yellow markings, aiming to position the block perfectly over it.
Put it roughly where it covers one of the overhead lights and then let it drop, making it fall onto the other side or land perfectly on the wall. Now cross the doorway and pick up the block to place it onto the switch to open the door.

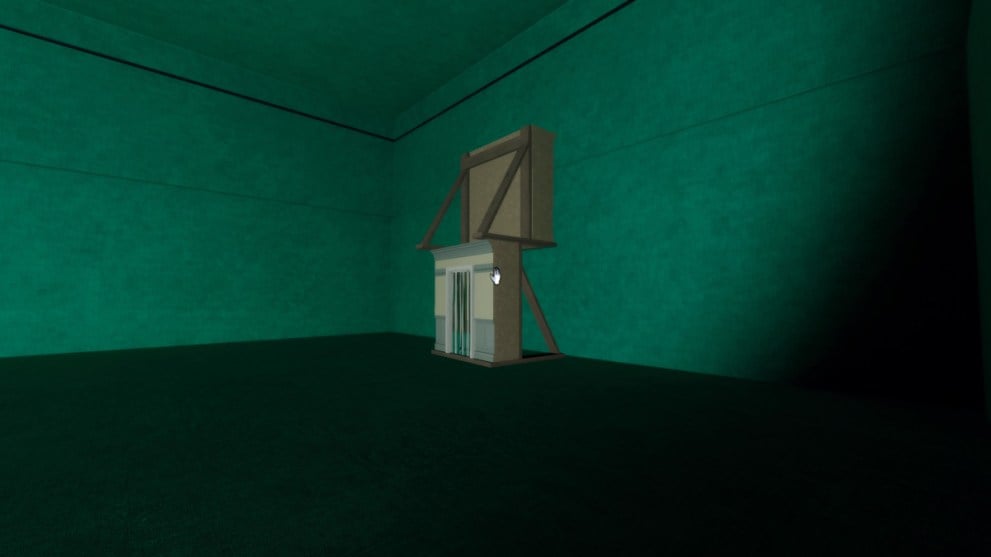
Puzzle 8
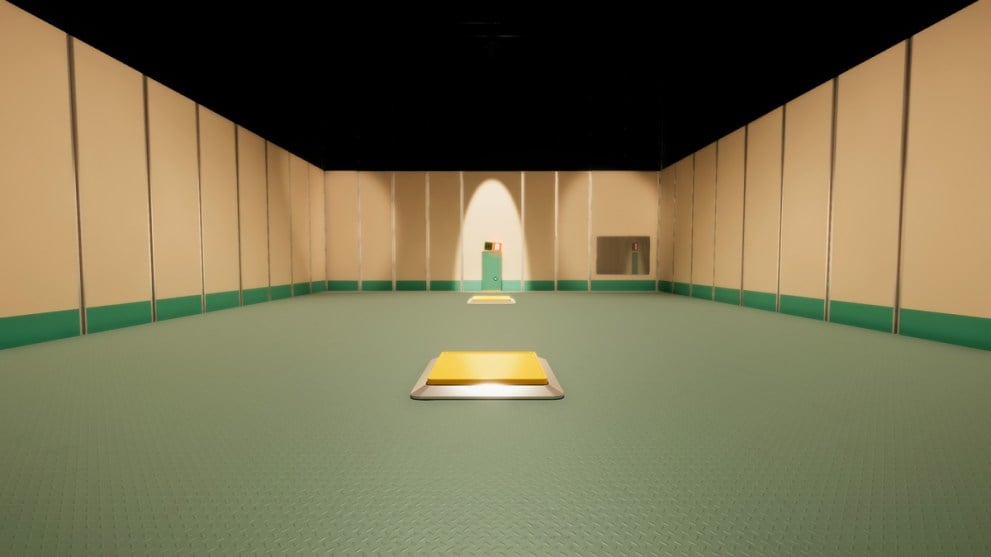
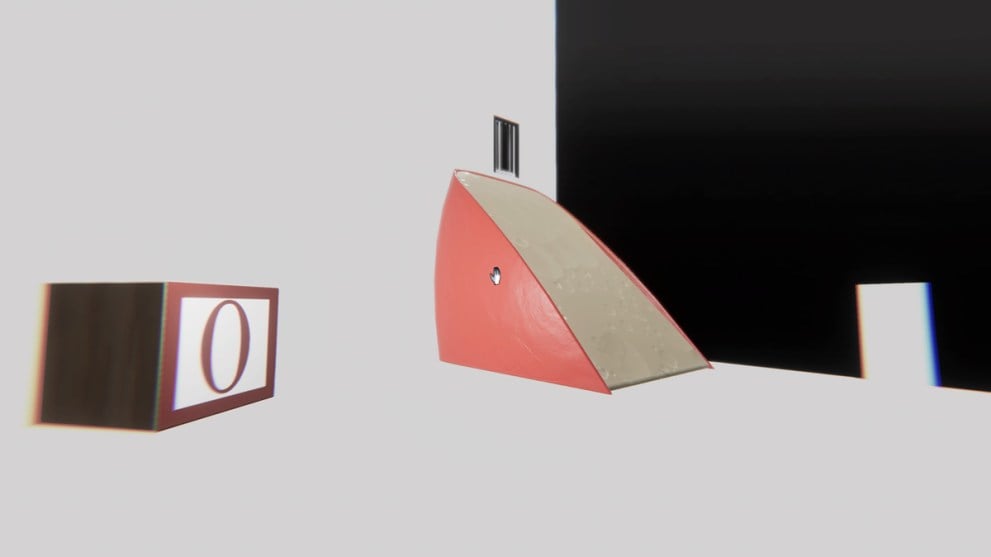
You’re in a room with two switches and no blocks. However, you can remove the sign above the door. Use the technique to make it big and rotate it to be horizontal. If you get it right, it will cover both switches once dropped. As with puzzle four, you don’t want to move the sign, as it will improperly resize it.
On a correct drop, it should fall over while activating both switches.
Puzzle 9

Ignore the switch and the door, as they aren’t real. Instead, go to the left wall and pick up the cheese wedge through the slats. Do the size increase trick and keep dropping the cheese in front of the slats you picked it up through. You will eventually get the right drop that will knock them down.
Now follow the exit signs until you fall through the floor.
Subliminal Chapter 2 Puzzles
Puzzle 1
After going through some linear hallways, you’ll end up in this square room that doesn’t seem to lead anywhere. You’ll want to remove the exit signs are do the trick with the two switches to make a ramp. You’ll want this ramp to lead over the wall in front of the scissor lift.
Puzzle 2
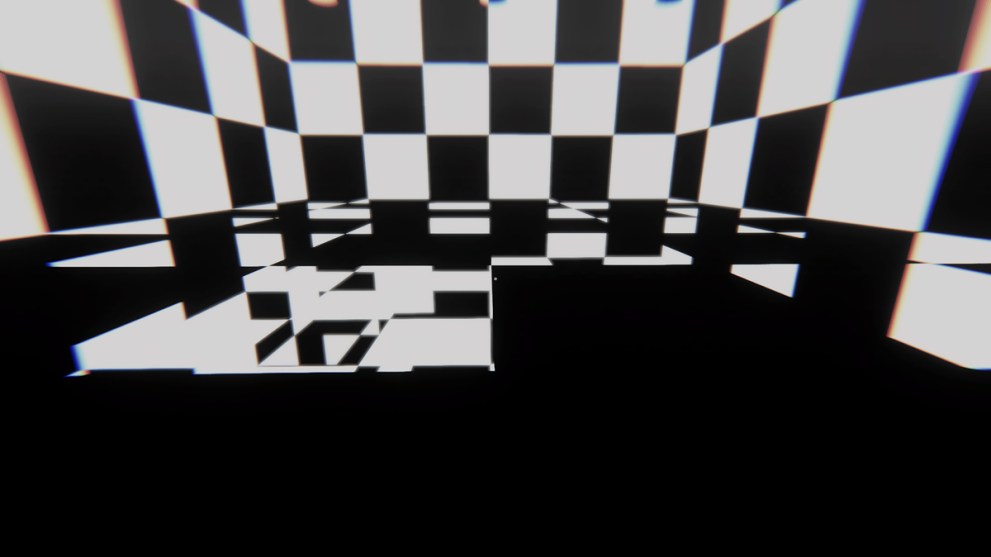
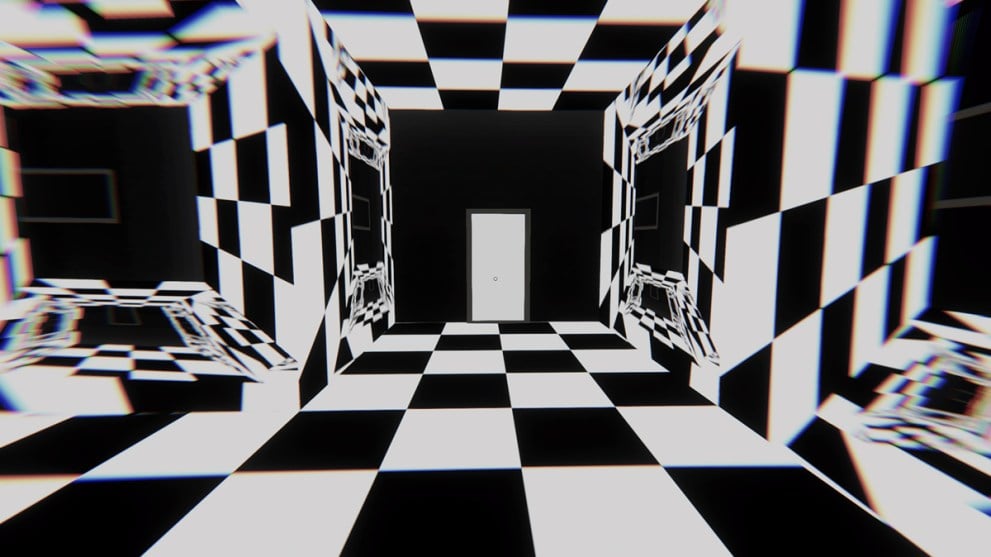
This puzzle will feature the start of a new mechanic where you’ll have to solve an optical illusion to get the object you need to continue on.
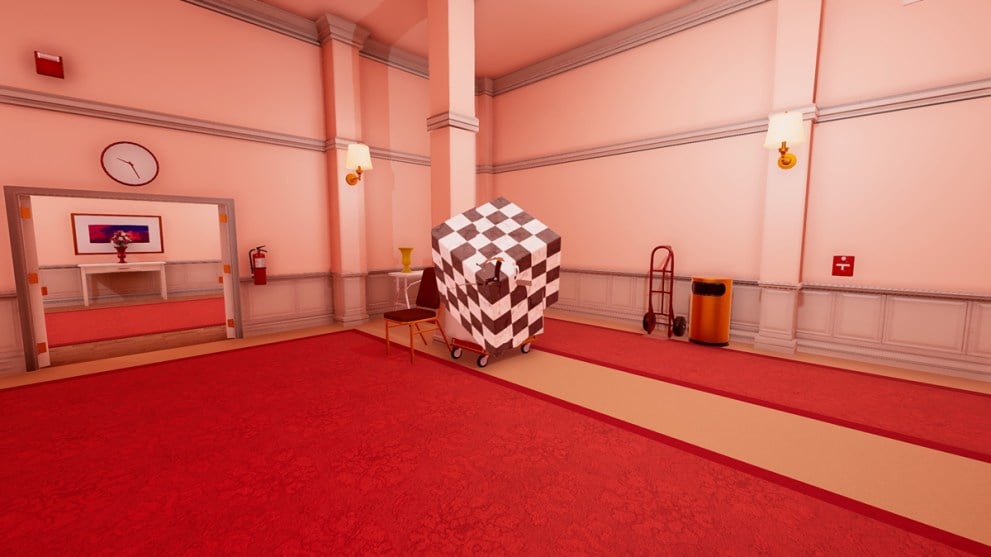
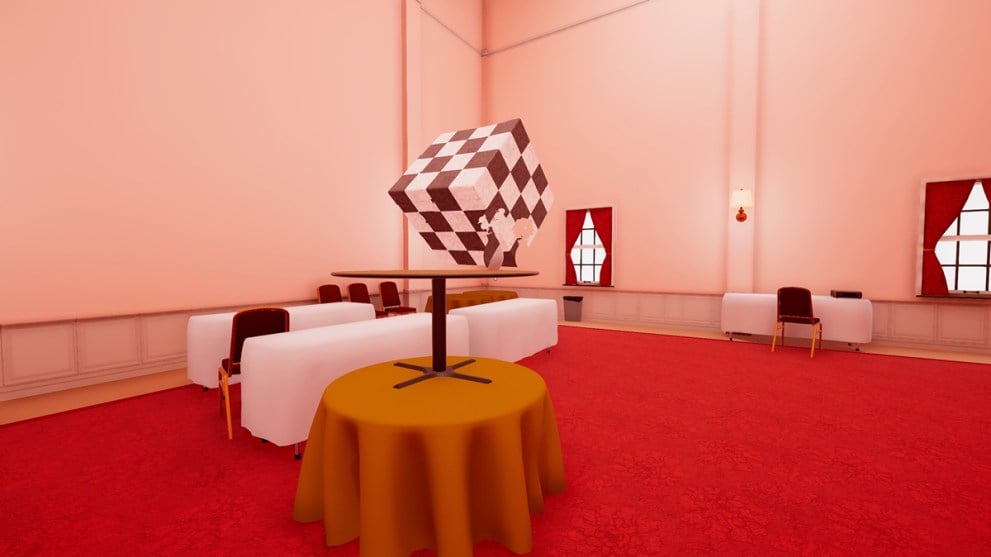
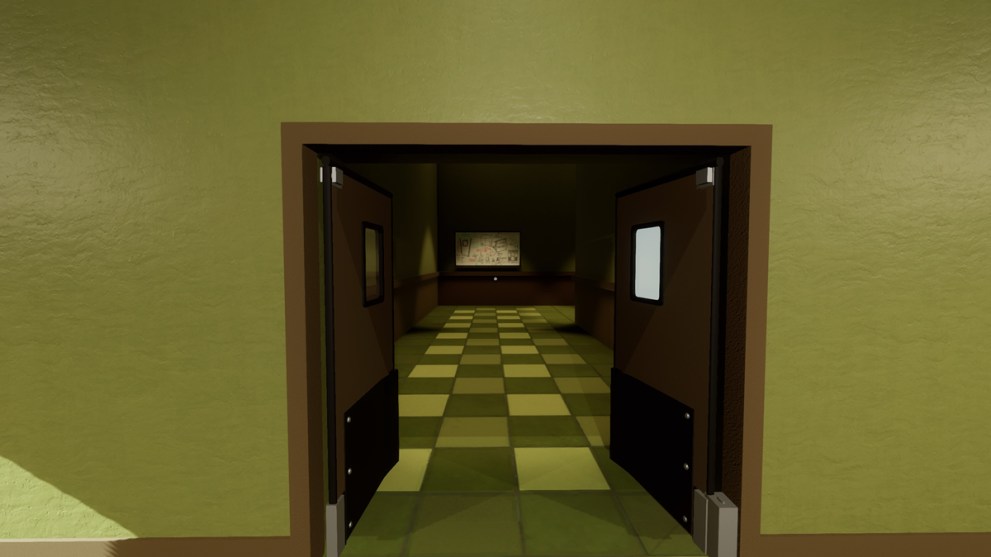
Go into the room on the right and line up the checkered pattern into a cube you can use to exit. Don’t worry about having to line it up perfectly; the game will automatically shift you into the right position when you get close enough.
After going through the doorway, you’ll be in the next part.

Don’t worry about picking up the cube you just used. Once again, go to the right door to get another cube through a similar optical illusion.
First, line up this table and flower vase on the wall to complete the cube optical illusion.
With that table now real, you can create the checkered cube.
However, this isn’t just a cube. If you rotate it, you will see it hides a set of stairs to get you out.
Unlike cubes that take a little work to jump onto, the stairs provide a perfect way up.
Once through the doorway, pick up the stairs and bring it in with you. Set them up on the left side of the area.
Now you just need to line up the bit on this pillar with the stretched-out exit door on the floor to make it real. Now pick up the door to reveal the actual exit.
Puzzle 3
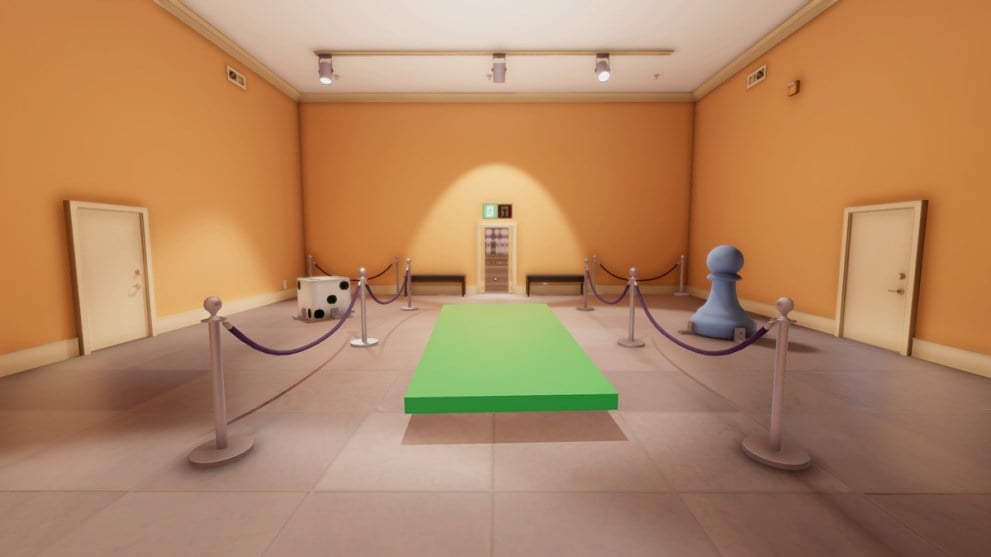
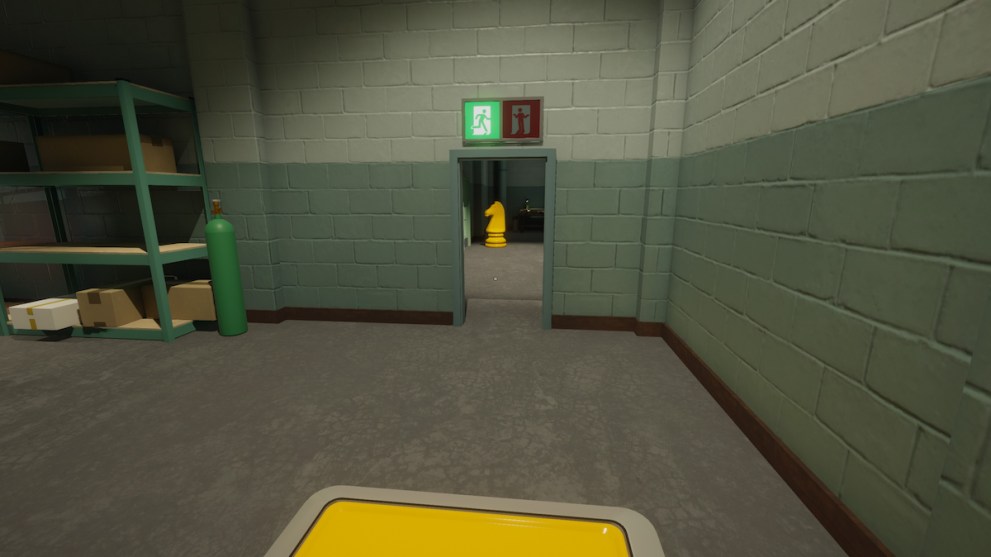
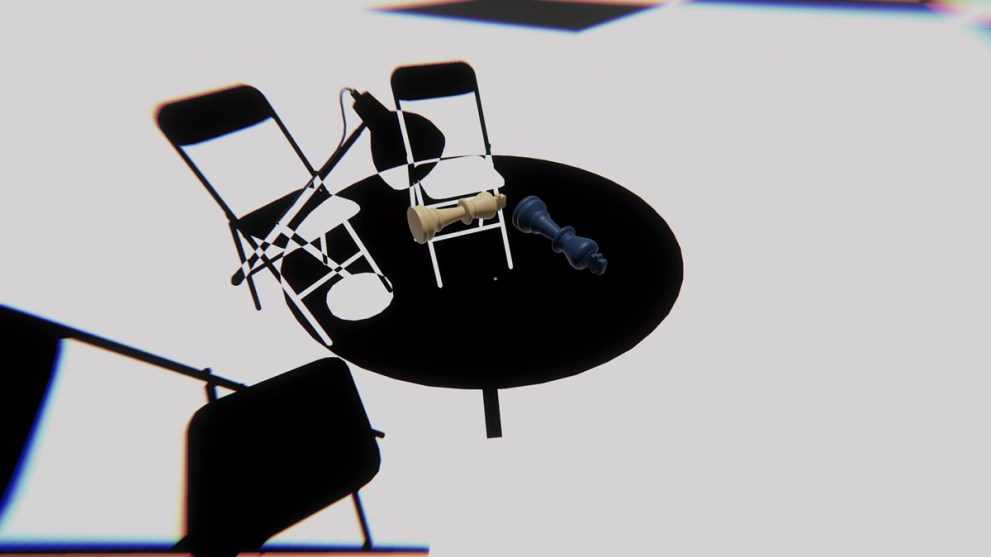
Your first move is to use that green pipe to release the checkered box.
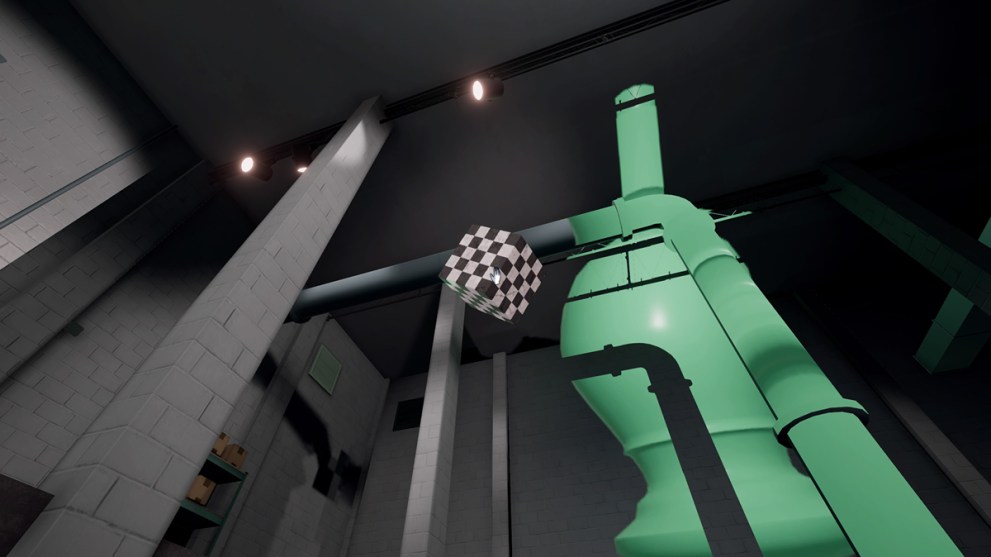
Use the checkered box to get up on the ledge, and then go around to the yellow platform and line up the pipe to make this King real.
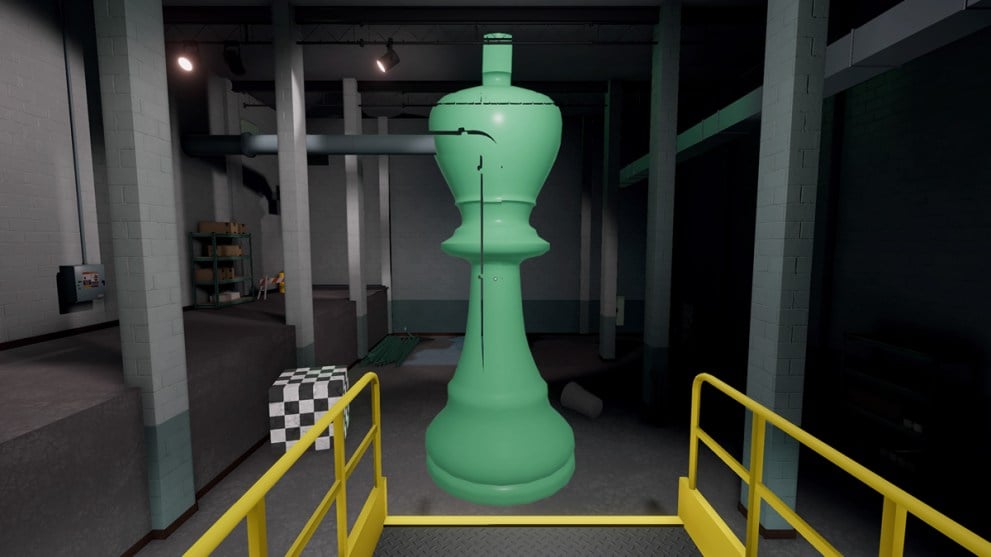
Removing the King will reveal a hole in the wall for you to leave. The other doorway up in the wall was a red herring that only leads to a nook that awards players with the Please Use Other Door trophy/achievement.
Puzzle 4
Make your way to the open windows and move in a way that lets you grab the moon through one of them. The moon is unique because it doesn’t fall to the floor when released.
You’ll want to position it somewhere at eye level and make it large enough to get to the objects on it. The only object that matters is this square you can see through, as it is the exit.
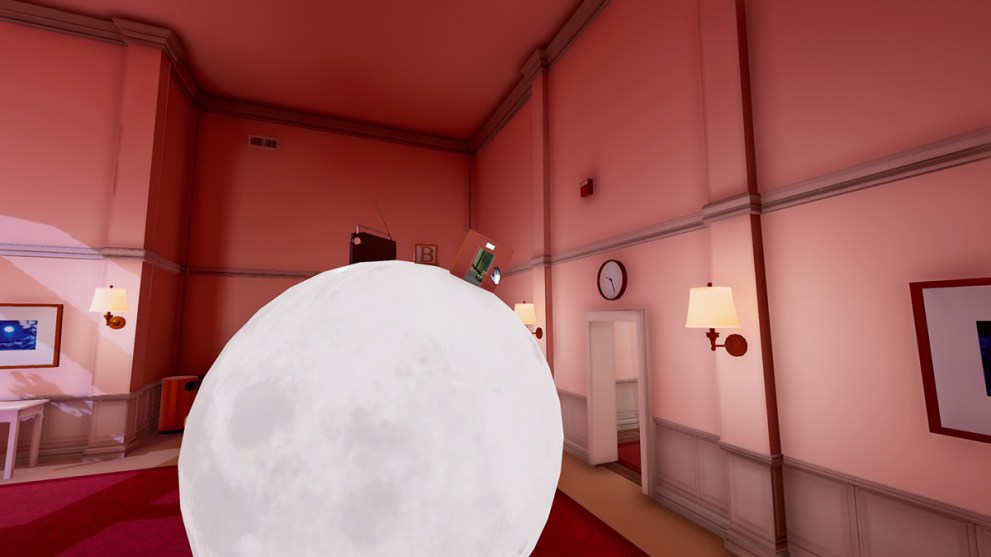
It doesn’t matter where you put it, as all that matters is that it is big enough that you can fit through it.
Superliminal Chapter 3 Puzzles
Puzzle 1
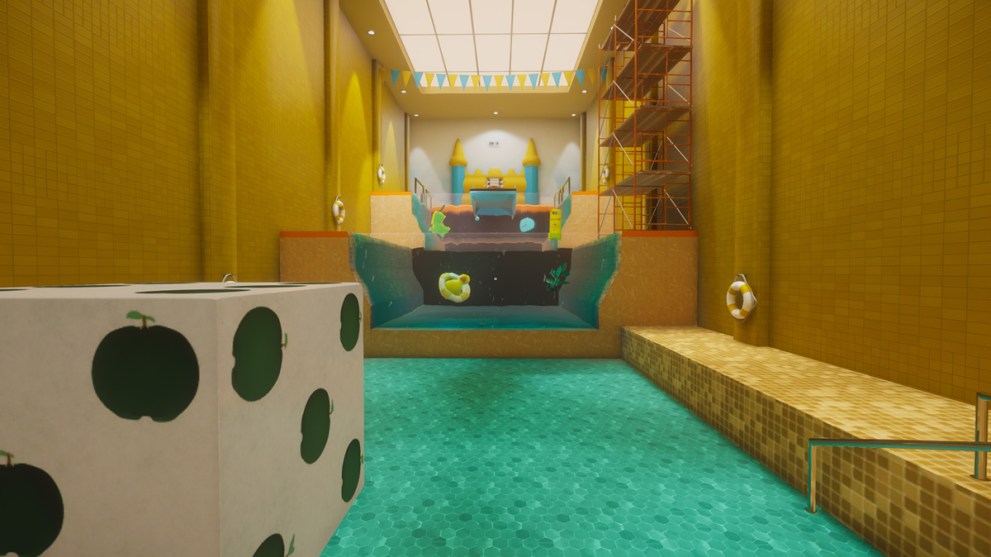
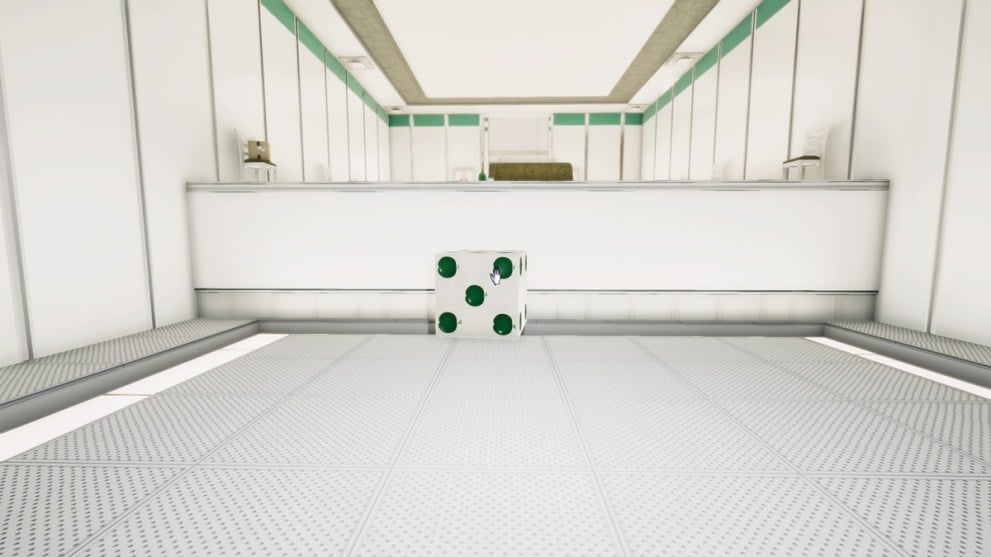
Collect the die inside the room on the right and use it to get up on the ledge straight ahead. Make sure to pick it back up and continue ahead with it.
Use it again on the doorway ahead, as the die on the left is a trick, and you can only pick up half at a time.
Pick up this die around the corner ahead to reveal the hole underneath.
Drop down the hole and remove the grate to continue into the next puzzle.
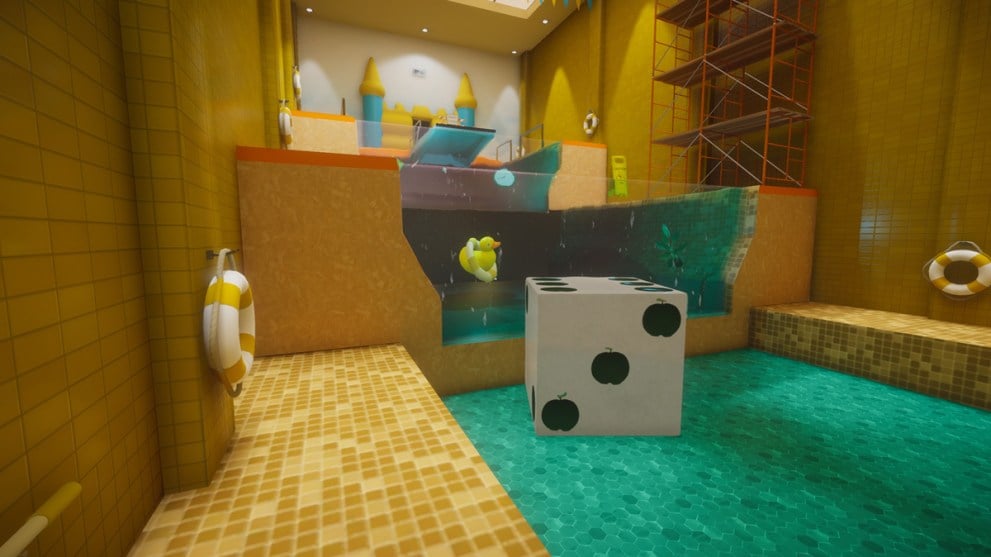
Puzzle 2
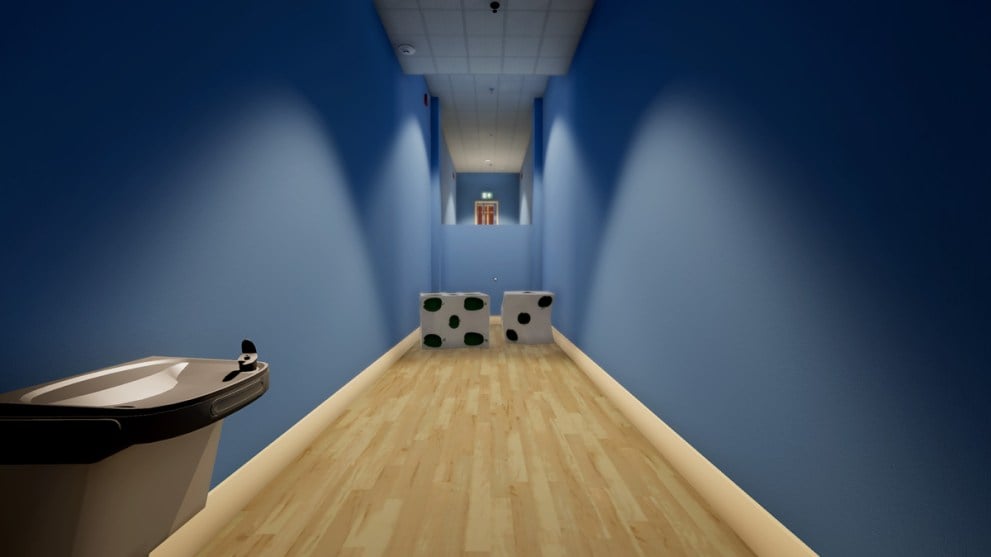
There’s no need to move anything as you can jump onto these dice and easily reach the ledge.
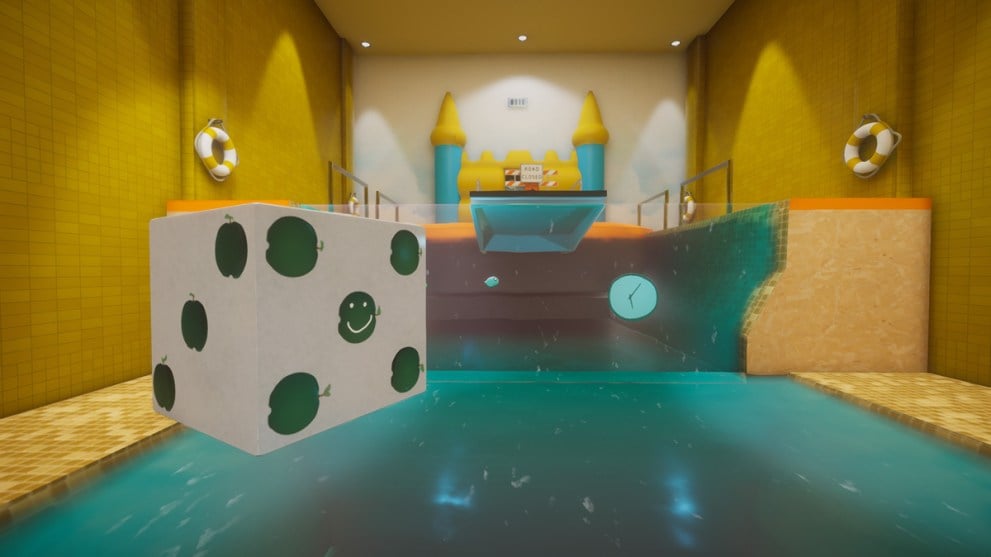
Puzzle 3
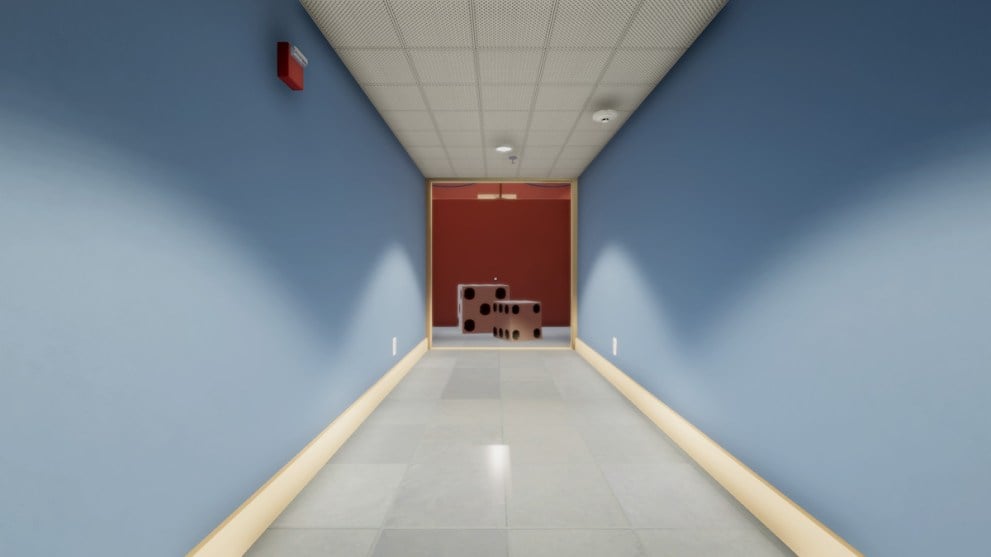
The dice ahead are fake, and there’s nothing to do here. Just go up the stairs and into the next puzzle.
Puzzle 4
We’re onto a new mechanic, so you can’t pick anything up. Instead, you can only move certain objects horizontally or vertically.
Drop the three-pip die into the floor and drag the six-pip to the opposite wall to jump up onto the ledge and out.
Puzzle 5
Grabbing either die will cause them to fall apart, so use one of the flat panels to make a ramp and exit.
Puzzle 6
You can pick up that die normally, but it will break into a mess of smaller cubes when you drop it. You should be able to climb onto the pile and jump up onto the ledge without moving any of them around.
The big die ahead isn’t real. Only the front will be removed when you pick it up, showing you the exit you’ll have to fall through.
You’ll land in an area that looks just like the first puzzle of this chapter. Your only option is to turn around and go through the open door and into the elevator that will end this chapter.

Superliminal Chapter 4 Puzzles
Puzzle 1
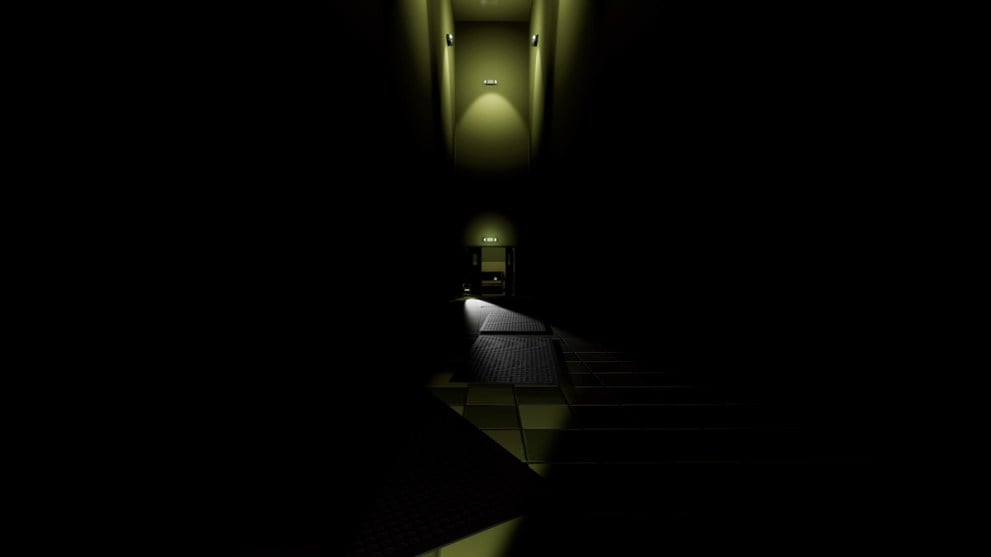
Don’t be fooled by the darkness. Move directly to your right from here, and you’ll see a door ahead. Go through this door, and the entrance to the next puzzle will be on your left.
Puzzle 2
There’s a huge hole in the floor after the doorway to your right, but there is a path to get you across. Check the left side of the hole while looking down to determine where this path begins.
You’ll need to follow it to get to the other side. It may not look like it, but once you reach the end of the path, you can jump to safety.
Puzzle 3
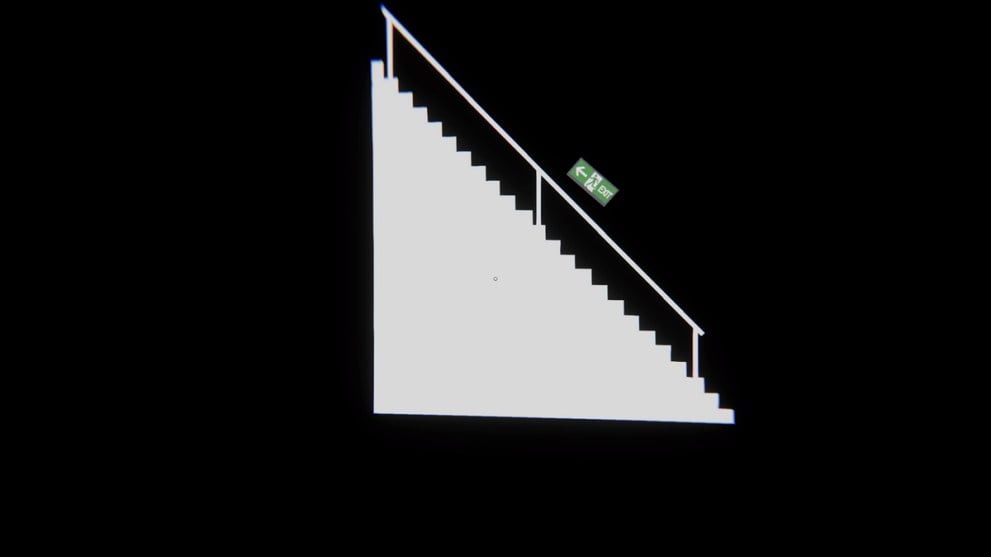
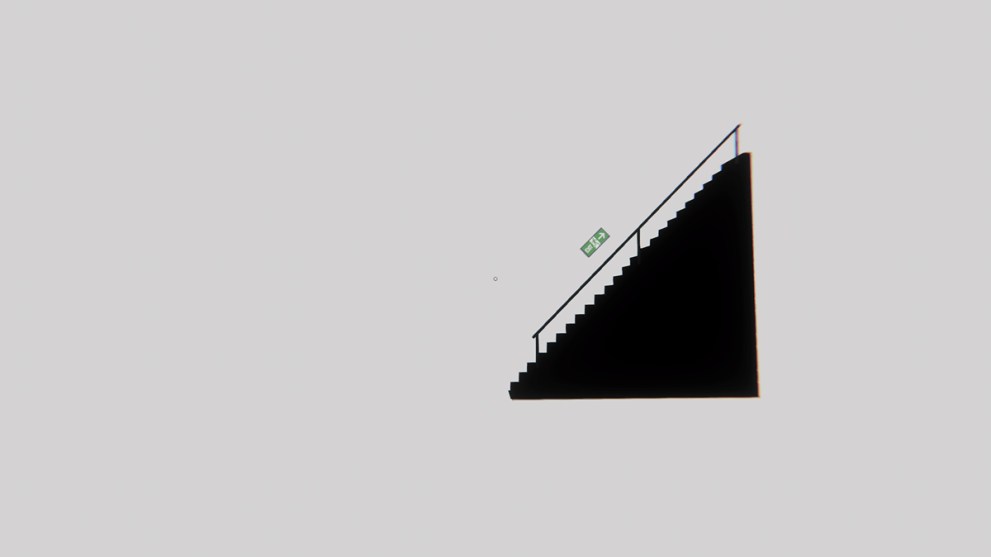
Darkness plays a big factor, and you’ll need to walk to the back of this area to figure this one out. Once you’re firmly in the dark area, turn around and keep your eyes on the door you came through. Use this to identify the objects that would otherwise blend in. Keep moving backward until you are in front of this arrow.
Now move directly right without turning to find a set of stairs. Follow them up and around the catwalk to head into the next puzzle.
Puzzle 4
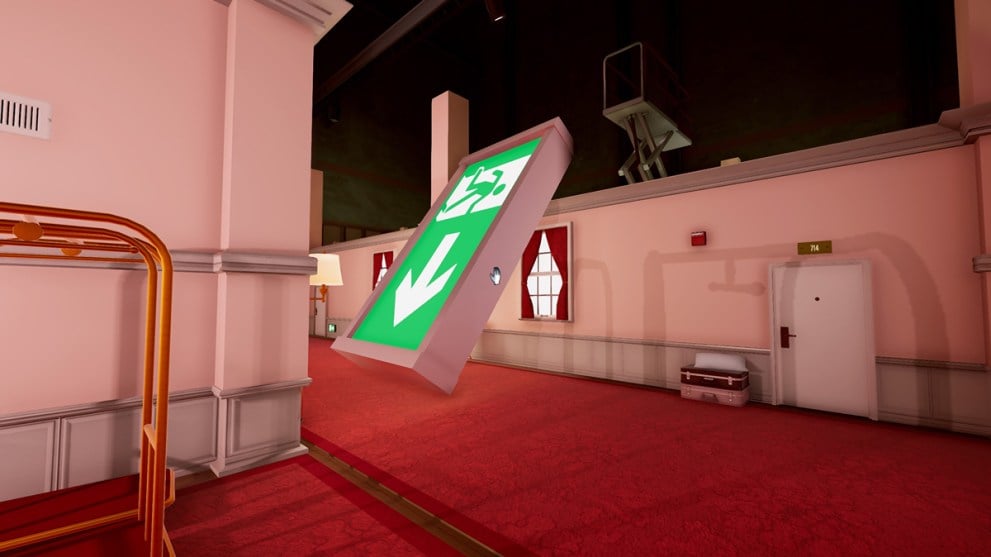
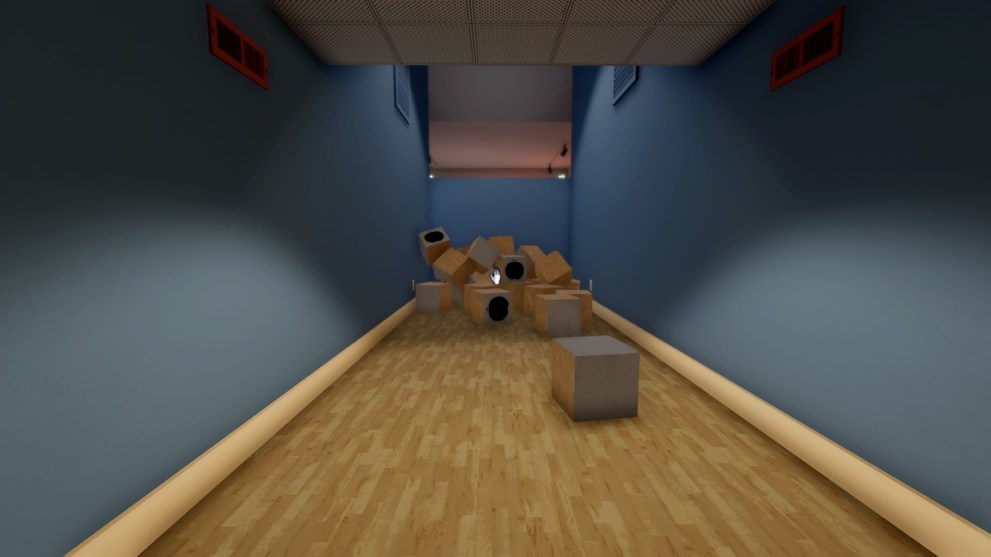
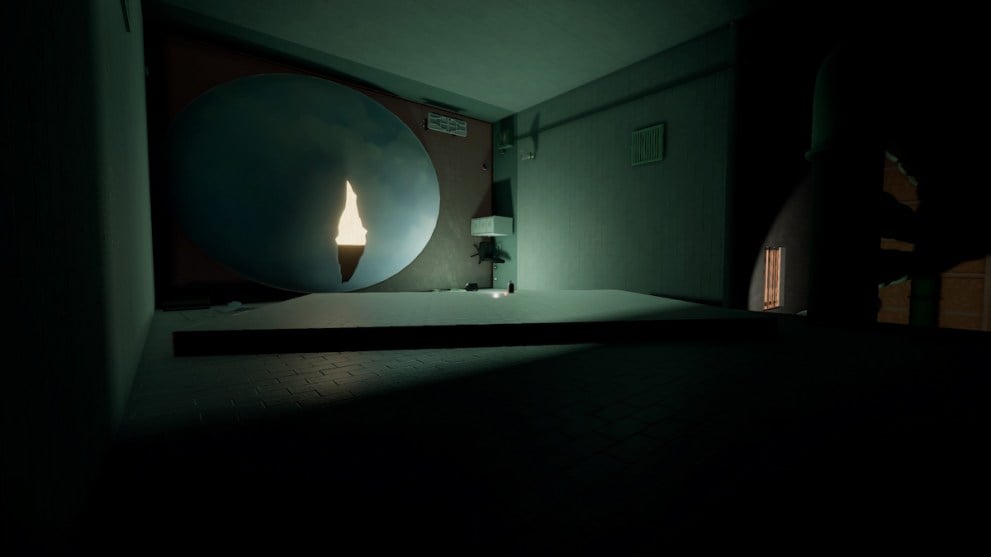
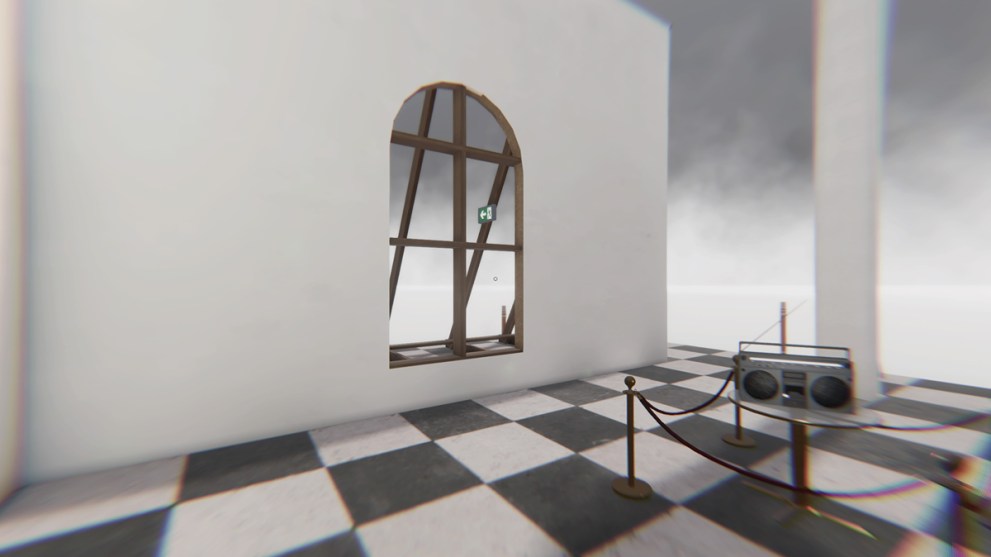
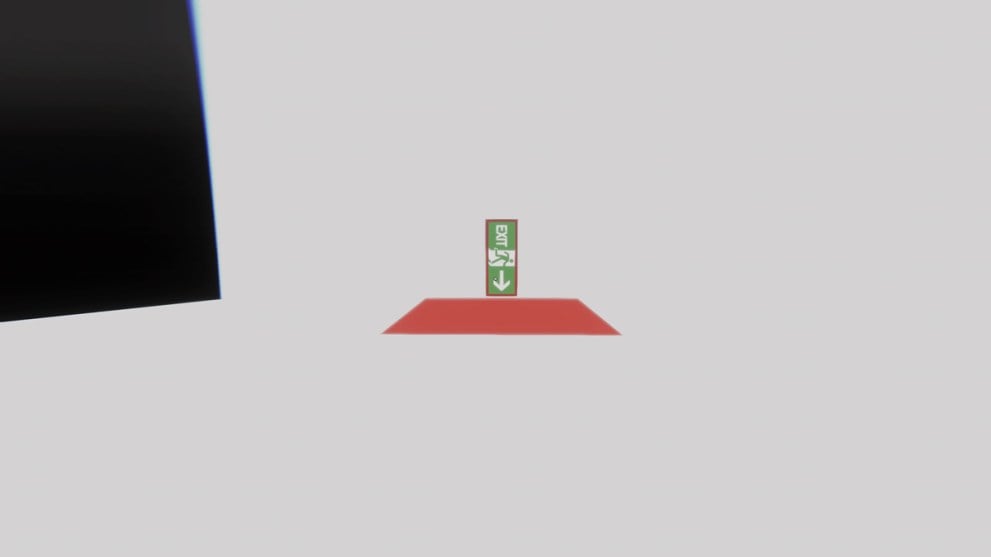
Move ahead through the plastic curtain and into the red-lit area. You can pick up the red exit sign on the other side of the boarded-up doorway.
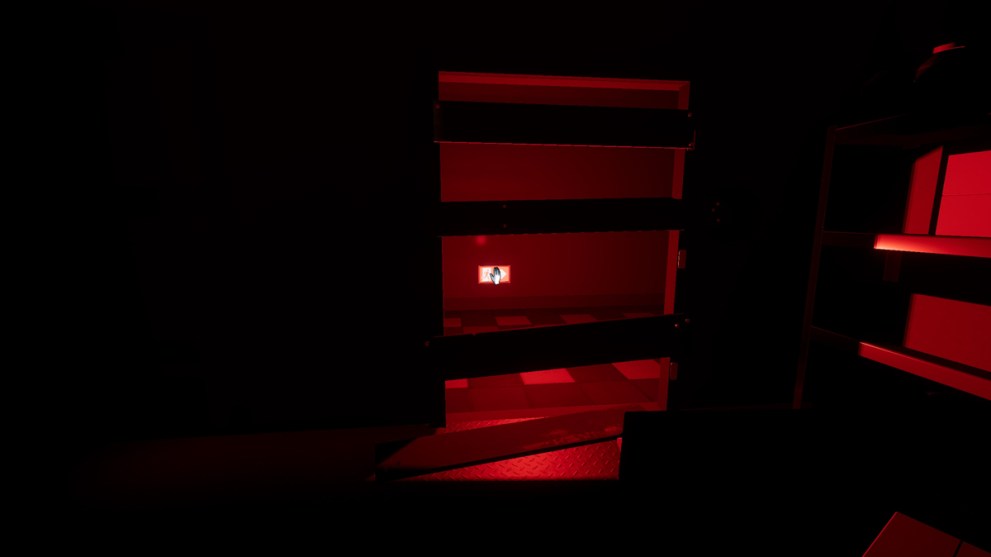
Take it back to the first area and make it a little bigger to give you more light. You can use it like a flashlight to navigate the previously pitch-black area to the left of the puzzle entrance.
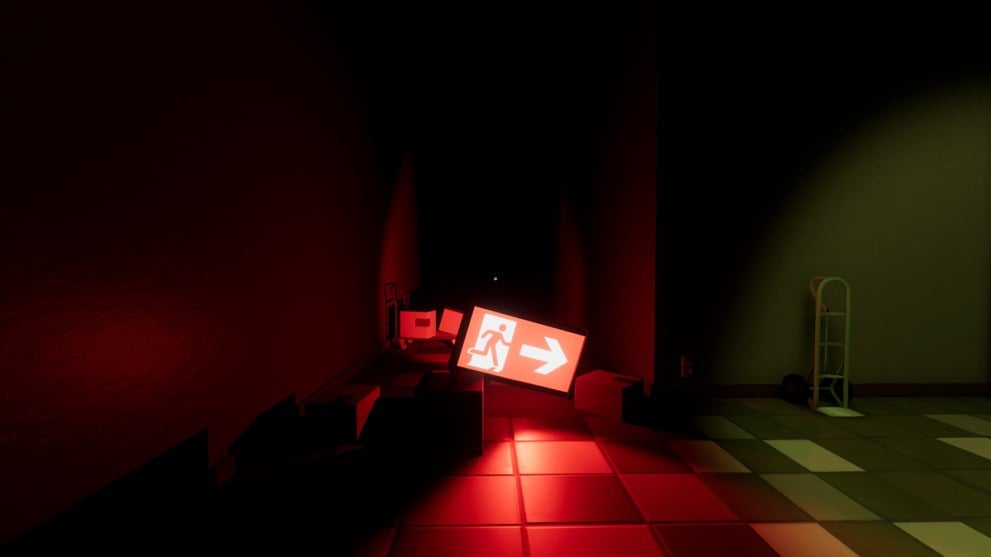
From here, it’s just a linear path through boxes that there’s no hope of getting through without the light.
Puzzle 5
As with the previous puzzle, you’ll want to take the red exit sign off the wall ahead. Now make it larger and drop it, allowing you to see this previously hidden doorway on the back wall.
Puzzle 6
Follow the linear corridor to this IDEA generator that will turn on the lights when you try to pick it up.
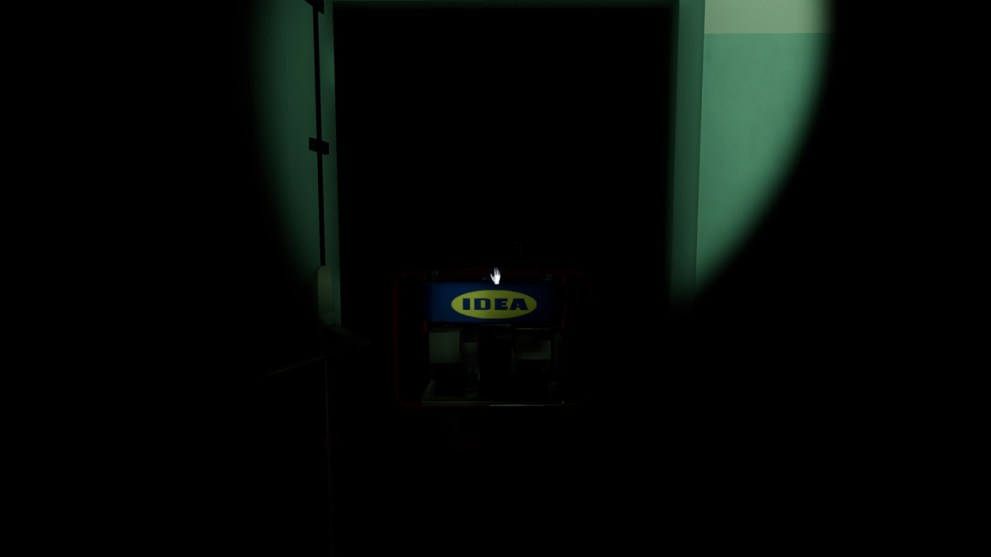
There’s nothing else to do here, so walk through the double doors in the back and head to the elevator that ends the chapter.
Superliminal Chapter 5 Puzzles
Puzzle 1
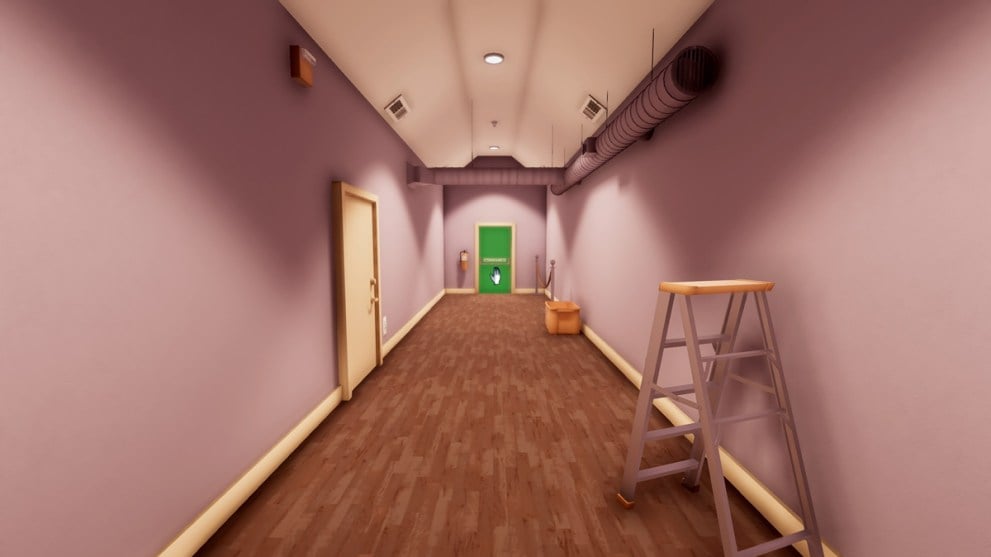
Take off the green door ahead and bring it with you as you follow the corridor into this room with a door and a switch.
Now place the door onto the switch and head into the next puzzle.
Puzzle 2
Go down this hallway and turn right to arrive at the green door.
The gimmick here is that the door will spawn infinitely smaller doors when you click on it, so press the pick-up button on it many times until you can use all the doors as a ramp to get over the wall and exit the puzzle.
If you spend a little more time cloning the door, you will eventually get the Why Are You Like This? trophy/achievement.
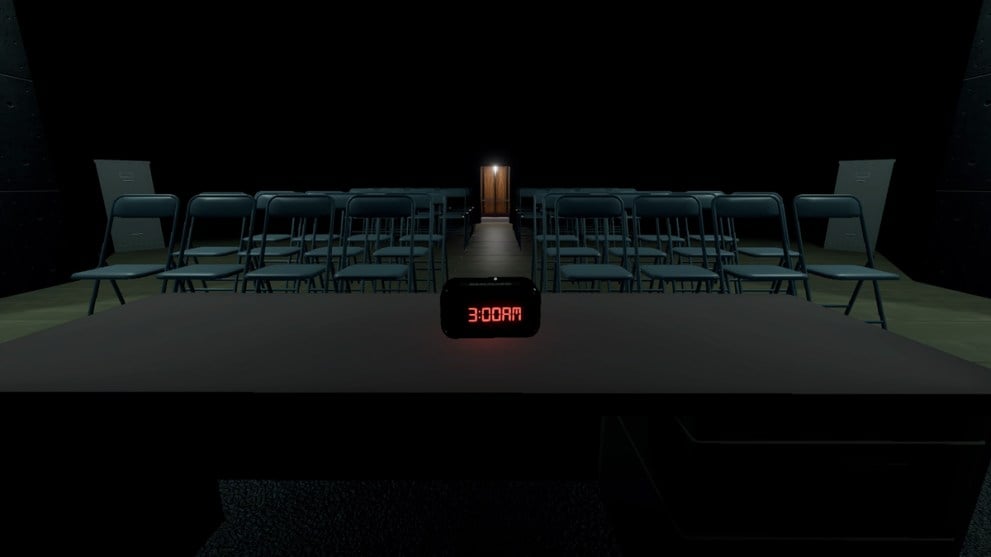
Puzzle 3
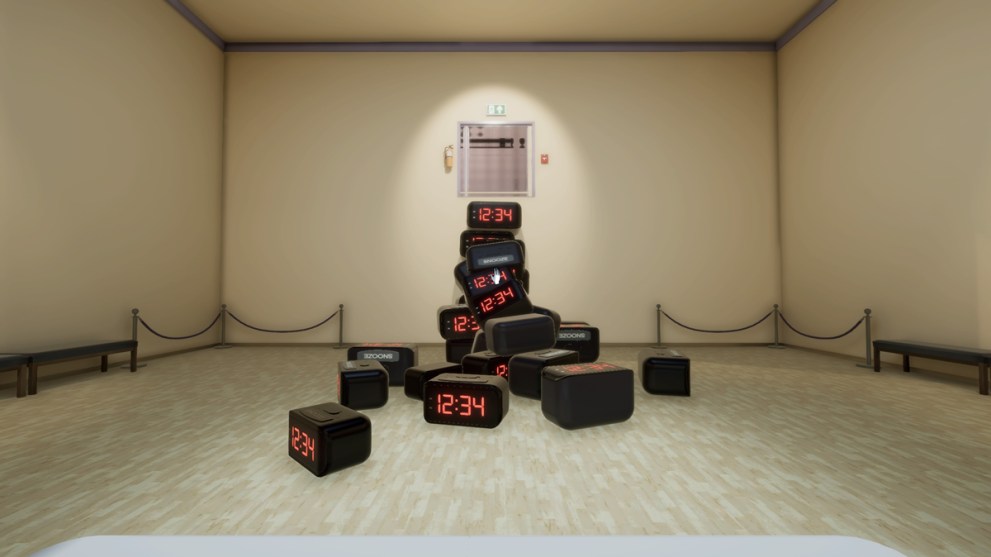
The alarm clocks will infinitely spawn not only from the source but also from every new one spawned. From where you are standing, make a decent stack that reaches just under the exit.
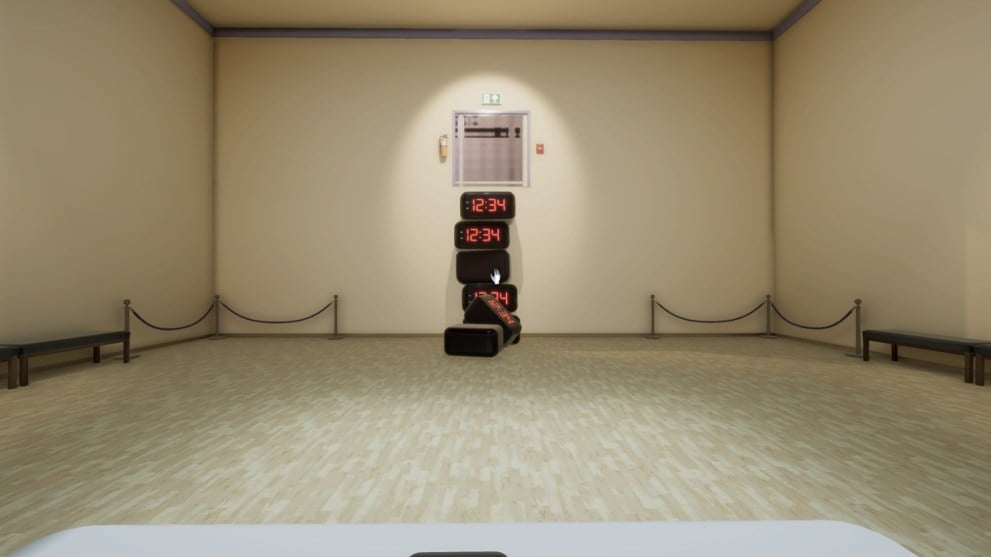
Now keep hitting the pick-up button on the topmost alarm clock to create a pile below that you can climb up and get out.
Puzzle 4
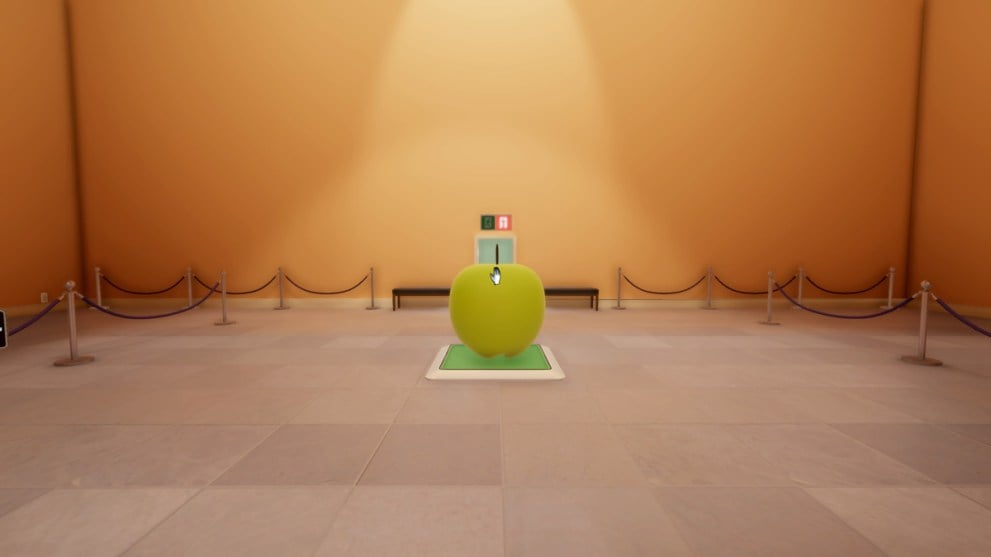
Trying to pick up the apple on the switch will make you pick up a clone. You want to grab a clone and then make it huge. Now drop it on the original apple; it should knock it off the switch and open the door.

Before exiting this puzzle, be sure to drop one of the apples onto your head for the Son of Man trophy/achievement.
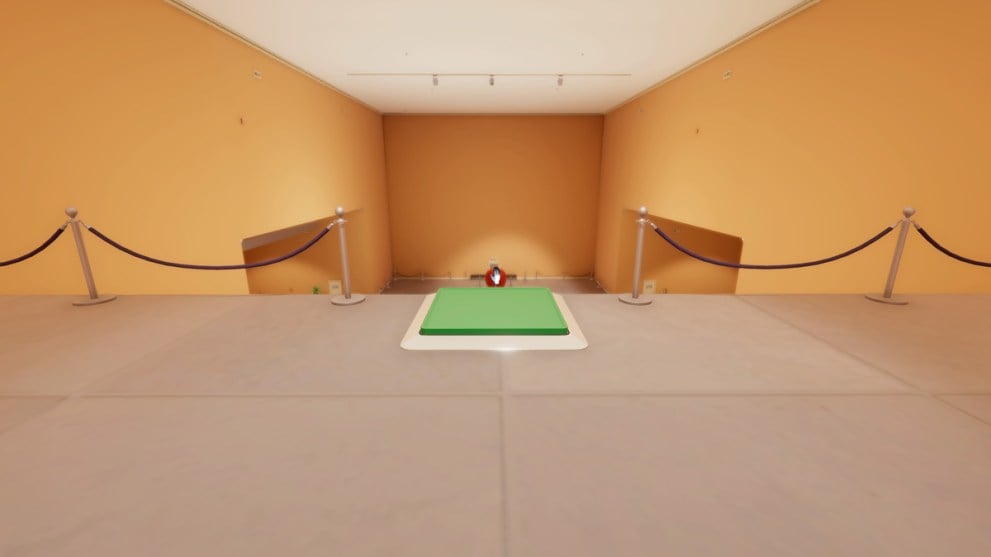
Puzzle 5
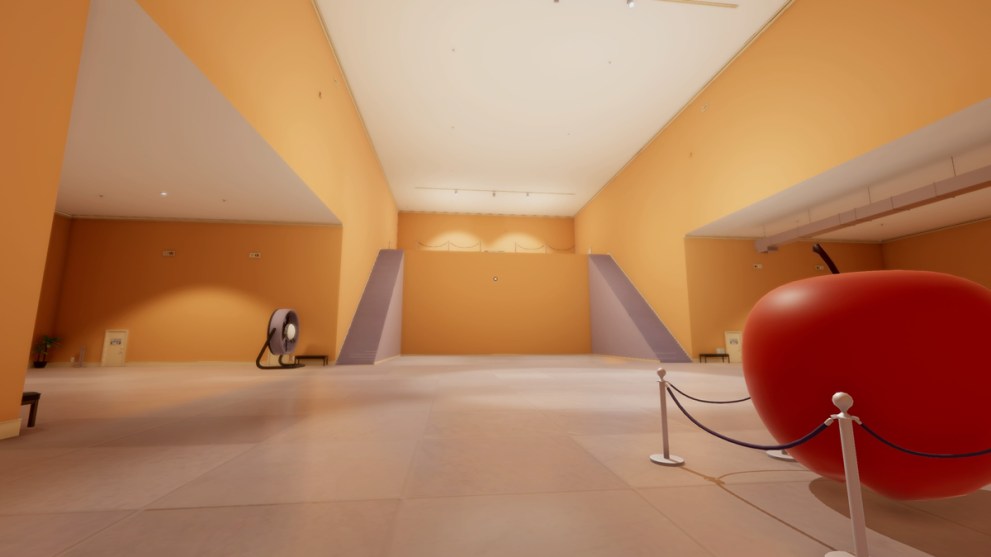
There is a switch at the top of the stairs that you’ll need to place an apple onto, but cloning only creates apples that you can’t pick up, and making a trail gets them blown away by the fan.
Stand behind the switch and press pick up on the original apple to solve this by making a clone will appear perfectly on the switch.
Puzzle 6
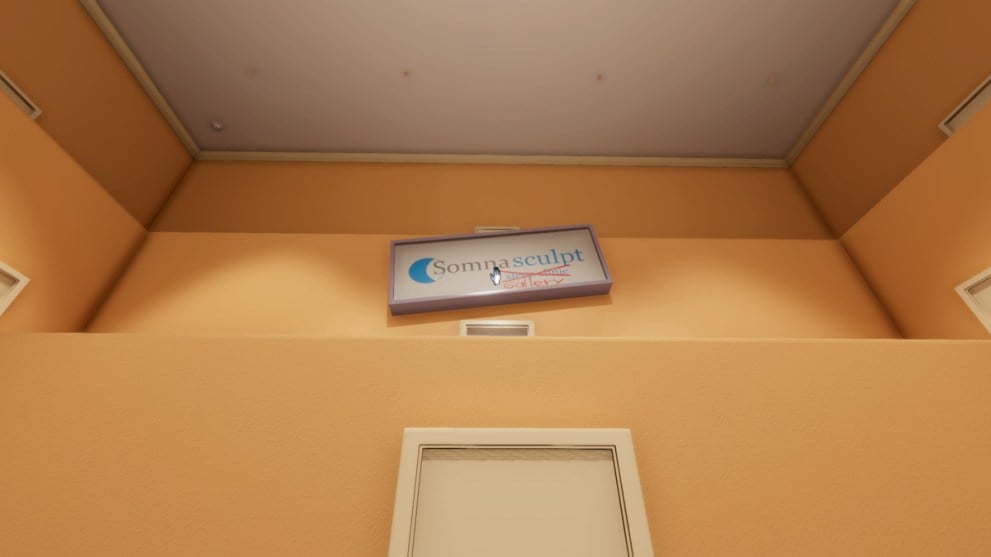
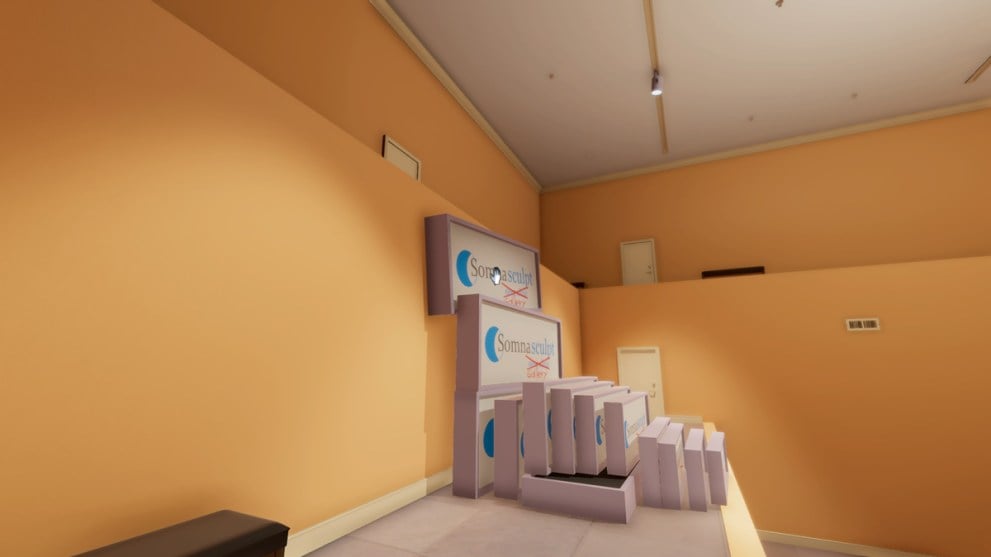
Follow the entrance to this open area. You can clone the Somnasculpt sign, so click on it from right under the ledge to create a pile of clones to climb up, just like the alarm clocks a couple of puzzles ago.
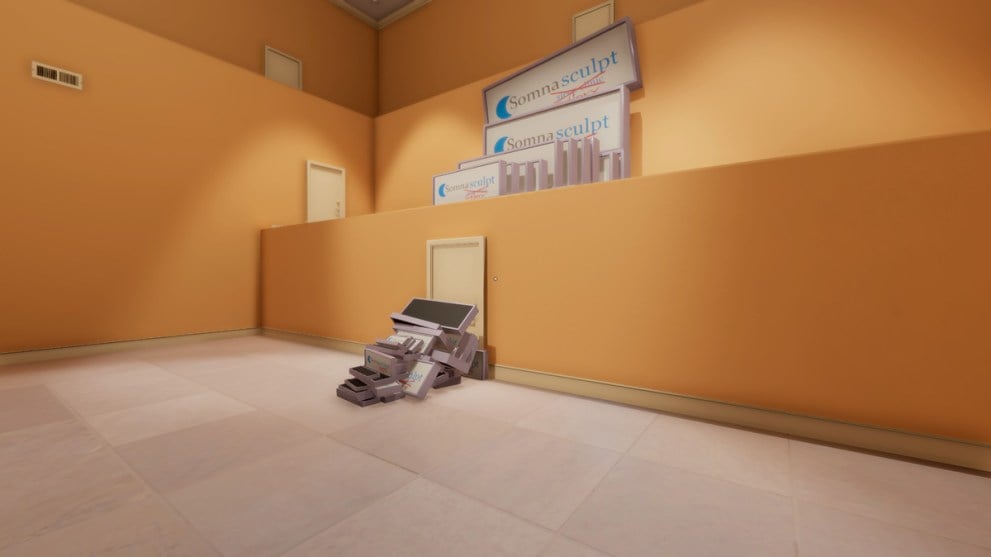
Once you’re up on the ledge, if the signs are blocking the path, just hit the return button on the original sign to remove all clones (the left shoulder button on consoles and the right mouse button on PC).
Just follow the pathway from here to the chapter-ending elevator.
Superliminal Chapter 6 Puzzles
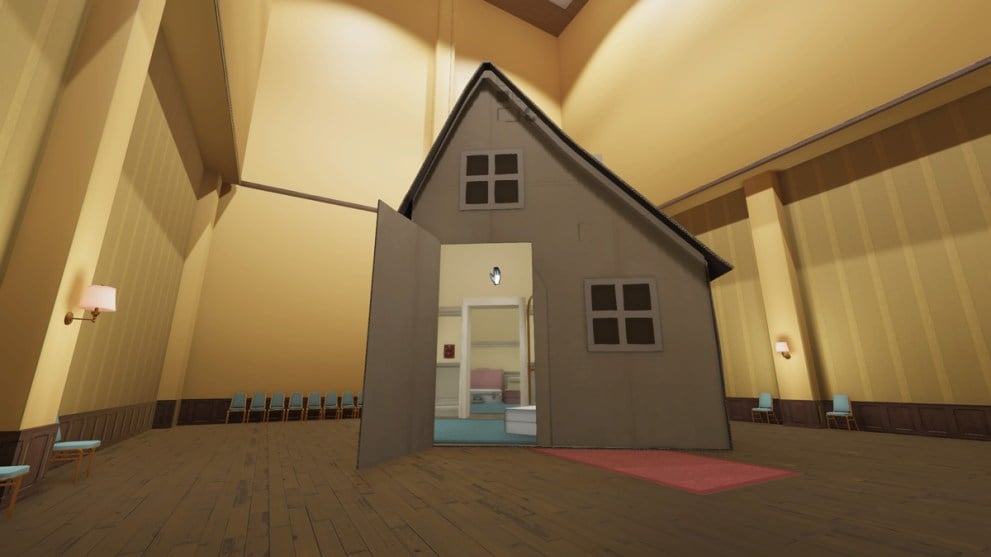
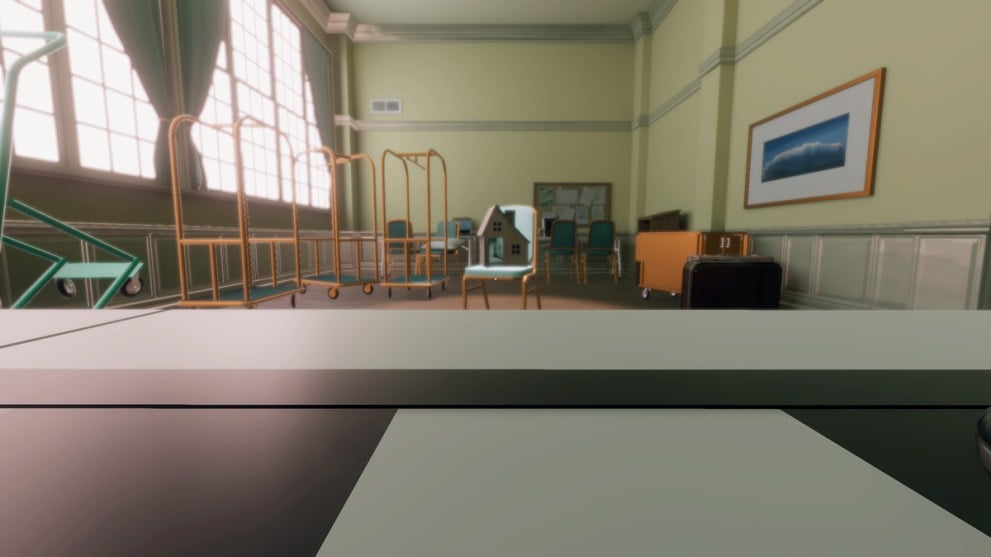
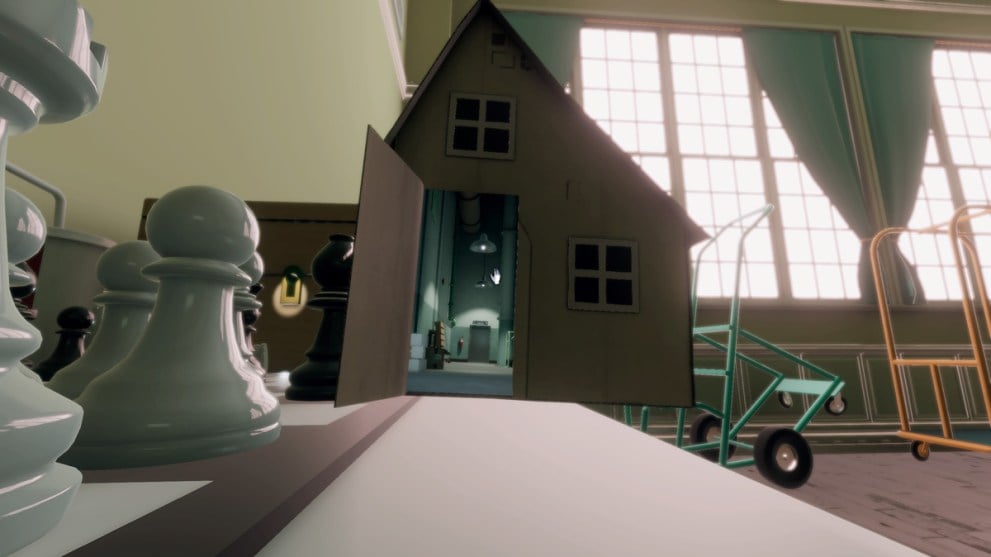
Puzzle 1
This puzzle starts with a drop into a room with just a house on a table. You need to pick up the house and make it big enough to walk into but not too big that you can’t jump onto the ledge inside.
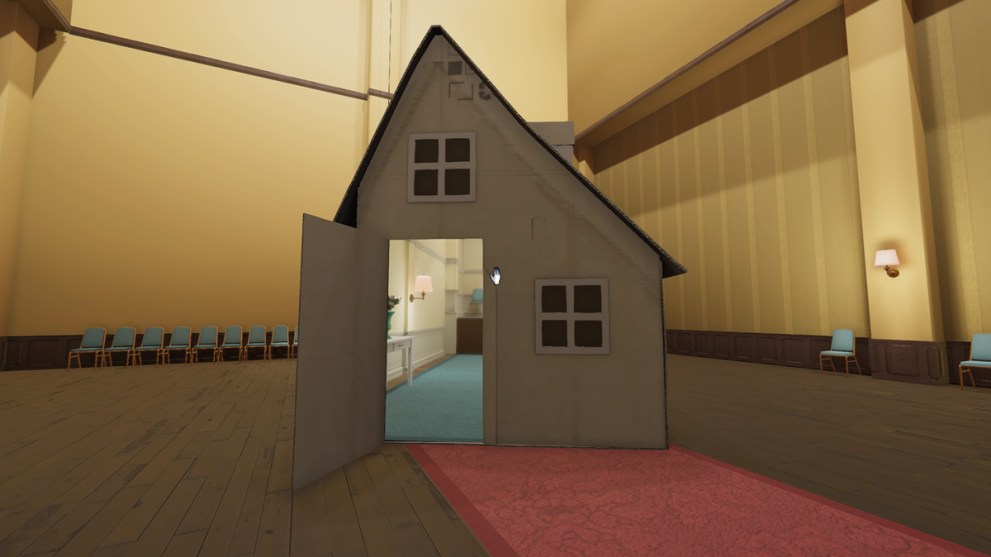
After following the path through the house, you will exit from a different side. Now you’ll want to make the house as big as possible to get through the exit.
Puzzle 2
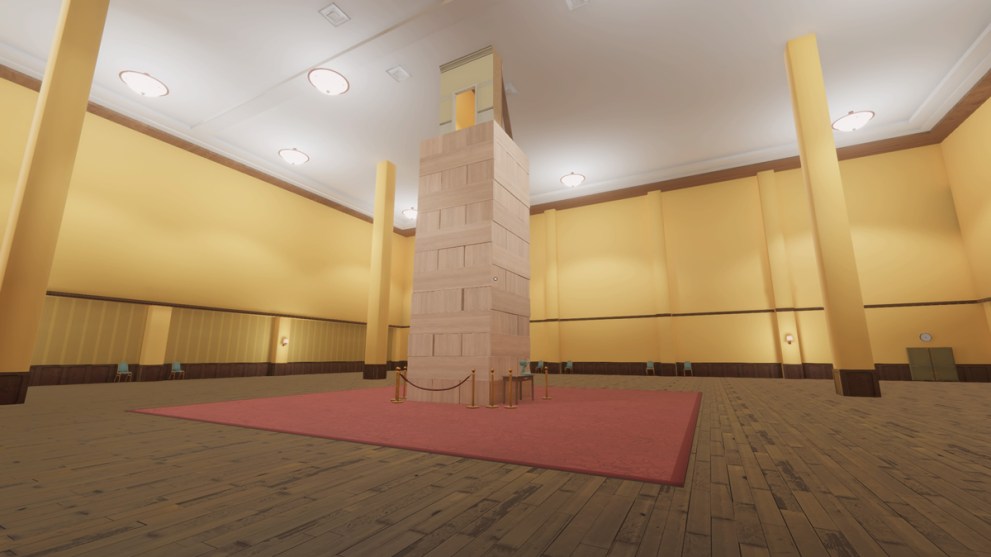
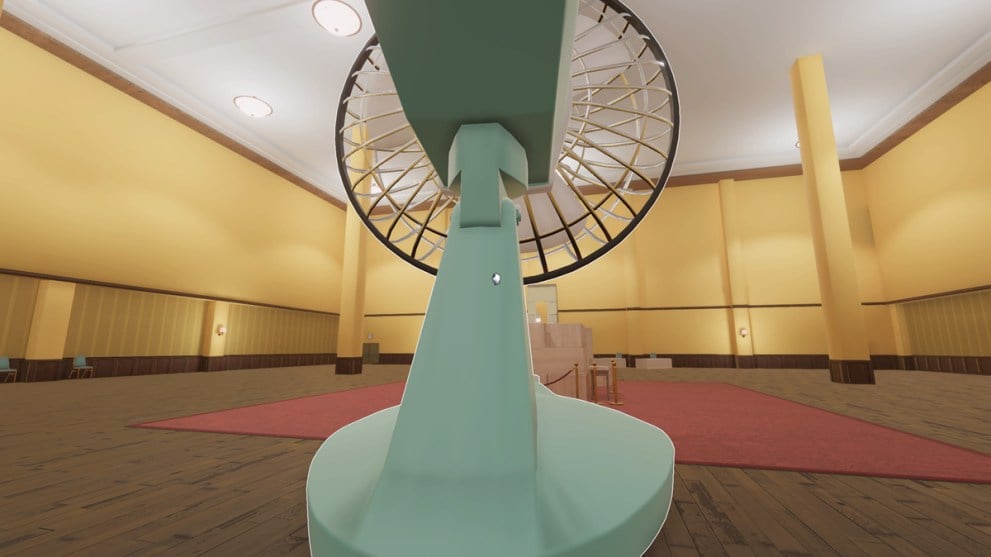
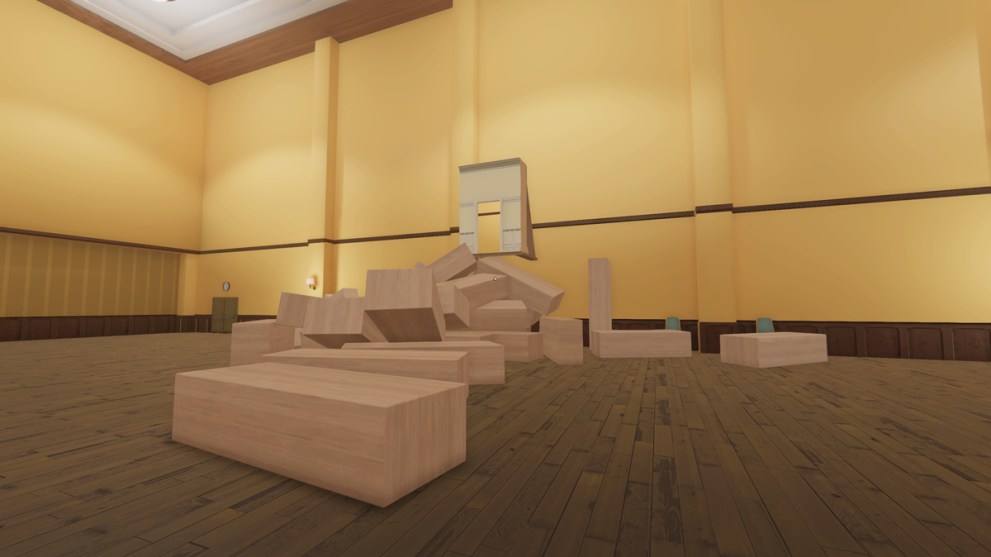
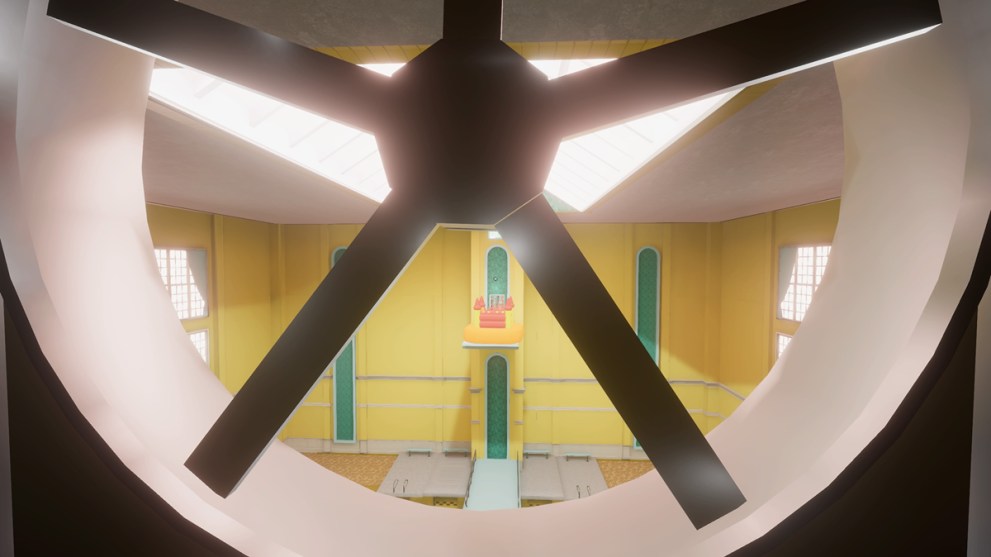
This massive Jenga tower and a fan are in the middle of this room. You’ll need to pick up the fan and move it around the tower to collapse it and drop the exit at the very top to where you can reach it.
Simply make the fan massive, and the tower won’t stand a chance.
Puzzle 3
You’ll be in this bare room, but you can pick up the first window to the left of the door. Make it massive so you can jump through, as there isn’t any glass. You’ll be tiny once on the other side and then work your way around to the exit.
Puzzle 4
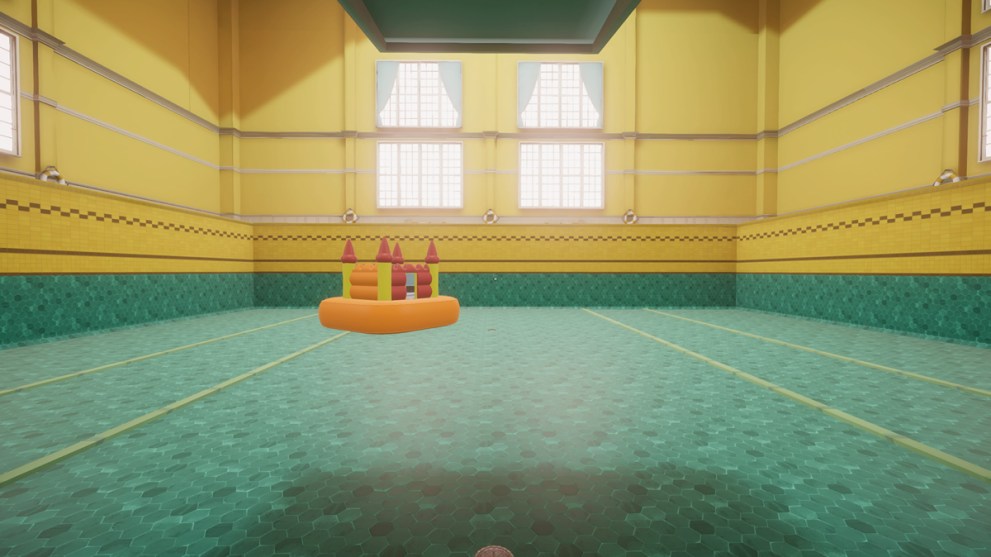
Walk down the corridor of lockers until you reach this empty pool with the inflatable castle sitting in it. As you might expect, make it bigger until you can fit through the door.

Heading inside will lead to an AC vent with a fan you aren’t supposed to be able to fit through. Instead, look through the fan and pick up the castle that’s visible in the pool below.
You want to make the castle small in the vent before placing it onto the diving board across from the vent. This will let you leave the castle in front of the puzzle exit.
Puzzle 5
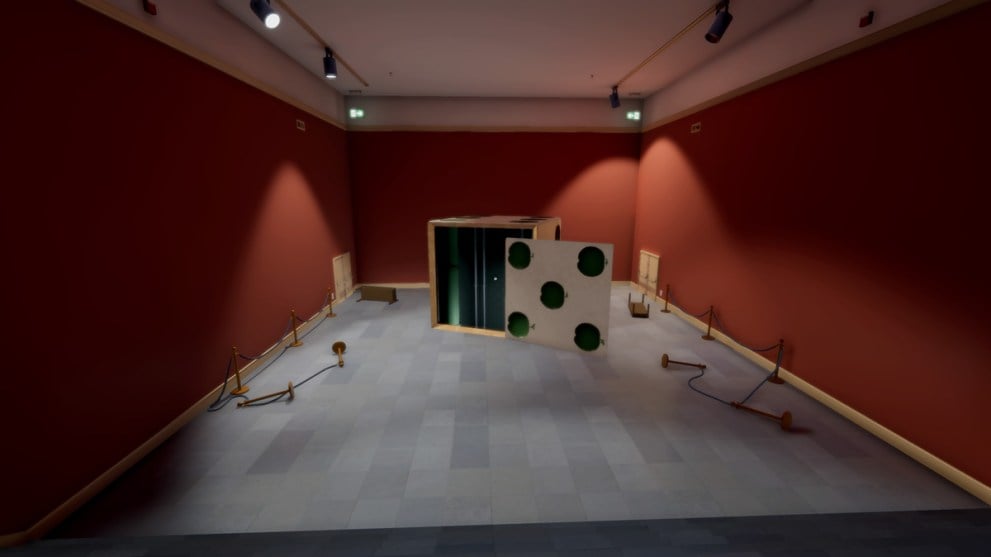
You’ll be in a green room with these two doorways and the keyhole exit out of reach on a wall nearby. Both doorways serve as a portal to the other, so you’ll want to stack them with one facing away from the keyhole and the other facing into it.
This one is extremely tricky and will likely take plenty of trial and error to place the portals properly.
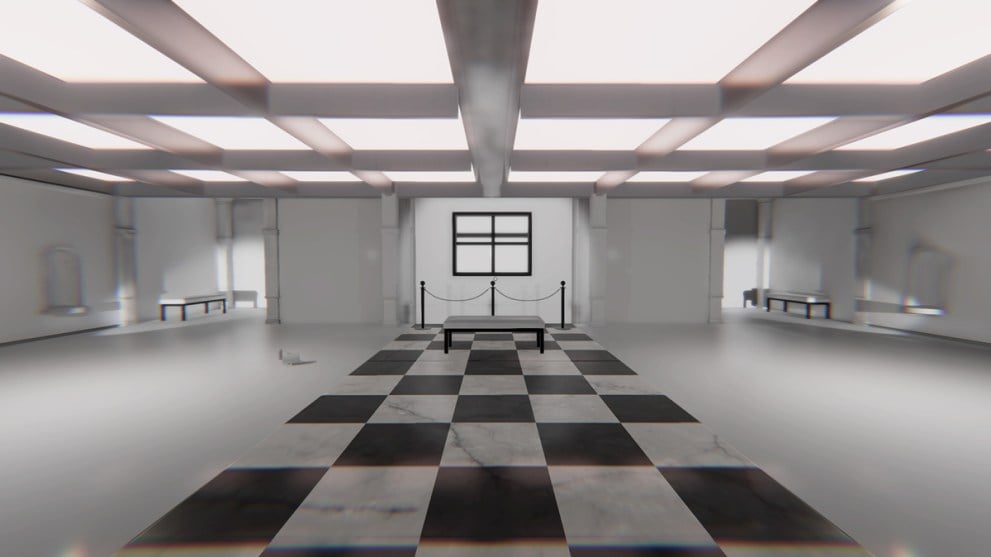
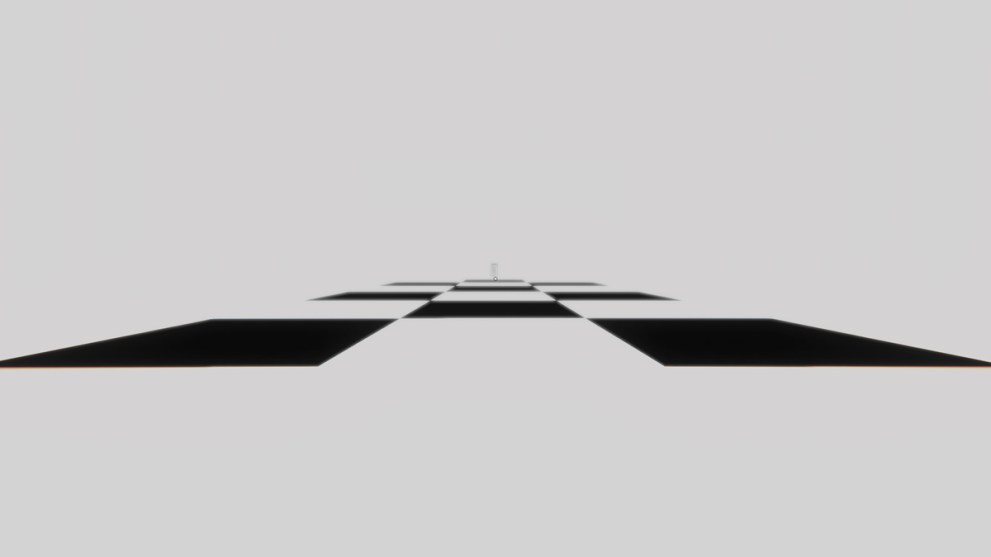
Puzzle 6
You’ll come out of the keyhole onto a chessboard, and if you look over the edge and into the distance, there will be another house like the ones we have used previously.
Pick it up and set it in front of you at a decent size to let you access the chapter-ending elevator inside.
Superliminal Chapter 7 Puzzles
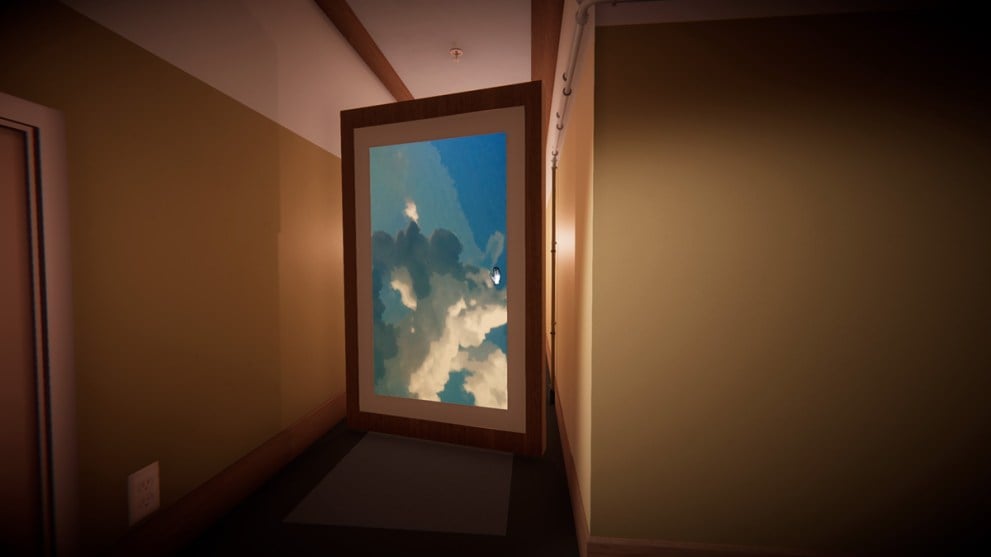
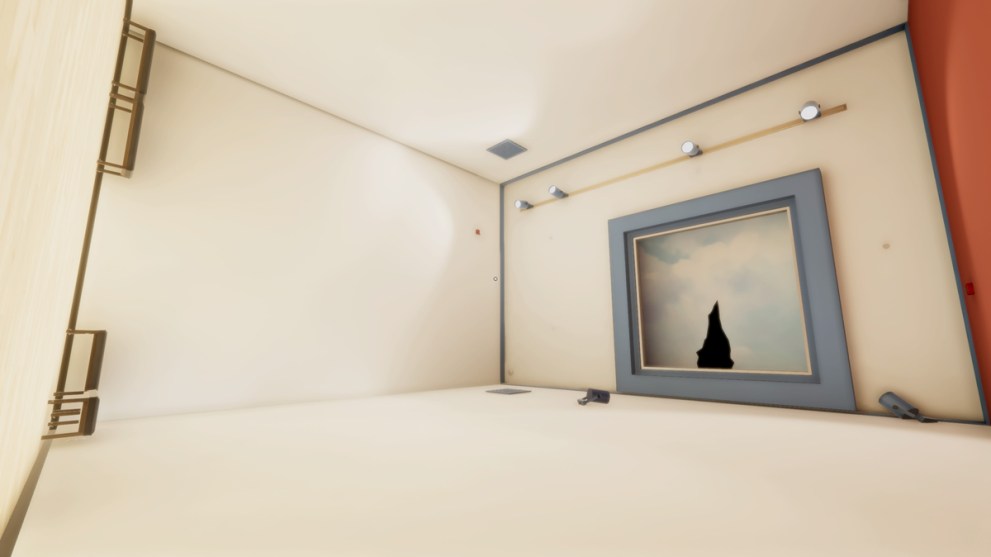
Puzzle 1
After a few linear sequences, you’ll be in the bedroom again, but the hallway leads to a dead end. You’ll want to take this picture of clouds off the wall and make it large enough to fit through.
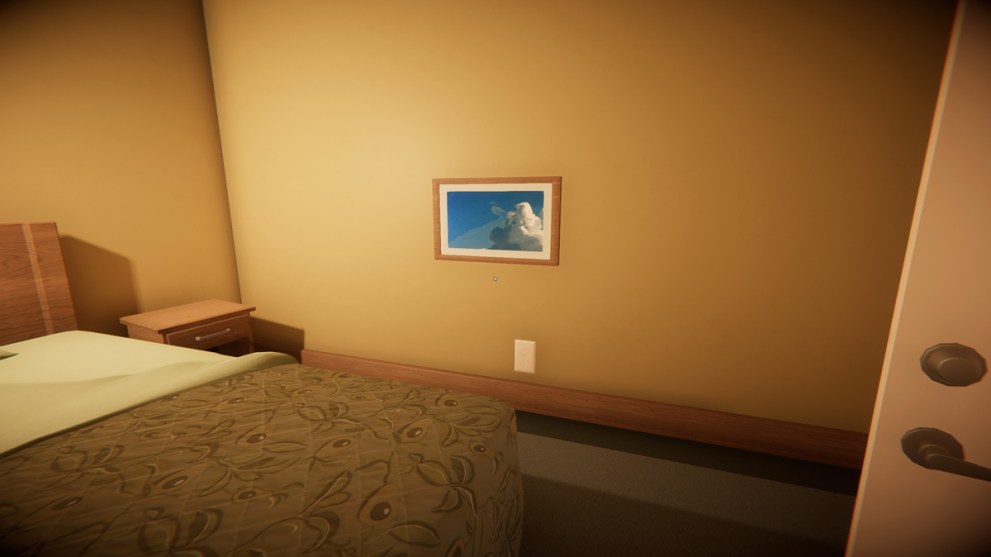
There’s not enough space to do the usual technique for making it larger, so you’ll have to pick it up and walk backward to make it grow.
Puzzle 2
Gravity is now entirely wonky, so you’ll wind up standing on the back wall of this room. You’ll want to pick up the door on the right side as it will create a new exit you can walk to and drop through once you pull the door away.

Puzzle 3
Go through the tear in the painting and around the corner to get to the next puzzle.
Puzzle 4
Don’t both with anything in this area. Your goal is this thin gap in the floor at the right wall from the entrance that you’ll drop down.
Puzzle 5
That fall will take you into a normal room with a miniature curved staircase on the table. Pick it up and drop it anywhere from a medium height, as its purpose is to cause the floor to cave in.
At the bottom of the hole you fall into will be a fake elevator to take you to the next puzzle.
Puzzle 6
The trick here is to always look in the direction the arrow isn’t pointing before following it. If the arrow points right, look left around the corner before going right. Simply do this for a few cycles, and the game will drop you in front of the next puzzle.
Puzzle 7
Use the provided dice to climb up a level. Despite appearances, the water is solid, so you can climb up on it and walk across it with no problem.
The die used to climb up here will disappear once you are up and reappear at the next level above you to be used again.
You’ll find the puzzle exit through the castle door at the top of the back of the area.
Puzzle 8
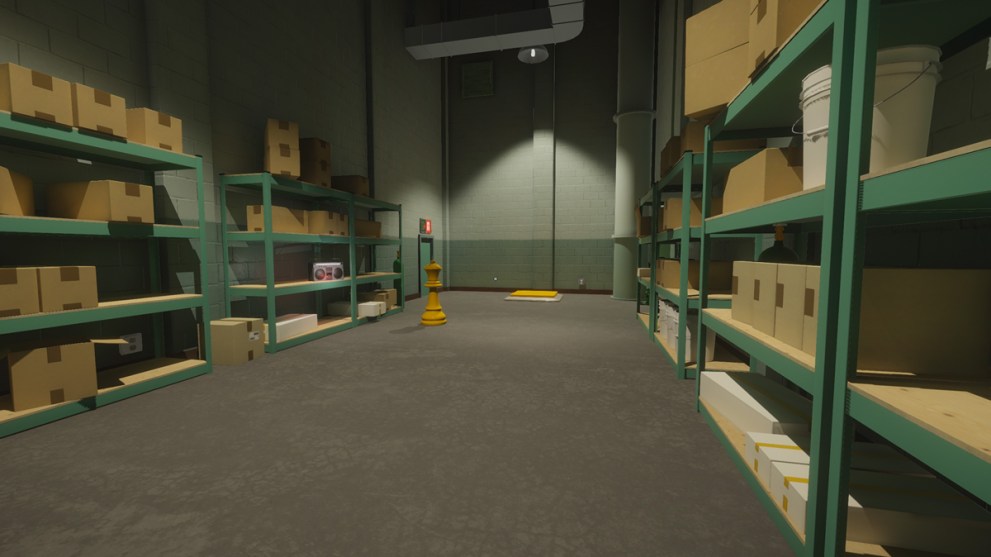
Don’t bother with the Queen piece here because it won’t do anything with the switch. Instead, go and stand on the switch, grab the Knight on the other side, and use it to keep the switch pressed.
Puzzle 9
This room isn’t real; pick up the die, and the scene will change entirely.
When in the white room, climb onto the platform using the die, and behind the bed will be the next part.
As with the previous section, the block doesn’t serve any purpose besides teleporting you once you pick it up and drop it.

You’ll be in a black-and-white hallway that leads to a room with an alarm clock on a desk, and interacting with it will take you to the next puzzle.

Puzzle 10
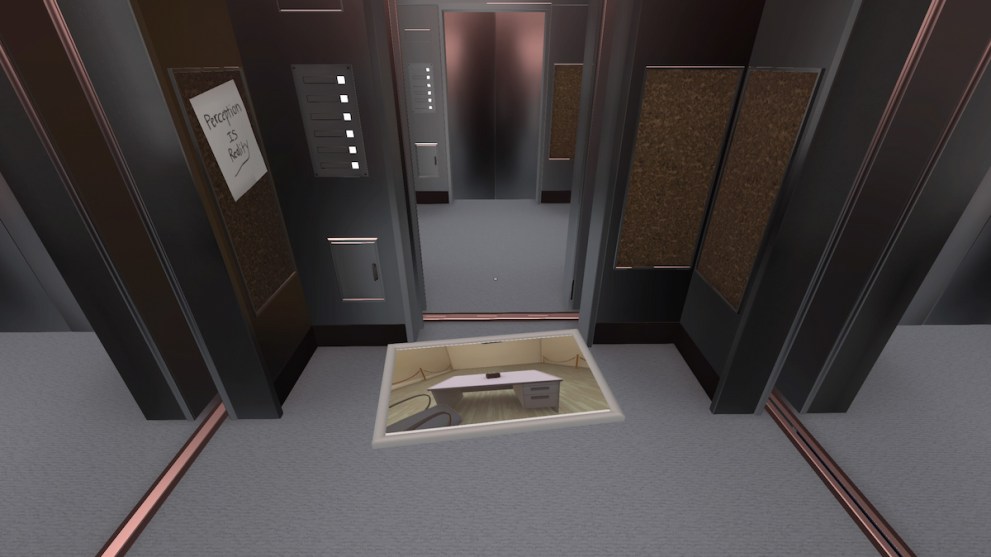
This puzzle will have you surrounded by elevators without a proper direction you should head toward. Simply start moving, but keep an eye on the floor of the elevators until you eventually find an arrow.

Obey the arrows and follow where they point until you find another one, as they will lead you out.
Now use the alarm clock on the table and walk into the fake elevator at the back of the room to head out into the next puzzle.
Puzzle 11
Despite this area’s apparent size, you will quickly find the walls if you move in a single direction. Once you discover all four boundary walls in the area, a structure will appear in the middle with an alarm clock ringing inside. You will load into the next chapter once you turn the alarm clock off.
Superliminal Chapter 8 Puzzles
Puzzle 1
Turn around from the bed and pick up the building from the strip mall model on the table, as it will be the only interactable object, so you can’t mistakenly grab something else. Drop it on the floor at a large enough size to loop through it once and open the looping doorway on the other side of the shutter door.
Now carry it into the back room under the open shutter and get read to push it through that looping doorway.
Pushing the small building through will create a cascading effect, like two mirrors facing each other.
Just walk into this, and then you’ll automatically turn around as things start glitching out of existence.
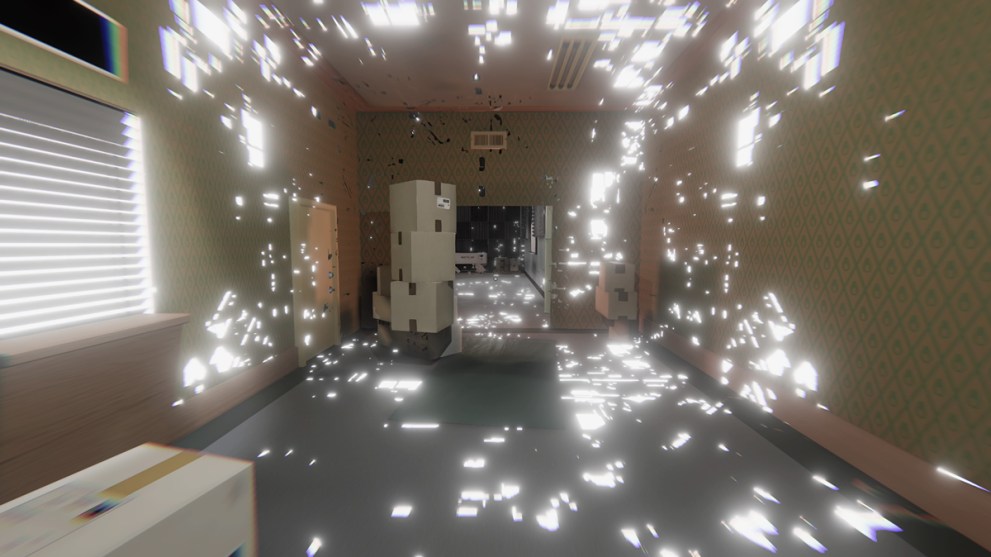
You can’t do anything now except wait as everything goes white.
Puzzle 2
After everything has gone white, you will reawaken with this oddly shaped object in the distance, and you should walk toward it. When you get closer, you’ll see it has a doorway, step into it and keep moving forward.
You will eventually fall through the floor and end up in front of this other doorway.
Once you reach the white part, you will fall through and land in this new area with a black cube you can pick up. Picking it up and moving it out of the way will reveal the puzzle exit.
Puzzle 3
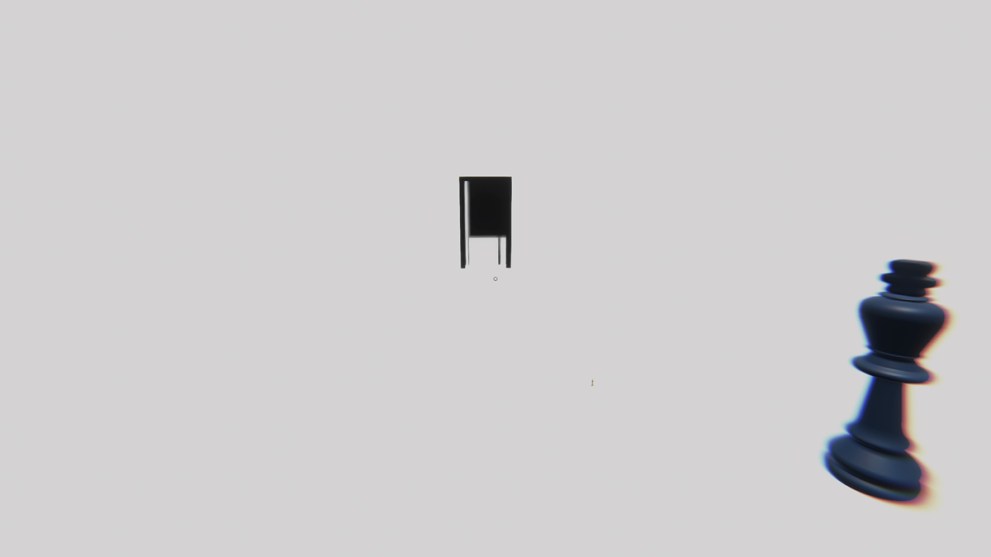
After a series of sections that have you following a straight path, you will end up in a square office-like room. Locate the box with the “not an exit” sign. The exit to the puzzle will be through that black rectangle on the opposite wall.
Puzzle 4
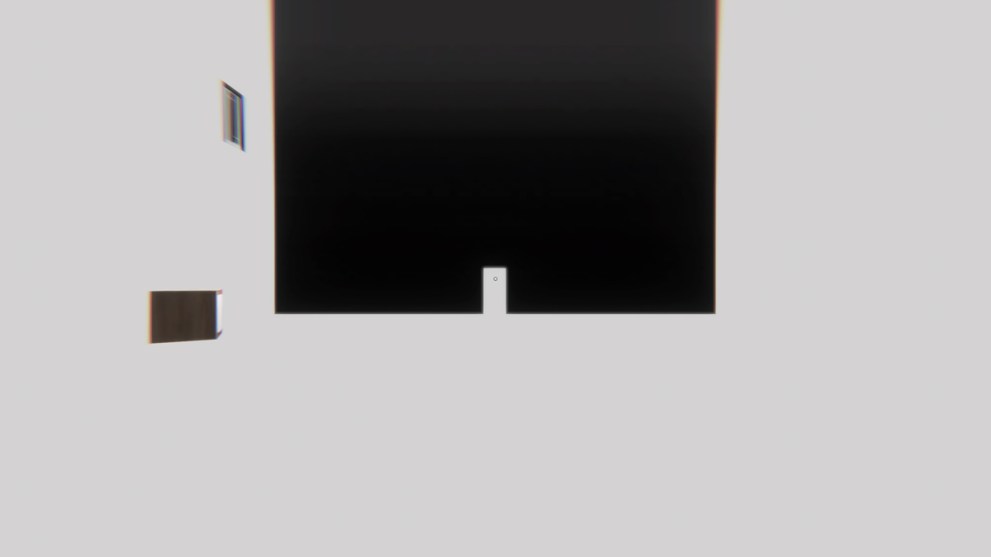
After that, you’ll walk through another doorway that places you in this white room with a chessboard floor down the middle. To get outside, you’ll go through a large window in the back of this area and eventually come to a doorway you can’t reach.
Turn around at this point, and you’ll find that the window from before has turned into a box you can use to get into the doorway.
Puzzle 5
Once you climb into the room and look through the window on the left, you’ll see an exit sign pointing into the distance. Follow the sign until you arrive at this light switch you’ll need to use, and everything will go black.

Puzzle 6
You’ll start this puzzle facing a black wall, but if you turn to your left or right, you’ll see a handful of green exit signs pointing to a white staircase.
The white staircase won’t be real, but you can walk through it to a white space with a black staircase you can climb.
Follow the black path from the top of the staircase, and eventually, you’ll fall into a room with blue and red corners.
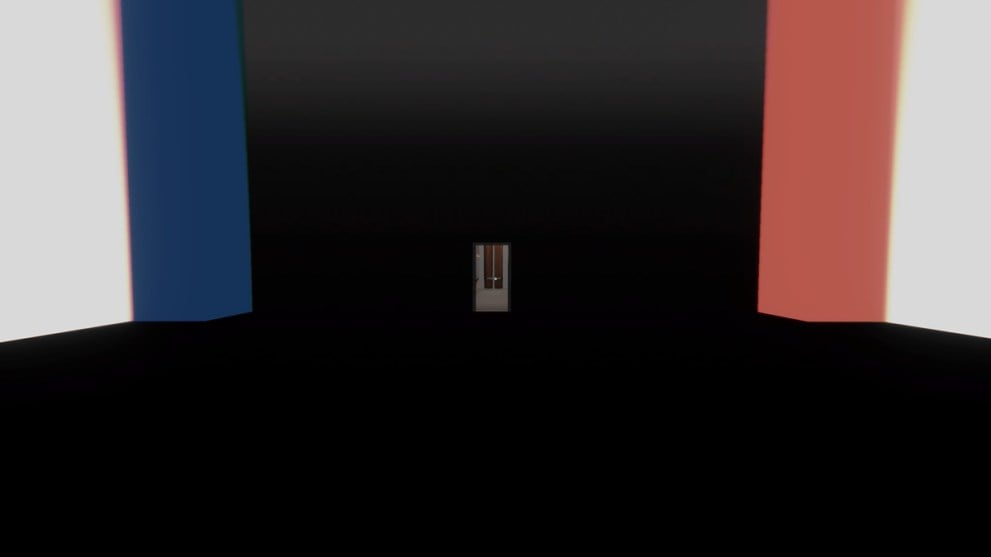
Instead of walking through any doorway, you’ll want to press into any white space on the wall and go through it.
You’ll find the actual exit on the other side of the wall with the red and blue corners.
Puzzle 7
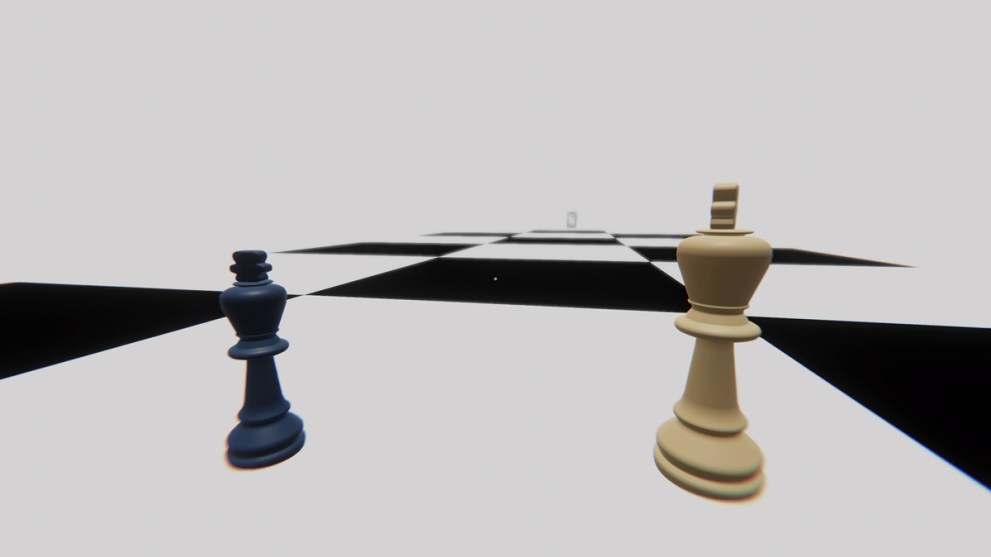
After more linear walking, you’ll come to this chessboard-like area. Walking on the squares will drop you and reset the area. The trick is that the squares are solid if they have one chess piece from the table on them.
The way to do this is to put both chess pieces onto the middle white square.
Now, take one off and put it on the square ahead.

Walk to the square with the piece you just moved and bring the piece you left behind onto this now solid square.
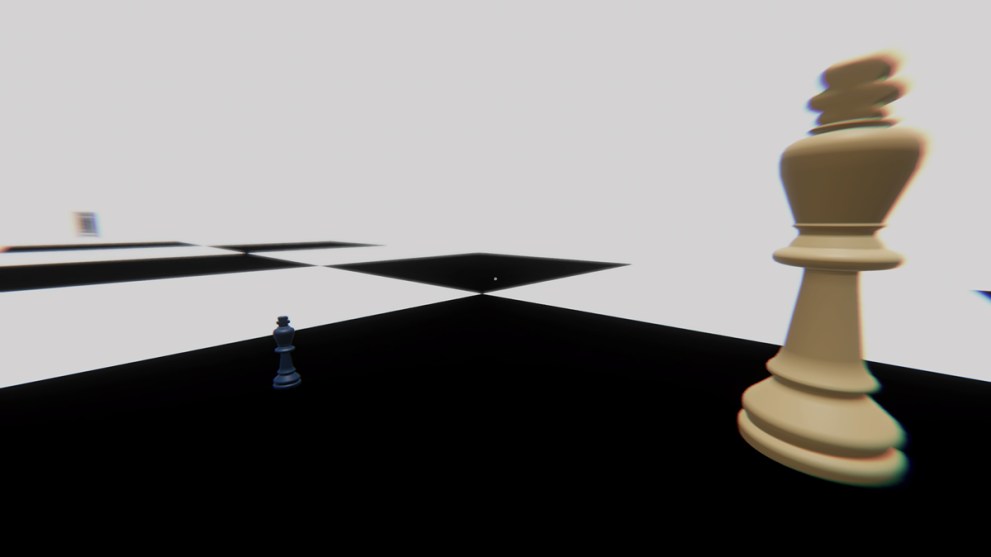
You can follow that pattern and easily get to the exit if you never pick up the only piece on a square.
Puzzle 8
As with the black and white spaces in the previous puzzle, the white doorway only becomes traversable if you place the block on the other side.
With the block allowing you to move through the doorway, go to the right of the new room and pick up the cheese wedge, but remember to place it on the other side of the door so you can return.
Now it’s just a matter of setting the cheese wedge up to be a ramp so that you can exit.
Puzzle 9
There isn’t a gimmick for this section; you only have to fall through the platforms and reach the bottom.
The door will lead into a hallway with kaleidoscope walls, but the floor is well-defined, so you can’t get lost. At the end will be a white doorway you can walk through, and once you do, turn around and pick up the cube that has appeared.
Moving it will reveal an exit sign pointing at a red hole that will transition you to the final chapter.
Superliminal Chapter 9 Puzzles
There aren’t any puzzles in chapter nine. Instead, the game will automatically take you back through rooms you’ve done as a wrap-up while the narrator summarizes your journey through the game.
This has been the full walkthrough through Superliminal, you should know have all the tools to make your next speedrun a complete success.


Updated: Mar 13, 2024 11:51 am