
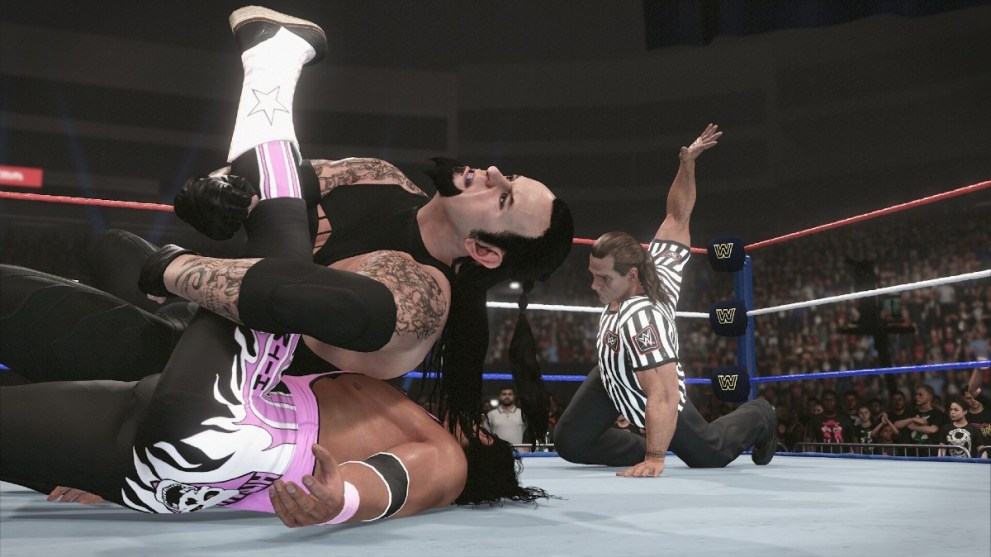
There’s nothing quite as fun as diving into a no-holds-barred wrestling match against your friends – but we aren’t talking about online multiplayer. Instead, the WWE 2K series lets you upload face scans of you, your friends, or even celebrities, to duke it out. Here’s how to upload face scans in WWE 2K24.
How to Upload WWE 2K24 Face Scans
In a stroke of good news for fans of the series, the process of uploading face scans in WWE 2K24 is exactly the same as it has been in other entries. Here’s what to do:
- From the main menu in WWE 2K24, go to Online > Community Creations > Image Manager.
- Scan the QR code that appears on-screen to go to the Image Uploader site.
- From that website, select the platform you’re playing on.
- As a reminder, the options are Xbox One, Xbox Series X/S, PS4, PS5, and PC.
- Selecting your platform brings up a pop-up page where you need to sign in using your platform-specific credentials.
- Once logged in, select which WWE 2K game you want to upload to from the boxes at the top of the screen. The options will be 2K22, 2K23, and 2K24.
- Next, select an image file from your PC to upload. As per the website, it needs to be within the dimensions of the template you choose. The main option here is Face Photo, which requires an image of 1024 X 1024 dimensions.
- Confirm your choices and the image appears as an uploaded file in the My Uploads section.
- Next, dive back into the game and refresh the Image Manager page by clicking in the right stick. Your face upload should now appear!
How to Customize Uploaded Image in WWE 2K24
Once your face image is uploaded onto the WWE 2K24 servers, you’ll need to adjust it slightly so it appears seamless during gameplay. This involves creating a custom wrestler from the Creation Room menu.
- From the main menu, go to Creations > Create Superstar > New Custom Superstar.
- Then go ahead customizing a wrestler as you would normally.
- When you get to the Face customization options, select Face Photo Capture.
- Tab across to Downloaded and your own face scan will appear as an option.
- Use the left stick to pan the face scan onto the template of the wrestler’s face, so the eyes, nose, and mouth are aligned. You do this in separate menus for each part of the face, so it can take a bit of time.
- Check the final preview to ensure you’re happy, then save your uploaded face. Now, your custom wrestler is ready to use in matches!
It’s a fairly lengthy process, but that’s how to upload a face scan in WWE 2K24. Once you’ve got the system down, you can get all of your friends, family, and maybe even pets into the game, ready for a Hell in a Cell match.
For more on the game, check out how to pick up and carry opponents, plus all weapons in the game. We’ve also got tips on how to match Superstar classes in the MyGM mode.


Updated: Mar 5, 2024 09:17 am