One of the more interesting dungeons in Baldur’s Gate 3 is the Abandoned Refuge, a massive hidden structure found deep within an abandoned Temple of Shar. Alongside plenty of platforming puzzles and fiendish enemies, it also contains a forge that can make high-level armor and weapons. It requires specific materials to make said gear though, and given its rarity, you wouldn’t be the first person who needs helps figuring out how to get and use Mithral in Baldur’s Gate 3.
Luckily, we’re here to help.
Baldur’s Gate 3 Mithral Locations
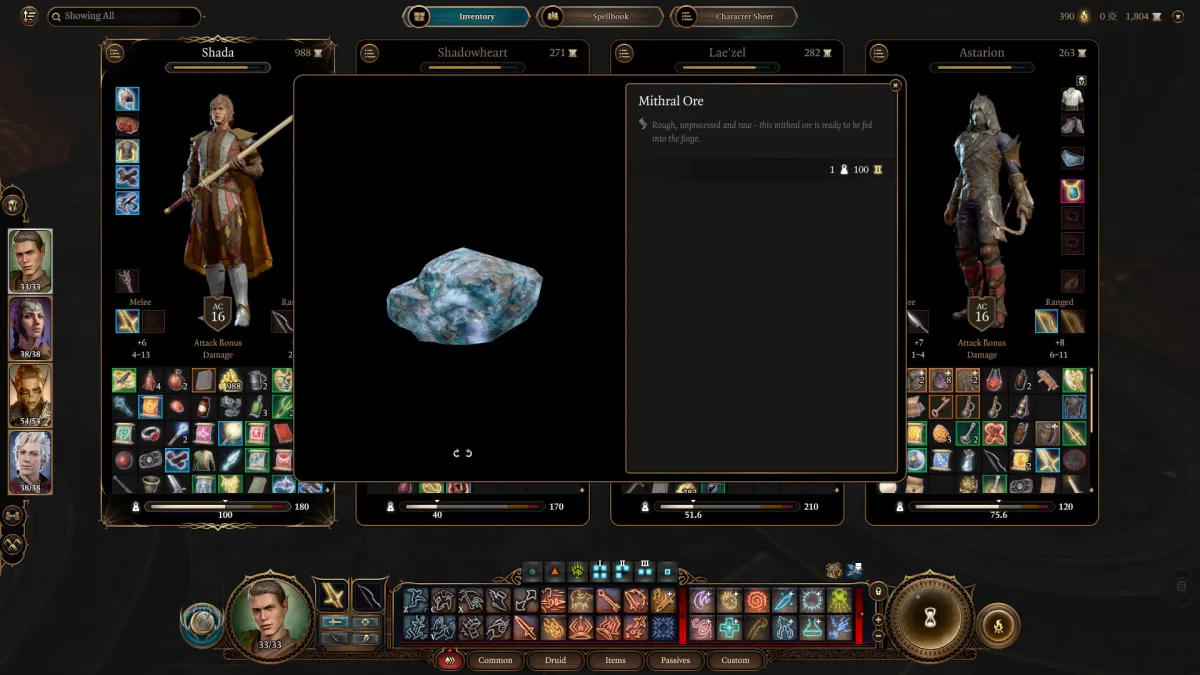
There are two locations in the Ancient Forge where you can get your hands on some Mithral in Baldur’s Gate 3, and both are found after you activate the Ancient Forge Waypoint. They look like massive, glowing blue spikes coming out of the rock walls around the Abandoned Refuge, and you’ll need a blunt weapon like a mace, hammer, or torch in order to harvest it.
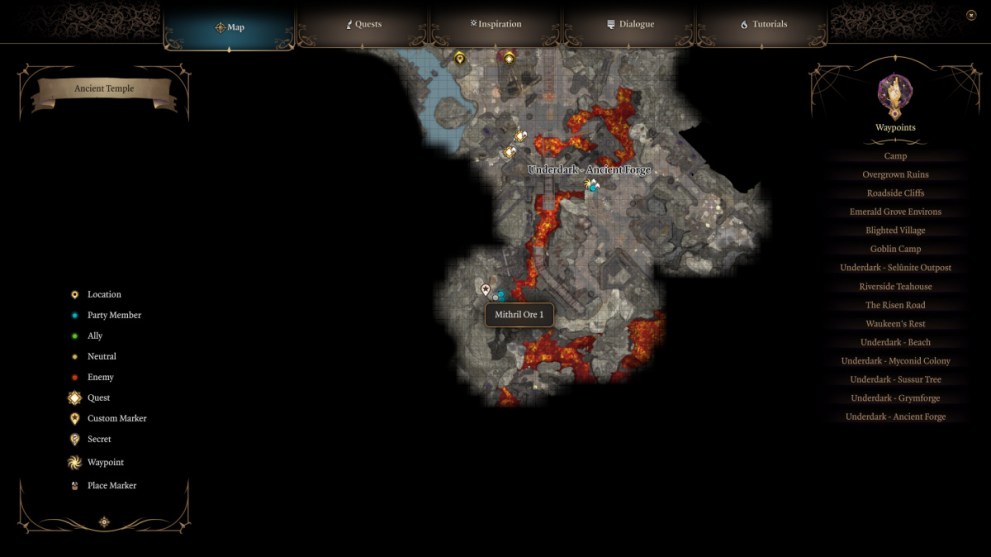
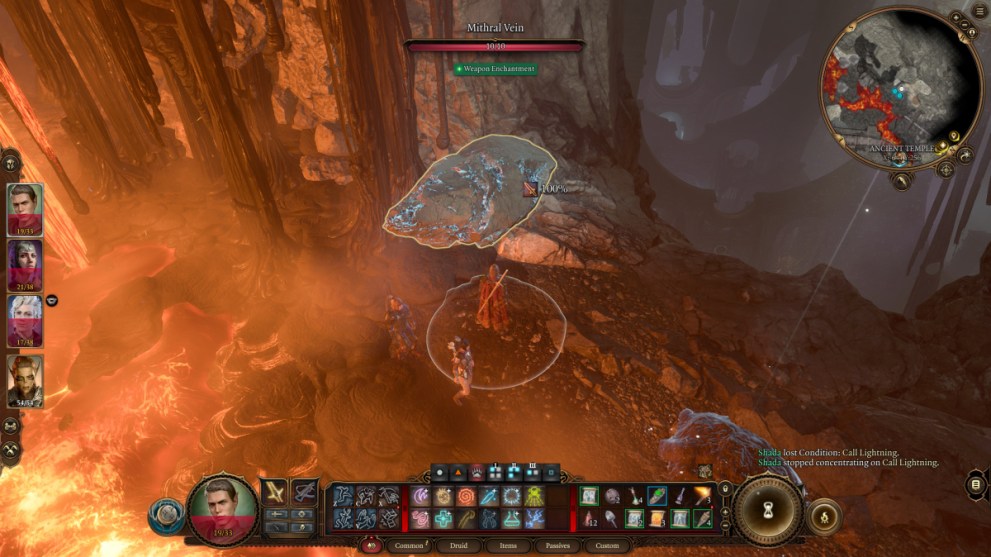
The first Mithral Ore deposit can be found to the west of the Ancient Forge Waypoint. Continue along the path until you reach the lava, and then keep close to the wall on the left to reach the ore safely. Then, attack the ore sample with your blunt weapon of choice. After the larger part of the ore shatters, check its base to find a sample you can pick up and add to your inventory.
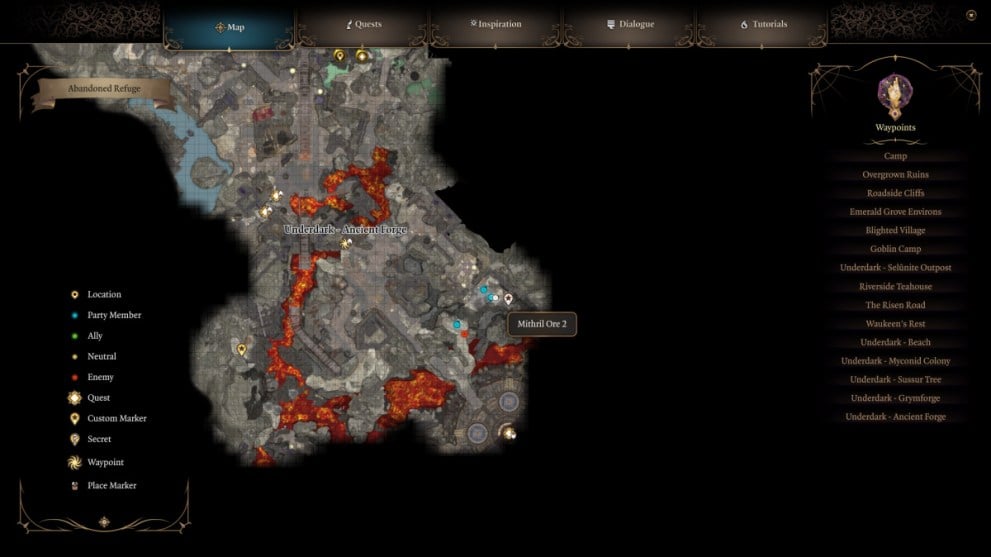
The second Mithral Ore deposit is found down the path to the east of the Ancient Forge waypoint. Be sure to take the main path and leap down using Misty Step or Feather Fall instead of trying to jump over the lava. If you attempt the latter, you’ll be ambushed by Magma Mephits that can quickly kill your party.
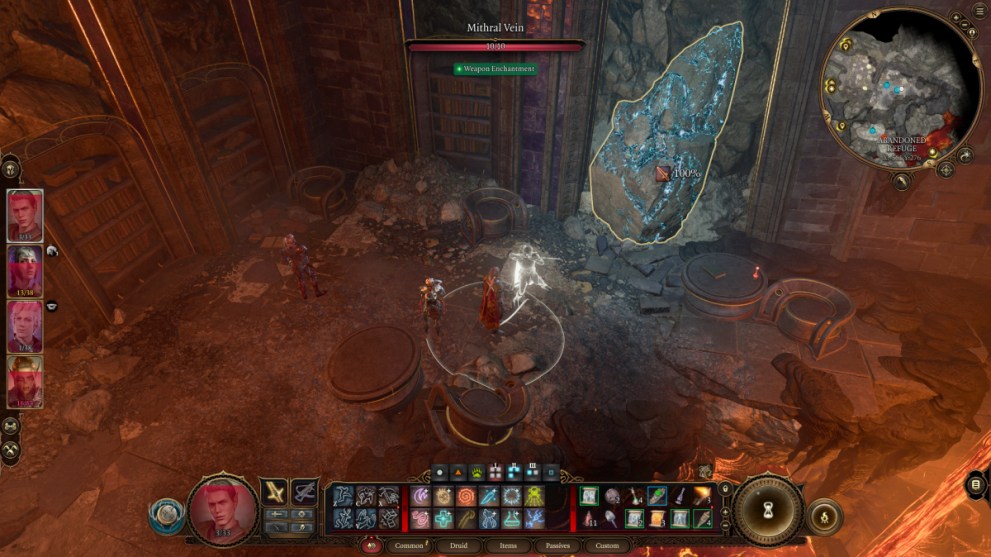
Once you reach the ore deposit, repeat the process you used with the first sample you found.
How to Get Adamantine Forge Moulds
After you’ve found both Mithral Ore samples, you’ll then need to find moulds for the weapons and armor you want to create.
These moulds are fairly easy to find, and stand out due to their unique look and shape. You can also find plenty of different variations on your way down to the Adamantine Forge, ranging from Scale Armor to Longswords and Scimitars.
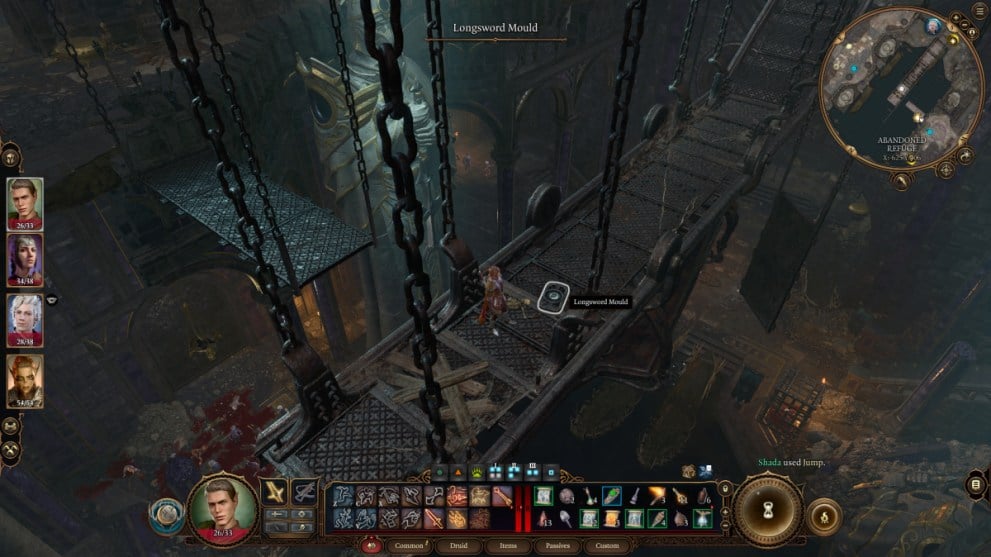
Explore the Abandoned Refuge a bit to find the mould that speaks most to you and your characters of choice. Once you’ve found the ones you’d like to use, head down toward the Adamantine Forge proper.
How to Use Mithril Ore
When you reach the Adamantine Forge, you can finally make use of both your Mithral Ore and moulds in Baldur’s Gate 3.
First, interact with the Mould Chamber and insert the mould of the item you wish to make. Then, interact with the Crucible at the center of the forge to place some Mithral Ore below its hammer. In both instances, you may need to drop the items from your inventory so that you can drag them into the item box that pops up for the Crucible and Mould Chamber.
Once both items are in place, head over to the Forge Lever to the right of the Mould Chamber and interact with it. Doing so triggers the hammer and lowers the forge closer to some lava, and you then need to pull another lever up near some piping to release magma that heats the forged item further. This also triggers a boss fight with Grym the Adamantine Golem though, so be ready for a fight.
Once he’s defeated, activate the forge hammer again and the Mould Chamber will open to reveal the armor or weapon you created.
And that’s everything you need to know about how to get and use Mithral in Baldur’s Gate 3. We’ve got plenty of other guides on various other topics from the game too, and you can find plenty of them down below.






Updated: Aug 24, 2023 09:35 am