If you are anything like me, you probably consider Origins the crown jewel of the Zombies experience. There is just something about the muddy trenches and giant robots that feels right, especially when you are wielding one of the elemental staffs. I have spent more hours than I care to admit mastering the Staff of Lightning, and while some players might call it the weakest of the four, I think they are missing out on its incredible crowd control and the hidden stats that make it a beast in the mid rounds.
While you are mastering the other elemental weapons in Origins, you will find that the Lightning Staff stands out because of how it forces you to interact with the map’s unique environment. In this guide, I am going to walk you through how to build it efficiently, solve the puzzles, and explain the exact math behind why this staff starts to feel different once you hit the high rounds.
Finding the Purple Record and Gramophone
Before you can start jumping off tanks, you need the blueprints. In Origins, these come in the form of a purple musical disc. I have found that it is usually best to grab this as soon as you can while you are maximizing your points in the early rounds.
The purple record has three potential spawn spots around the Generator 4 area:
- On the table right next to the Der Wunderfizz machine.
- On a large wooden wagon parked on the mud path near the Generator 4 entrance.
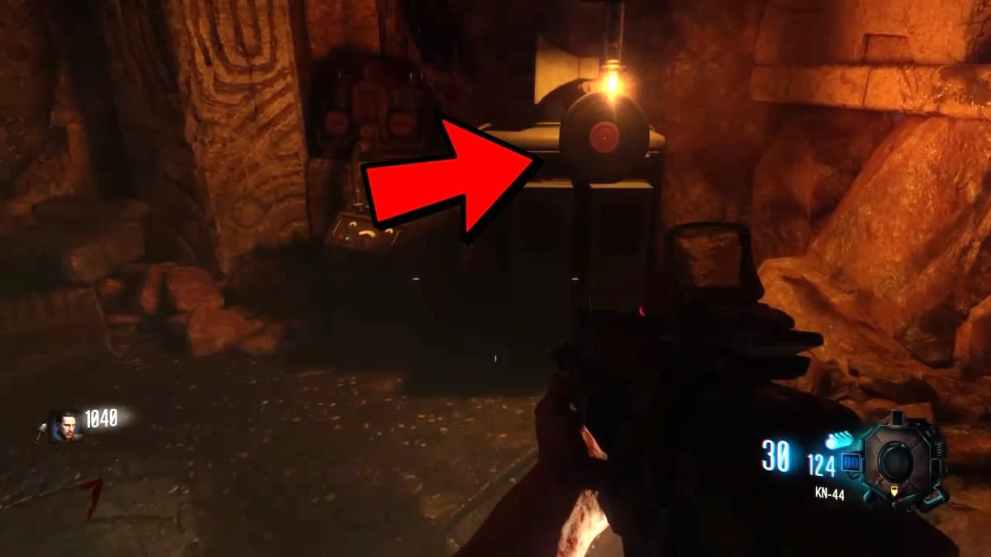
- At the very bottom of the Wind Staff tunnel, sitting on top of an electrical box.
You also need the Gramophone and the black record to open up the lower levels of the Excavation Site. The Gramophone is always on the floor inside the Excavation Site, and the black record will be somewhere nearby, often on a crate near the church entrance or on a wheelbarrow near the mound. Once you have these, you can open the staff room and the portals to Agartha.
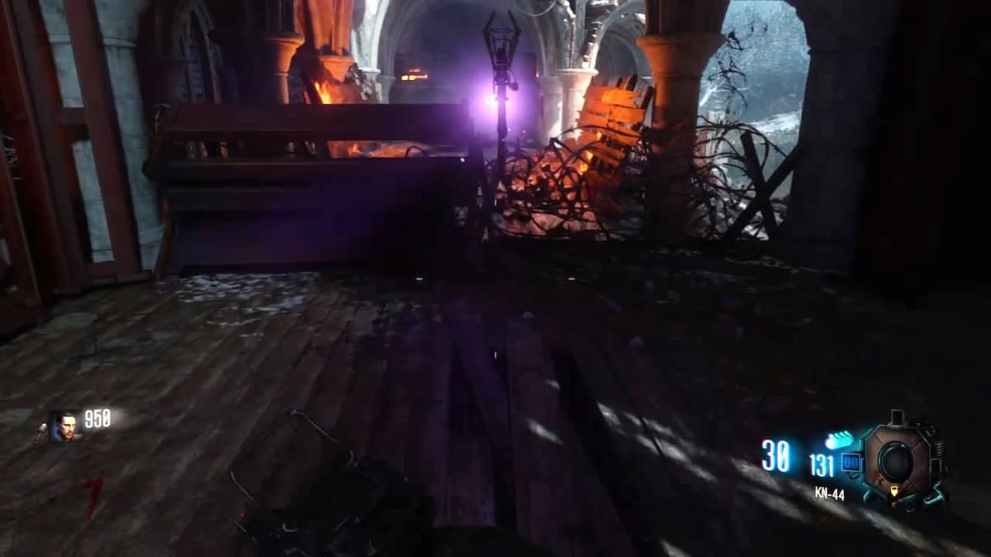
Jumping off the Tank for Lightning Staff Parts
This is the part that usually trips people up. To get the three staff pieces, you have to ride the Mark IV Tank and jump off at very specific moments. I have learned that if you are playing solo, you will need to take at least two trips because the cooldown is quite long, though the cooldown actually finishes faster if fewer players are riding it.
- The first piece: Start the tank at the church and wait until it passes Generator 4. As it crosses the bridge over the mud trench, look to your right. You will see a wooden staircase leading into a giant footprint. Give yourself a running start and jump over there to grab the part.
- The second piece: After the tank recharges at the Generator 2 station, start it up again. As you approach the Excavation Site, look to your left. You need to jump onto a wooden walkway that leads into a small hole in the side of the mound. Be careful here: there is a bit of an invisible barrier if you jump too early, so wait until you are parallel with the platform.
- The third piece: On that same trip back to the church, look to your right just before the tank arrives at the station. There is a dirt path that leads into a hole in the church wall. Jump off and grab the final piece inside.
One thing I noticed in this remastered Zombies experience is that the tank physics are a bit smoother than in the original version, making these jumps slightly more forgiving.
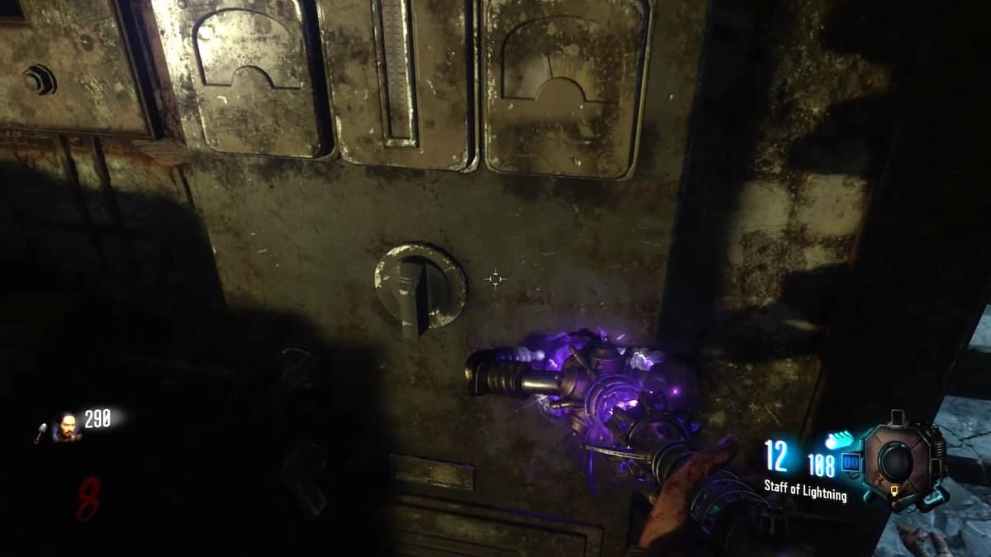
Building the Staff and Grabbing the Crystal
Once you have the three parts and the purple record, head to the Lightning tunnel located right next to Generator 5. Place your Gramophone on the table to open the portal. Go inside, walk over to the purple pedestal, and grab the Elemental Gem.
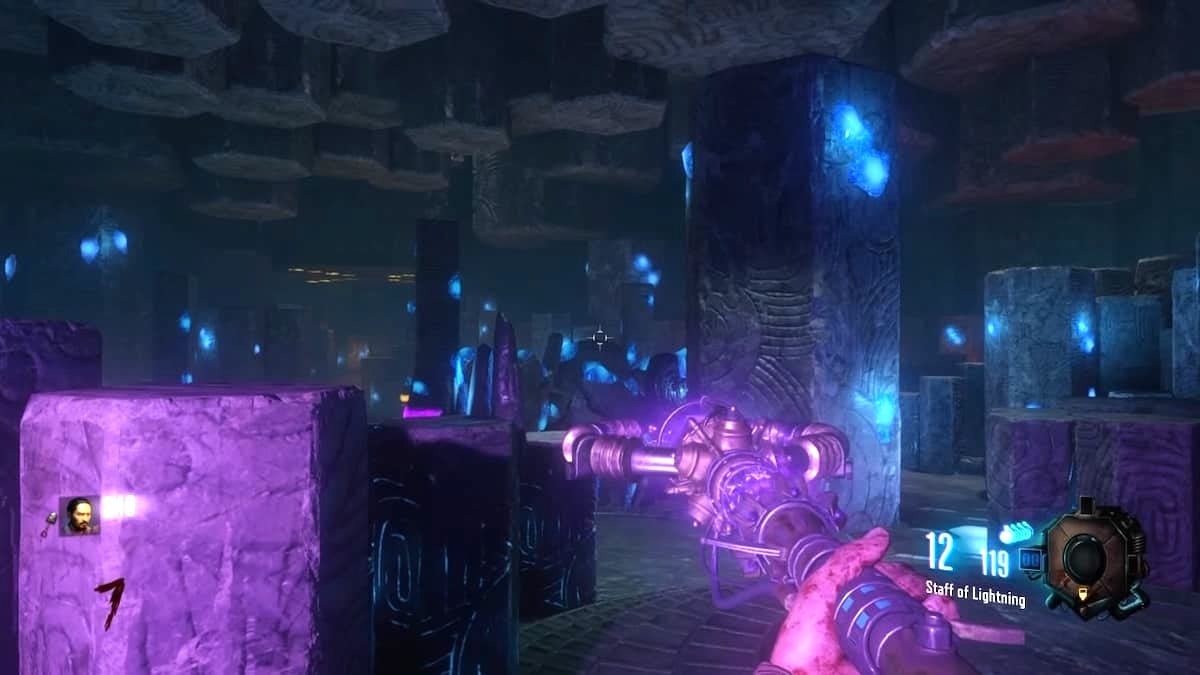
Now, just head to the bottom of the Excavation Site. At the very lowest level, you will see a purple pedestal. Interact with it to build the Staff of Lightning. You will notice that in the Black Ops 3 version, the staff starts with a full 12 rounds in the magazine, which actually fixes an old bug from the original game where it would only start with 9.
Solving the Lightning Piano Puzzle in Agartha
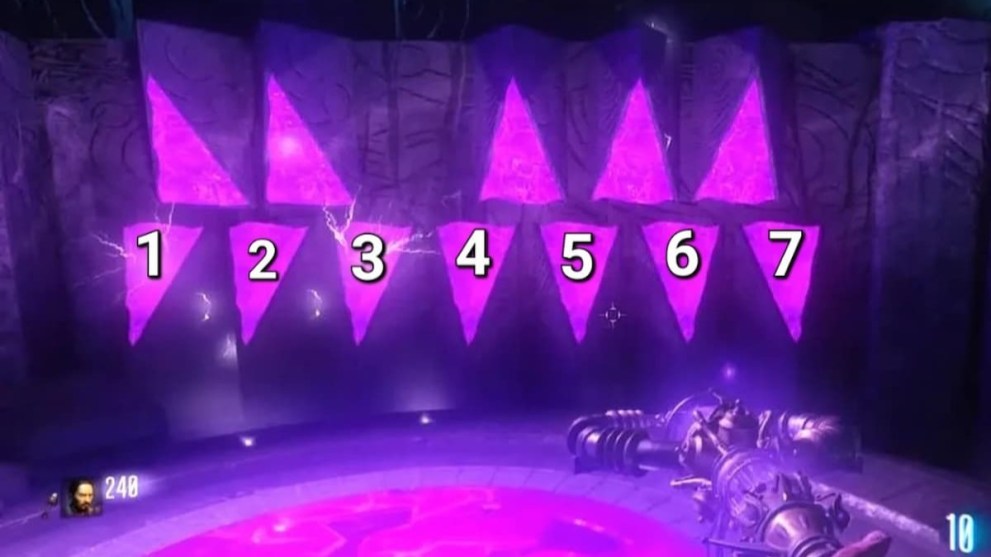
Now we get to the fun part. To upgrade the staff, you have to go back into the Crazy Place. Look at the wall near the lightning portal and you will see two rows of purple triangles. These are like keys on a piano. You only need to care about the bottom row. If you count them from 1 to 7 starting from the left, you just need to shoot them in three specific sequences.
The sequences are:
- First set: 1, 3, 6
- Second set: 3, 5, 7
- Third set: 2, 4, 6
A pro tip from my own games: you must wait for the electrical sparkles from your previous shot to completely vanish before starting the next set. If you fire too fast, the game will not register the chord and you will have to try again. You will hear a musical chime from Samantha once you have got it right.
Setting the Electrical Dials Around the Map
The next step is to ground the map’s electrical system by turning seven dials. A lot of people don’t realize that you can actually set these dials to the correct position on round 1, long before you even have the staff. This saves so much time later on.
Here is exactly where they need to point:
- Spawn area (Gen 1): Point the dial to the Left (9 o’clock position).
- Tank Station (Gen 2): Point the dial Down (6 o’clock position).
- Generator 4 area: Point the dial Up (12 o’clock position).
- Generator 5 area: Point the dial Down (6 o’clock position).
- Church basement: Point the dial to the Right (3 o’clock position).
- Church upper floor: Point the dial Up (12 o’clock position).
- Excavation Site: Point the dial Up (12 o’clock position).
If a dial is sparking, it means you still need to turn it. Once they are all correct, a massive beam of light will shoot into the sky from the Excavation Site, signaling that you are ready for the final steps.
Aligning the Rings and Charging the Staff
Head back down to the bottom of the mound. You will see four stone rings hanging above the staff pedestals. There are four levers scattered around the scaffolding here. Pull them until all the lights on the rings are glowing purple.
Once the rings are aligned, a purple orb will appear at the bottom. Shoot it with your Lightning Staff and it will fly up toward the ceiling. Now, for the home stretch: go back to the Crazy Place and place your staff on its pedestal. You need to kill about 20 zombies near the pedestal to feed their souls into the weapon.
While you are unlocking different weapons in your progression, you will find that Kimat’s Bite is one of the most satisfying to use. It gets its name from Philippine mythology, where Kimat is the lightning dog that serves as a pet to the god Kadaklan.
Understanding the Damage Math for High Rounds
I want to share some original data that most guides leave out. A lot of players wonder why the staff seems to stop one-shotting zombies eventually. In the Black Ops 3 engine, zombie health scales exponentially. By round 45, a zombie has roughly 29,365 health. This helps with point management while you are picking the right character perks.
Kimat’s Bite deals a flat 30,000 damage per bolt. This means:
- Until Round 45, you will get consistent one-shot kills with a single bolt.
- By Round 50, zombies have over 47,000 health, so you will need two shots.
- By Round 60, it can take up to five shots to kill a single zombie.
This is why the Lightning Staff is often seen as a mid round weapon. However, the upgraded version also gives you Sekhmet’s Vigor. If you press left on your D-pad, you can flip the staff around and shoot a beam that instantly revives downed teammates from across the map. It is an absolute lifesaver in co-op games.
Even if it doesn’t have the infinite damage of the Ice Staff, its ability to stun entire groups and provide a long-range revive makes it a staple for any serious Origins run.


Updated: Apr 20, 2026 01:23 pm