Lost & Found quests in Dead Island 2 are unique in that they make you do the detective work yourself. You don’t get waypoint markers for these quests and must look through related journal entries. If you’re not fancying a wild goose chase across LA, though, fear not! We have done all the legwork so you can easily locate the missing person. Here’s our full walkthrough of the Missing: Pablo side quest in Dead Island 2.
Missing Pablo Dead Island 2 Side Quest Guide
You’ll be able to start this Lost & Found quest from the Serling Hotel safe area in the Ocean Avenue zone. There’s a wall not far from the safe area entrance where the missing posters spawn. After completing a few of the others that are available, the Pablo mission will spawn.
Upon picking up the quest flyer, you’ll want to head to the Blue Crab Grill safe area in the Venice Beach zone.
After leaving the grill, jump over the main fence and head down the street to the right. At the end of the row of stores will be Rose’s Tattoo. You’ll need to hold the button to the left of the shutter long enough to get in. Fortunately, that shutter will keep zombies out while you look around.
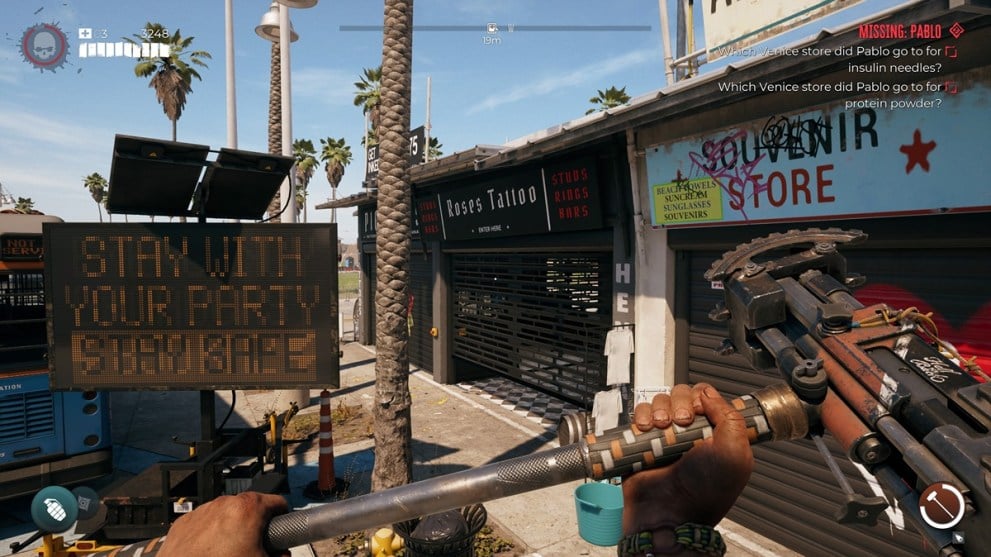
Once inside, your objective will update. Now you’ll need to “check the Rose’s Tattoo parlor for signs of Pablo, a kid in a Bobcats jersey.” You won’t find Pablo, but there will be a note on the left side of the counter titled Need for Needles.
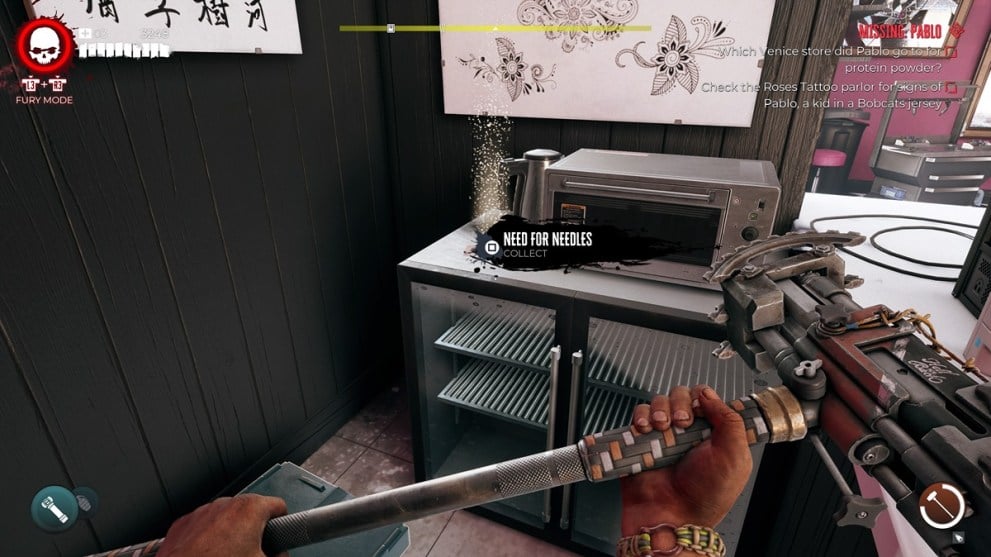
The note points to a “Muscle Beach Nutrition place” and a meeting with “Gang Whatsitsname.” Before following this note, return to the street by the safe area and remove the circuit breaker from a nearby alley.
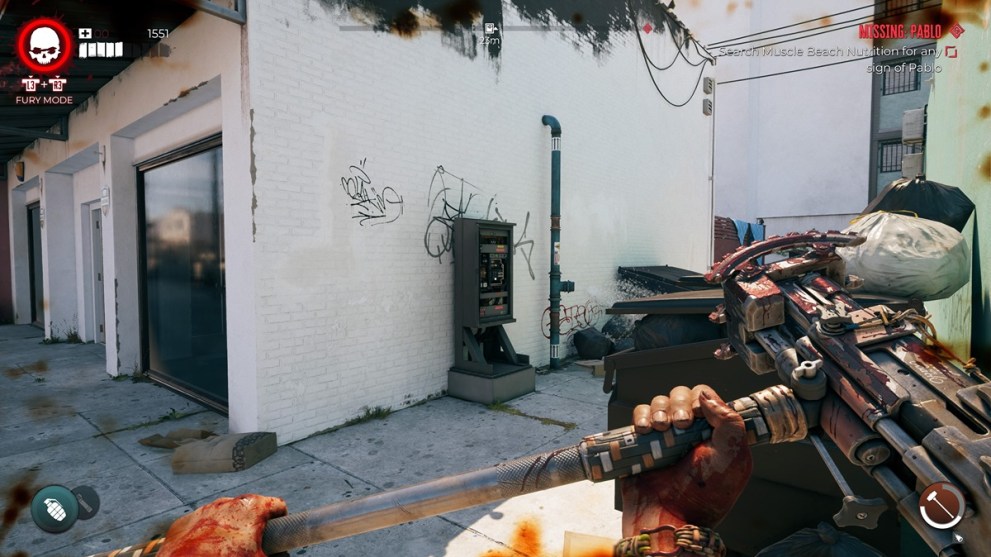
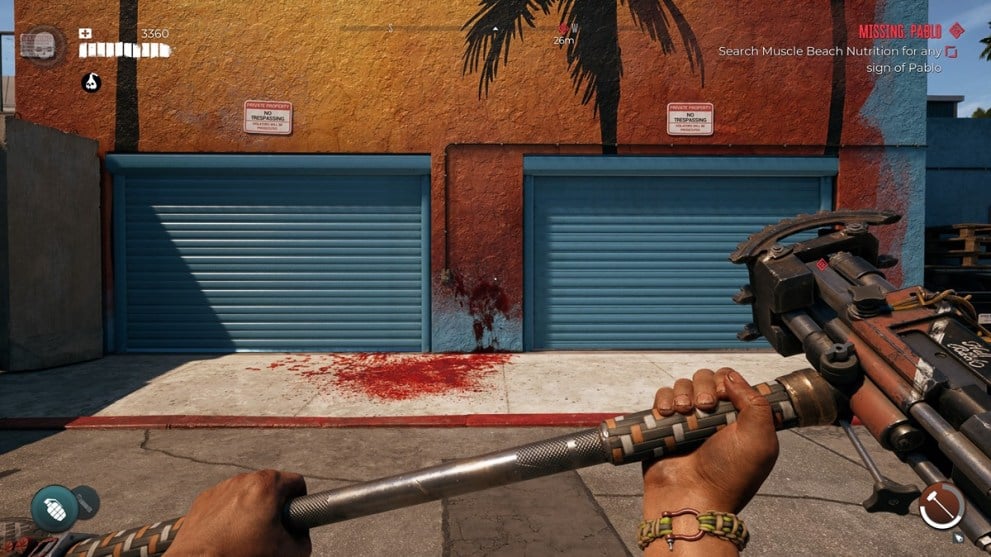
While carrying the circuit breaker, head back down the street towards Rose’s Tattoo, but make a left at the ending intersection. From here, head up the street towards that gym you visited during the Giant-Slayer main quest. To the left of that gym area will be Muscle Beach Nutrition.
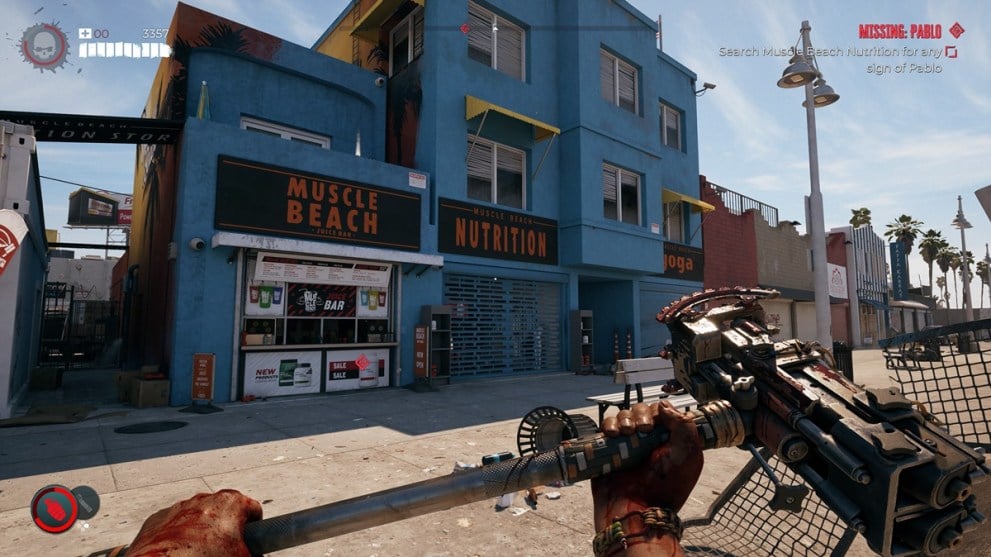
Go around the back of the building to the fenced in parking area. You can’t climb onto the roof with the circuit breaker so you will have to throw it into the fence. These are indestructible, so you don’t have to worry about missing. Slotting that circuit breaker in will let you open the nearby shutters.
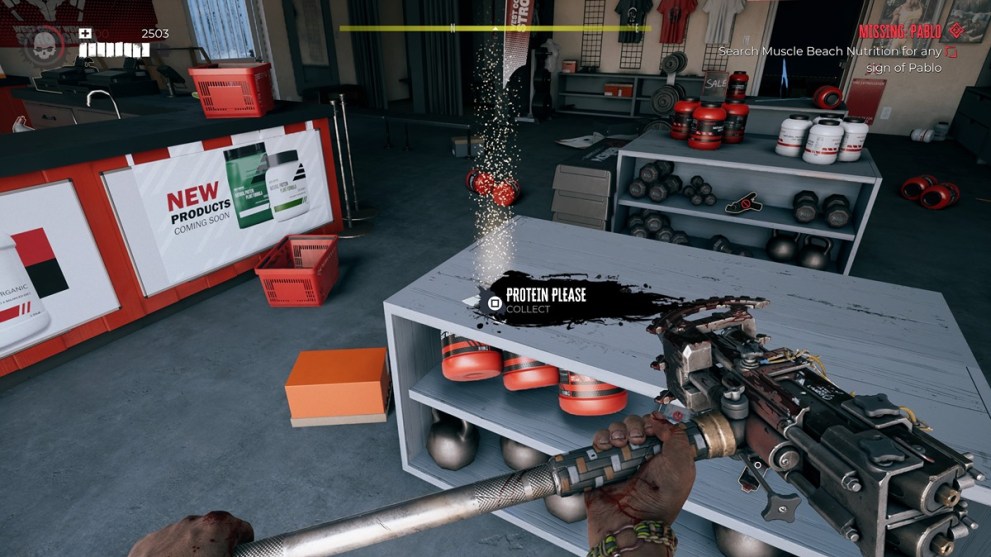
Once inside, you will find the Protein Please note in the main shop area near the front. This note points to making a trip to “Doc Marin’s Green place.”
The full other direction from Muscle Beach Nutrition will eventually lead you to Gang Green with the Doc Marin zombie outside.
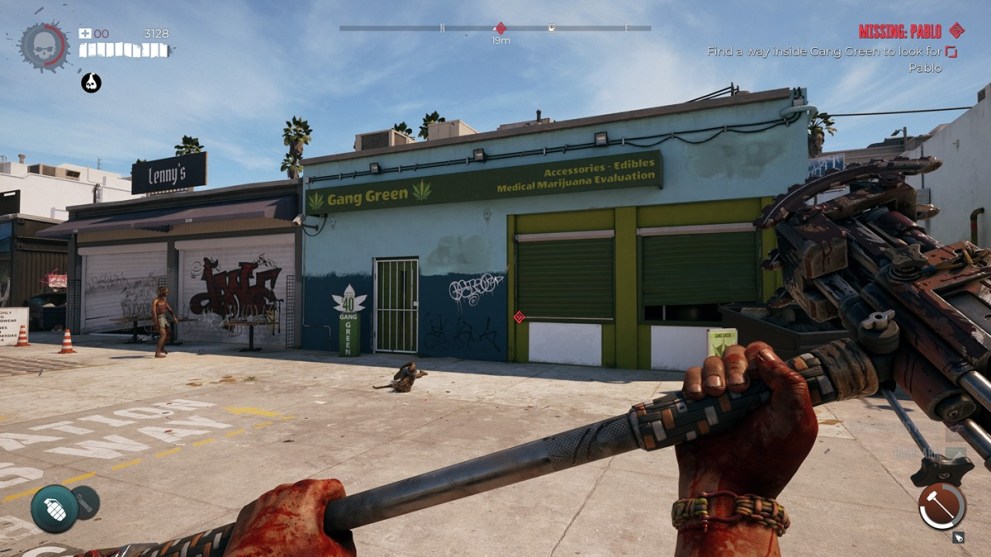
You will have to kill Doc Marin to get the Gang Green Gate Key to get inside the gate at the back of the building. What that open,, crouch into the opening and head inside. You’ll find the High Stakes note in front of the counter next to Pablo’s corpse.
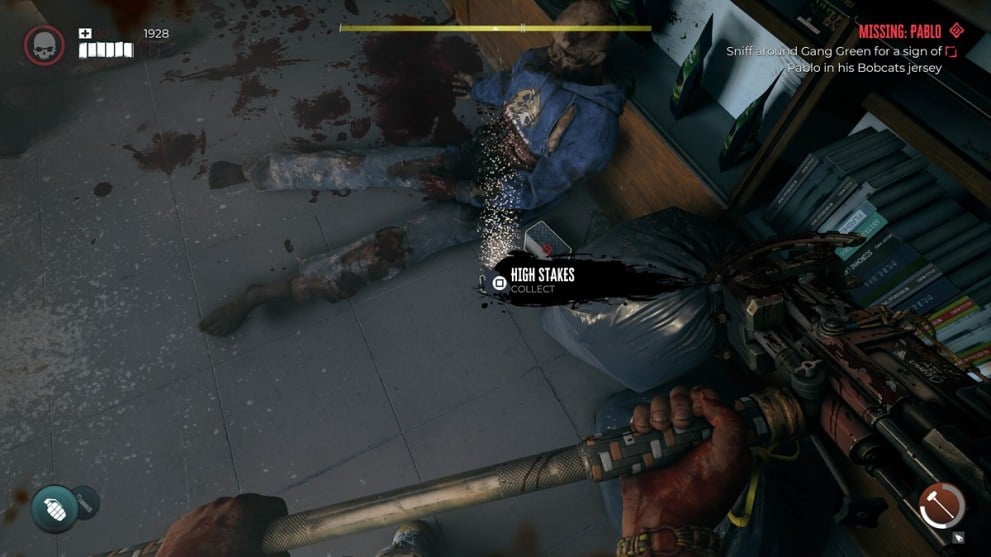
Picking up this note will complete the Missing Pablo quest and you will collect your Fire Axe reward. This quest also counts toward the Sole Survivor achievement/trophy.
This concludes our Missing Pablo side quest walkthrough for Dead Island 2. For more quest walkthroughs and guides, take a look at our links below.





Published: Apr 25, 2023 10:48 am