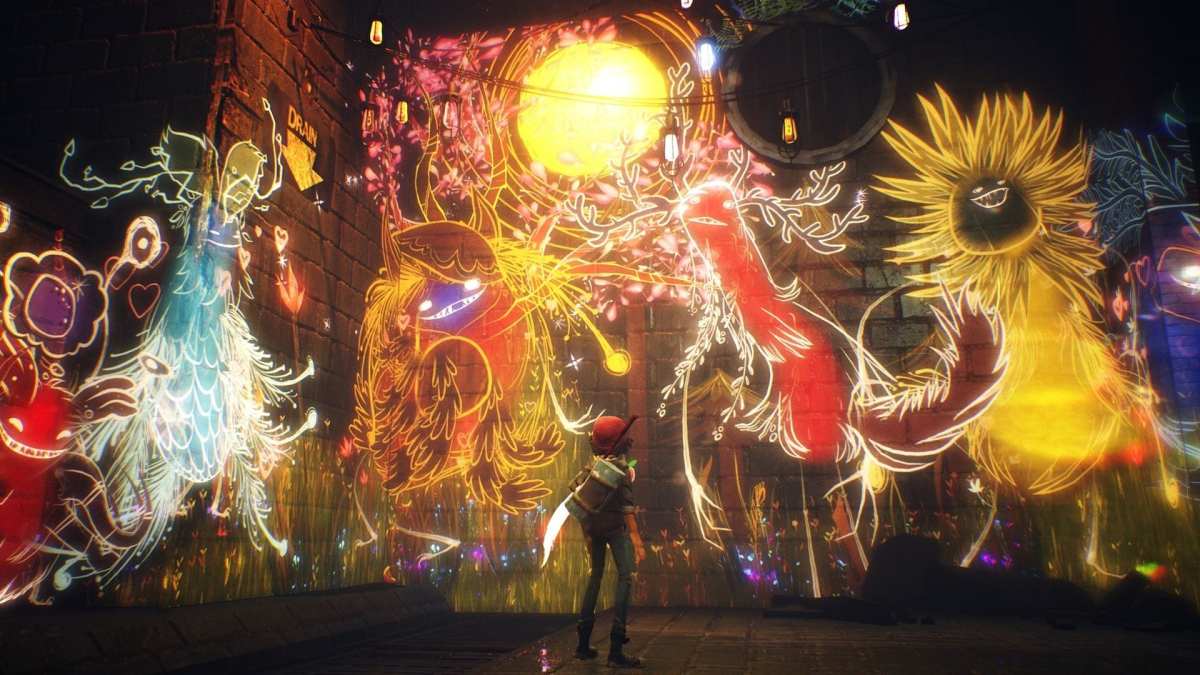
Photo mode has become a bit of a commonplace feature in games nowadays, allowing players to capture their favorite moments from games, or just take breathtaking captures of stunning views before editing and adjusting various settings to make it just right. Concrete Genie doesn’t miss out on the fun, which is a good thing because the game’s absolutely stunning to look at. Here’s how to use photo mode in Concrete Genie.
Using Concrete Genie’s Photo Mode
To use photo mode, all you need to do is press L3 and R3 at the same time to activate it. L3 and R3 for those unaware are when you press in the analog sticks on your PS4 controller so that you here a little clicking noise.
Doing so will activate photo mode, pausing the action around you and giving you free reign to move the camera around as you wish.
You’ll also be able to go through various different settings and options to tweak how your photo looks, such as vignette, field of view, contrast, saturation, lens flare and more by pressing the touchpad on your controller to open up a little menu of options.
When you’re happy with how things look on the screen, simply press Triangle to hide the UI and then press the Share button on your controller to bring up the little side-menu. Press Triangle to save the screenshot. That’s literally all there is to it.
Using Photo Mode in Concrete Genie
- Press L3 and R3 at the same time.
- Use the analog sticks to get the correct angle and placement of the camera for your shot.
- Press the touchpad on your controller to open up a menu to alter how the photo will look.
- Press Triangle to hide the UI at any time.
- Press ‘Share’ on your controller and Triangle to save the screenshot.
Where Are Your Photo Mode Images Saved?
As you may have guessed due to the use of the Share button, any snaps you get in Concrete Genie’s photo mode can be found by going to your PS4’s ‘Capture Gallery.’
This can be accessed from the home screen. Then, select the game from your library of games and you’ll find the image inside.
That’s everything you need to know on how to use photo mode in Concrete Genie. Now get out there and start snapping all of the beautiful, artsy screenshots you can. For more tips, tricks, and guides, be sure to search for Twinfinite, or take a gander at some more of our guides on the game below.
- How to Solve White Paintings & What They Do
- How to Solve Billboards & What They Do
- How to Beat Dark Yellow Genies (Spoilers)










Updated: Oct 8, 2019 05:46 am