
Total Chaos is not a usual survival game, but a standalone remake of the Doom 2 mod, featuring the character of Tyler Scott. This guide will provide you with tips and tricks on how to unlock the good ending in the game, where you need to complete a series of merciful actions in each chapter. Here, you need to avoid killing monsters (Forgotten Ones) entirely where possible, ignore the Radio Voice, and prioritize sparing or bypassing bosses.
Table of contents
Chapter 1: Arrival
Merciful actions for Chapter 1:
- Avoid unnecessary kills;
- Scavenge fully for resources.
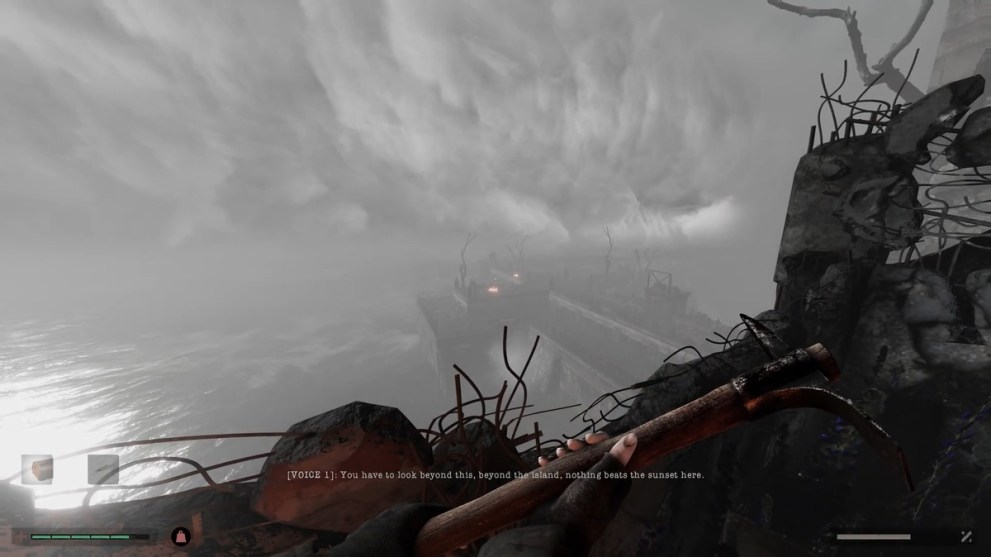
You start on a motor boat that gets a strange signal and wrecks in a thunderstorm. You end up on Fort Oasis island with tall structures, and here’s what you need to do:
- Turn left from the docks and walk along the seashore until you reach a passage.
- There, you should see an inscription on the wall: “There is no other way.”
- Turn to your right and walk up the stairs to reach the room at the end of the hallway.
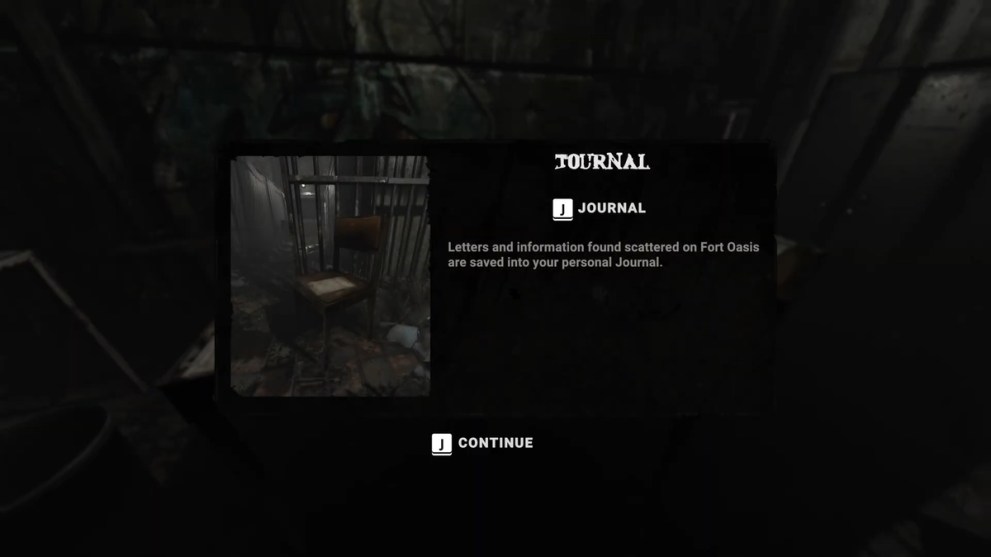
- Pick up a Coastal Key and the Journal: They’re Gone from the table.
- Leave the room and open the gate using the key at the stairs.
- Pick up a Med Kit and a Meat Can, and continue until you reach a large circular set of stairs.
- Drop off to your right once you reach the broken set and pick up a Pickaxe.
- Use it to break through some wooden planks and crates that block your path.
Once you arrive at your first save point, pull the electric switch to open the rolling gate. Then, follow these steps:
- Find the Foreman Key on the table to pull the locked electric switches.
- Don’t try to fight the monsters, but find and pull all the electric switches.
- Hide behind the rolling gate and reach the second save point.
- Open another rolling gate nearby and drop down the broken balcony to your right.
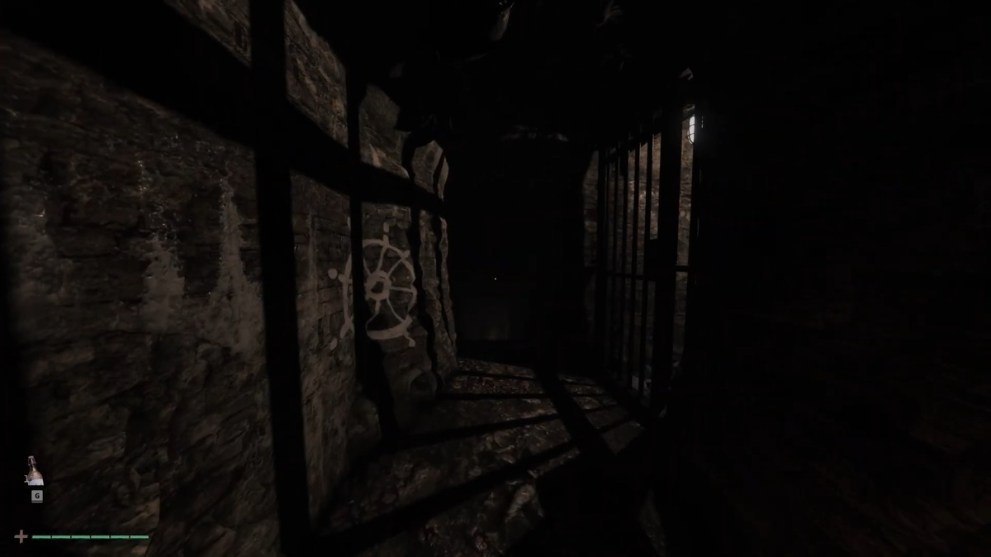
- Walk through a long dark passage until you reach the symbol of the ship’s steering wheel.
- Keep going deeper until you find the Tunnel Key and turn the Omega symbol to 3 o’clock.
- Save your game at the next save point and go through another rolling gate.
Soon, you should be outside, listening to a strange voice on the radio. This is what you need to do next:
- Find the Underhalls Key by entering a narrow path behind the notice board.
- At this point, you need to satiate your hunger and evade some nasty monsters.
- Go back outside and open the Underhalls gate that leads to the Coastline Bench crafting station.
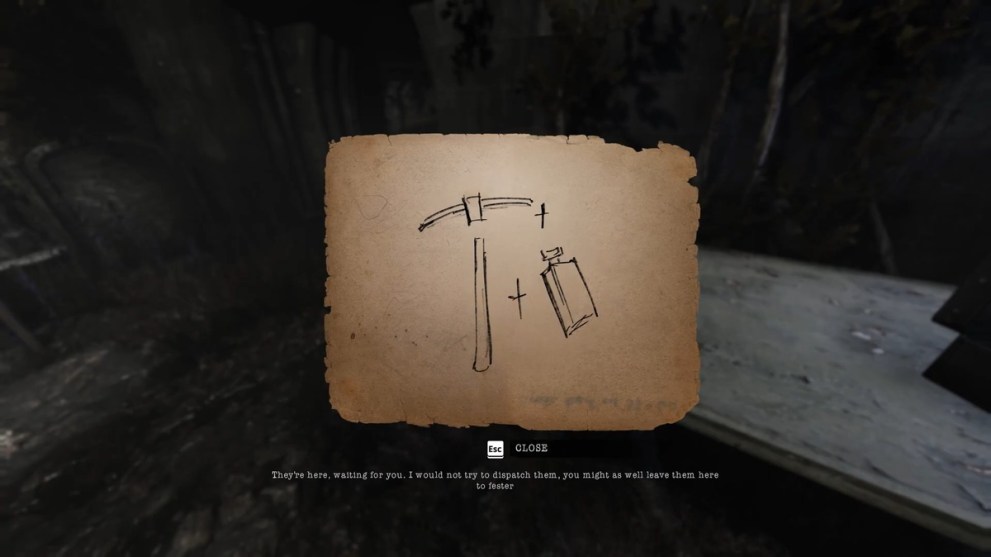
- Make yourself a stronger pickaxe, and now you can use it to deflect the monsters, but don’t kill them.
- Once you pick up the hammer, the first chapter will be complete.
Chapter 2: Decay
Merciful actions for Chapter 2:
- Break boards on the ground for the secret area;
- Grab a cassette tape of Leda’s notes.
In this chapter, you unlock the ability to throw weapons, so be sure to craft some glass and metal shivs at the workbench:
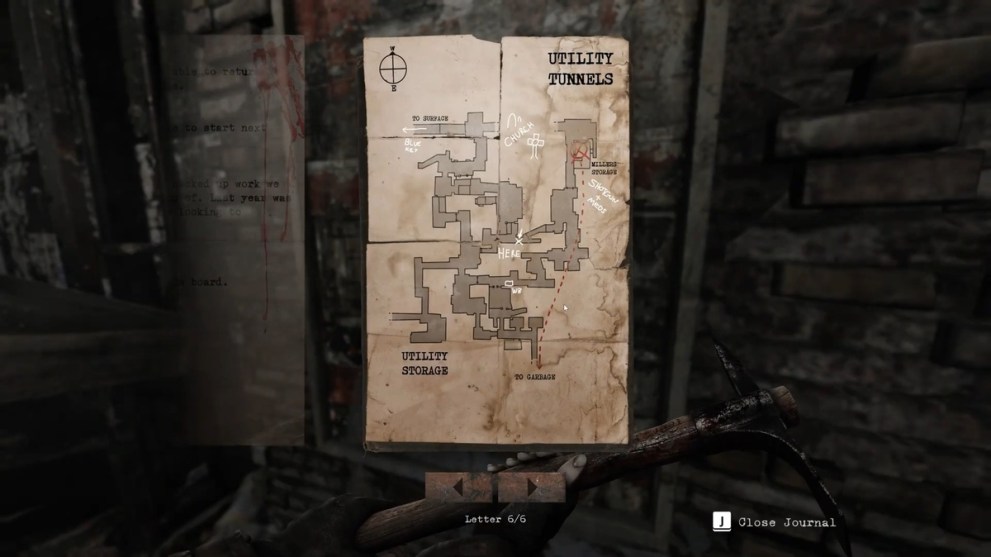
- After some crafting and monster evasion, be sure to pick up the Utility Tunnels map.
- It’ll help you unlock shortcuts and navigate the location much faster.
- Craft some bandages and enter the garbage area for some heavy fighting.
- Then, drop through the vertical tunnel and pick up the Miller’s Key behind the rolling gate.
- Beware of the new spider-like monsters appearing, and make your way up to the outside.
- Once you exit into the graveyard, pick up an audio cassette for some lore.
Scout the area until you find your first P08 pistol and get back into the tunnels through the rolling gate:
- Pick up the Blue Block Key and navigate your way downstairs until you reach a cog puzzle.
- All you need to do is pick up the missing cogs and insert them into the slots on the wall.
- Once you pull the lever, the shadow from the metal structure should correspond to the image on the wall.
- Reach the Blue Block Access area and pull the switch to open the gate with some monsters behind.
- Find the Surface Gate Key in the area beyond and leave the area via the elevator.
Chapter 3: Forgotten
Merciful actions for Chapter 3:
- Collect 3 fuses;
- Lure boss to “They’re gone…” wall twice;
- Damage to trigger an explosion that cracks a wall;
- Kill only flesh pillars;
- Ignore downed boss;
- Use fuses in slots for a secret exit and spare the boss.
The new chapter begins with you finding a recipe for a nailed stick that is required for the new type of enemies:
- Find your way out onto the broken balcony and find the Basement Key.
- Enter the basement and watch out for illusory walls that can be traversed.
- Reach the fuse and restore the electricity, which will activate another elevator.
- Find your way back to the elevator via the air duct and pick up a Harpoon weapon on your way.
- Once you reach a sign with directions, follow the Starry Night path.
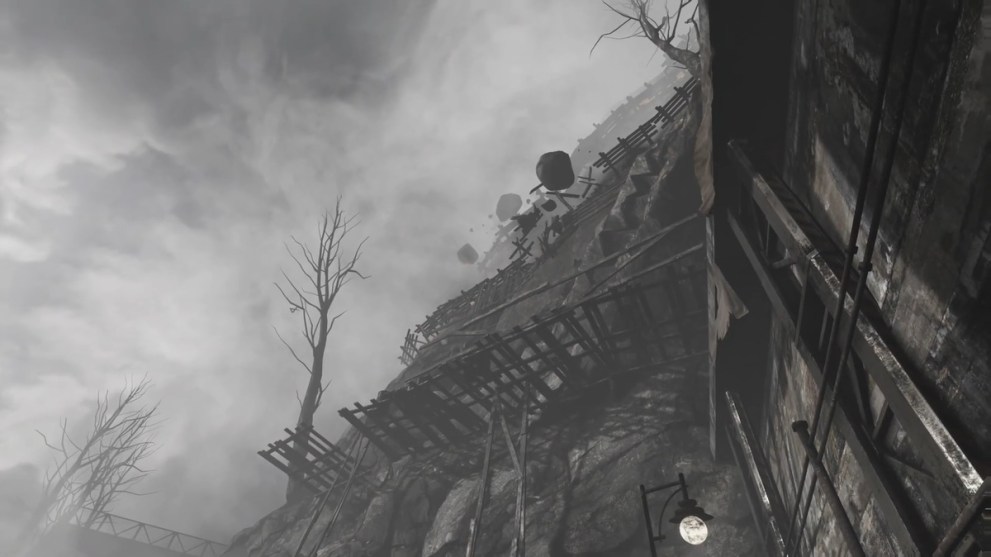
- Once you reach the outer ledge through the area with pipes, you’ll see some rocks falling from the top of the cliff.
- This means that you need to reach the upper path to progress through the game, as the rocks destroy the ledge.

The next significant step is entering the dark area beyond, where you need to find a lighter and use it to see the path:
- Use electric fuses to activate the switches that open gates, but then turn them off to stay stealthy.
- There’s a dangerous threat lurking in the basement, so don’t try to engage but simply wait until it passes by you.
- Follow through to the outside and enter another elevator.
- You should end up half submerged in the water basement, but keep traversing the path.
- You can swim under the water, but only for a short period of time, or you’ll drown.
- Once you arrive at the gate with the code, enter the following password: C-O-R-A
- The gate will lead you into a massive flooded hall with a flying monster, so be extra careful.
- Use a machine gun that you picked up earlier and once the monster is downed, leave the area via the elevator, sparing its life.
Chapter 4: Storm
Merciful actions for Chapter 4:
- Skip save at the record player in the shop;
- Bait the Forgotten Ones, but don’t kill them;
- Don’t burn Molotovs to bypass the wall.
Traverse the courtyard in the next area and ward off some dogs that try to attack you. After that, follow these steps:
- Enter the basement through the rolling gate and prepare to encounter lots of spider monsters.
- At one point, you’ll encounter the first human NPC, who sheds some light on the mysterious voice from the radio.
- Pass through another rolling gate and cut the chains off the grates to exit into the yard with a burning tree.
- Walk straight into the Oasis Arcade building right across.
- Follow the path through the hallways until you reach the Oasis Records store, where you can unlock an important shortcut.
Once you leave the Oasis Arcade, it’ll be dark outside with a powerful storm slowing you down. Neglect this and keep going:
- Once you’re back in the basement, find the Rebar Pole recipe, which will be useful.
- Avoid all the monsters in the large central hall and listen to a new recording in the bathroom.
- Find the elevator button “8” and insert it into the empty slot of an elevator control panel.
- Select the “Floor 8” from the menu and leave the area.
- As soon as you arrive, you’ll be followed by a dangerous monster.
- Instead of trying to kill it with your weapons, escape it and use the hot-air valves to release the pressure from the tubes.
- This will stall the monster enough until you reach the area indicated by the arrows on the walls.
- Jump through the hole down below and watch a cutscene when you receive the Oasis Goods Key.
Now you can go back to the elevator and select “Floor 1” to leave the area. Keep jumping down inside the rotating rooms until you arrive at another elevator:
- The elevator will automatically bring you back to the courtyard outside.
- Follow the familiar path until you reach the area with lots of twitching bodies.
- Pass through the corridor without burning anybody.
- Finish the chapter by activating a large elevator at the end.
Chapter 5: Crossroads
Merciful actions for Chapter 5:
- Take High Dose Medication from the shelf;
- Answer all 4 phones;
- Don’t kill anybody and don’t save at record players after taking the pills;
- Collect all tapes.
Arrive at the old ruins and walk through them until you enter the interior. Fend off some monsters and continue on:
- Activate a large elevator to go down and pick up the Tunnel Key.
- Leave the area through the broken rolling gate, which will eventually roll up to reveal a path.
- Reach a long ledge outside and pick up the Barbed Rebar Rock recipe.
- Pick up a shovel on your way to the bench and arrive at the wall with a large red cross sign.
- Hit the wall with the shovel, and it will crumble.
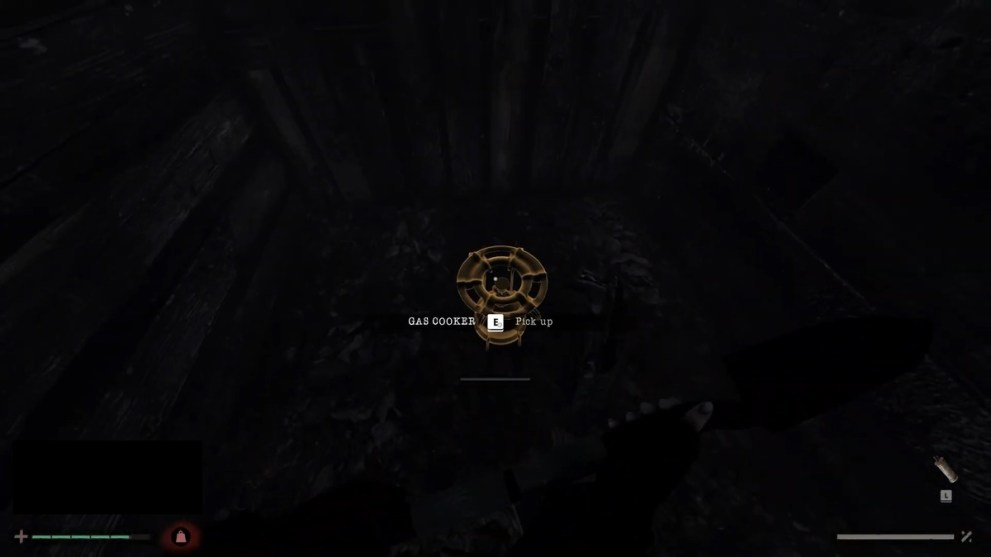
- Pick up a gas cooker, which is very useful for heating food and boiling water.
- Keep traversing the basement of the ruins until you reach another rolling gate.
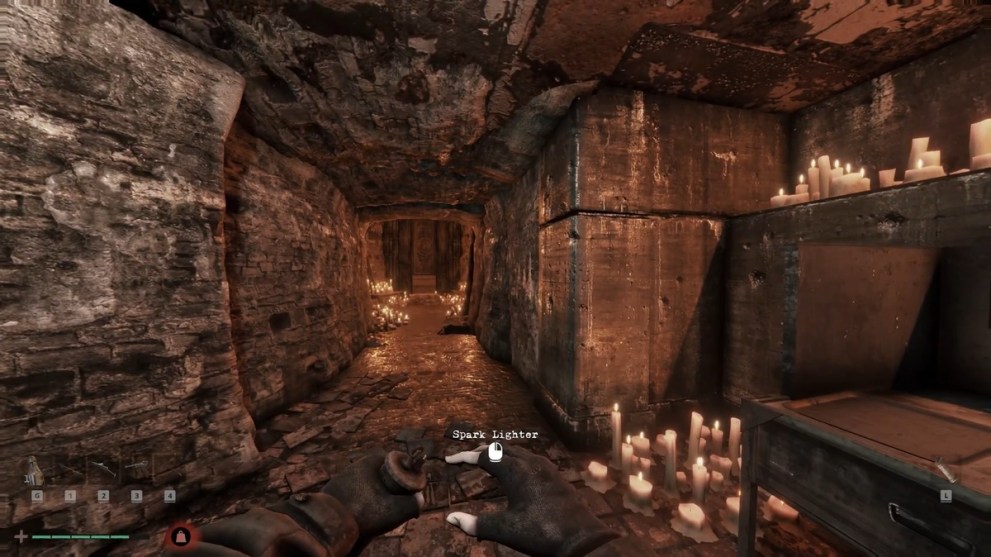
You should soon arrive at the place that looks like a bunker. It’s dark inside with occasional rooms full of candles, so use your lighter:
- Find the Security Key and beware of the monsters hanging off the ceiling.
- You can crouch to pass through the narrow tunnels and arrive at the area under the metal bridge.
- Pick up the two key fragments, which will be required to open a new path.
- Make your way into the elevator and go upwards.
- Follow the wooden plank path and enter another elevator.
- It should bring you to an area that looks like some kind of temple.
- Insert the two keys into the slots at the two pillars, revealing a secret library.
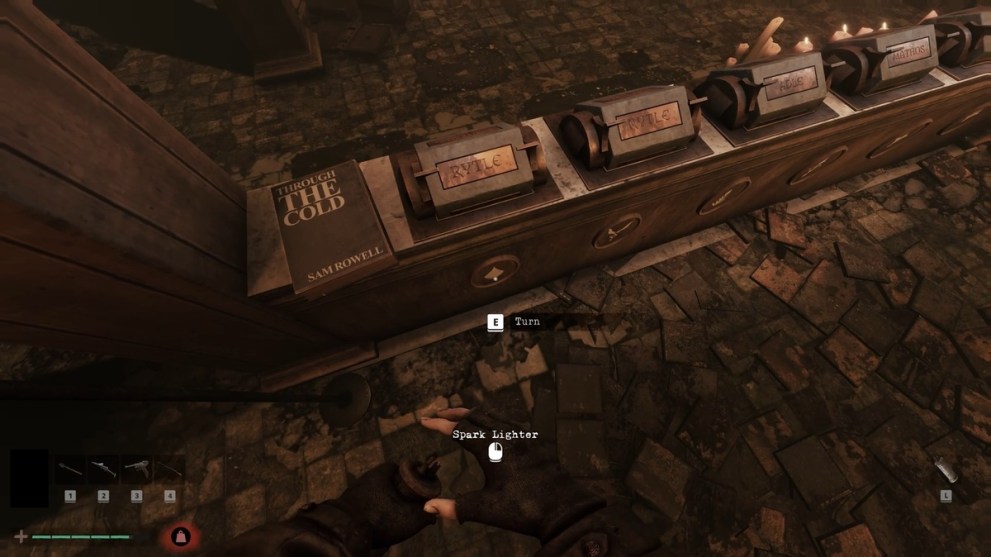
Make your way into the main hall with the rotating tables and set up the books in the following order:
- The selection of names from left to right should read: ROWELL – ADLE – MATHOS – ROCA – ELENA – RYTLE (the last one is a missing plate that you need to find in the lower tier of the library).
- Go to your left until you reach a dead end, where you can pull the switch and reveal a secret path behind a bookshelf.
- Unlock a shortcut and follow through to the bottom tier of the library.
- Be prepared to encounter a new monster that destroys the bookshelves from the ceiling.
- Don’t try to fight it, just run and avoid damage until you find the missing plate.
- Go back to the rotating tables and insert the missing plate into the slot, choosing Rytle as the last name.
- This will unlock a secret ladder behind the wall, which you need to ascend to finish the chapter.
Chapter 6: Regression
Merciful actions for Chapter 6:
- Spare the Tree Lurker boss;
- Ignore all the valves except the final one.
You will arrive at the large graveyard full of monsters. Find a small shack that leads into the basement and do this:
- Reach the other side of the basement, which will lead you to the chasm.
- Load your harpoon and aim it at the top of the tower on the other side of the chasm.
- Pull the rope to make a bridge out of the wooden tower.
- Load your harpoon again and aim at the brick wall on the other side.
- Again, pull the rope to destroy the brick wall and reveal a path.
- Follow the path and fend off the monsters until you reach a narrow labyrinthine garden.
- Make your way through this labyrinth until you find a hole in the ground that leads straight into the sewer system.
After that, return to the graveyard and break through a wooden fence on the eastern edge. Then, enter a cave at the end of the path:
- Soon, you should find the Miner’s Armor, which you should immediately equip.
- As soon as you leave the cave, you’ll see a giant monster roaming the graveyard.
- But don’t engage with it and return to the basement.
- Keep descending until you reach the elevator that’ll take you even deeper.
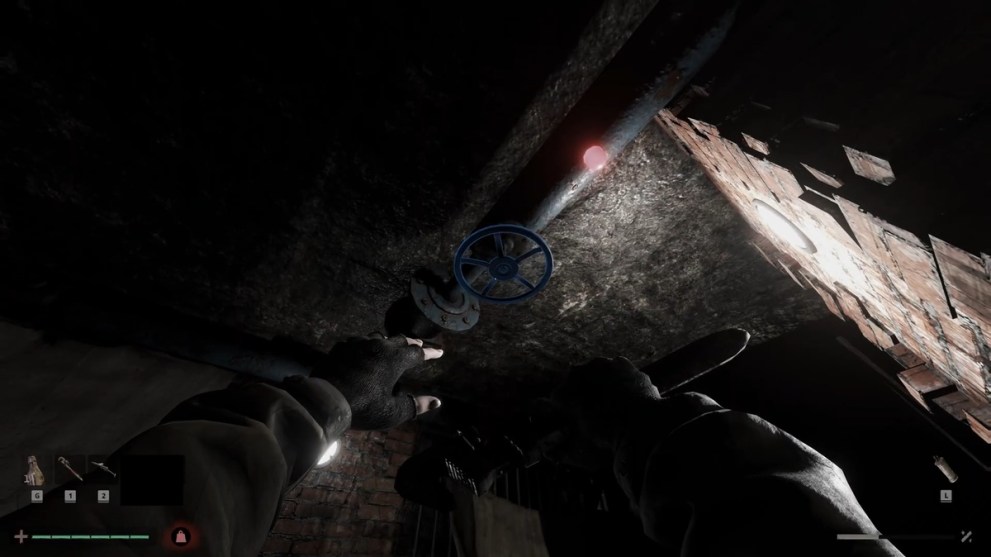
- In the new area, reach the Pump Control section.
- Find the Pump Room Key to unlock the rolling gate.
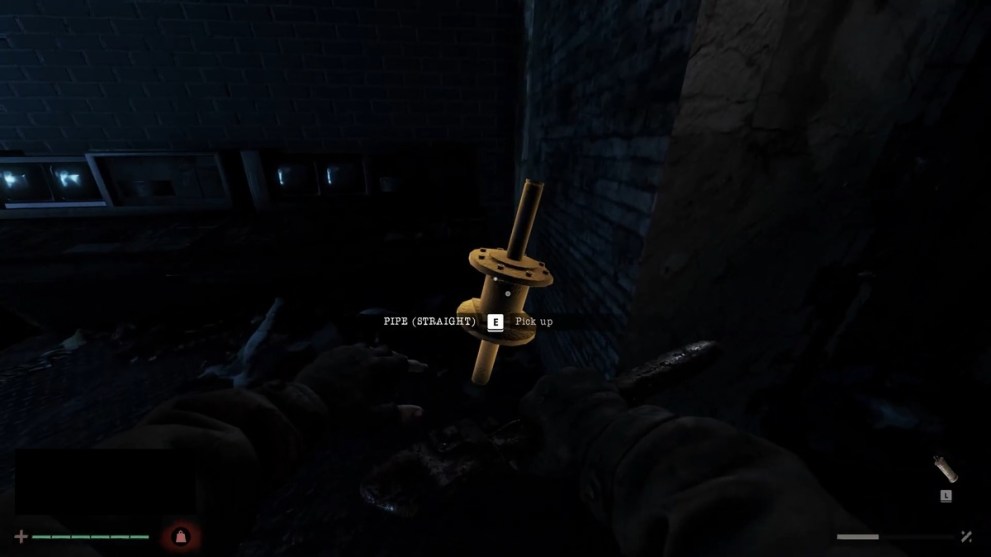
- Once you’re inside, pick up a Straight Pipe and pull all three Pump control switches.
- This will unlock the Exit gate, which will allow you to escape the area.
Chapter 7: Madness
Merciful actions for Chapter 7:
- Ignore the radio voice and go deeper using flares;
- Find the hidden tape journal.
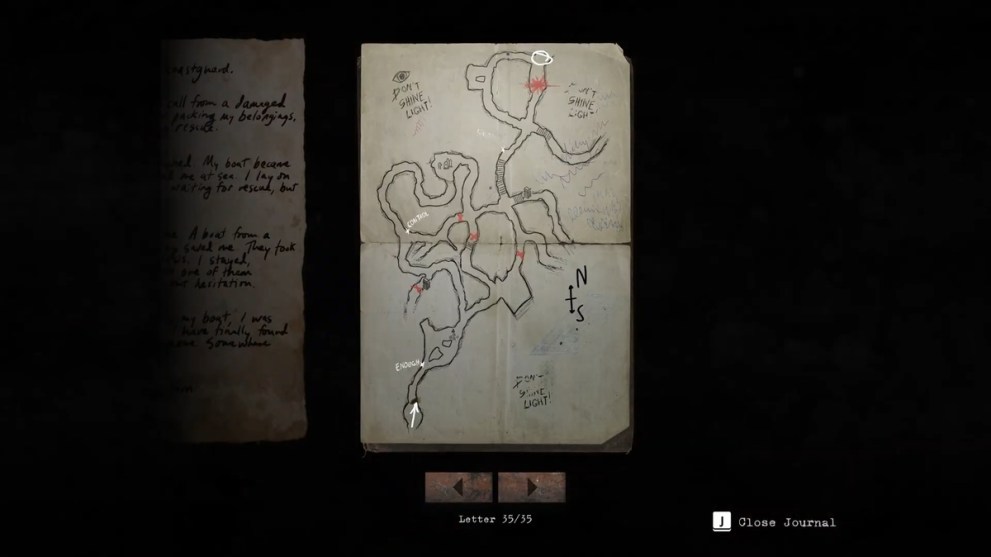
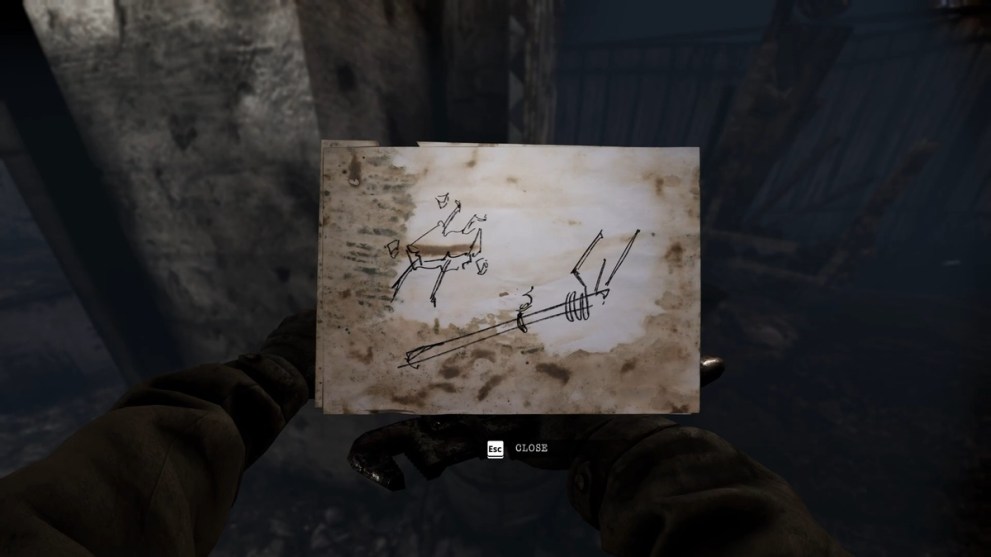
Enter another cave and keep following the path until you find the map of the area, as shown in the image above. Then, do this:
- The inscriptions on the wall will give you an idea of where you are in the cave.
- You should see signs like “This is not forever” and “She will forgive me” in the flooded area.
- Once you reach the hallway with doors, the next series of events begins.
- You need to traverse several hallways: with red lighting, wet walls, and finally back into the Oasis.
- Take an elevator behind the save point and go outside until you reach another elevator.
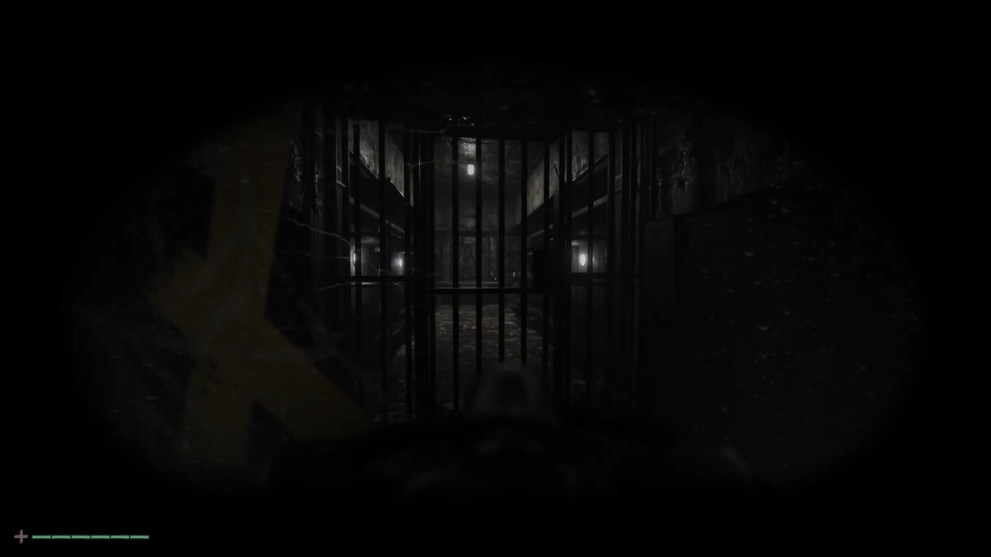
- Enter a narrow path over the surface of the ocean and break through the locked cage.
At the end of the path, you’ll enter another cave that will lead you into an abandoned building of sorts:
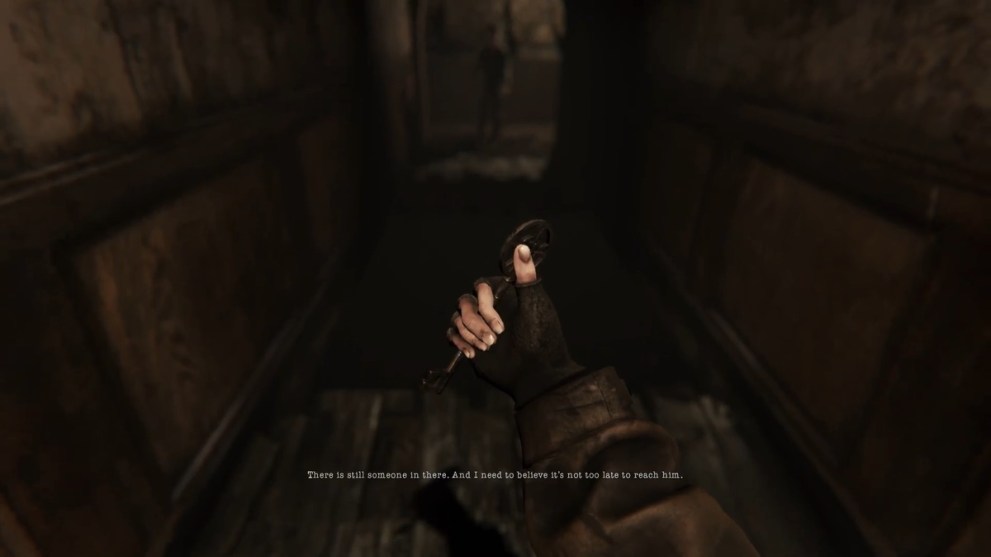
- Walk around until you stumble upon a man in a hoodie.
- Listen to his monologue and keep moving until you reach another area.
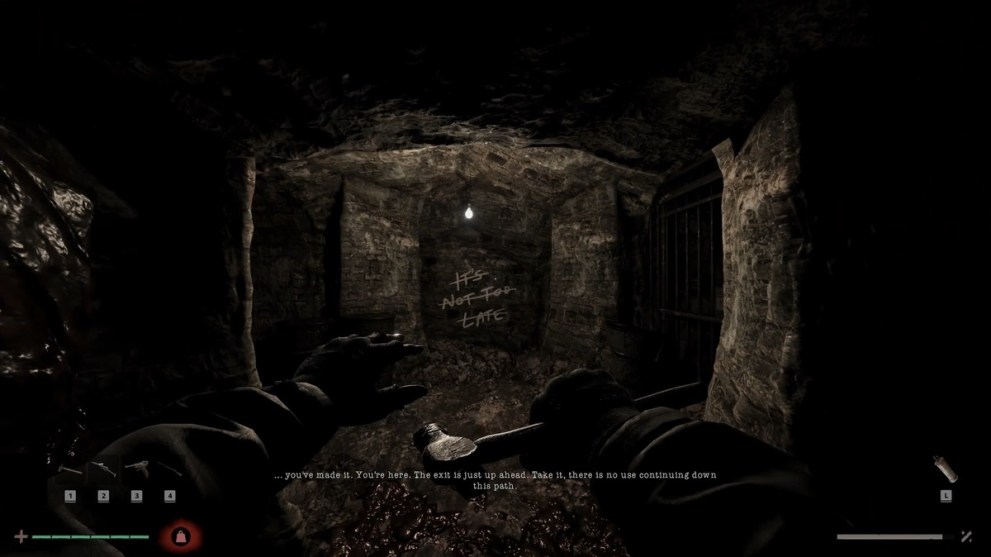
- Enter a new cave, and you should see an inscription on the wall: “It’s not too late.”
- Turn left and ascend the stairs until you reach an elevator, which will take you to another chapter.
Chapter 8: Chaos
Merciful actions for Chapter 8:
- Don’t kill the Forgotten Ones by choosing the alternate paths;
- Find an optional tape.
Once you arrive, go upstairs and walk through the door, which will lead you out of the building and into the next area:
- Locate the Hubert’s Shoe Shop, as that’s where you’ll trigger the next portion of the voice recording.
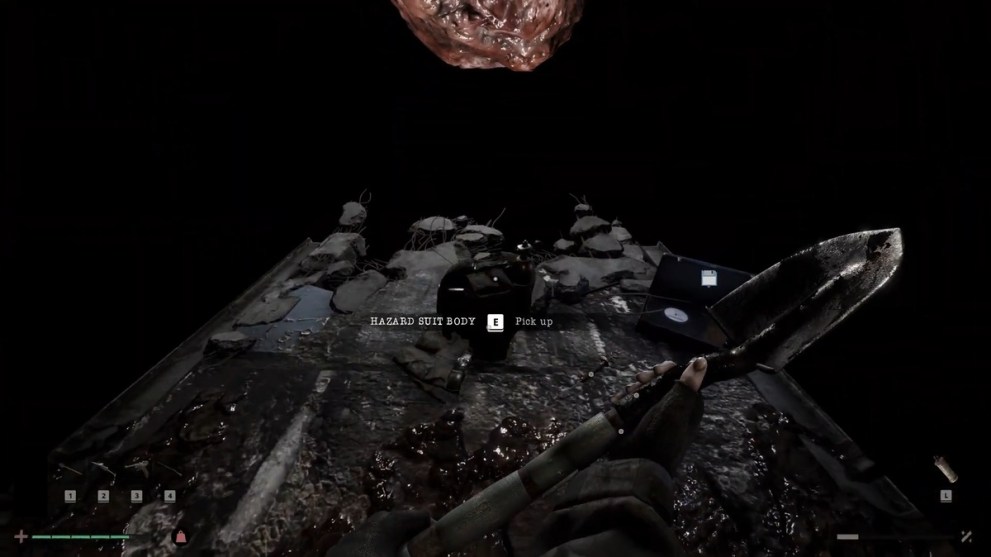
- Keep going through the caged gate until you reach a dark area, where you can pick up the Hazard Suit Body.
- Don’t kill the hanging monster, but beware of the burning mobs beyond this point.
- Once you arrive at the gate with the on-screen prompt to put on your suit, equip the Hazard Suit Body and enter the graveyard.
Chapter 9: Resolve (Good Ending)
Merciful actions for Chapter 9:
- If you followed earlier instructions, there should be no Forgotten Ones;
- The radio voice will be silenced, and Tyler finally recovers.
Pass through the graveyard until you reach an entrance with the sign “Mine Access.” Enter the mine and follow these steps:
- Take the elevator and find the wall with fuses that unlock another gate.
- Walk along the wooden planks until you reach the room with the red light.
- Avoid all the monsters and pass through the rolling gate.
- Once you arrive in the area with a giant wired cube and an Omega sign, enter the narrow tunnel.
- Pull the switch and return to the area with the giant cube.
- Pull the switch on the central pillar to disassemble the cube.
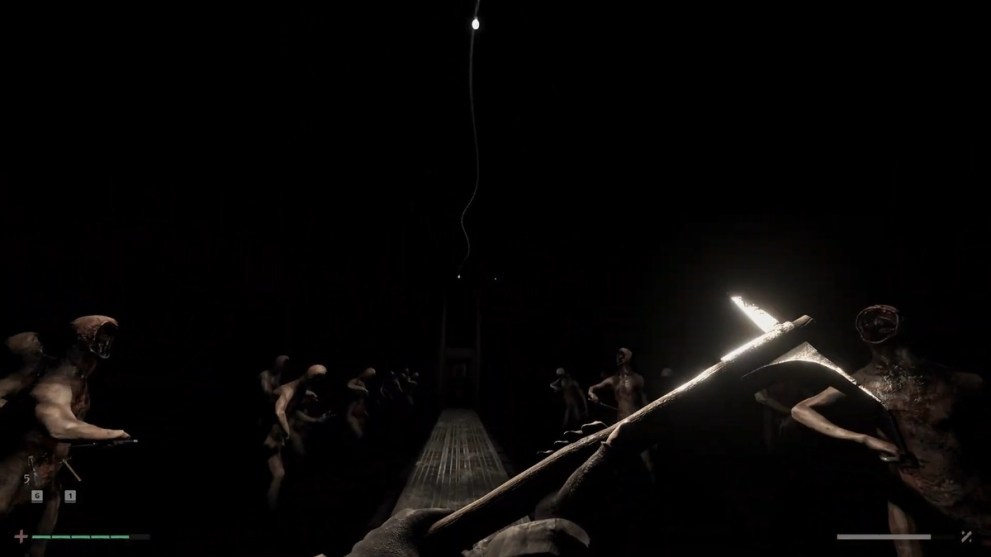
At this point, you’ll watch a cutscene, after which you get teleported to the narrow pathway with tall monsters. Avoid them and try to find the hole in the ground to drop down into:
- Find your way onto the metal bridge with a chained giant.
- Evade all the attacking monsters and enter another tunnel.
- Pull all the switches you can find to complete the sequence.
- This will initiate the final series of events with the man in the hoodie that takes place in the forest.
- If you’ve done everything right, no Forgotten Ones will spawn, and Tyler will successfully recover.
That’s all you need to know on how to complete the Total Chaos walkthrough. For more guides, check out Escape Simulator 2: Dracula’s Castle Walkthrough and Baby Steps Walkthrough Guide: The Fastest Way Up.


Updated: Nov 30, 2025 09:57 am