In the scary world of The Quarry, finding the right collectibles can help paint a clearer picture of what the counsellors of Hackett’s Quarry are up against. Not only does it reveal more of the game’s story, but it will also help players get a fresh perspective on the events that unfold throughout the name. If you’re searching for the truth, then you definitely need to keep an eye out. For those wondering just where to find all the evidence in The Quarry, this guide is for you.
Where to Find All Evidence The Quarry
Out of the collectibles in The Quarry, which include clues, tarot cards, and evidence, you will be able to obtain all of the evidence in one run rather than two. The time to uncover the truth is now, so let’s begin the hunt for the 10 pieces of Evidence.
Chapter 1
Jacob
This is to prepare you to get Evidence #3 in the lake later on. As Jacob, once you have packed the bags in the car, you will have to decide to either break the fuel line or steal the rotator arm. Choose the latter option.
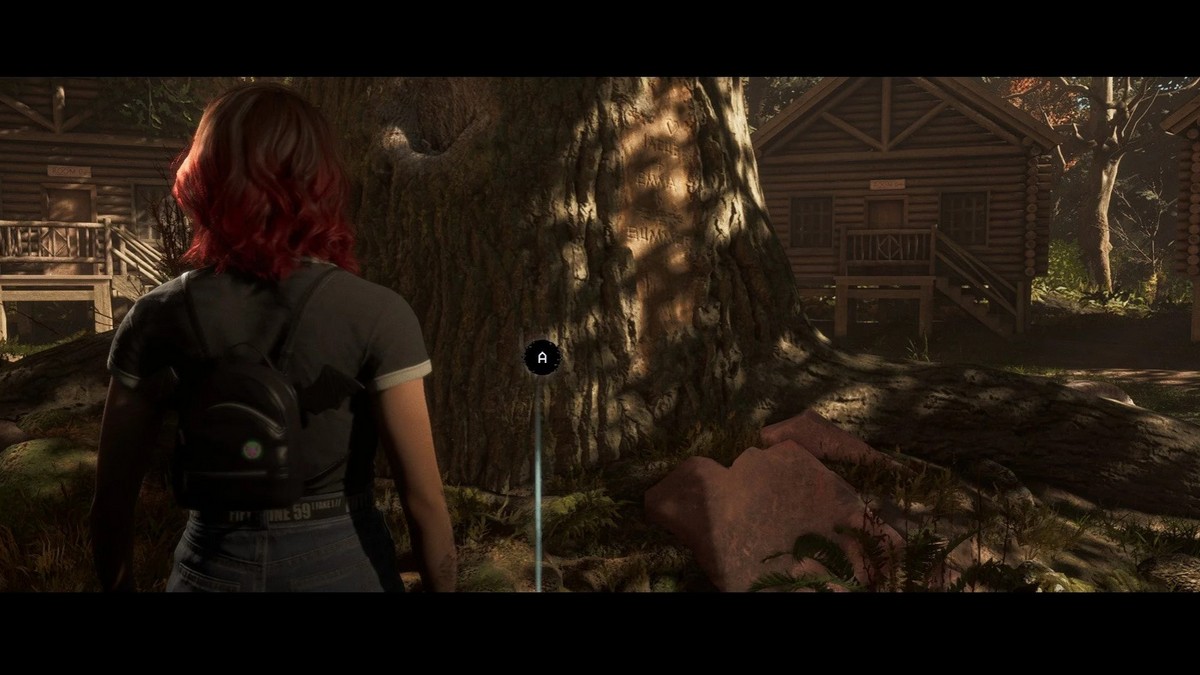
Abigail
Once you have control of Abigail, head to the areas outside the cabin, and check the big tree in the middle for a carving. Here, you will find an Empty Vial, which is Evidence #1.
Chapter 2
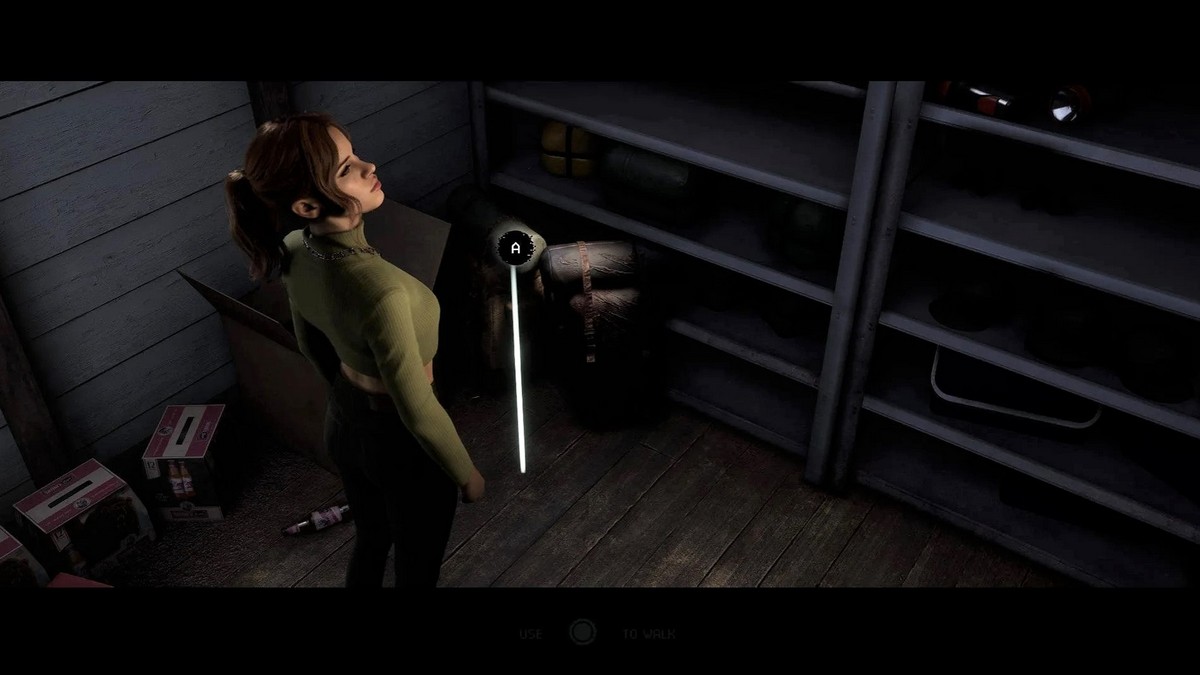
Emma
While searching the storage room for party supplies, there will come a part where you’ll need Jacob to pick the locked door open in the back. Once inside, search the corner for some Torn Bags, this will count as Evidence #2.
Jacob
After stealing the rotator arm, Jacob will be swimming in the water with Emma before hearing Abigail’s scream. He will realize that the rotator arm is missing, and you will need to choose to dive in to retrieve it. Choose to Grab, followed by a QTE, and Jacob will discover a Bloated Corpse in the water, which is Evidence #3.
Chapter 4
Emma
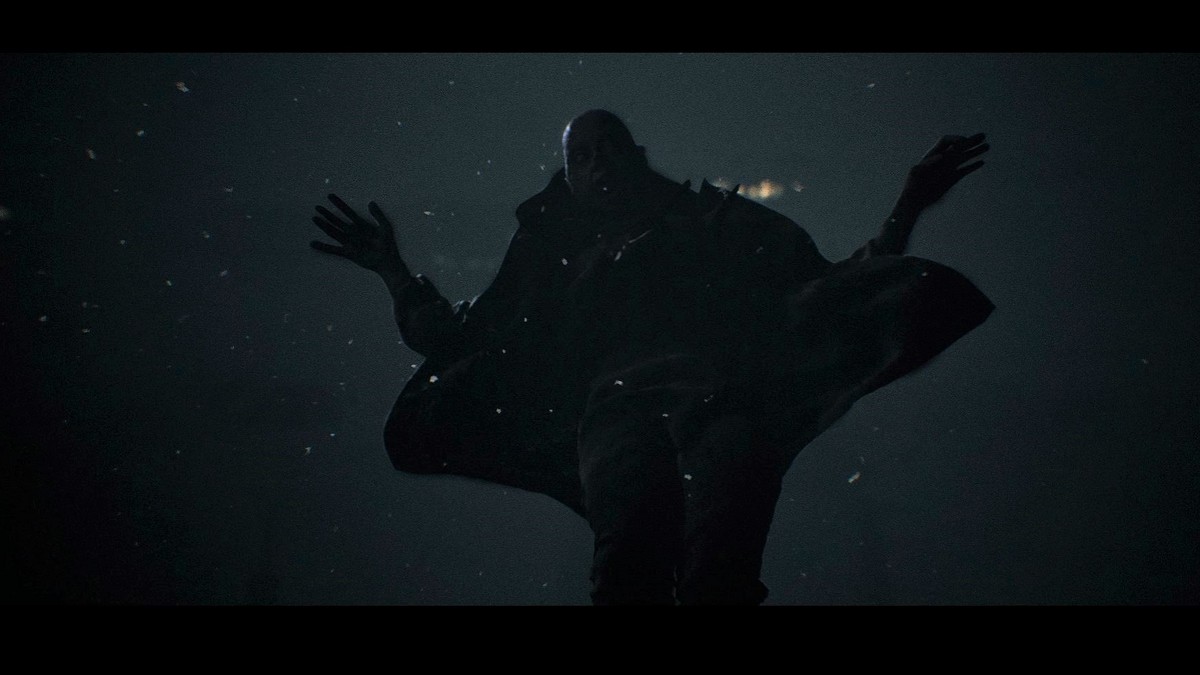
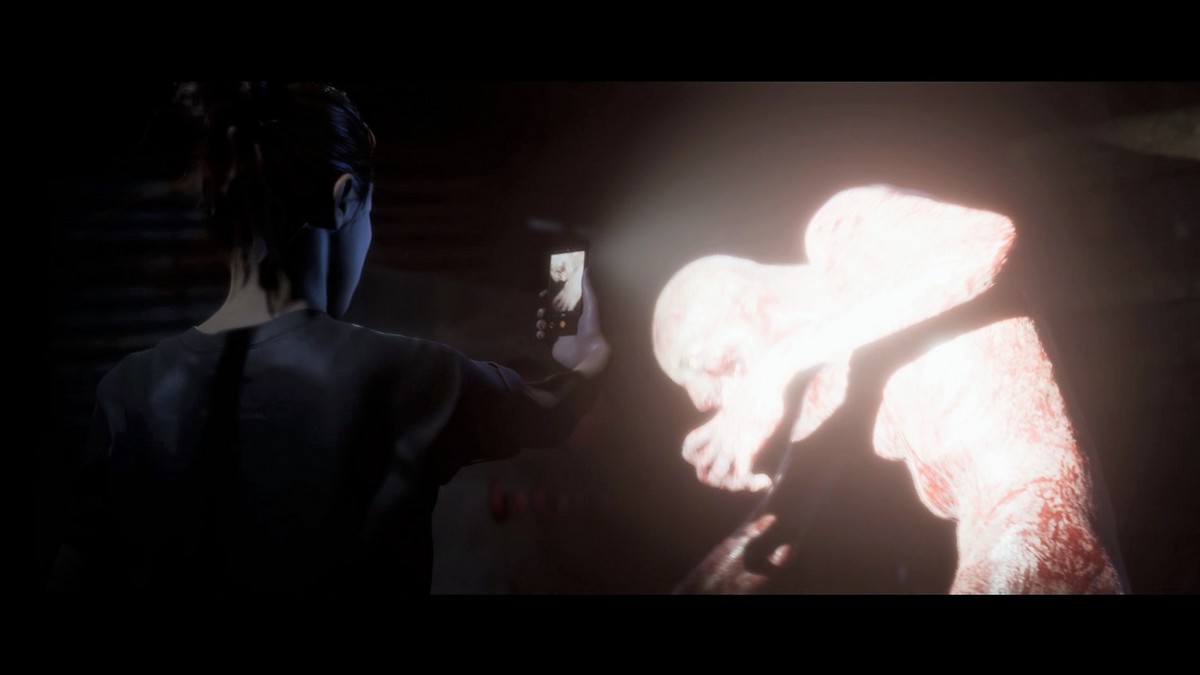
As Emma, you will eventually find yourself up in the treehouse area, and after interacting with the door, be sure to choose the option to search the bags. Once the monster attacks, pick the option of using the Taser, and then choose to Take Photo for Evidence #4.
Chapter 5
Dylan
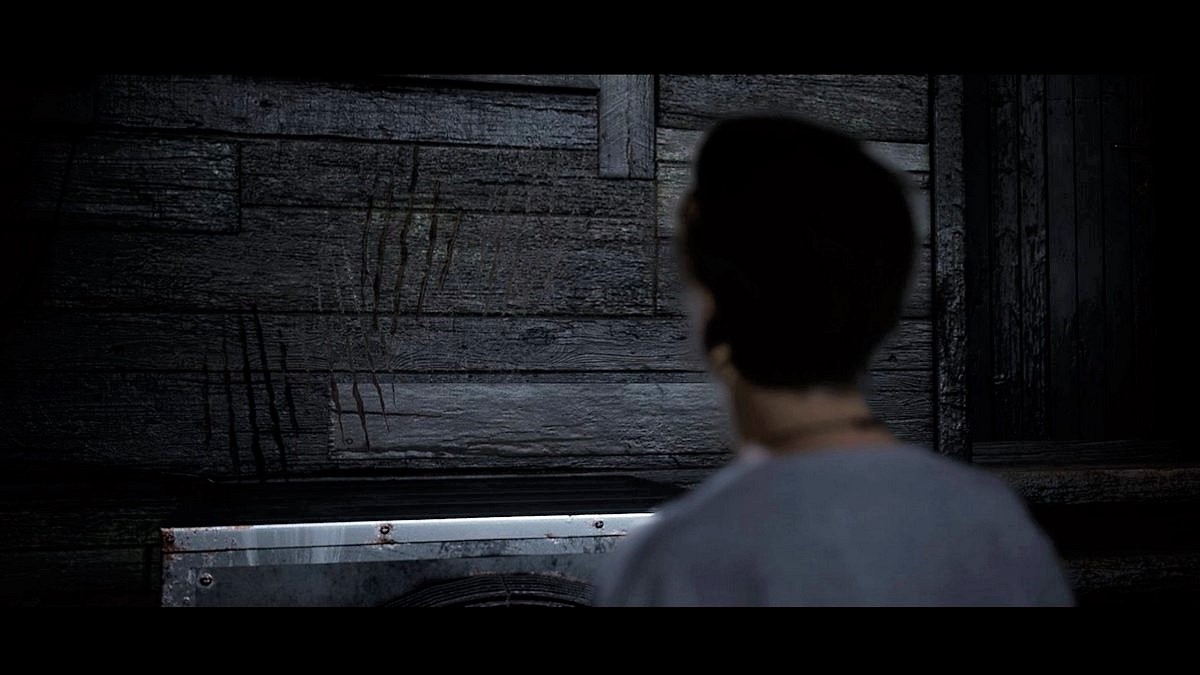
Playing as Dylan, you will be heading to the radio shack along with Ryan. Before entering the building, check the left of the entrance. Here, you will find a fan with some Claw Marks, which is Evidence #5.
Chapter 6
Jacob
At the start of the chapter, head up the wooden stairs in front of you and keep sticking to the path on the right. Eventually, you will come upon a camera with a Memory Card, which serves as Evidence #6.

Chapter 7
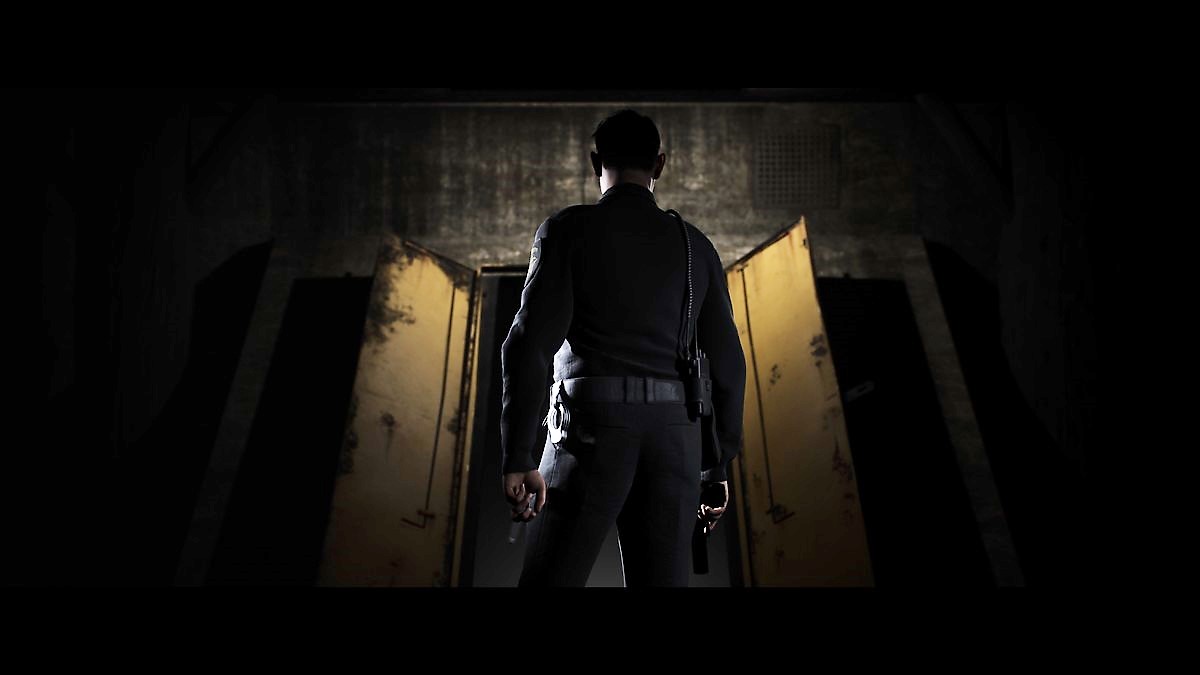
Laura
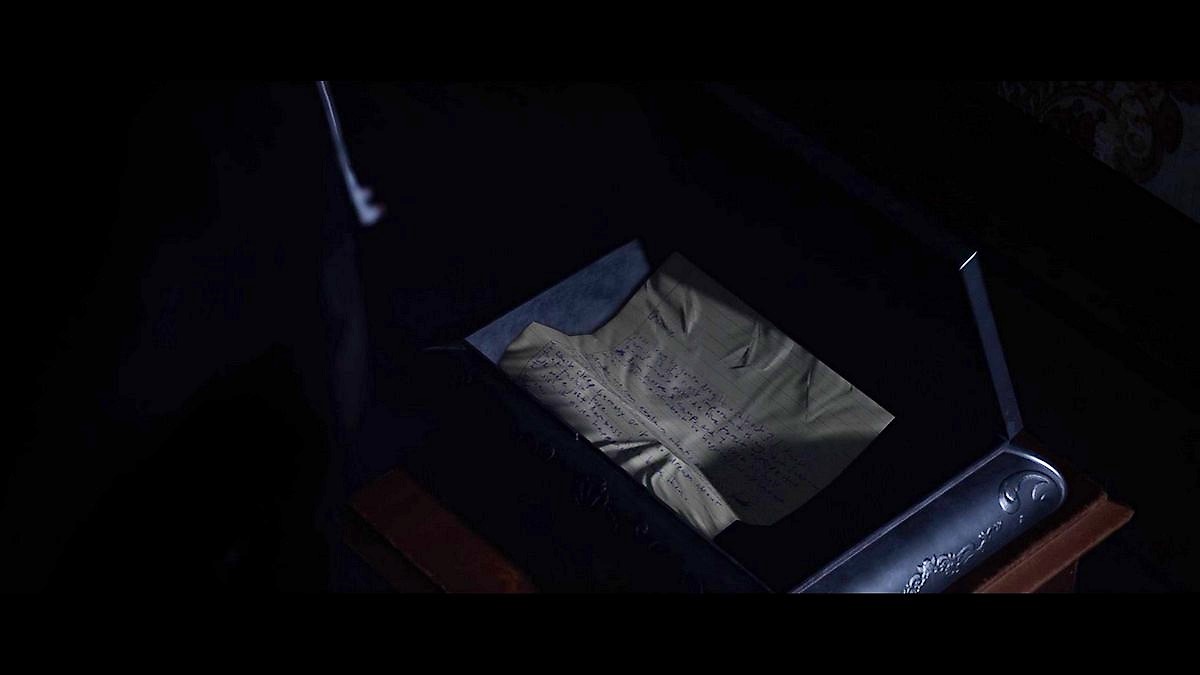
Once Laura is able to move around in the police station, walk up a small flight of stairs in the corner of the lobby to find a printer. Here, you can find a Cease & Desist letter, which is Evidence #7 for your growing collection.
Chapter 7
Laura
After the QTE that sees the metal staircase break, Evidence #8 can be found on the path ahead and it will be hard to miss. Pick up the Scarred Flesh for one more piece of evidence.
Chapter 9
Ryan
As you start off the chapter with Ryan in the Hackett’s house, turn right immediately to find a cupboard next to a mirror. Inspect it, and you will find Evidence #9, Kaylee’s Letter.
Chapter 9
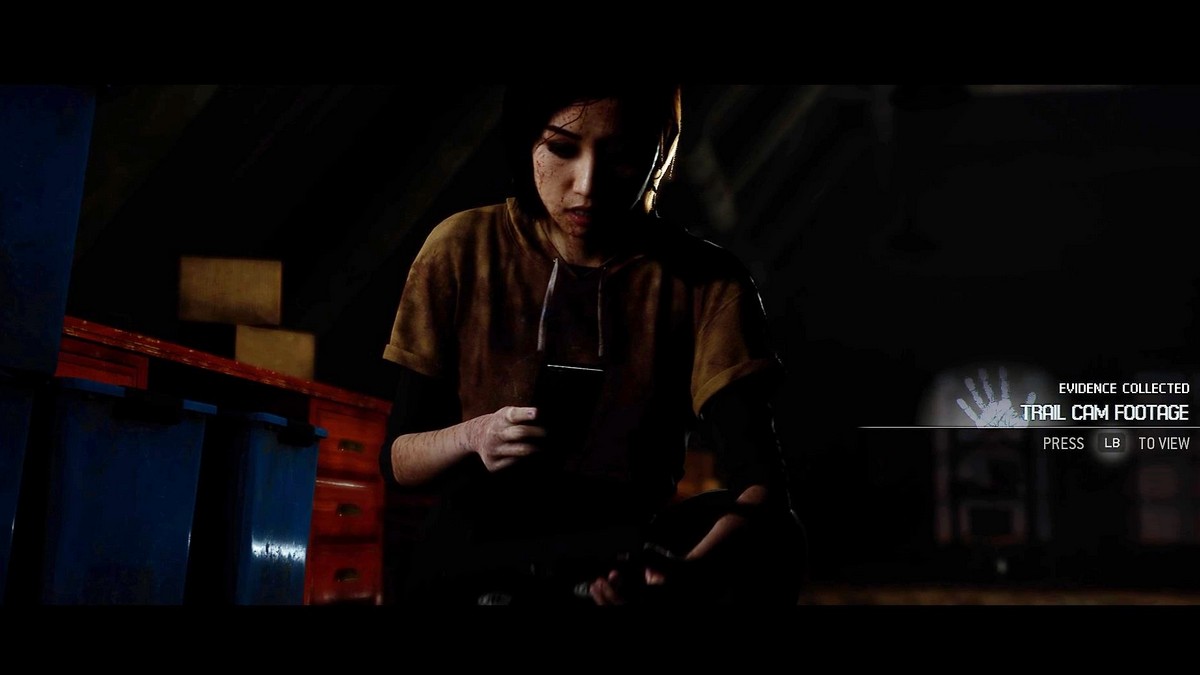
Kaitlyn
For Evidence #10, you will need to walk around the lodge a little bit more. Upon finding the classrooms, head up the stairs outside and in this elevated area, look for some blue boxes. Upon inspection, Kaitlyn will find some Trail Cam Footage, and this will be the final piece of evidence in The Quarry.
Now that you know exactly where to find all the evidence in The Quarry, you are one step closer to the truth. This will ensure that the right people get punished for their crimes, and hopefully, all of the counsellors made it out alive. That said, you can always go the opposite route and get everyone killed, the choice is entirely up to you. For now, be sure to check out Twinfinite for all your gaming news, or check out the relevant content below for more on The Quarry.


Updated: Jun 14, 2022 01:17 am