If you are trying to live that vampire life in the smoothest way possible in V Rising, you will definitely need to find a new life on dedicated servers. Even with the best Internet connection your undead fortune can buy, there is just no replacing the significance of dedicated servers supporting your adventuring whether you are building a new castle or hunting down Blood Essence. So, if you hope to understand how to set up dedicated servers in V Rising, read on.
Setting up Dedicated Servers in V Rising
Simply put, you can have a V Rising dedicated server running on any PC, although having it on the same PC you are playing the game might cause some performance issues. Nevertheless, if your rig is powerful enough and has a great Internet connection, you can get away with it.
Minimum Requirements for Dedicated Servers
Here are the minimum requirements:
- Windows 10
- Quad-Core processor with >2 full or physical cores
- 16GB of memory
- 5GB of disk space
With that foundation, it is time to sort out the port forwarding and other router stuff.
Setup
Armed with your PC of choice, you can begin the process.
- Install Steam, or if you prefer, you can utilize SteamCMD to download Steam AppID 1829350 and avoid installing Steam.
If you choose the second option, you can skip the next step.
- Head to the Tools section in Steam under the Library Tab.
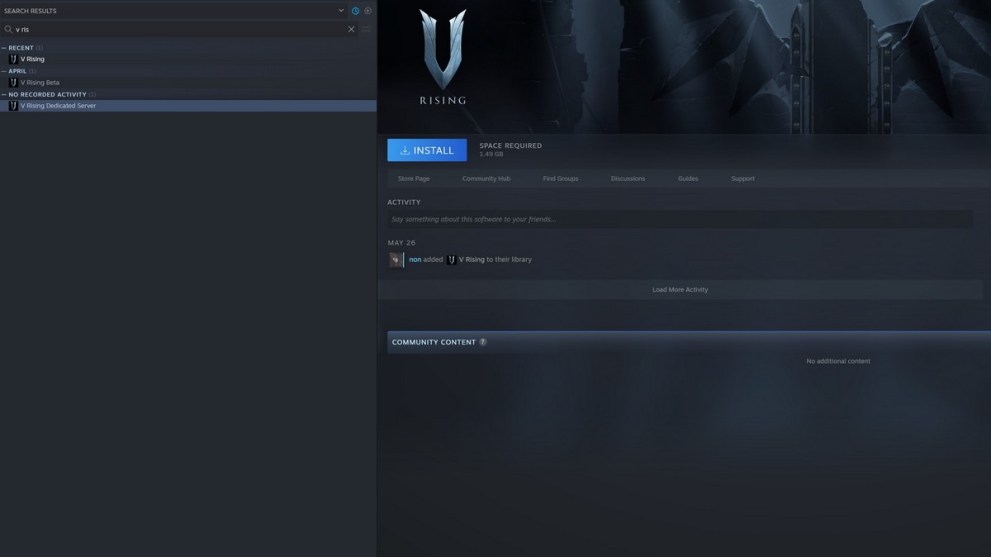
Search for the V Rising Dedicated Server option, and install it.

- Open up the installation folder.
Right-click on V Rising Dedicated Server in your library, choose Properties, then Local Files and Browse.
- Find the “start_server_example” batch file.
Make a copy of it, and name the new file for your convenience.
- Next, you must configure the server’s settings.
Open up the VRisingServer_Data folder, and then StreamingAssets.
Copy the entire Settings folder, including the “ServerHostSettings.json” and “ServerGameSettings.json” files. - Following that, you must adjust your local settings for the server.
Head to this folder (default):
C:\Users\YOURNAME\AppData\LocalLow\Stunlock Studios\VRisingServer
Paste the Settings folder and files here, and then create a new folder named Saves. - Open up the Settings folder.
Right-click and Edit the “ServerHostSettings.json” file. Change the name of your server at the “Name” line with the quotation marks intact – an example would be “Name: Twinfinite V Rising” – and be sure to also name the game world on the “SaveName” line.
For public servers, adding your description with rules will help guide other players.
For private servers, you will want to add a password to the blank “Password” field, and you can stop your server from being publicly listed by changing the “ListOnMasterServer” line to false.
- Choose your admins.
Still in the Settings folder, open up the “adminlist” file, and proceed to add your own SteamID as well as others who you want to be administrators for the server, with one ID per line.
- Make your backups.
For all of the files you have edited, be sure to make backups of them just in case.
- Set up your router.
Depending on the router you are using, the process may vary, but ultimately, you will need to open up ports 9876-9877 UDP as a default. Ensure that both the server and the ports are allowed and opened through a firewall if need be.
- Head back to the VRisingDedicatedServer folder.
Locate the custom batch file in step 4, and double-click on it. Do note that it will take a few minutes before the game client is ready and you can join your server. For public servers, it may even take upwards of 30 minutes for the server to show up.

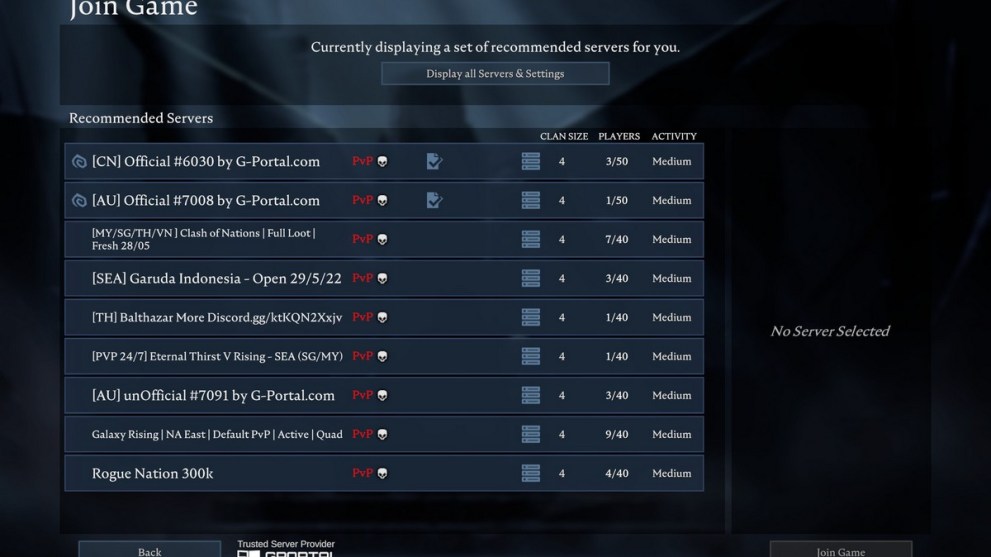
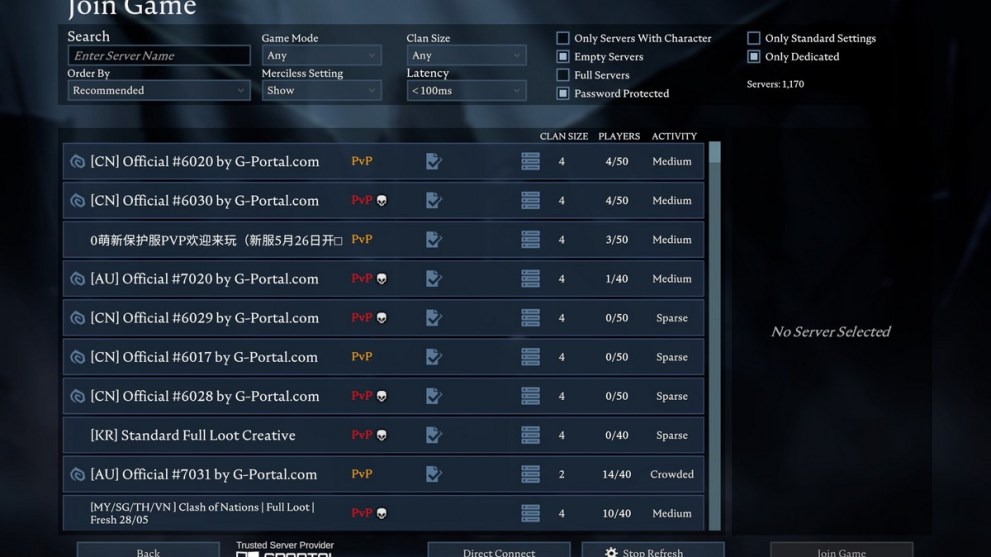
Now, you can start inviting people to your dedicated server in V Rising, or if you’d prefer to leave the hard work to some other enterprising vampire, simply choose to join a dedicated server made by others instead.

That is all the key information on how to set up dedicated servers in V Rising. For everything else, be sure to search Twinfinite for other tips and information on the game.
Featured Image Source: Stunlock Studios


Updated: May 30, 2022 12:26 am