The Nintendo Switch OLED has finally arrived, and that means you can enjoy your favorite games on a brighter screen with punchier colors. However, to ensure you don’t lose any of your saved data from your old console, you’re going to need to know how to transfer profile and save data to your Nintendo Switch OLED, and that’s where this guide will come in handy.
Transferring Your Nintendo Switch Data to Your New Switch OLED
- Have both Nintendo Switch consoles with you
We’d also recommend keeping them both plugged in as, depending on the amount of data you’ve got, this could take a while and you don’t want the battery to die.
- Complete the main set-up process on your Nintendo Switch OLED
This is the basic settings such as console language, region, user license agreement, internet connection and time zone.
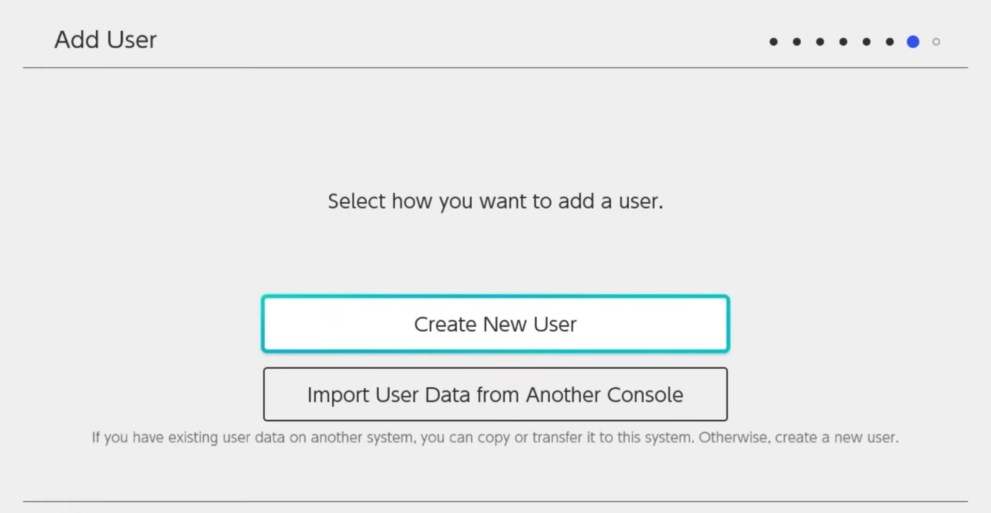
- ‘Import User Data from Another Console’
When you’re asked how you want to add a user. Select the ‘Import User Data from Another Console’ option. Confirm you still have the console with the user you want to import. Select ‘No’ when it asks if you want to keep using the previous console in addition to this one. Note: Screenshots and videos taken using the original console cannot be transferred. These can be saved to a Micro-SD card on your old console, however, and then inserted into your OLED console.
- Perform a System Update if Required
Before you’re able to transfer your profile and saved data, you may need to perform a system update. Complete these, and then proceed back through the screens on your OLED Switch until you reach the ‘Transfer’ option again.

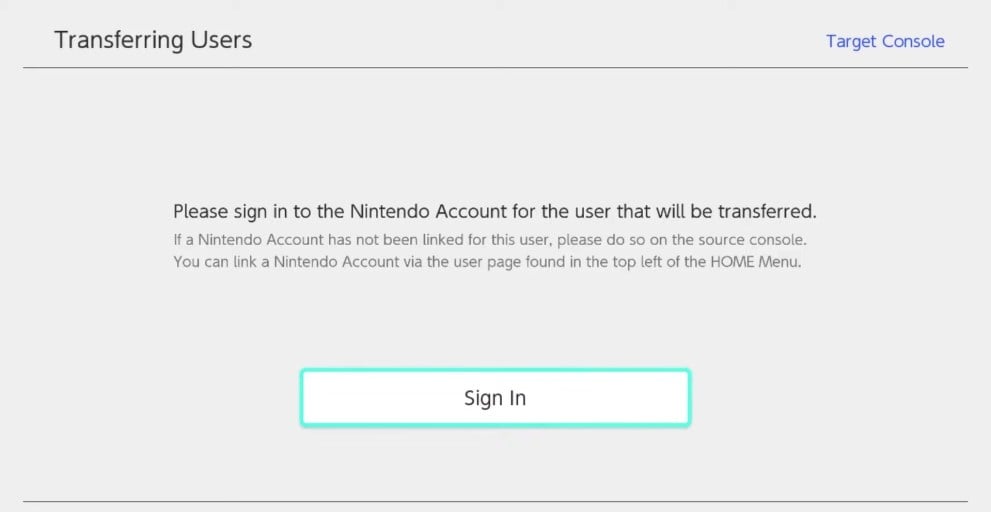
- Sign Into Your Nintendo Account on Your OLED Switch
The final step we’ll need to complete on your shiny, new OLED Switch is to sign into your Nintendo Account. This can be done with email address and password, your Nintendo ID and password, or by scanning a QR code on the system via the Nintendo App on your smart device.
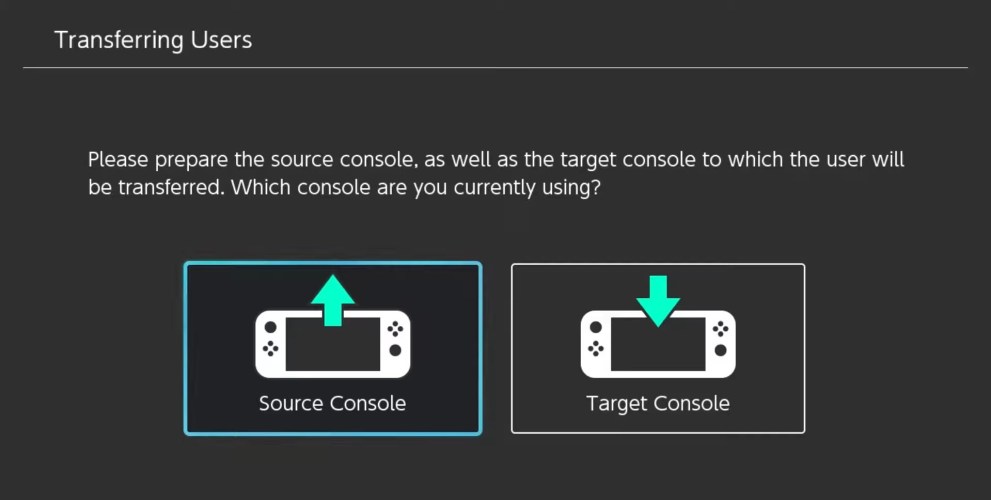
- On your old Switch, go into System Settings, then ‘Users’ and then select the ‘Transfer Your User Data’ option.
Select ‘Next’ on the two screens that follow, and then choose the ‘Source Console’ option.
- You should now see the same ‘Transfer’ screen on each console. Select the big ‘Transfer’ green button in the center of the screen and the process will begin.
When the process is done, select ‘End.’ You should now find your User Profile and all saved data has been transferred across. On your OLED Switch, you can now add additional users if you have them. If that is the case, simply rinse and repeat the process outlined above.
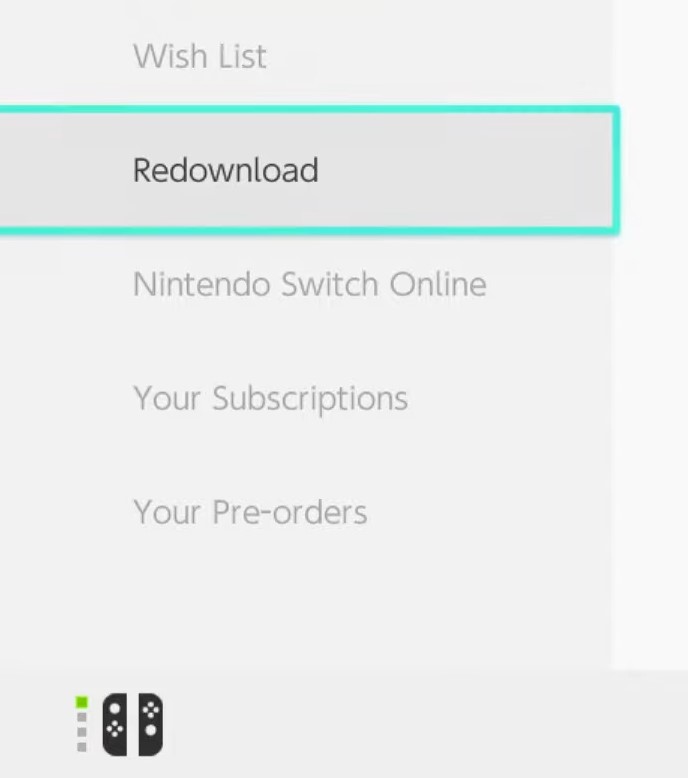
- Redownload All Software from the Nintendo eShop
Head to the Nintendo eShop, go to your ‘Account’ by selecting the icon in the top right-hand corner of the screen, and then go to the ‘Redownload’ menu. Here, you can redownload any software (games) so you can begin playing with your saved data we transferred across above.
Transferring Animal Crossing New Horizons Island to Nintendo Switch OLED
While the above process works for pretty much every game, there’s of course one exception in Animal Crossing New Horizons.
To transfer your island, you’ll need to download the ‘Animal Crossing: New Horizons Island Transfer Tool’ on both your old and OLED Switch’s. This can be done any time, whether you’ve already transferred your data to the new Switch or not.
Once this has been downloaded, boot it up on your old Nintendo Switch and select ‘Continue,’ ‘Ok,’ and ‘Let’s Begin.’
After that, select the ‘Source’ option, as we did in the process above, and then select ‘Continue.’
Now follow the same process on your OLED Nintendo Switch, but select the ‘Target’ option instead of ‘Source,’ as this is where we want to move our island data too.
Click ‘Proceed’ on both consoles and they should find one another. Once they do, confirm that you want to the transfer to take place by hitting ‘Transfer Data’ and wait for it to complete.
What If I Don’t Have My Old Switch?
If you’ve no longer got your old Nintendo Switch, then there’s one last option you have. If you’re a Nintendo Online subscriber and have enabled the Island Cloud Backup option, you can still recover your old island.
To do this, you’re going to need to load up Animal Crossing New Horizons on your OLED Switch, and then when you have the white Nintendo and Nintendo Switch logos appear in the corners of the screen, press and hold the + and – buttons on your Joy-Con.
If you do this right, Tom Nook will appear and check online for Island Backup data. At this point, you’ll then need to get in contact with Nintendo, as without them processing bits on their end, he won’t find anything.
That’s everything you need to know on how to transfer profile and saved data to your Nintendo Switch OLED. For more handy tips and tricks on everything video games, be sure to keep it locked to Twinfinite.


Updated: Oct 8, 2021 06:59 am