So you’ve made it to the end of Scarlet Nexus, but one last obstacle stands in your way — Karen Travers. If you’re having trouble with this final boss, we’re here to help. Here’s how to beat the Karen Travers final boss fight in Scarlet Nexus.
How to Beat Final Boss Karen Travers in Scarlet Nexus
In all honesty, Karen isn’t too tough to be as long as you know what to do. This fight is just a bit longer than the one against Dominus Circus, though. With that said, it’s still a good idea to stock up on Jelly and Team Jelly to heal yourself and your allies. You should also increase your bond and SAS levels to get as many bonuses as you can before the fight.
Karen Travers Boss Phase 1
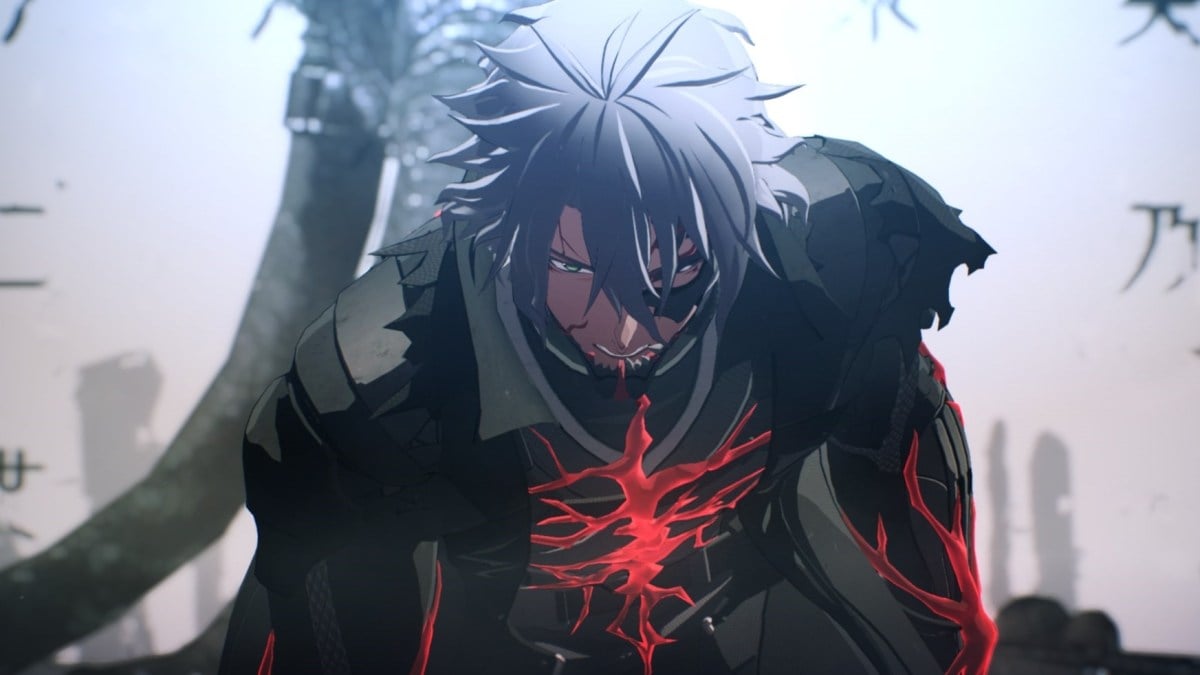
Phase one isn’t anything that you haven’t seen before. Karen uses all of the same attacks that he did back on the Kunad Highway when you fought him for the first time in an unwinnable boss battle. Since he’s a “Brain Eater” he can use all kinds of psionic abilities. He’ll often teleport from place to place as he uses them, so lock on and keep him in your sights.
Your goal in this fight is to get occasional hits in with your weapons and Psychokinesis between his many moves. He can interrupt your combos, so don’t stand next to him mashing buttons for too long. When you see an opening, use Shiden’s Electrokinesis or Hanabi’s Pyrokinesis to inflict a status ailment on him.
Karen has two main physical attacks in this boss fight. He tends to warp right in front of you to do a melee combo pretty often, but you can dodge out of the way and counter this even if the first hit gets you by surprise. The other physical attack comes when he splits into three copies of himself that will dash at you one at a time at high speed.
Use Tsugumi’s Clairvoyance to find the real one and attack it as soon as possible to make the clones disappear. Using Kagero’s Invisibility at the same time will allow you to hide from him as you attack his real body. Alternatively, Arashi’s Hypervelocity will allow you to get to the real body before Karen can even attack once.
It’s important to note that the game won’t automatically lock on to the right Karen here, so do it manually by holding down RB on Xbox or R1 on PlayStation, then moving the right stick left or right.
As for his elemental abilities, Karen uses a lot of electricity. The easiest electric attack to avoid is when Karen jumps up in the air and shoots arcing lightning at the ground. Get away from him whenever he jumps in the air like this.
The tougher one to avoid is when he sends balls of electricity that follow you around. So instead of avoiding them, use Gemma’s Sclerokinesis and run right into them. You won’t take any damage, and they’ll disappear. Invisibility will also allow you to hide from them.
The electric attacks are dangerous when you aren’t prepared, though, because they can inflict paralysis. Paralysis locks you in place, making you defenseless. If you ever get paralyzed, use Sclerokinesis to negate damage even if you can’t move.
Another elemental ability to look out for in this phase of the boss fight is a telegraphed ice move where Karen makes spikes rise from the ground in front of him. Use Hypervelocity or Luka’s Teleportation to get out of the way as fast as possible.
At around half health, Karen uses his Brain Field, just like last time. You can wait this out by dodging all of the attacks he’s been throwing out. Nothing new comes at you within the Brain Field, so waiting 40 seconds for it to end is your best bet to stay alive. There’s no need to even attack him inside the field.
Once Karen’s health gets extremely low, he’ll begin to use your Psychokinesis by surrounding himself with random objects. He’ll then throw them at you, but if you can dodge them at the last second, you’ll be able to throw them right back at him. This part is all about testing your timing.
If he manages to hit you, a cutscene will play and most of your health will be gone. Heal up quickly and rush Karen down to finish off this long first phase with a Brain Crush.
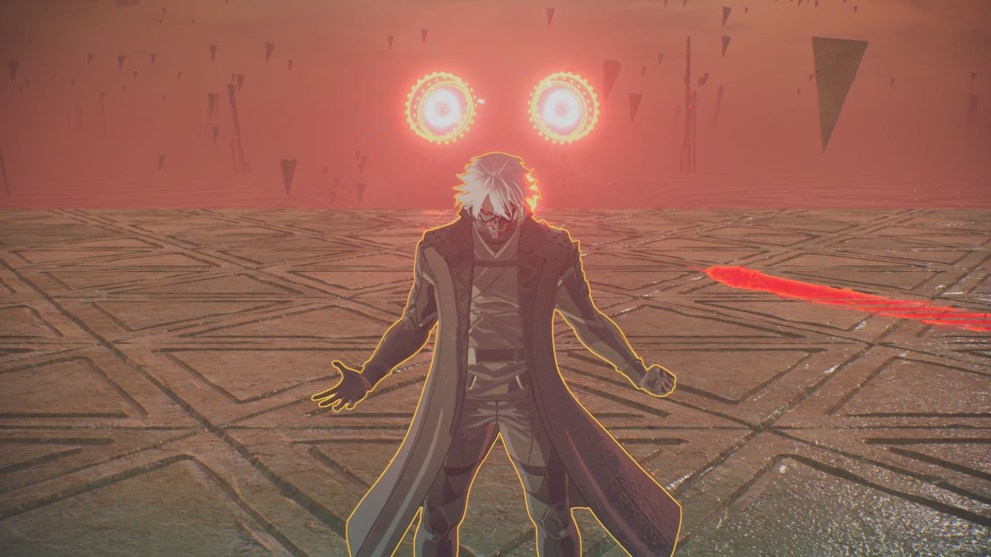
Karen Travers Boss Phase 2
The second phase is where things get much weirder. You’ll now find yourself in the middle of a round platform, surrounded by giant statues. Random items will drop onto the platform with you, and the goal here is to empty the health bars on those items in order to throw them at the statues. Each throwable item will have a timer on it. Reduce its health before the timer hits zero.
The first random item will be a spinning fan. Use Sclerokinesis and Psychokinesis to get close and attack it or throw objects at it from a distance. Once the health bar is empty, hold LT or L2 to special throw it, knocking off a statue mask. Then, throw the mask using the same button. After all this, you can finally run up to Karen and deal real damage. This cycle repeats with different objects and different statues until the end of the phase.
The next random item that drops onto the platform is a truck surrounded by crystals. It’s a stationary target this time so it’s easier to hit, but watch out for the tornadoes that circle around it. Karen’s ice spikes from the first phase will also rise up from the ground near the truck.
Use Sclerokinesis to ignore all damage that comes your way for as long as possible as you attack the crystalized truck. Electrokinesis or Pyrokinesis are good choices for some extra damage as well. You can also activate Hypervelocity to get extra hits in if the timer on the truck gets too low. Once you break the crystals, throw the truck just like you did with the fan.
This next item is actually several pillars of ice, but only one of them is real. The pillars will rise from circles of fire on the ground, and you’ll need to use Clairvoyance to find the one that needs to be attacked. However, this time, Karen will try to stop you himself, which is somewhat problematic.
As you try to lower the ice’s health, Karen will use all of his moves from phase one to hinder your progress. The best course of action is actually to ignore him. Activate Invisibility or Hypervelocity to destroy the ice crystal without alerting Karen, then use Sclerokinesis to negate all damage while you hold LT/L2 to throw the mask that falls down.
If you have a high enough Team Bond level with your squad members, they’ll even jump in to protect you from getting hurt. This applies to everyone in both platoons, even characters who aren’t in the active party.
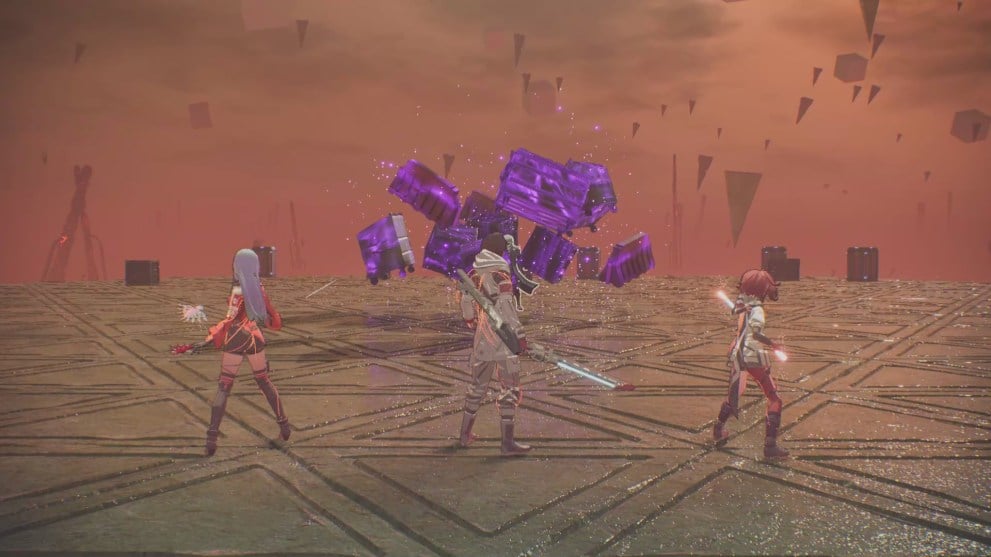
The next item is a tricky one to take down. It’s a bunch of electrical towers stuck together in the middle of the platform. The hard part here is that you need to hit the top of it, but aerial combos won’t do enough damage before the timer runs out. On top of that, other electrical towers will send arcing lighting around the area, potentially paralyzing you.
The trick here is to use SAS Psychokinesis by connecting with the other protagonist that you didn’t choose. This will allow you to hold down LT + RT on Xbox or L2 + R2 on PlayStation to throw every item in the area at your target at once, dealing massive damage. Do this once or twice while Sclerokinesis is active to avoid getting hurt while charging your throw.
From her eon out, the random items that you need to break and throw will be ones you’ve already seen before. You might have to hit the truck, the ice, or the electrical tower again. This repeats until you’ve reduced Karen’s health to zero with a Brain Crush.
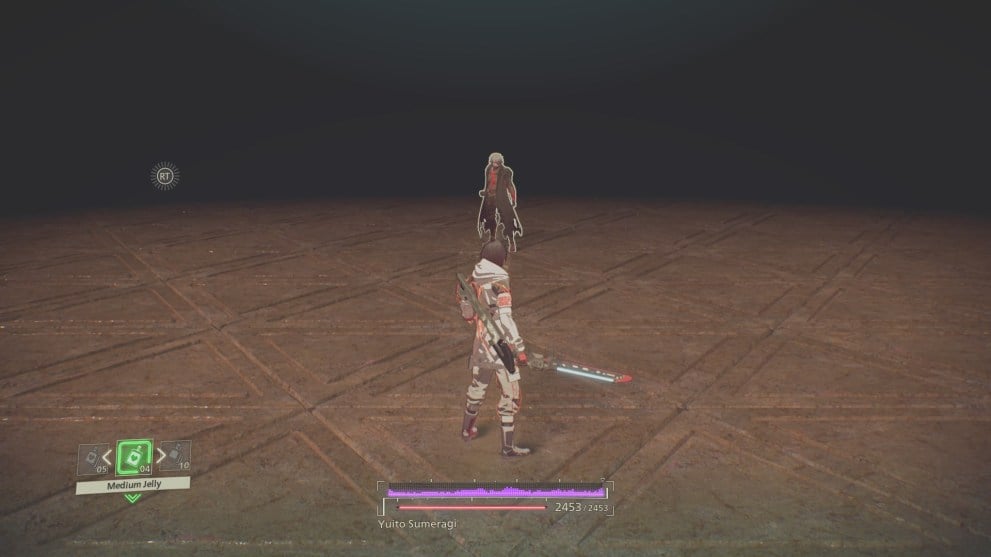
Karen Travers Boss Phase 3
Believe it or not, this still isn’t over. Though, this is finally the last phase of Karen’s boss fight. At the very least, this one is more cinematic than anything. Yuito or Kasane (whoever you’re playing as) will start off alone surrounded by darkness in a one-on-one fight against Karen. Dodge his regular melee combo and hit him back a few times until help arrives. This section in the dark doesn’t last very long.
The platoon members will begin to reappear in pairs with cutscene entrances. First, Hanabi and Shiden will join you, then Kagero and Tsugumi, and finally, Kyoka and Arashi. Use these pairs along with their SAS powers to take down Karen for good while avoiding the exact same attacks that he used in phase one. Karen won’t use anything new at this point and his health is extremely low from the start, so you should beat this phase without any issues.
It’s a lot to take in, but that’s everything you need to know about how to beat the Karen Travers final boss fight in Scarlet Nexus. Be sure to check out our guide wiki for the game to see more tips, tricks, and other boss guides.


Updated: Jun 29, 2021 01:53 pm