The Legend of Zelda: Tears of the Kingdom has a wide variety of different Shrines spread out all across the Hyrule world map. Link is able to discover, enter, and solve the puzzles inside each of these shrines to receive more Light of Blessing and upgrade his max health and Stamina, so finding and completing Shrines can be very useful. Some are trickier than others though, which is why we’ve created this detailed guide on how to solve the Runakit Shrine puzzle in Zelda: Tears of the Kingdom.
How to Solve the Runakit Shrine Puzzle in Zelda: Tears of the Kingdom
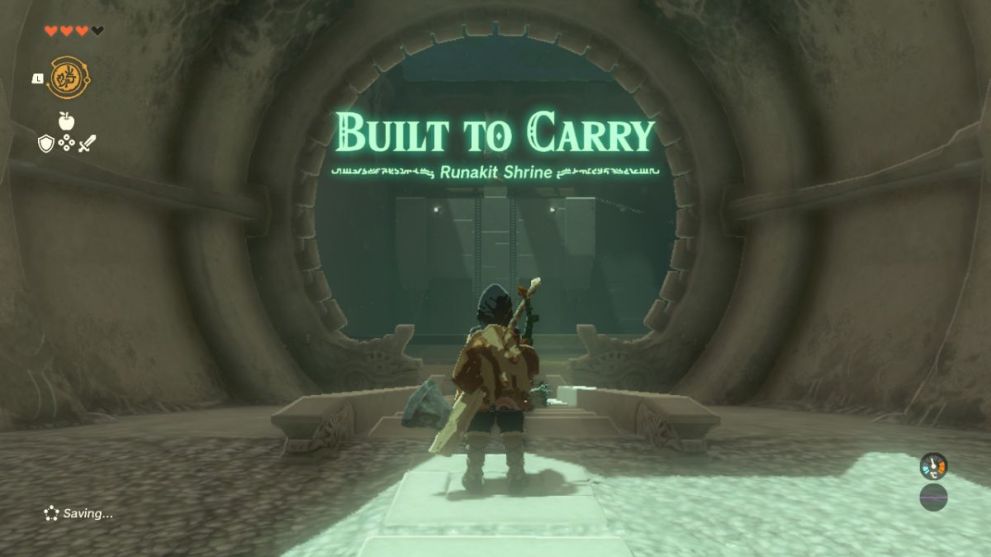
The Runakit Shrine is home to quite a complex puzzle in comparison to a lot of the more simple Shrines on the map, as it involves unlocking a gate by transporting and following the movement of a large sphere. It may take a bit of patience and time to work your way through this one, but don’t worry; we’ve got all the instructions and tips you’ll need.
Once you’ve entered the Shrine, make your way down the first staircase into the large open room. Across the other side of this room will be a high platform with two ladders on the front of it.

Head toward this platform, and then jump and use your glider to clear the gap and land on one of the ladders. From here, climb up to the top and you will find a giant sphere-shaped object.
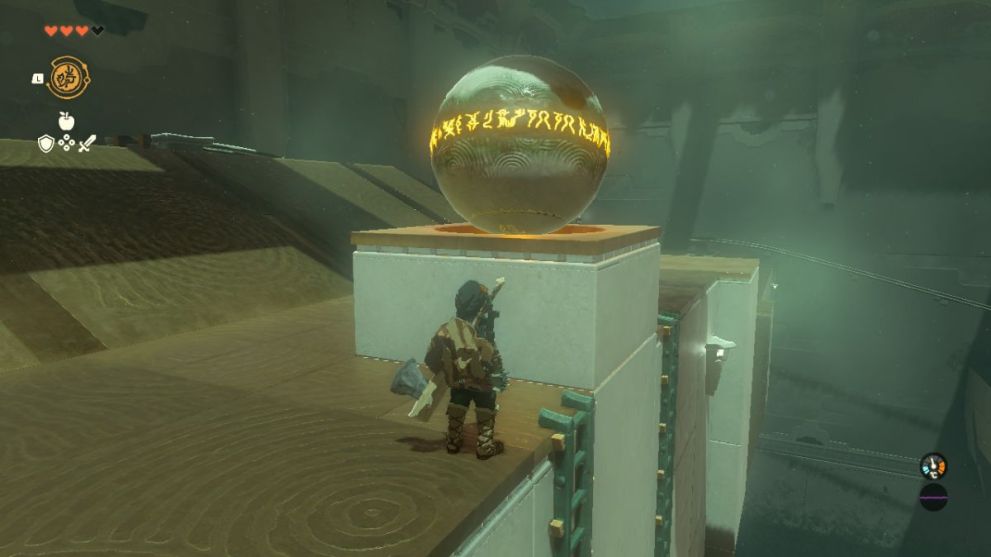
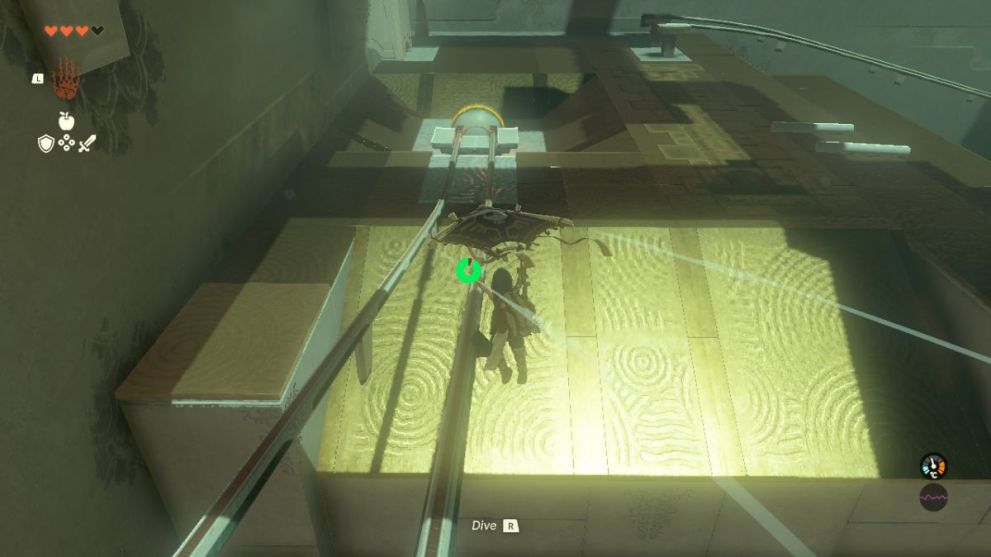
Further up the slope behind the sphere and to the right side is a set of rail tracks. Grab the Sphere by using Link’s Ultrahand ability, and drag it over to these tracks. Place the sphere on these tracks, and it will travel to the next platform.
Once the Sphere reaches the other side, jump the gap and use your glider to soar after it and reach the next platform yourself.
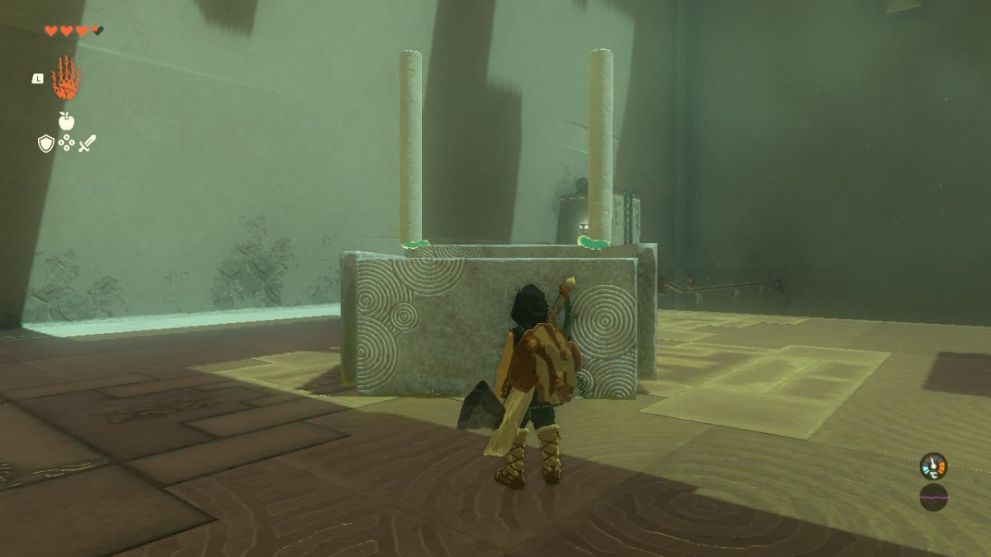
Once you’ve landed on the next platform, you will notice four logs. Two of these are leaning up against a wall, and the other two are laying down on the ground across the other side.
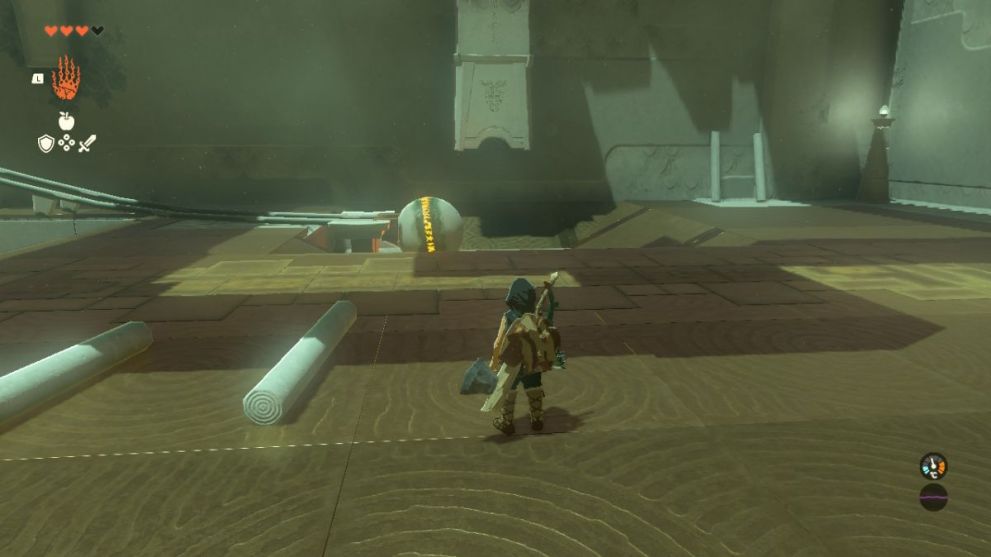
You will now need to use Link’s Ultrahand ability to pick them up and attach them to either side of the sphere, horizontally. This will stabilize the sphere as it rolls down the next set of rails to the third platform.

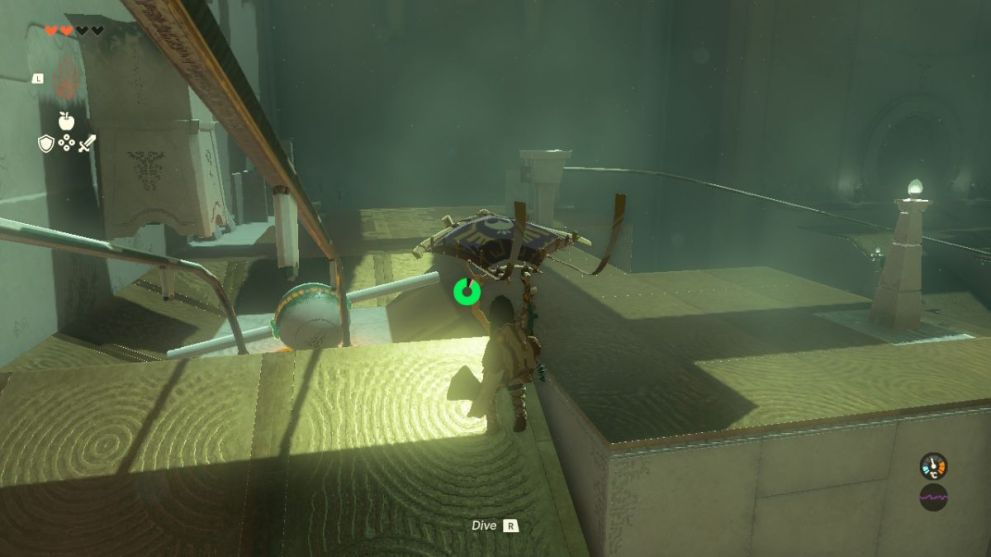
Next, pick up the sphere with Ultrahand and turn to the next set of rails in the far corner of this second platform. Place the sphere on these rails to move it to the other side, and then use your glider to jump and follow it to the other side.
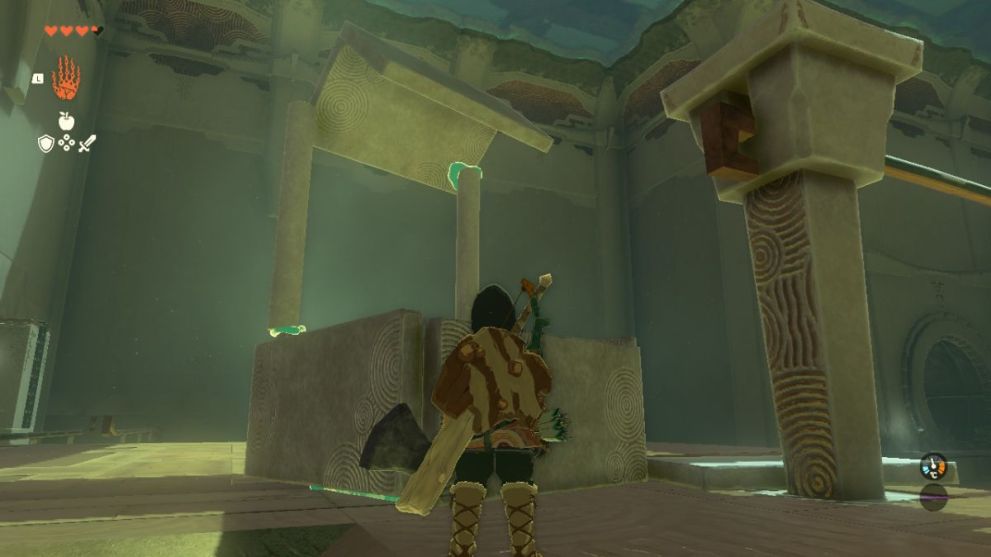
After landing on this third platform, you will be able to notice a chest located on the high ground near the back left corner of the platform. On the left side wall of the platform, there will also be several panels for you to use to your advantage.
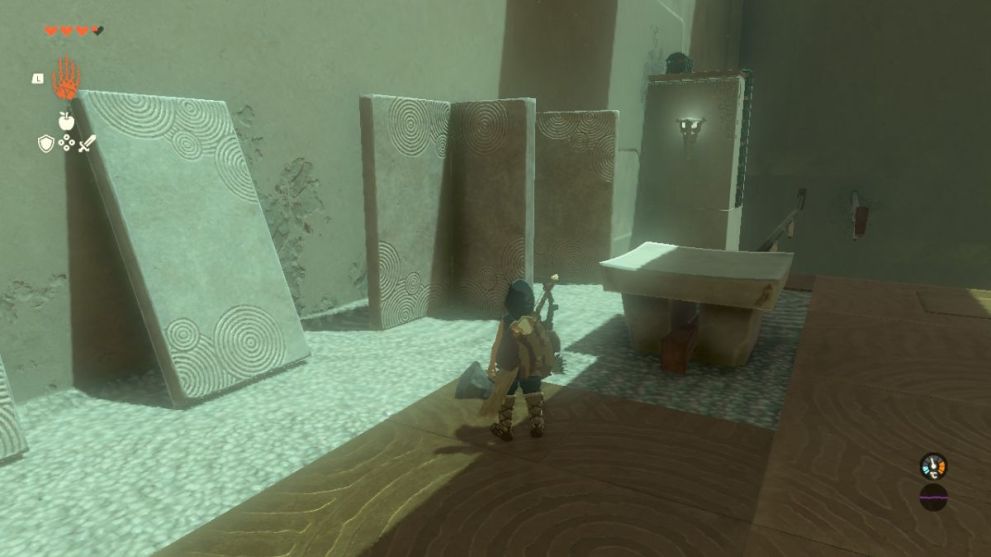
Four of these panels are already joined together, making two double panels. Pick up one of the remaining single panels using Ultrahand, and attach it to the other single panel to match the appearance of the double panels.
Grab the panels one by one and turn them upside down with Ultrahand. Then, move them to the edge of the platform and position them along the rail. Attach them to one another to create a bridge for you to safely reach the ladder and climb to the chest.
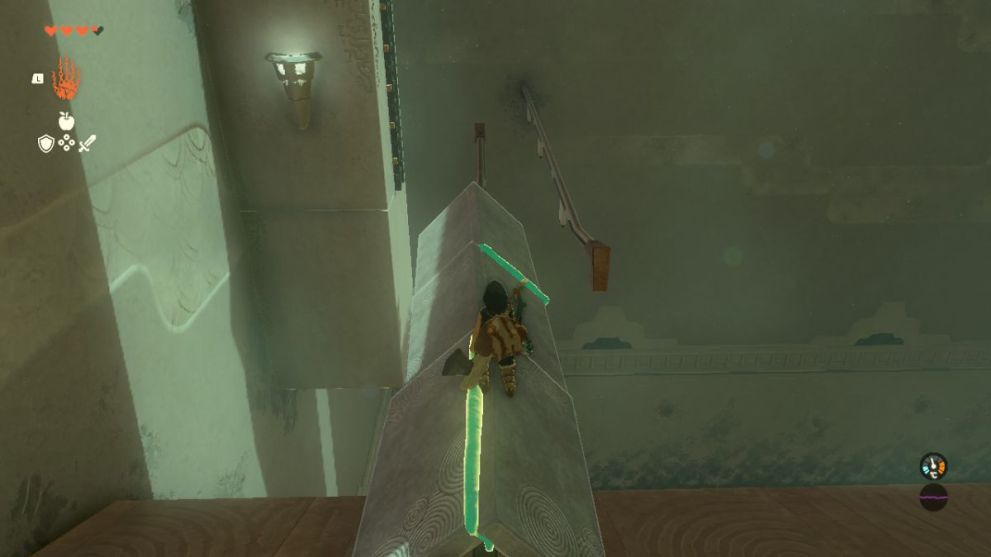
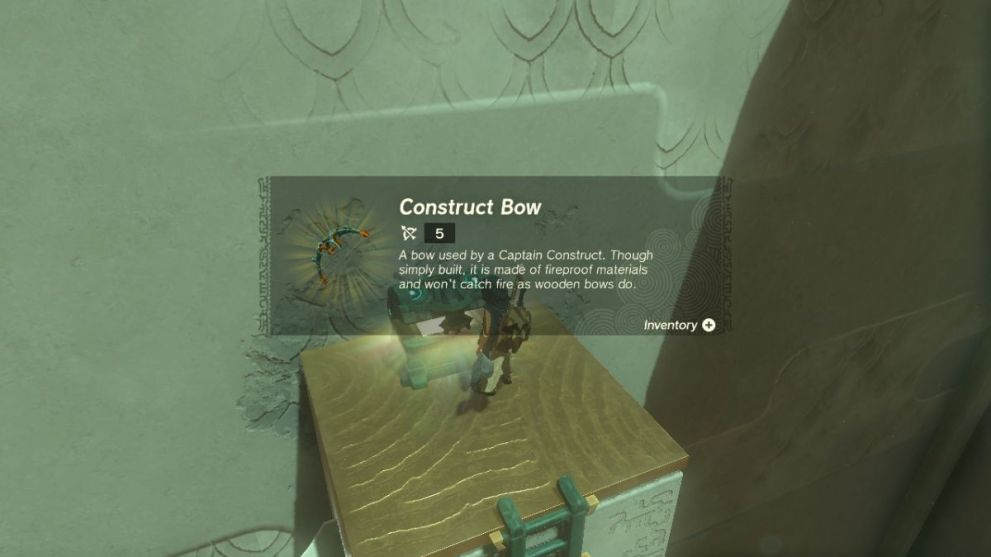
Run across this bridge and jump to the ladder, and then climb up to the top. Once you reach the top, open the chest to receive an extra Construct Bow to add to your inventory.
Once you’ve snagged the free Construct Bow for yourself, you can jump back down onto your makeshift bridge and walk back to the third platform, or just as easily jump and glide back across the small gap.
When you’re back safely across the other side, grab your makeshift bridge using Ultrahand and drag it back to your location. Now you’ll need to separate any attached parts of the bridge into separate double panels once again.
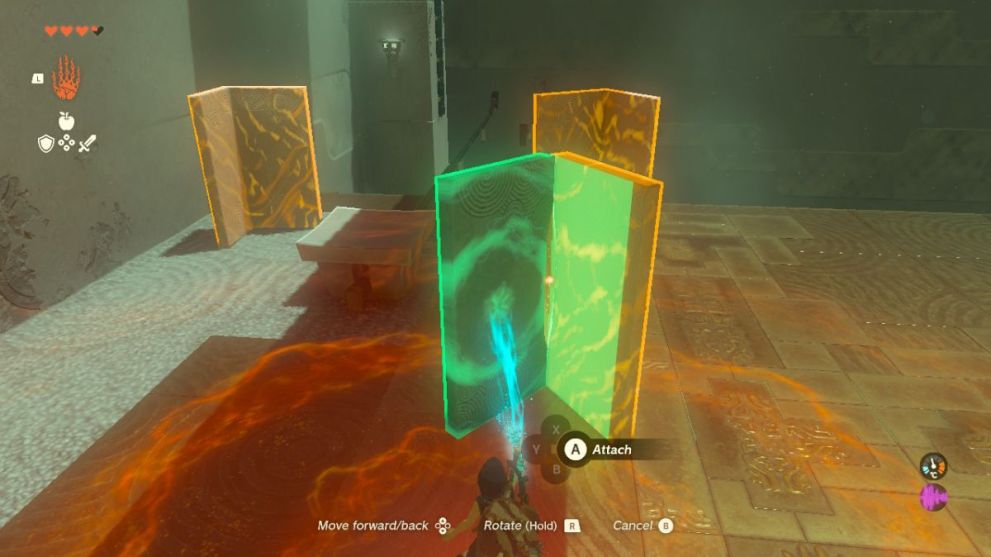
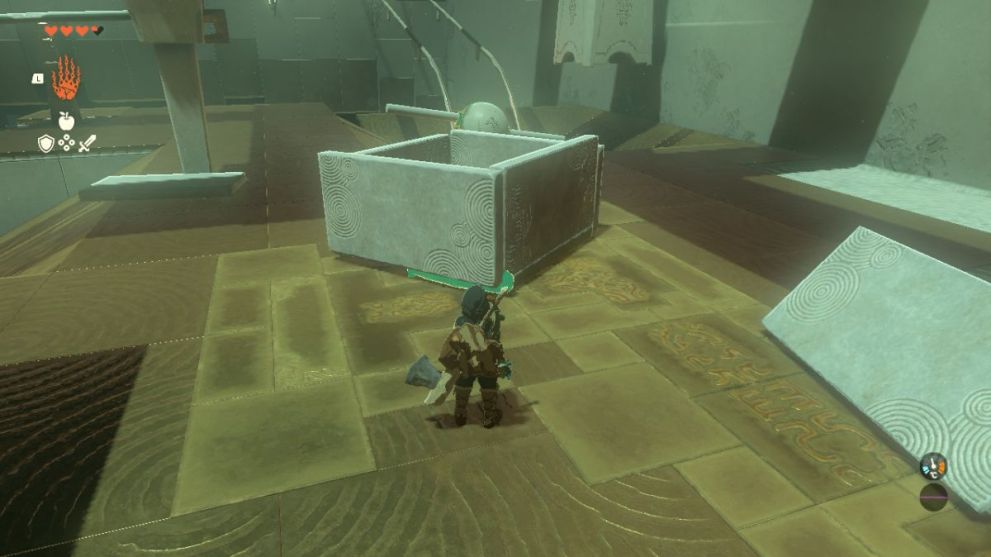
Use Ultrahand to rotate and attach two of these double panels so that they are facing each other, just like in the screenshot below:
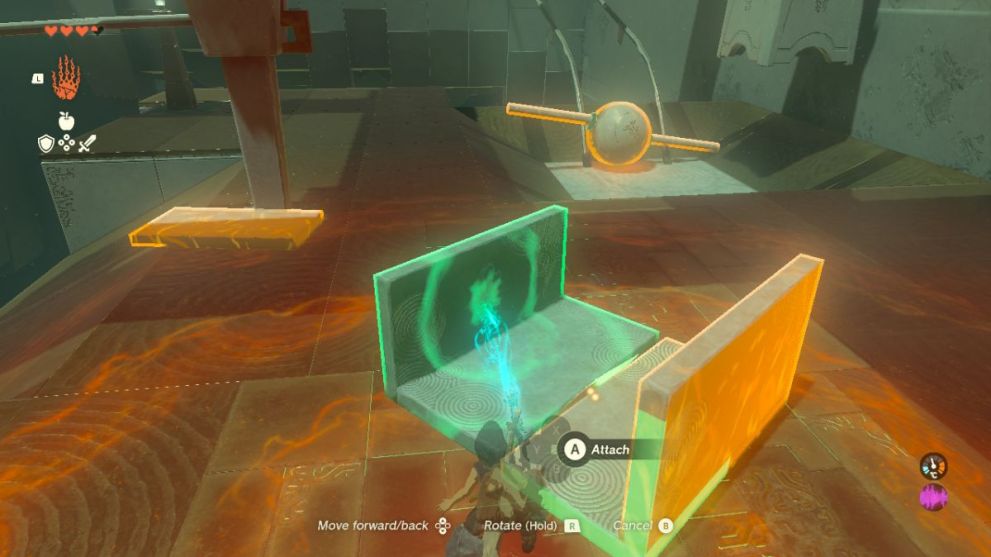
Now you want to grab the other two double panel with Ultrahand, and separate one of them back into single panels. Once you have 2x single panels, attach them to your creation to form the shape of a box. It should look something like this once complete:
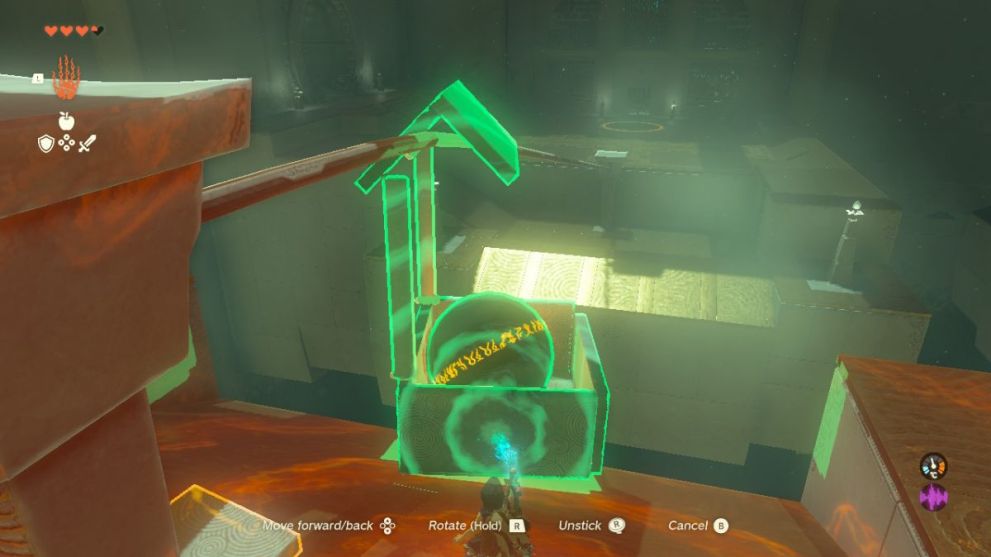
Once that’s all done, head back over to the sphere and use Ultrahand to unattach the two logs from it. Grab both of these logs, and move them over to your new box creation. You will need to attach them so that they are standing vertically on the top, like so:
Next, grab the last double panel and attach it to these two logs to form a hook shape. It should look like this once complete:
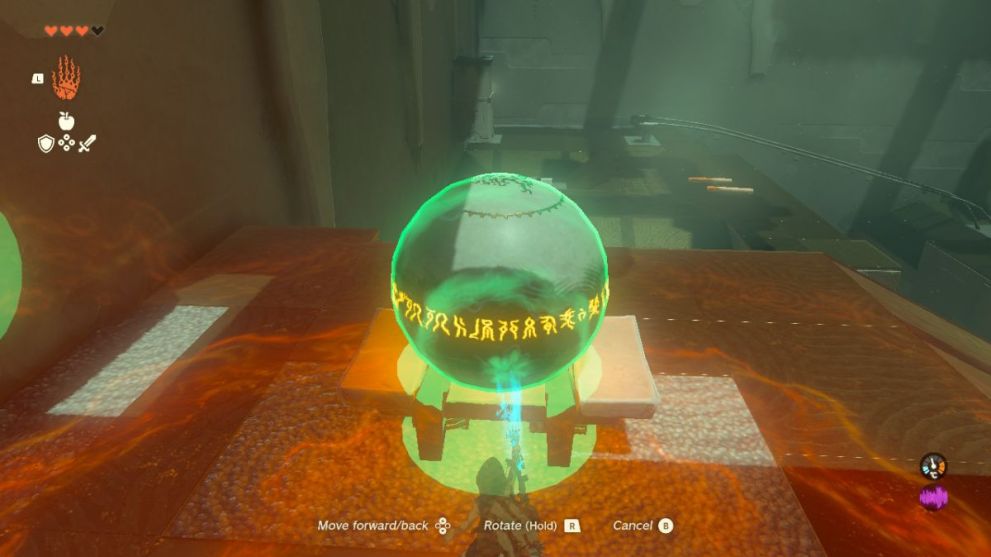
Lastly, head back over and grab the sphere. Use Ultrahand to place it inside of the box and attach it to the bottom. Pick up the entire creation, move to the rail, and attach it so it’s positioned the same as in the screenshot below:
Release Ultrahand, and the creation will transport the sphere back to the first platform where the locked gate is located. Follow it to the other side by jumping and using your paraglider.
Once you reach the first platform, grab the sphere and un-attach it from your box creation. Use Ultrahand to grab it and drag it toward the section of circular, orange glowing floor, and place the sphere in the hole.
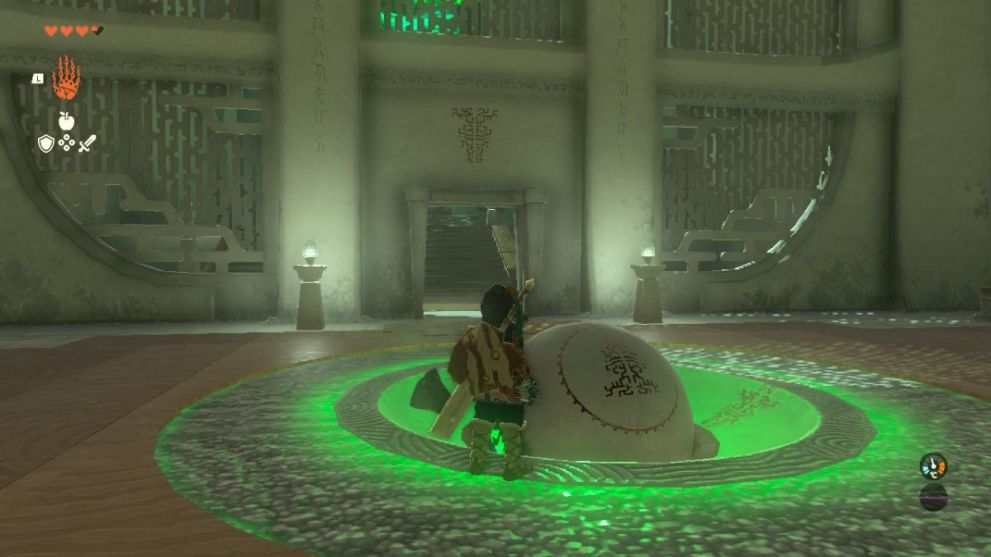
This will unlock the gate, allowing you to pass through.
That’s everything you need to know about how to solve the Runakit Shrine puzzle in Zelda: Tears of the Kingdom. For more helpful articles, scroll down and look through some of our other Tears of the Kingdom guides.


Updated: Jul 6, 2023 08:21 pm