The shrines based around electricity can have the most intricate puzzles but also the most confusing. The fact that these work outside of Link’s abilities means you really have to figure them out yourself. This can be fun but potentially very challenging. For those who need a helping hand, we have you covered. Here is our full walkthrough for the Mogawak shrine in Zelda: Tears of the Kingdom.
Zelda: Tears of the Kingdom Mogawak Shrine Walkthrough
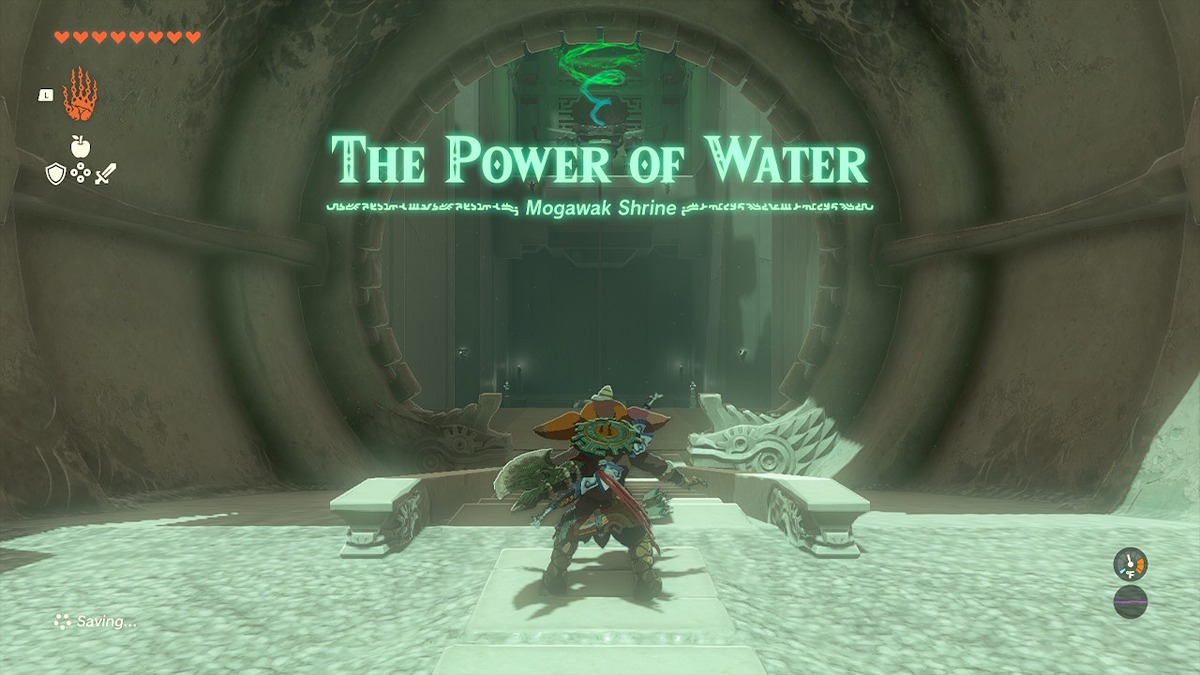
You’ll find the Mogawak Shrine in the Zora’s Domain area at the coordinates 3299, 0424, 0112.
Step One
Take the battery on the ground in the main area of the shrine to the right section and place it on the hexagon at the end of the lines on the wall. Pick up the square board and attach it to the flat part of the wheel.
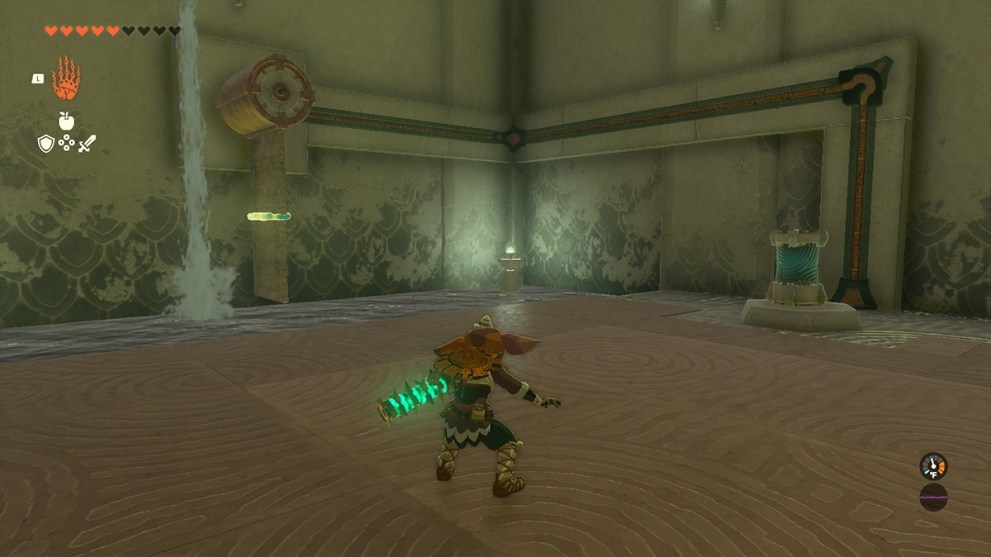
In the left corner of the water will be a chest you can lift out with Ultrahand that contains a seven-strength Magic Scepter.
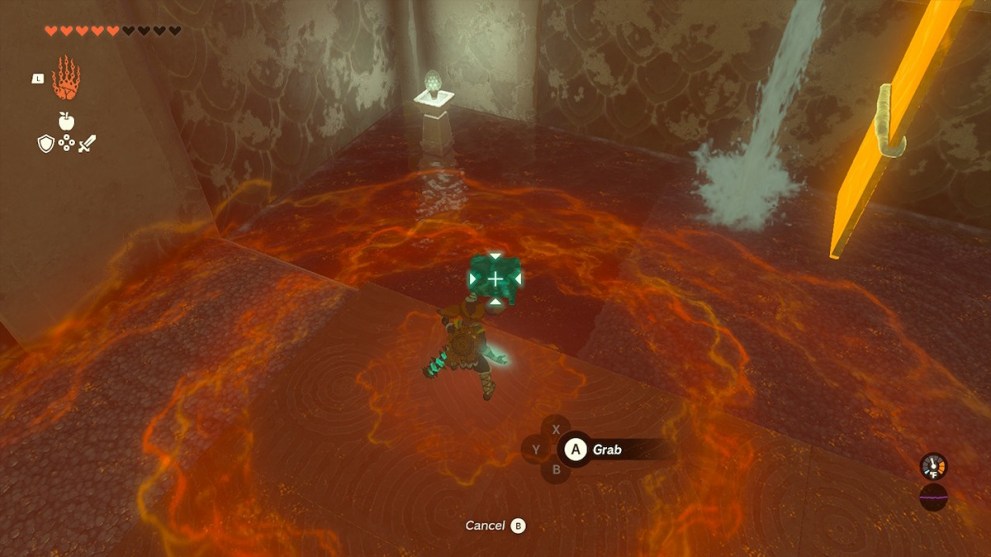
Now take the board you added and grab it to spin the whole contraption counterclockwise. It likely won’t spin freely, but the movement will do the trick. If the lines on the wall light up yellow, you are doing it correctly.
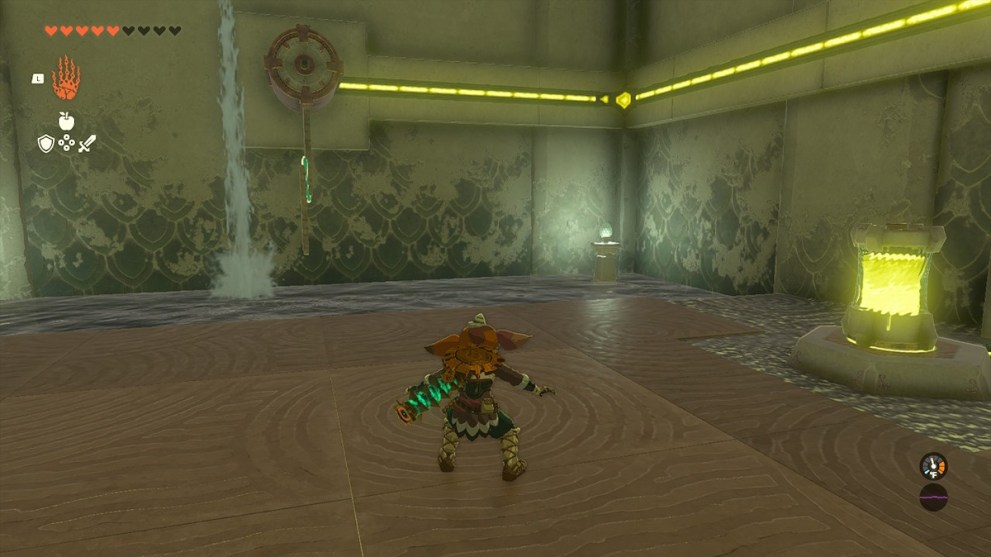
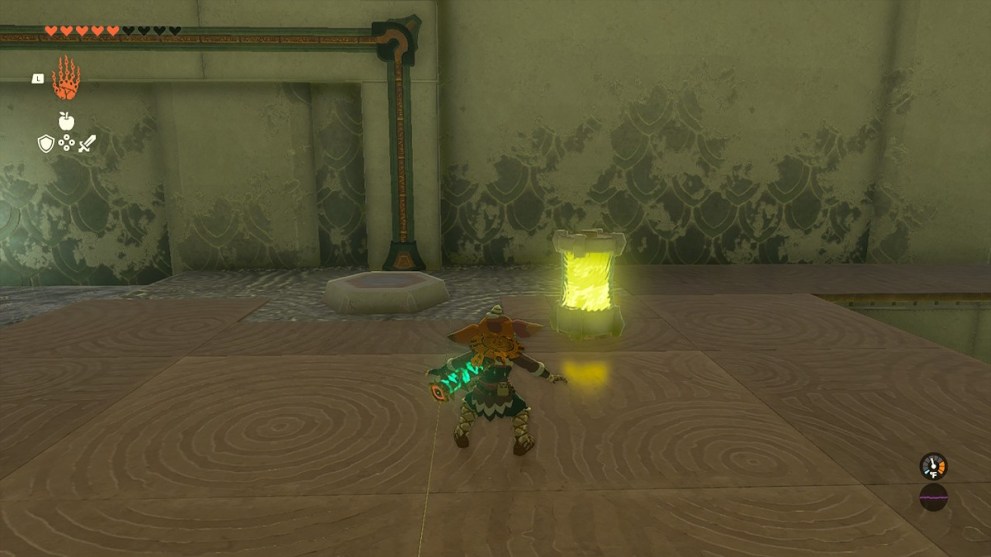
This will charge the battery, but it will start to drain if you leave it on the hexagon. Because of this, remove it when it is fully yellow and glowing.
Step Two
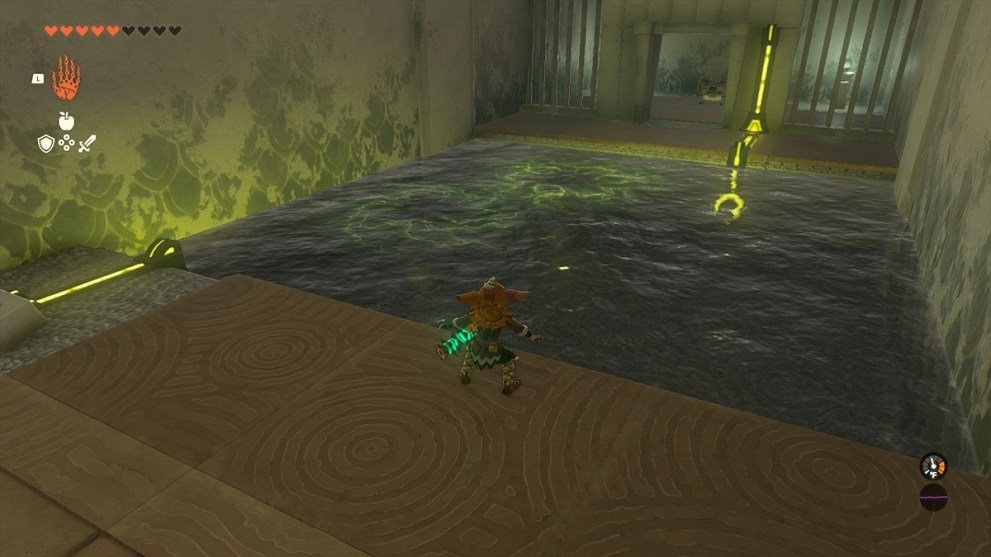
Carry the filled battery to the other side of the area, but set it off to the side. Get the two balls in the water as close to the left as possible before placing the battery. The ball’s placement should allow you to swim along the right side once the gate is opened. Opening the chest will award you with an Opal.
Step Three
If you need to, take the battery back to charge it fully. Otherwise, go up the stairs in the area and set the battery near the hexagon next to the elevator before climbing into it.
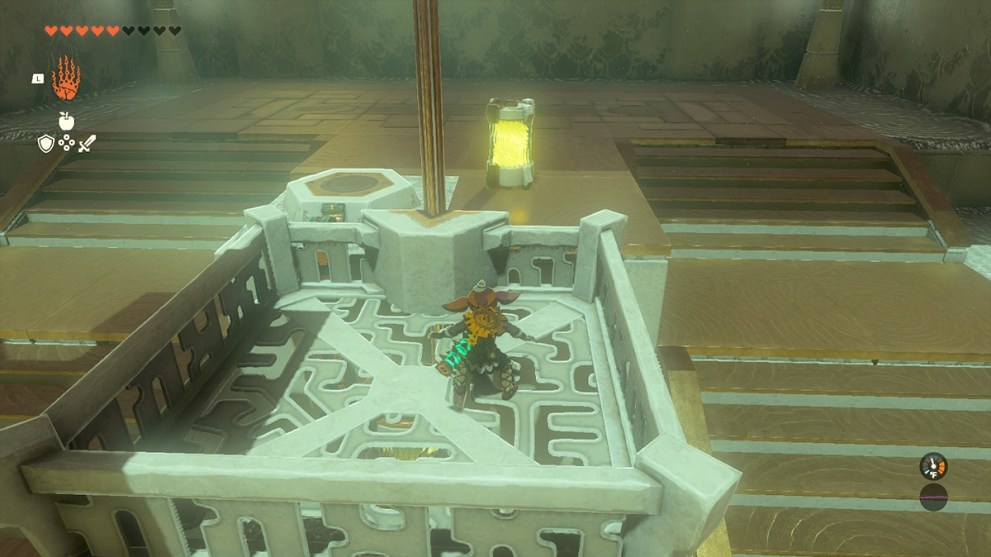
While in the elevator, place the battery on the hexagon, which will take you up to the Light of Blessing pedestal. With that collected, the shrine will be finished.
This concludes our walkthrough for the Mogawak shrine in Zelda: Tears of the Kingdom. For more shrine guides and other tips to get the most out of Hyrule, check out our links below.









Updated: Jul 6, 2023 08:15 pm