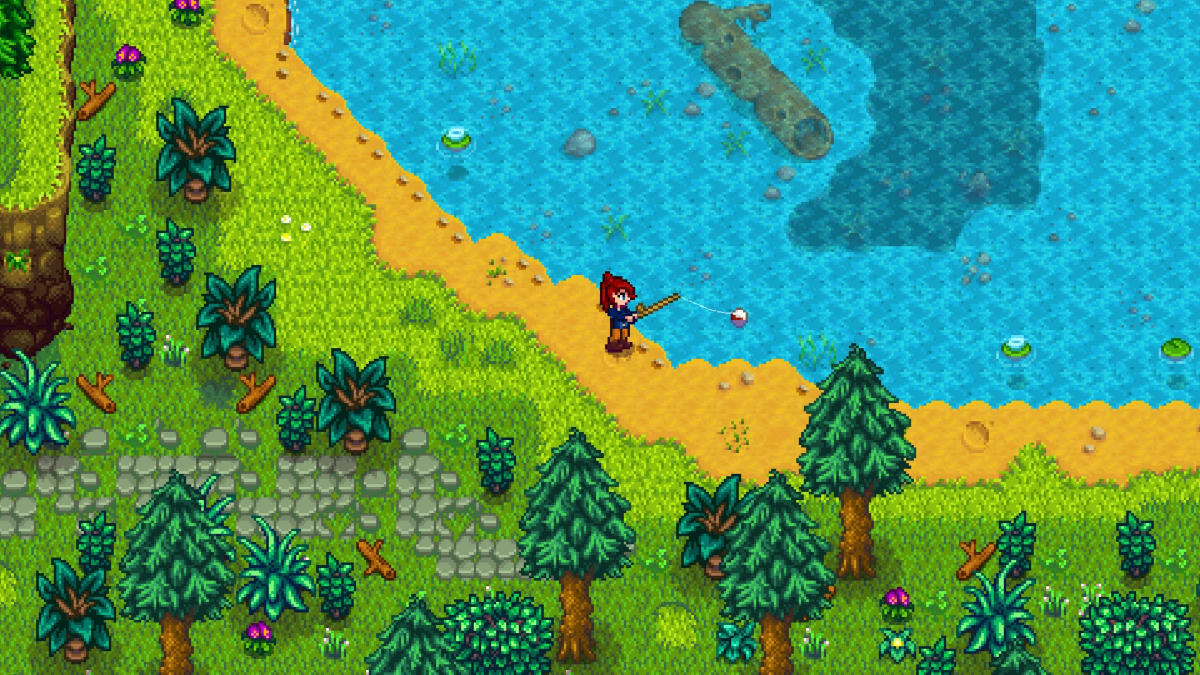
Fishing in Stardew Valley can feel like a relaxing Sunday afternoon or a brutal battle of reflexes, depending on what is on the other end of your line. If you have ever hooked a fish that instantly rocketed to the top of your mini-game bar, plunged to the bottom, and left you staring at a broken line, you probably met the Sturgeon.
I have spent hundreds of hours optimization-testing layouts on my farm, and I can tell you that mastering the Sturgeon is one of the most rewarding milestones in the game. It is not just about checking off another slot in your collection; it is the gateway to high-value Caviar production and unlocking the late-game Movie Theater.
In this guide, I will walk you through exactly where, when, and how to conquer this ancient bottom-feeder, utilizing the latest meta-strategies from the current patch 1.6.15 on PC and patch 1.6.9 on mobile.
Where and When to Find the Sturgeon
You cannot just cast your line into any random puddle and hope for a Sturgeon. They are incredibly picky about their habitat and the time of year.
Seasonal and Diurnal Windows
The Sturgeon only spawns during two seasons: Summer and Winter. If you are currently in Spring or Fall, you are out of luck unless you use specialized late-game items. During their active seasons, Sturgeons bite strictly between 6:00 AM and 7:00 PM in-game time. Once the clock strikes 7:00 PM, they completely disappear from the spawn pool.
Environmental Sweet Spots
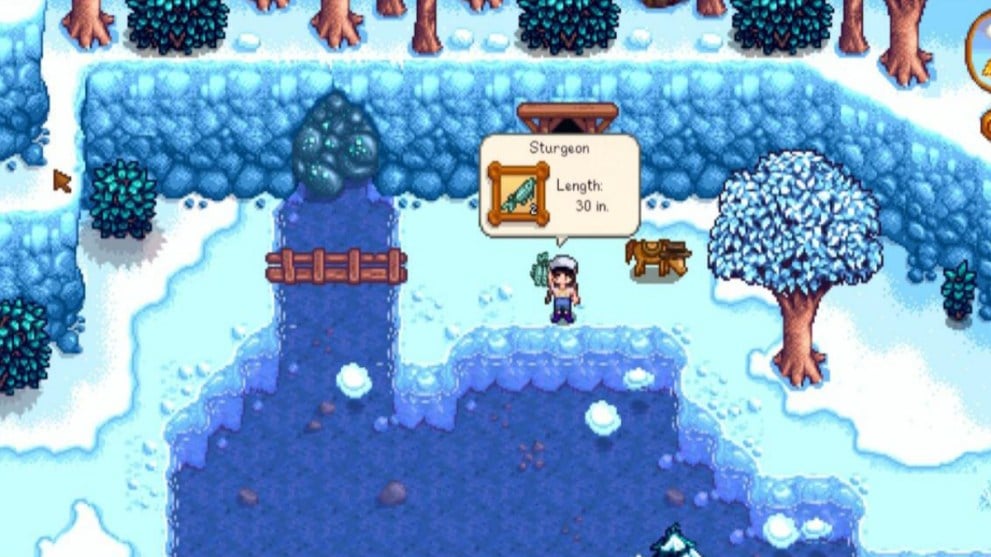
To cast your line, head up to the Mountain Lake, north of Pelican Town, right past Linus’s tent and right next to Robin’s carpentry shop. While they can also spawn in the Wilderness Farm pond if you chose that farm layout, the Mountain Lake is far superior for farming them.
Weather Modifiers
While you can catch a Sturgeon in any weather, rainy Summer days are your absolute best bet. During a Summer downpour, the suppression of sunny-day competitors boosts the Sturgeon’s appearance rate to a massive 11% to 16% of all items caught. Conversely, a rainy Winter day (which is only possible if you use a Rain Totem to force a storm) represents the worst possible environment, severely depressing their bite rates.
If you are struggling with seasonal locks, you can use Magic Bait to hook them year-round. However, my personal experience shows that Magic Bait dilutes the spawn pool with out-of-season fish, making traditional rainy Summer fishing the most reliable route.
Mastering the Spatial Casting Math
I used to see players standing anywhere on the lake shore, casting short lines, and wondering why they only caught Carp. The game engine uses a hidden clear-water distance calculation called the Fishing Zone to determine your catch quality and bite rates.
This zone is defined as the minimum linear distance in tiles from where your bobber lands to the nearest walkable landmass, including shorelines, bridges, and docks. To maximize your chances of hooking a Sturgeon, you must cast your line at least three tiles away from the shore, ideally aiming for Zone five (deep water).
The game calculates your base fish size and quality using a fractional size factor f:
f = (D / 5) × ((S + 2) / 10) × (R / 100)
In this formula, D represents your clear-water distance from land (capped at five), S is your active Fishing Level (rounded down to the nearest even value), and R is a random integer selected between 90 and 100.
A calculated value of f equal to or above 0.66 guarantees a gold-quality catch. If you execute a perfect catch (where the fish never leaves your green bar), the game elevates the star rating by exactly one tier, turning that gold into a pristine iridium-quality Sturgeon!
To consistently hit these high-tier Zone five coordinates, I recommend standing at two specific topographical landmarks:
- The Center Island Point: Cross the wooden bridges to the small island in the middle of the lake. Stand on the southern tip and cast directly southeast into the dark blue water.
- The Southern Riverbank Fence: Walk down to the west side of the lake, right next to the wooden fence where Sebastian stands to smoke. Cast directly east from the edge.
Reeling Physics and Catch Bar Optimization
Reeling in a Sturgeon is no joke. It has a difficulty rating of 78 and a Mixed behavior pattern. This means it alternates between slow, heavy drifts and sudden, erratic vertical leaps.
To survive this fight, you need to expand your green catch bar as much as possible. The physical size of your catch bar in pixels is governed by your active Fishing Level:
Bar Size = 96 + 8 × Fishing Level
At Fishing Level zero, your bar is a tiny 96 pixels. At Level 10, it expands to 176 pixels. However, we can break past the standard level caps. By combining the Advanced Iridium Rod with two Cork Bobbers (adding 24 pixels each), using Deluxe Bait (adding 12 pixels), applying the Master Enchantment at the Volcano Forge (+1 Fishing Level), and eating Seafoam Pudding cooked with Qi Seasoning (+5 Fishing Level), we can reach an active Fishing Level of 16. This stretches your catch bar to an incredible 308 pixels, covering over 54% of the entire mini-game window!
When you hook a Sturgeon, its starting length in inches is calculated using its species boundaries:
Initial Size = floor(12 + 49 × f + 1)
Be careful during the reeling phase! The game engine implements a physical size decay mechanic: the fish shrinks by exactly one inch for every 0.8 seconds it spends outside of your green catch bar. If you struggle to keep your bar centered, the Sturgeon’s final recorded size and value will literally wither away.
To help you secure these difficult catches, I always recommend consuming specific food buffs before casting. Here are my go-to recipes:
- Seafoam Pudding: Grants a massive +4 Fishing buff. I cook this using Flounder, Midnight Carp, and Squid Ink.
- Dish o’ The Sea: Grants a +3 Fishing buff. You can cook this easily using two Sardines and a Hashbrown.
- Lobster Bisque: Grants a +3 Fishing buff and increases your maximum energy by 50 points.
- Fish Stew: Grants a +3 Fishing buff with a long duration.
- Trout Soup: Grants a +1 Fishing buff. You can buy this directly from Willy’s Fish Shop for 250g if you are still in the early game.
The Patch 1.6 Targeted Bait Strategy

If you want to maximize your efficiency, you need to stop competing with Carp and Bullheads. The 1.6 update introduced the Bait Maker, a game-changing piece of refining equipment. You can unlock the crafting recipe once you reach Fishing Level six.
To construct a Bait Maker, open your crafting menu and use these resources:
- Three Iron Bars
- Three Corals
- One Sea Urchin
Simply place a single Sturgeon inside the Bait Maker. It takes less than 10 in-game minutes and spits out between five and 10 Targeted Sturgeon Baits.
When you attach this custom bait to your rod, it multiplies the Locational Chance and Spawn Rate of the Sturgeon by a flat 1.66x. Since the standard spawn rate check is capped at 0.9, this multiplier practically guarantees that the Sturgeon passes its spawn checks, allowing you to hook them back-to-back.
If you are on PC or console, you can easily attach bait by opening your inventory screen (pressing E or Esc), left-clicking the bait stack, and right-clicking on your rod. For mobile players on patch 1.6.9, simply open your inventory, drag the bait stack, and drop it directly on top of your rod.
Establishing Your Caviar Aquaculture Empire
While catching a Sturgeon is a rush, their real long-term value lies in Fish Ponds. Sturgeons are the only species in the entire game capable of producing Sturgeon Roe, which is the sole ingredient required to craft Caviar.
You can purchase a Fish Pond from Robin at the Carpenter’s Shop for 5,000g, 200 Stone, five Seaweed, and five Green Algae. It occupies a 5×5 tile space on your farm and takes two days to build.
Gating and Population Quests
Because the Sturgeon is classified as a rare species, your pond will start with an initial capacity of just one fish. They will naturally reproduce every four days. When the population hits its current cap, progress pauses, and a quest icon appears over the pond. You must throw in the requested items to unlock the next cap. Completing these quests also rewards you with Fishing XP calculated by this formula:
Quest XP = 20 + 5 × Spawn Frequency
Since the Sturgeon’s spawn frequency is four days, every completed quest hands you a flat 40 Fishing XP. Here are the progression requirements:
- Pond Capacity one to three: Requires throwing in one Diamond.
- Pond Capacity three to five: Requires throwing in either one Jelly (any kind), two Maple Syrups, or one Pickles (any kind).
- Pond Capacity five to seven: Requires throwing in three Omni Geodes.
- Pond Capacity seven to 10: Requires throwing in one Nautilus Shell.
Remember, if you ever fish a Sturgeon out of the pond while a quest is active, the exclamation mark disappears. However, the game does not reset your progress; once the population naturally climbs back to the limit, the pond will resume the quest, asking for the exact same items.
Caviar Economics and Return on Investment
Once your pond reaches a maximum population of 10 Sturgeons, it is time to rake in the profits. Every morning, the game runs a daily check to see if your pond generates an item. The check probability is:
P(Produce Check) = 0.15 + 0.08 × N
With 10 fish in your pond, you have a 95% overall daily chance to roll on the Sturgeon’s loot table. At max capacity, the loot table has a 75% chance to drop one Sturgeon Roe, and a 25% chance to drop two Sturgeon Roe.
Additionally, the game runs a secondary hidden loop before generating roe. It rolls a random decimal between zero and one. If the roll is less than 0.2, the quantity of Roe increases by one. This loop repeats until a roll fails, adding an average of 0.25 extra Roe to every drop.
Before any doubling buffs, the expected daily yield of your max-capacity Sturgeon pond is:
E(y) = 0.95 × (1.25 × 0.75 + 2.25 × 0.25) = 1.425 roe per day
Once you claim your Farming Mastery, you can throw a Golden Animal Cracker into your populated pond to permanently double its output. This jumps your expected yield to a spectacular 2.85 roe per day!
To process your Sturgeon Roe into Caviar, place it into a Preserves Jar. The curing process takes exactly 6,000 minutes (approximately four days). Caviar has a fixed base sell price of 500g, which rises to 700g if you have the Artisan profession (+40%).
By comparison, standard Aged Roe only takes 4,000 minutes (two to three days) to process, and its value is strictly calculated using the underlying fish’s base price:
Aged Roe Price = 2 × (30 + floor(Base Fish Price / 2))
Here is how Sturgeon Caviar stacks up against the other legendary money-makers in a direct, post-mastery economic comparison:
- Blobfish Pond: Sells for 784g (Artisan Aged Roe). Yields an average of 1.50 roe per day. With Artisan and a Golden Animal Cracker, this generates an optimized 2,352g per day, alongside occasional high-value Pearl drops (2% chance, worth 2,500g).
- Lava Eel Pond: Sells for 1,064g (Artisan Aged Roe). Yields an average of 1.10 roe per day. With Artisan and a Golden Animal Cracker, this generates an optimized 2,348g per day, along with Spicy Eel drops (3.6% chance) and Gold Ore (6.9% chance).
- Sturgeon Pond: Sells for 700g (Artisan Caviar). Yields an average of 1.425 roe per day. With Artisan and a Golden Animal Cracker, this generates an optimized 1,995g per day.
- Legend Pond (Post-1.6.9): Sells for 7,084g (Artisan Aged Roe). Yields an average of 0.215 roe per day. With Artisan and a Golden Animal Cracker, this generates an optimized 3,046g per day, making it the highest raw-gold pond in the game, though it requires cloning legendary fish.
This economic data reveals an important meta-strategy. Sturgeon ponds are absolutely mandatory in your mid-game progression, as Caviar is a required item for The Missing Bundle in the abandoned JojaMart to unlock the Movie Theater. However, once you achieve perfection and secure your theater, Sturgeon aquaculture is mathematically outclassed by Lava Eels and Blobfish. At that point, I highly recommend emptying your Sturgeon pond and transitioning the space to Lava Eels to maximize your daily gold output.
Alternative Pathways and Gifting Dynamics
If the fishing mini-game is simply not your style, you can acquire a Sturgeon through several alternative social or commercial avenues:
- Krobus’s Sewer Shop: Once you donate 60 items to the Museum and obtain the Rusty Key, check Krobus’s shop on Wednesdays. He has a flat 9% chance to stock a single Sturgeon for a bargain price of 200g.
- The Traveling Cart: Visit the Cindersap Forest on Fridays and Sundays. The merchant occasionally stocks a Sturgeon for 600g to 1,000g.
- Feline Gifting: If you have a pet cat and push their friendship level to its maximum of 1,000 points, they have a random daily chance to bring you a regular-quality Sturgeon as a gift.
When it comes to the social scene in Pelican Town, the Sturgeon is a highly polarizing item. Willy is the only villager who loves receiving a Sturgeon (granting +80 friendship points, or a massive +640 points if given on his birthday). Demetrius, Elliott, Leo, Linus, Pam, and Sebastian feel neutrally about it (+20 points). Almost everyone else dislikes it (-20 points), and Evelyn, Haley, and Pierre absolutely hate it (-40 points).
Finally, a quick word of warning regarding tailoring. You can place a Sturgeon into Emily’s Sewing Machine at two Willow Lane along with one Cloth to craft a unique Fishing Vest. Do not do this! The exact same vest can be tailored using much cheaper, incredibly common fish like Carp, Chub, or Smallmouth Bass. Save your precious Sturgeon for your fish ponds or the Community Center bundles, and let a common Carp handle your fashion needs instead.


Updated: Jun 15, 2026 04:29 pm