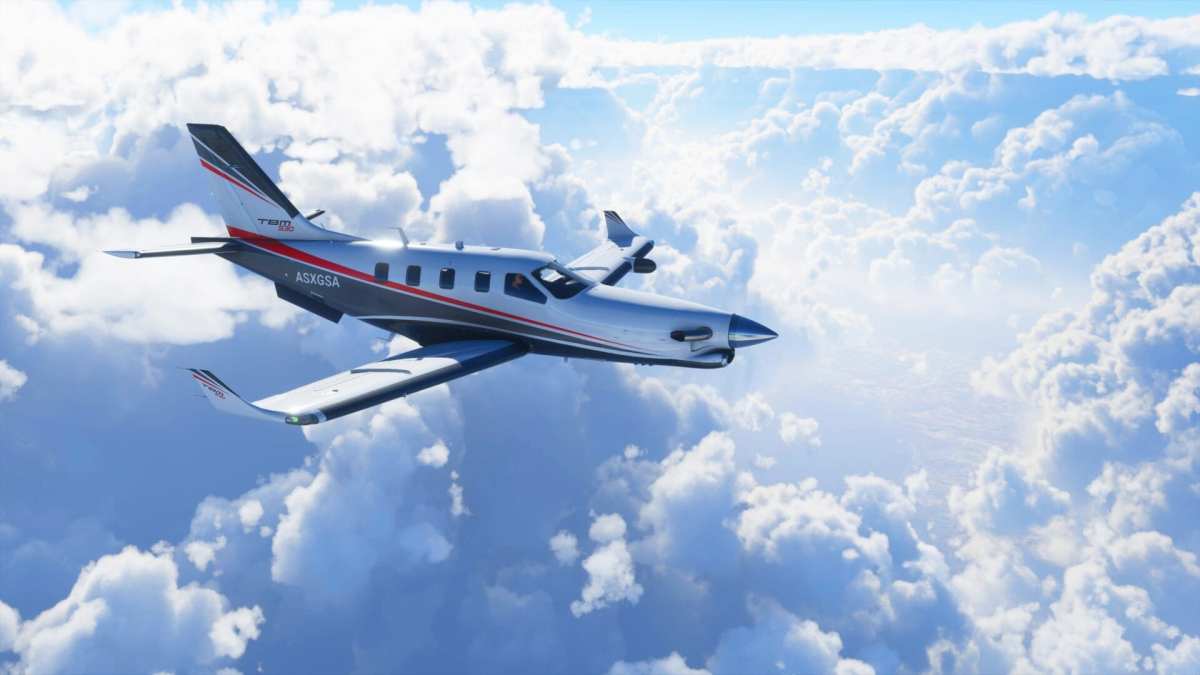
While it’s all fun and games flying around in whatever aircraft you choose and landing at one of over 17,000 airports in a digital rendition of planet Earth, Microsoft Flight Simulator is still exactly that. A simulator. As such, you’ll need to interact with Air Traffic Control, and this communication will require you to have a call sign and tail number for your aircraft. In this guide, we’ll talk you through how to change call sign and tail number in Microsoft Flight Simulator.
How to Change Call Sign in Microsoft Flight Simulator
To change your call sign, you’ll need to click on the ‘Aircraft Select’ option on the World Map. From here, select ‘ATC Options’ and choose the ‘Call Sign’ option.
You can add ‘Heavy’ to your call sign if you’re flying a wide body airliner just to help them accommodate you when taking off and landing at airports.
When communicating with Air Traffic Control, you’ll then hear your call sign (and tail number) use when providing instructions for landing and taking off.
How to Change Tail Number in Microsoft Flight Simulator
Changing your tail number is done in the exact same method. Simply go to the World Map screen and then click on the ‘Aircraft Selection’ option. Go to ‘ATC Options’ and choose the ‘Tail Number’ option.
Not only can you change the tail number itself, but you can also toggle the option to show the tail number on the aircraft or not whenever you want from this settings menu.
And there you have all there is to know on how to change call sign and tail number in Microsoft Flight Simulator. For more tips, tricks, and guides, be sure to check out our ever-expanding guide wiki, search for Twinfinite, or check out more of our coverage below.
