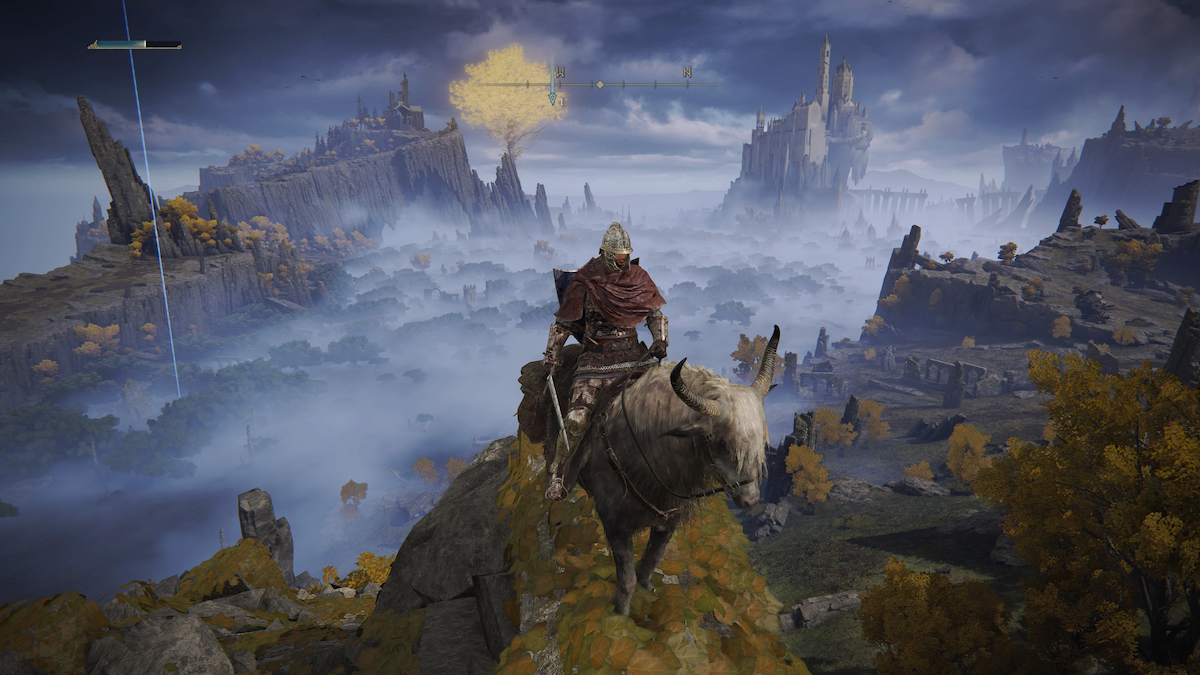
Elden Ring allows a tremendous amount of freedom in the order you progress through the game. There are plenty of areas with brutally difficult enemies despite being easily accessible for low-level characters.
This guide is meant to help give a general overview of how difficult each area is and what levels are recommended for each. Welcome to our thorough Elden Ring guide going through all the recommended areas by level.
Progression through Elden Ring involves more than just character level; armament enhancements, armor, and magic all play a pivotal role in survival through the Lands Between.
Along with the recommended character level on each area heading, we’ve added recommended weapon levels underneath each entry as well. The first number represents normal weapons while the second number is special weapons (Example: +5/+2)
It’s also worth noting that these level recommendations are not universal or objective. Many players possess enough skill to get through tough areas at a low level, and vice versa. It’s entirely possible to beat the game at level 1, which just shows how open-ended Elden Ring is.
These recommended levels are pooled from multiple reliable sources to be as accurate as possible. Sources for recommended levels come from the Future Press Books of Knowledge, the official Elden Ring Wiki, forums, and my own playthroughs and experiences of the game.
Limgrave West: 1 to 15
Recommended Weapon Level: +0/+0
Limgrave marks the true freedom point in Elden Ring. Just after the tutorial Chapel of Anticipation area, players emerge into the wide windswept plains of western Limgrave.
The western portion of Limgrave is almost entirely meant for beginner characters. There are several caves and ruins perfect for entry-level characters here. Groveside Cave, Gatefront Ruins, and the Limgrave Tunnels to the north of the Church of Elleh are ideal destinations after finishing the tutorial.
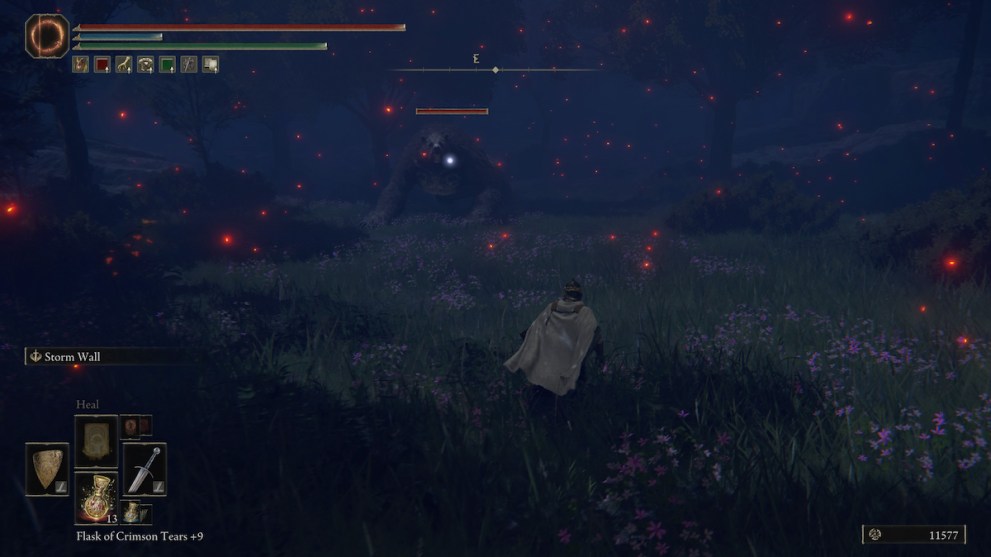
Stormhill: 10 to 20
Recommended Weapon Level: +1/+0
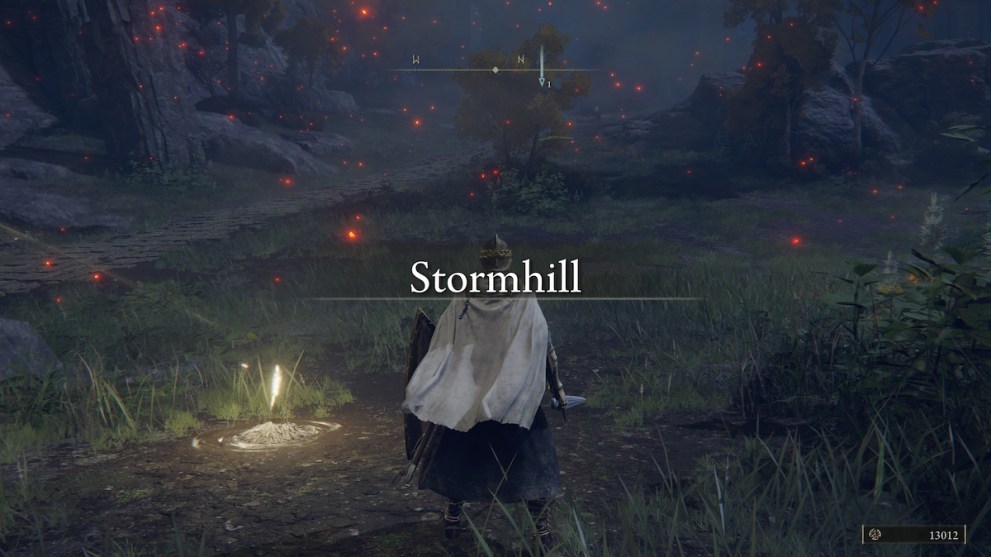
The game’s map leads north to Stormhill, and that happens to be the next best area for beginners. Stormhill is pretty small, but the wolf mobs and trolls provide a decent challenge while still being manageable at low levels.
Avoid the Stormhill Evergaol until you’re around level 30 or so, the Crucible Knight is meant to be a miniboss of sorts before setting foot in Stormveil Castle.
Limgrave East: 10 to 20
Recommended Weapon Level: +3/+1
A majority of players (myself included) ran straight up the hill to Stormveil Castle at this point, which has proven to be foolhardy to the extreme for a majority of players. The boss that greets you at Stormveil gate is substantially stronger than the starting zones around Limgrave suggest, so steer clear for now.
Agheel Lake divides Limgrave into its western and eastern portions. Eastern Limgrave is home to some more difficult caves and enemies such as the tough Runebears in Mistwood forest and the dragon Agheel.
Mistwood Forest houses one of Siofra River’s entrances, so feel free to get your toes wet in the subterranean Siofra labyrinth. Just don’t worry about getting too far in Siofra, the majority of the area is meant for higher-level characters.
Weeping Peninsula: 20 to 30
Recommended Weapon Level: +3/+1
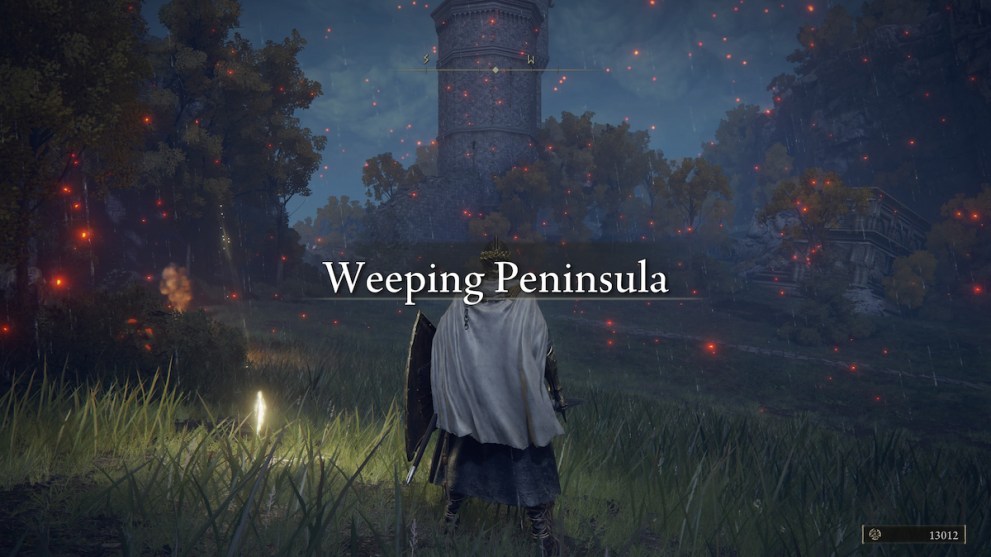
If you’re not a god-tier Elden Ring player, you still won’t be strong enough to challenge the boss at Stormveil Castle. But not to worry, down south has some fun dungeons and bosses.
Head south past the Bridge of Sacrifice to the Weeping Peninsula to train just a bit more. Castle Morne to the south is a very satisfying and rewarding dungeon with its own boss at the end. If you can overcome Castle Morne, you’re ready to storm Stormeil Castle.
Stormveil Castle: 30 to 40
Recommended Weapon Level: +7/+2
Stormveil Castle is the first big ‘legacy’ dungeon in Elden Ring. These hefty dungeons are reminiscent of the more compactly curated levels in Demon’s Souls. Stormveil is home to two major boss fights, but you should be adequately prepared by level 30.
Liurnia of the Lakes: 40 to 50
Recommended Weapon Level: +7/+2
Liurnia is one of the largest zones in Elden Ring, containing a whopping 62 Sites of Grace. It’s a good rule of thumb to explore western Liurnia first before cleaning out the higher-elevated eastern portion. Though, all said, Liurnia as a whole is generally approachable for level 40 to 50 characters.
Academy of Raya Lucaria: 50 to 60
Recommended Weapon Level: +7/+4
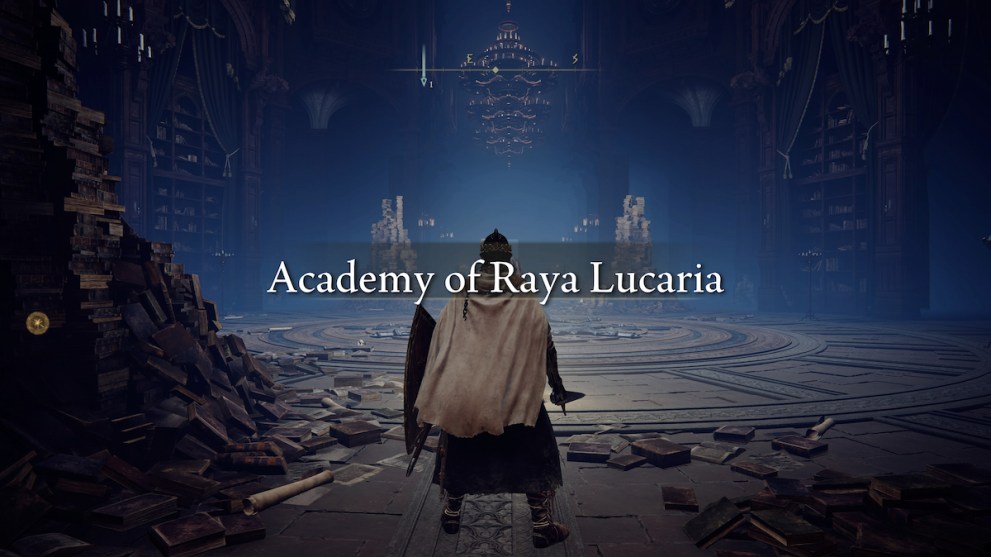
The surrounding lakes of Liurnia provide plenty of training for the giant academy in the center. The Academy of Raya Lucaria is the second legacy dungeon in Elden Ring, and as such boasts some difficult challenges and obstacles, including the major boss fight at the end holding the second Great Rune. It’s highly recommended you upgrade your main weapon to at least +7 for this dungeon.
Ainsel River and Siofra River: 50 to 60
Recommended Weapon Level: +7/+4
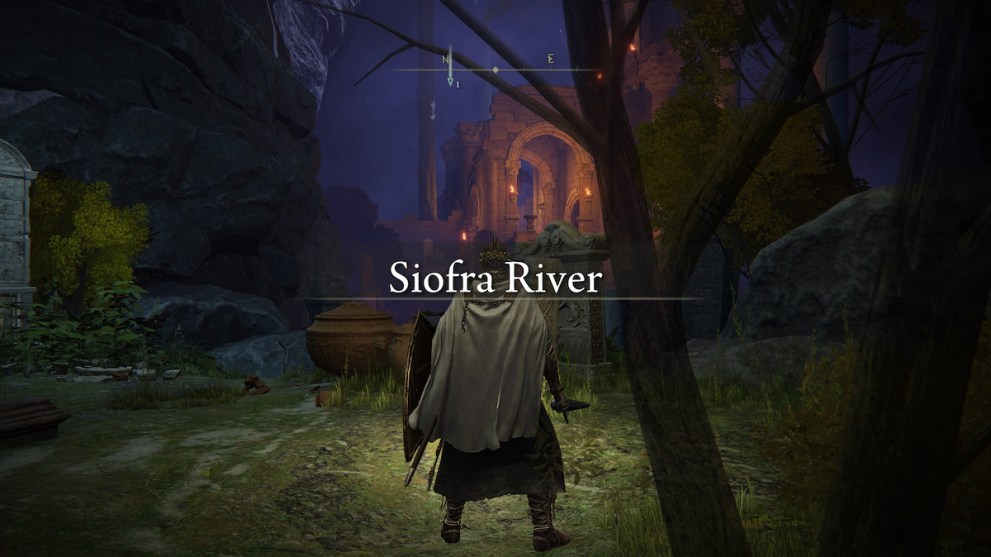
Siofra River has entrances in Eastern Limgrave and Liurnia of the Lakes. As mentioned earlier, it’s recommended you save Siofra ’till a later time, that time being now.
The subterranean network of rivers are home to some NPC questlines such as Blaidd the wolf, so be sure not to forget about both Ainsel and Siofra Rivers while in Liurnia.
Siofra eventually leads to Nokron, the Eternal City, while Ainsel leads to the treacherous Lake of Rot, but you should save these tougher areas for later.
Caelid: 60 to 70
Recommended Weapon Level: +10/+5
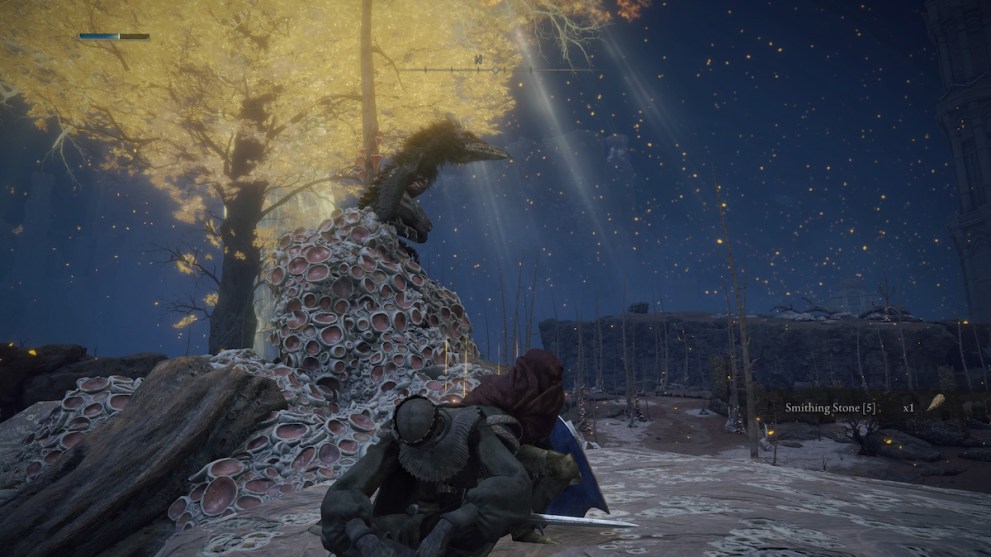
Caelid is another zone that can be accessed very early on in the game. As many players have found out, it’s an absolutely brutal wasteland of Scarlet Rot meant for high-level characters.
Caelid isn’t a mandatory area to beat the game, but it is home to General Radahn, one of the key characters in Elden Ring’s story. Radahn also holds a Great Rune, so you can completely skip the Academy of Raya Lucaria Great Rune and get this one instead if you’re confident.
The Sellia Crystal Tunnel is one of the most lucrative places to farm all manner of Smithing Stones. Farm this area out to upgrade normal and special armaments.
Altus Plateau: 60 to 75
Recommended Weapon Level: +10/+5
The base of the Erdtree resides in the Altus Plateau. This plateau is considered the central province and capital of all the Lands Between. Since the requirements for getting up here are two Great Runes, characters are most likely to be at the appropriate level to overcome the plateau’s challenges.
It’s important to note that Elden Ring guides the player straight to the royal capital of Leyndell in the center of the Altus Plateau. This is where I headed after clearing the Perfumer’s Grotto just outside the capital, and I paid dearly for that.
Leyndell is clearly a high-level area, so it’s strongly recommended players go to the subterranean areas like Nokron, and then Mt. Gelmir first before following the path to Leyndell.
Nokron, Eternal City: 70 to 80
Recommended Weapon Level: +12/+5
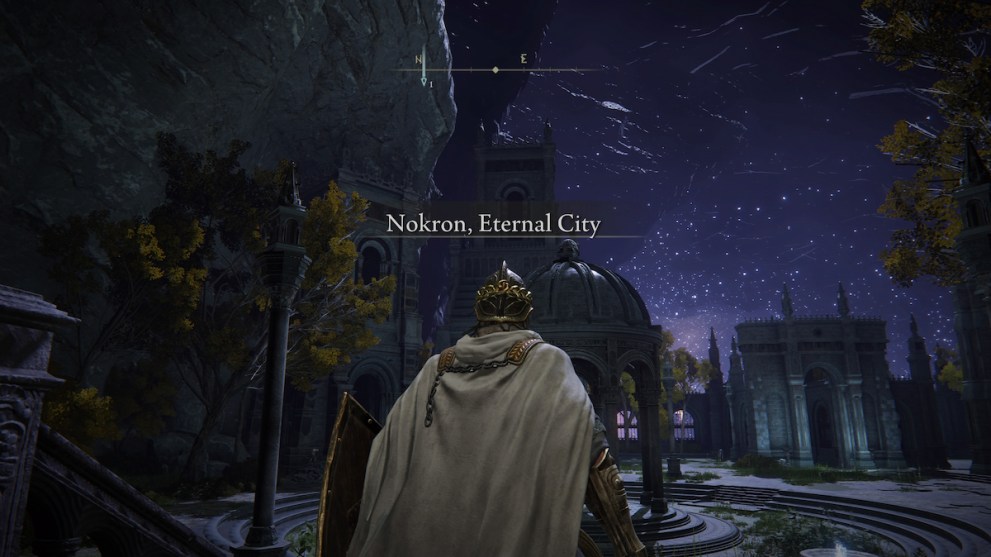
Nokron is technically a part of the Siofra River system. So, head back to where you left off in Siofra and progress to the majestic eternal city of Nokron.
Deeproot Depths: 80 to 90
Recommended Weapon Level: +12/+5
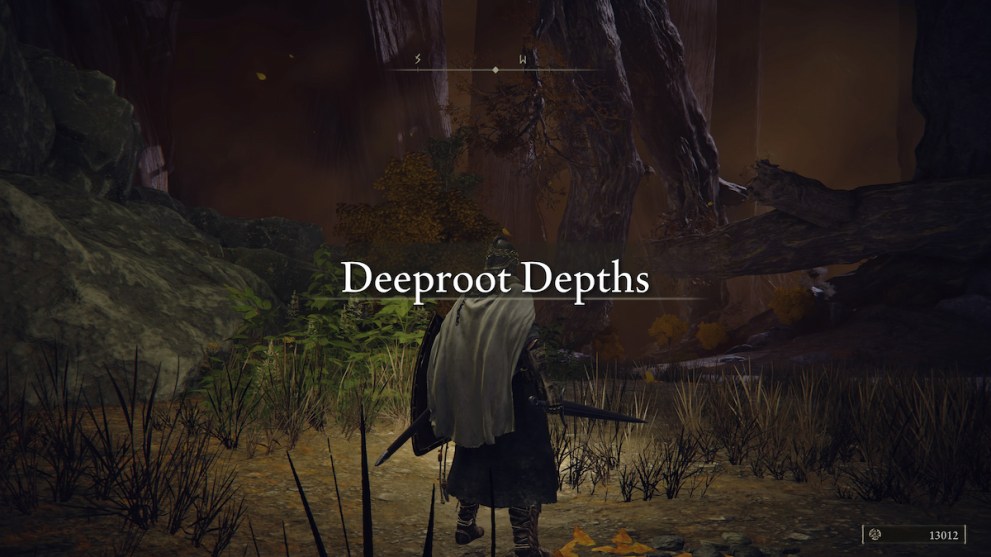
The Deeproot Depths are the base of both Siofra and Ainsel rivers. There are two entrances to the Deeproot Depths: one is from a coffin in Nokron, and the other in the Subterranean Shunning Grounds beneath Leyndell.
Mt Gelmir: 80 to 100
Recommended Weapon Level: +12/+5
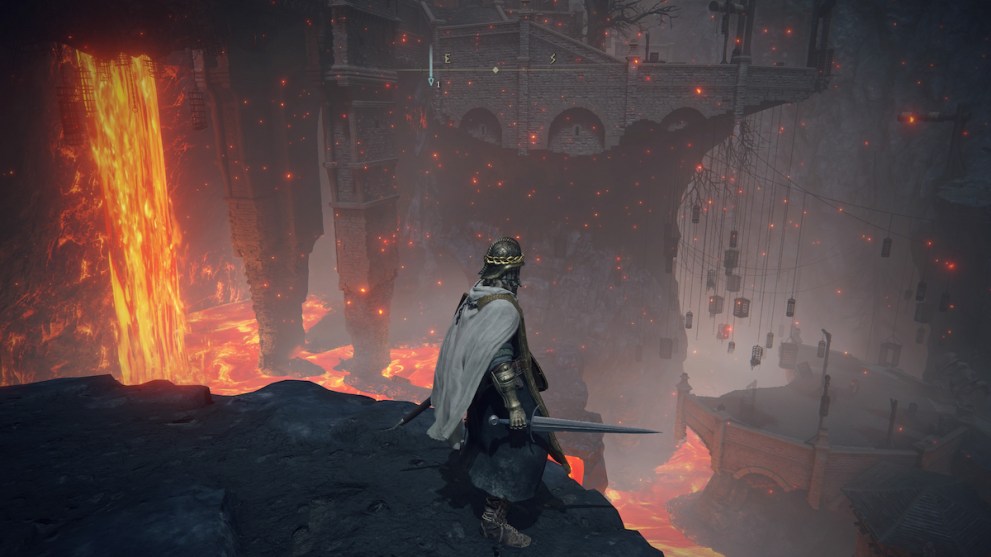
As stated earlier, Mt. Gelmir is entirely accessible right after emerging from the Dectis Lift onto Altus Plateau.
This area is home to Volcano Manor, which serves as a hub of sorts for various NPCs and quests. The areas surrounding Valcono Manor are difficult, but nothing you can’t overcome if you’ve explored some of Altus Plateau already.
Lake of Rot 80 to 100
Recommended Weapon Level: +17/+7
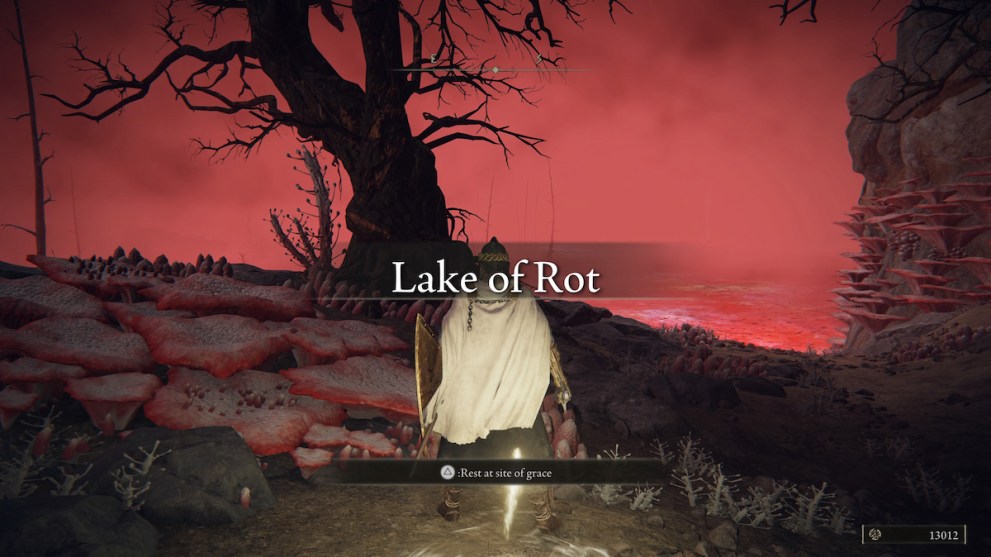
The Lake of Rot is the source of Ainsel River and is filled with Scarlet Rot. The entrance can be found at the Waterfall Basin in Ainsel’s Nokstella. Be sure to bring lots of Preserving Bolluses to cure Scarlet Rot.
Dragonbarrow 90 to 110
Recommended Weapon Level: +15/+6
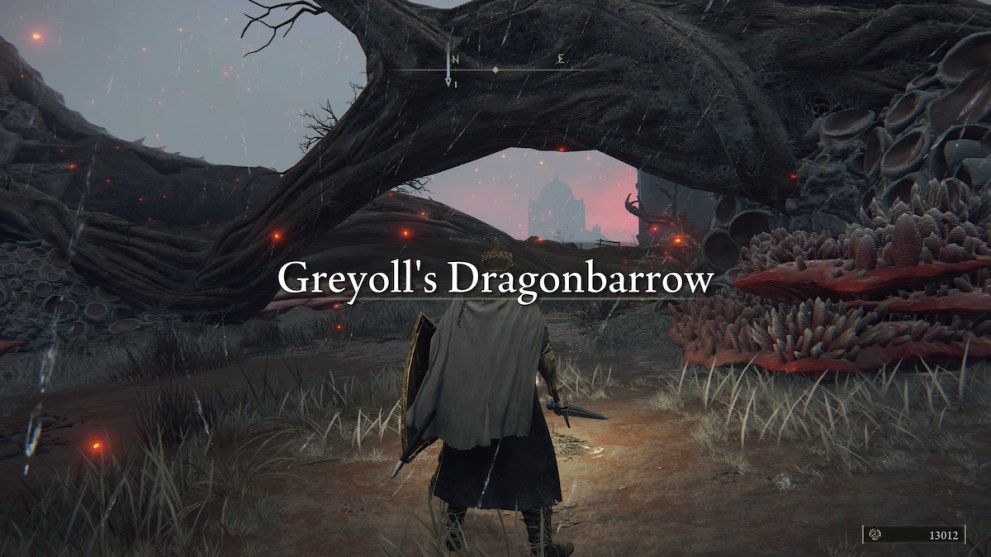
Dragonbarrow is located on the northeastern end of Caelid. As the name suggests, plenty of dragons reside here, which makes it a great place to farm for Dragon Hearts. The Bestial Sanctum provides great rewards for your offerings to Gurranq, including a rare Ancient Dragon Smithing Stone.
Leyndell, Royal Capital: 90 to 110
Recommended Weapon Level: +18/+6
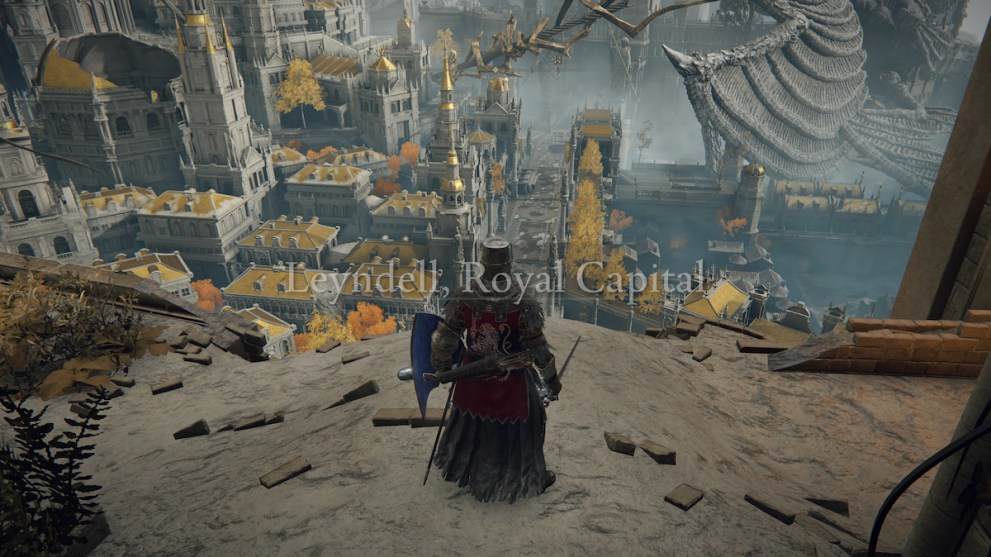
Leyndell is considered a Legacy Dungeon for its difficult enemies and story significance. There’s plenty of paths to other areas here, such as the entrance to the Subterranean Shunning-Grounds dungeon.
Leyndell proves to be a significant challenge, but one you can overcome if you’ve already completed Mt. Gelmir. By this point, your main weapon should be upgraded to around +18.
Mountaintop of the Giants: 100 to 120
Recommended Weapon Level: +21/+8
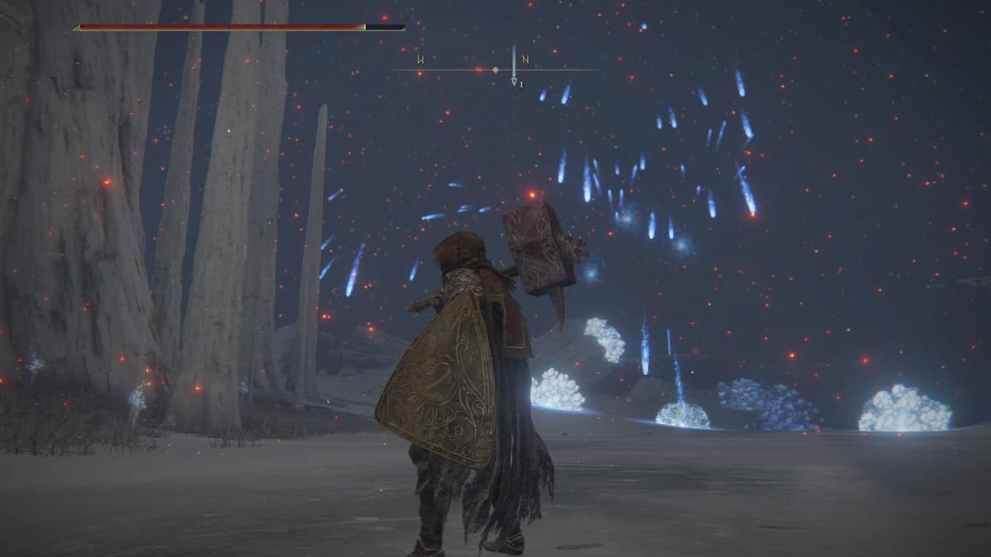
After beating the main boss in Leyndell, you’ll go through a pathway leading up to the Mountaintop of the Giants. This area is notorious for its poor visibility and obscure enemies. There’s even an invisible bridge puzzle leading to a spell calling down the stars. Overall, though, this area won’t be too difficult when you’ve already overcome Leyndell.
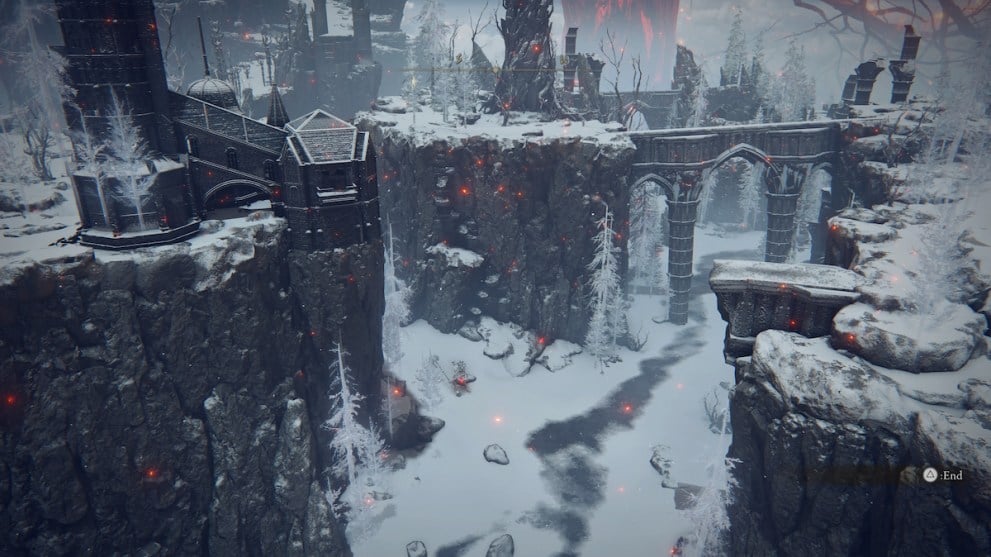
Consecrated Snowfield: 100 to 120
Recommended Weapon Level: +22/+8
The snowy land off to the left of the Mountaintop of the Giants is only accessible through the Grand Lift of Rold. Getting the two Rold Medallions involves quite a lot of steps, which we’ve outlined here in our guide. As you’ll see, this snowfield is a path to some of Elden Ring’s most difficult optional areas.
Mohgwyn Palace 110 to 140
Recommended Weapon Level: +24/+9
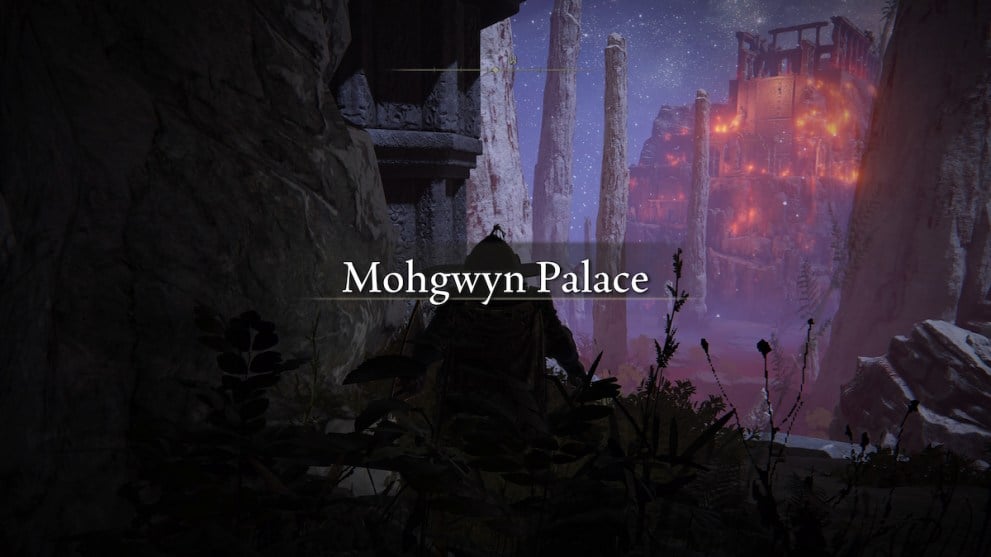
Mohgwyn Palace can only be accessed via the portal nestled in the western side of the Consecrated Snowfield, or through White Mask Varre’s quest. We’ve made a guide to help you get to Mohgwyn Palace here.
Miquella’s Haligtree 120 to 150
Recommended Weapon Level: +25/+10 (Max)
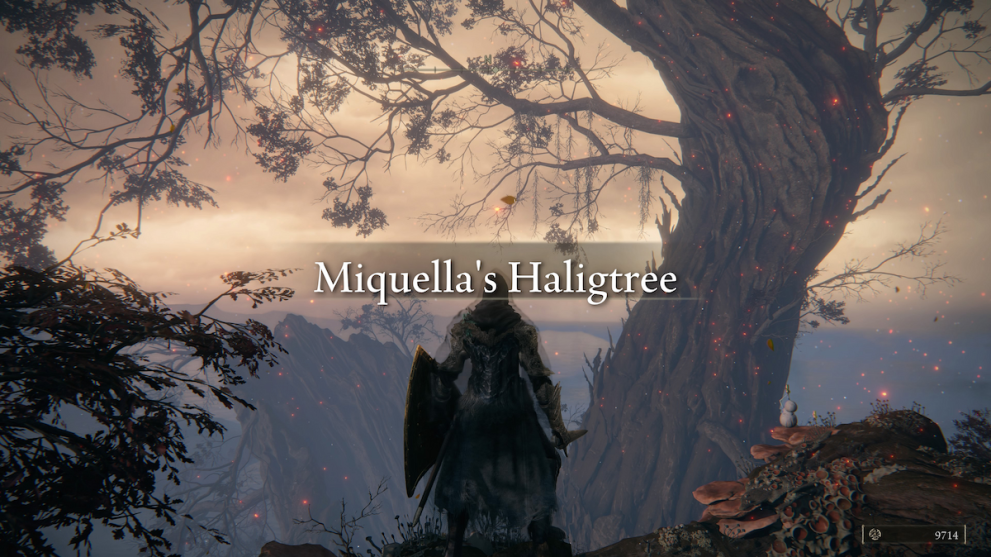
Miquella’s Haligtree is easily one of the most spectacular locations in Elden Ring, it’s also home to the most notorious boss fight.
I personally consider this area and boss to be the most difficult content in the entire game, but the consensus is all three of these end-game locations are equally difficult.
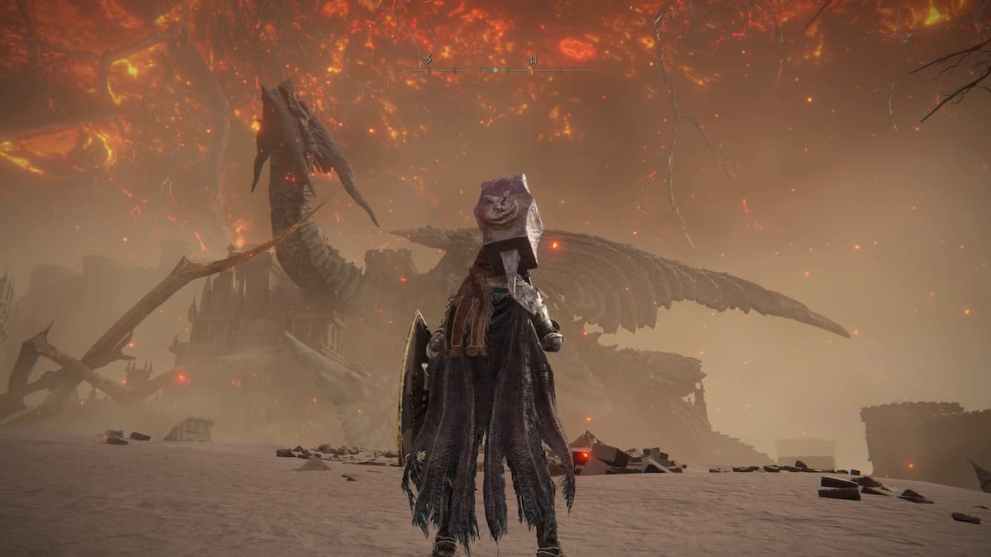
Crumbling Farum Azula: 120 to 150
Recommended Weapon Level: +25/+10 (Max)

This area is unique in that it’s an island far off the map to the right. It’s a mandatory Legacy Dungeon leading up to the final climatic battle in the game. This place is brutal, so brace yourself and come prepared after doing a lot of other areas the game has to offer.
Leyndell, Ashen Capital: 120 to 150
Recommended Weapon Level: +25/+10 (Max)
And finally, the final area before beating Elden Ring. The Ashen Capital isn’t a gigantic area to explore, but the final bosses are clearly meant for characters that have done everything else the game has to offer. Since this is the true end-game area, the recommended level is at least 120 but can go up from there.
Those are all the areas in Elden Ring categorized by recommended level. This guide is meant to be taken as a general leveling guideline and isn’t necessarily correct for everyone. Builds and progression vary wildly in Elden Ring, as do skill levels! If you enjoyed this, please consider our other Elden Ring content, such as bosses from easiest to hardest, and our numerous in-depth guides.


Updated: Feb 1, 2024 04:24 pm