
There are plenty of mysterious and intriguing objects that you’ll come across as you play through Baldur’s Gate 3. Most of these objects are interactable, though it’s not always clear what you’re supposed to do with them. Here’s everything you need to know about the Mirror of Loss in Baldur’s Gate 3 and what its four options mean.
Baldur’s Gate 3 Mirror of Loss Location
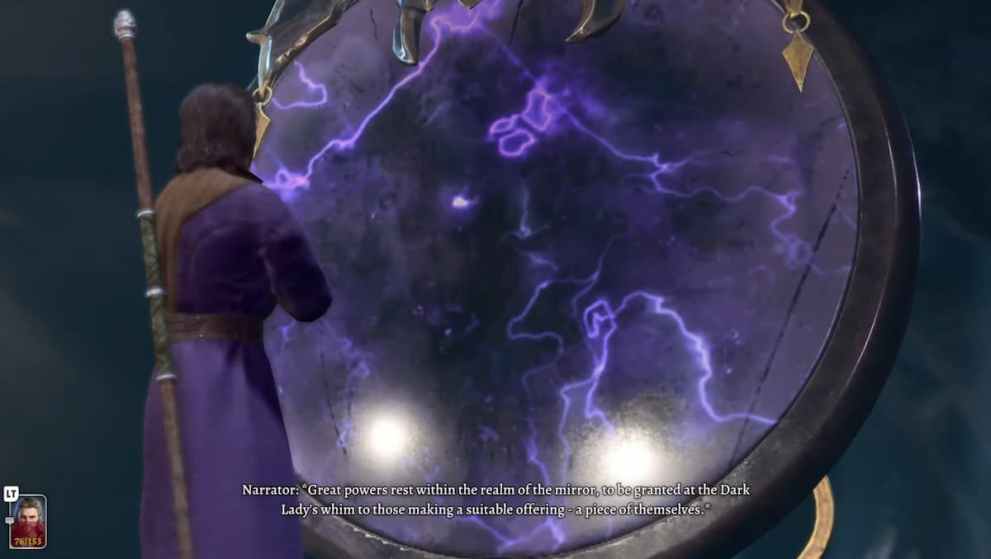
The Mirror of Loss is an object that you’ll discover as you go through the Gauntlet of Shar dungeon in Baldur’s Gate 3, located in the Underdark. This dungeon is tied to Shadowheart’s personal questline, so as long as you have her in your party and you’ve been maintaining good relations with her to progress through her quest, it’s hard to miss the dungeon.
You’ll also access this area in Act 3, so if you’re still early on in the game, don’t worry about potentially missing out on it.
All BG3 Mirror of Loss Options Explained
When you interact with the Mirror of Loss, you’ll be presented with four options. Each of these options gives you a +1 permanent buff to one stat, and a -2 debuff to another stat. While this may sound detrimental on the surface, it can actually be really useful if you know which specific stats you want to go for with your character build.
Gaining +1 to a useful stat while taking a hit in a stat that’s irrelevant to your build can only be good in the long run. That said, here’s a rundown of all four options and the stats they affect:
- Offer memories of your strength: +1 Strength, -2 Wisdom
- Give up memories of your youth: +1 Wisdom, -2 Strength
- Relinquish memories of fortitude and well-being: +1 Intelligence, -2 Charisma
- Surrender valued knowledge gleaned from books, scrolls, tablets…: +1 Charisma, -2 Intelligence
Do be warned that your choice is final, so make sure you’ve thought it through before committing to any of these options.
That’s all you need to know about how the Mirror of Loss works in Baldur’s Gate 3. Be sure to search for Twinfinite for more tips and information on the game.


Updated: Aug 10, 2023 05:48 am