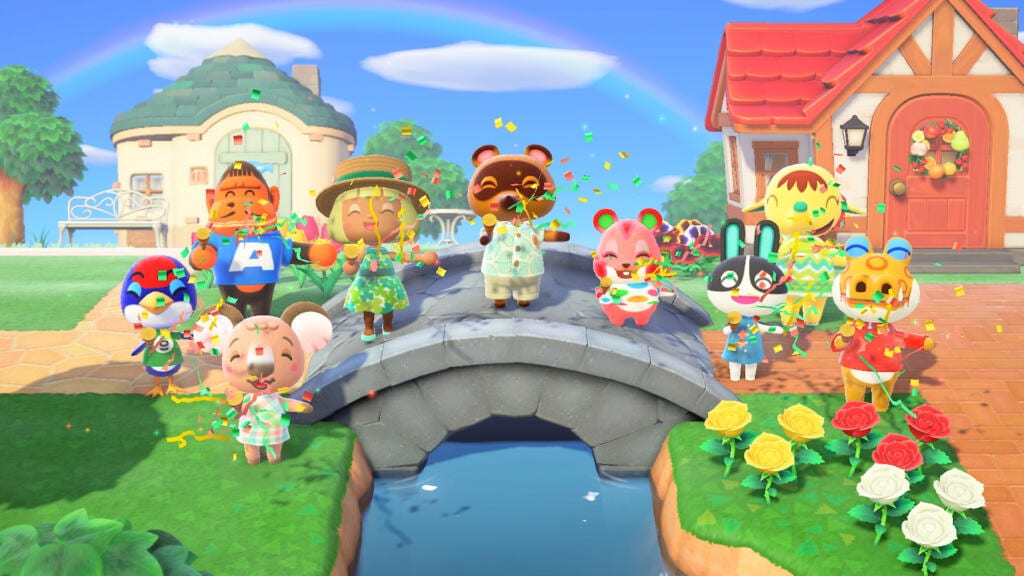
For the first few days of your island living in Animal Crossing: New Horizons, Resident Services will be a small tent by your town center square. It has everything you’ll need to get started on the island, but it is possible to upgrade Resident Services in Animal Crossing: New Horizons to offer you even more options and features.
Upgrading Resident Services
There are five steps you’ll need to take to upgrade Resident Services into the Town Hall.
- Pay Off Deserted Island Getaway Package
You’ll first need to pay off your Deserted Island Getaway Package. This can be done racking up 5,000 Nook Miles.
- Get a House
Once this is paid off, Tom Nook will then give you the opportunity to upgrade your tent into a house. It’ll set you back 98,000 Bells, which you’ll then need to pay off as a loan.

- Unlock Nook’s Cranny
With your house upgraded, Tommy and Timmy will then ask for your help in constructing a shop for your island. Nook’s Cranny is unlocked once you’ve given Timmy 30 Wood, 30 Hardwood, 30 Softwood, and 30 Iron Nuggets. Once you’ve got all of these, hand them over to Timmy in Resident Services and wait a few days. Nook’s Cranny will then be open.

- Build a Bridge
As soon as Nook’s Cranny is built, Tom Nook will then ask for your help in finding plots for new houses for three new villagers to move into. Before you can do this, you’ll need to choose somewhere to place and build a bridge.
He’ll give you a bridge kit, which you then need to place from your inventory wherever you want the bridge to be built.
- Have Three New Villagers Move In
Finally, you’ll need to place the the plots for the three different houses that Tom Nook’s given you, but that’s not all. He’ll also ask you to craft all of the different interior and exterior furniture for each house. There are three interior and three exterior items for each one, so get gathering those crafting materials.
Once you’ve completed all three housing plots, including their respective furniture, you’ll then need to wait for all three villagers to move in.
When all three villagers have moved in, Tom Nook will make an announcement that Resident Services will be getting an upgrade. During this time, the building will be closed and you won’t have access to the Nook Miles Terminal, or the Recycle Bin.
There you have everything you need to know on how to upgrade Resident Service in Animal Crossing: New Horizons. Head over to our wiki for more tips and tricks, search for Twinfinite, or check out more of our coverage below.


Updated: Mar 25, 2020 09:58 am