Pokemon GO has been a huge hit for fans and newbies alike since its release. For the first time, we can now go out in real life and catch Pokemon in true trainer fashion. We also get to see them out in the real world, with the use of your location’s map, and the ability to take snapshots enhanced by AR technology.
Whether it’s to brag about your new Legendary Pokemon or simply to complete a research task, here’s your guide to taking snapshots in Pokemon GO.
How to Use the Snapshot Feature in Pokemon GO
To enjoy an immersive AR experience in Pokemon GO, the app prompts you to download the Niantic AR package, which only takes up 4MB of your space.
This is compatible for devices that meet the following requirements:
- iOS – iPhone 6 and above with iOS 11 or above
- Android – Devices with Android 7.0 and should be compatible with ARCore.
If your device is compatible with AR, here’s how you can take the different types of snapshots available in Pokemon GO.
How to Take Snapshots of Your Pokemon in Pokemon GO
If you want to show off your Shiny, Shadow, or Legendary Pokemon, or your favorite Pokemon already in your Pokedex, follow these steps:
- Launch Pokemon Go and tap on the Pokeball icon in the middle.
- Select Pokemon which opens the list of all the monsters you’ve caught.
- Scroll through and select the Pokemon you’d like to take a snapshot of.
- Click on the camera icon in the top right corner to open the AR mode.
- If you’re using AR+, move around to find the perfect spot, ideally with a flat and undisturbed surface. Otherwise, the Pokemon will automatically be placed in your environment.
- Sparkles and yellow footsteps appear when your device has successfully detected your environment. Tap the desired spot where you see footsteps to place your Pokemon.
- When ready, tap on the camera icon in the middle to take a snapshot. You can take multiple snapshots.
- Click on the gallery icon on the bottom right corner to view the snapshots you took.
- Click on the Pokeball icon on the bottom left corner to recall your Pokemon and find another spot for them.
- Tap the exit button in the top left corner and you’ll see a gallery of the photos you took. All photos are saved to your device.
How to Take Snapshots of Your Buddy Pokemon in Pokemon GO
Of course, every trainer must have their Buddy Pokemon. You can easily take a snapshot of yours in Pokemon GO by tapping on your Buddy Pokemon icon, which is in the lower left corner of the screen beside your own icon, name, and level.
Once the page for your Pokemon Buddy opens, simply click on your Pokemon to open up the AR camera and follow the same instructions as above.
How to Take Snapshots of Wild Pokemon in Pokemon GO

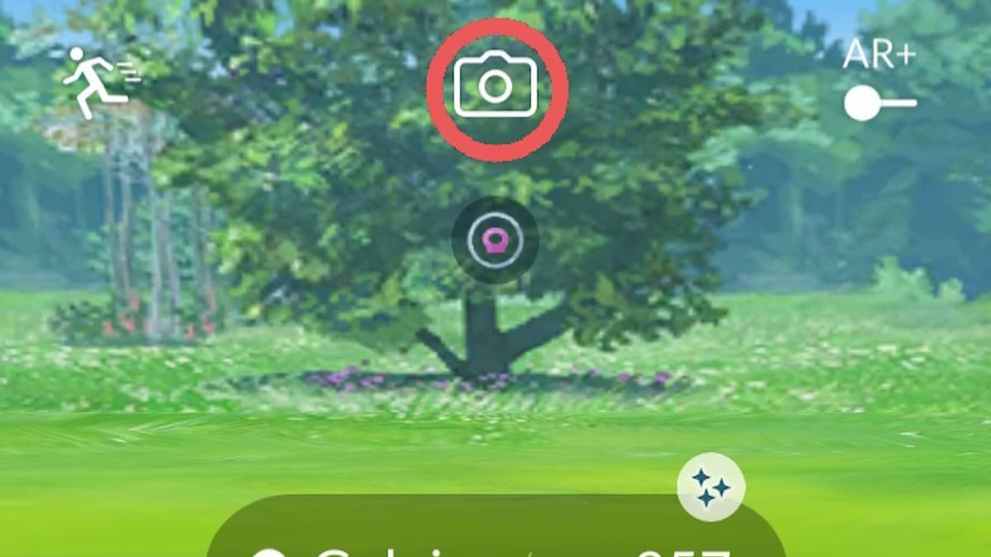
If you chance upon an awesome new Pokemon in the wild, you can immediately take a snapshot before catching them. Tap on the wild Pokemon on the map and follow these steps:
- Enable the AR mode by tapping its icon on the top right corner.
- Look for moving bushes once your camera opens.
- Click on the moving bushes to bring out the wild Pokemon.
- When ready, tap on the camera icon in the middle to take a snapshot.
You can also take pictures of wild Pokemon by using the camera function located above the wild Pokemon (see above).
Surprise Encounters with Pokemon in AR snapshots
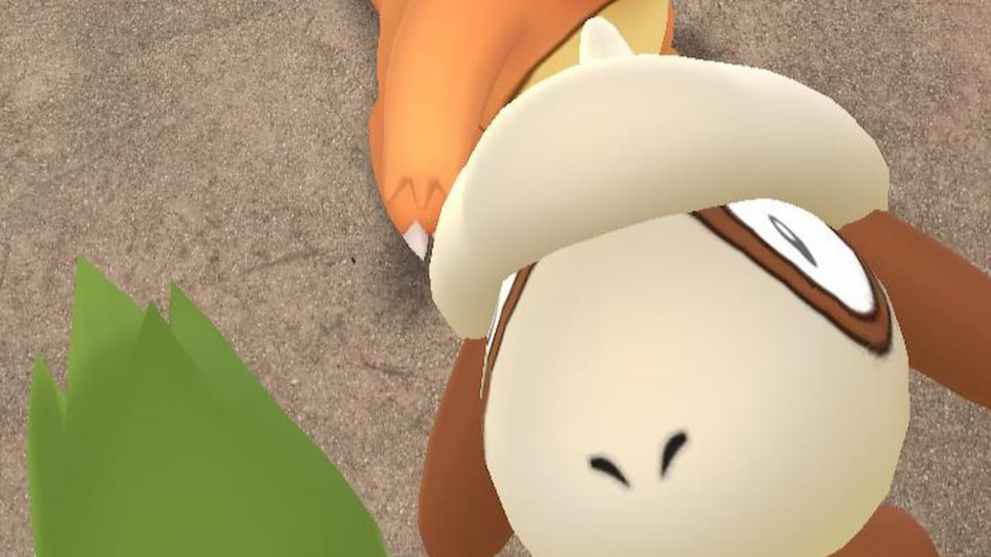
When using AR in taking snapshots, you may occasionally encounter another Pokemon who makes a surprise appearance in the photo. This saves two versions of the photo, one with only the Pokemon you intended to take a snapshot of, and the other with the surprise Pokemon as an adorable photobomber.

After you view the photos in the gallery, the Pokemon that appeared in your snapshot appears on the map. Tap on it to get the opportunity to catch it. For certain monsters like Smeargle, these surprise encounters are the only way to acquire them.
How to Take Snapshots with Friends on Pokemon GO
What’s even better is you can have a shared AR experience with up to two of your friends who also have Pokemon GO. To take advantage of this feature, AR+ needs to be turned on in your Settings menu.
How to Enter a Shared AR Experience on Pokemon GO
To enter a shared AR experience with your friends:
- Tap on your Buddy Pokemon’s icon on the lower left corner of the Map View, next to your trainer’s portrait.
- Tap the shared experience icon, to the right of the Play button.
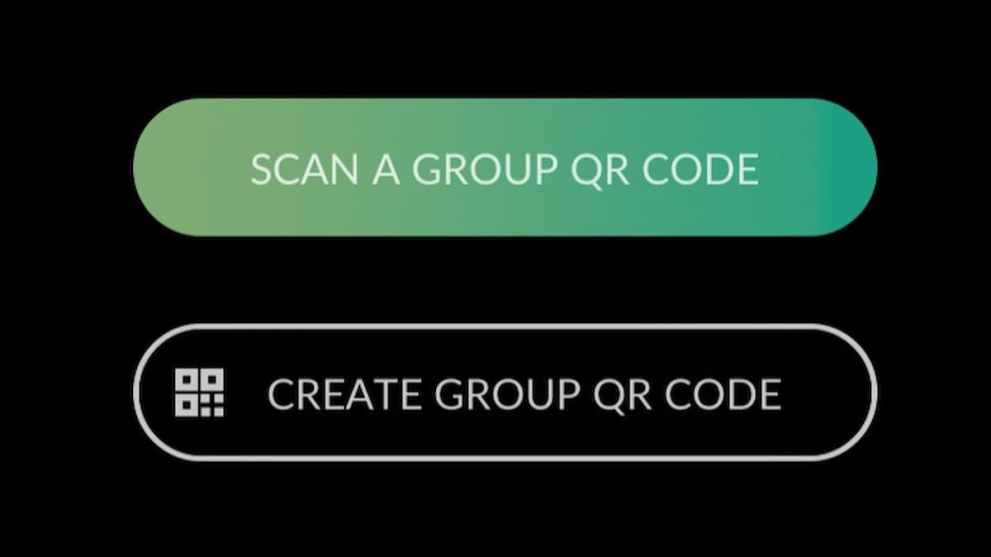
- You can create a group QR code to host and have other players scan it to join.
- You can also scan your friend’s created group QR code.
What Can You Do in a Shared AR Experience in Pokemon GO?
To begin the shared AR session, those in the group need to hold their devices upright and face it towards the same flat and open area nearby. Move together until you see a Pokemon shadow with yellow footprints, then tap on the shadow to place your Buddy Pokemon.
During the shared AR experience, you can feed your Buddy Pokemon snacks or play with them as normal, although you won’t be able to do the same with your friends’ buddies. Interacting with your buddy in a shared AR experience also awards you Affection hearts.
How to Take a Group Snapshot with Friends in Pokemon GO

Of course, the best part of every shared AR experience in Pokemon GO is the ability to take group snapshots with your friends and their Pokemon Buddies.
To do so, simply tap the Camera button at the bottom of the screen. When taking a group snapshot, your Trainer nickname will also be visible to your friends who are in the shared AR experience.
This feature is not available for child accounts with the Pokemon Trainer Club (PTC) login. For Niantic Kids accounts, parents or guardians can enable this feature by granting the permissions through the Niantic Kids Parent Portal.


Published: Apr 3, 2023 10:59 am