How to Get, Equip, and Remove Weapon Mods, and What They Do in The Division 2
There are a lot of stats to keep track of in The Division 2, including player level, Dark Zone power level, and the changes that mods make. So that you’re familiar with them, since they’re important in the game, here’s everything you need to know about how to get, equip, and remove weapon mods in The Division 2 and what they do.
What They Do
Weapon mods are important items that can change the stats of weapons in ways that suit you. Each one will have a positive and negative affect, ensuring that any balance isn’t lost, but the positive might be more useful to you than what is lost by equipping it.
Weapon mods in The Division 2 can change things like rate of fire, headshot damage, stability, and more, so be sure to check out each one and give them a try.
You don’t have to be selective when you use them, either, since you can use them on as many weapons as you like once you’ve unlocked them.
How to Get Weapon Mods
Early on in The Division 2, you will be able to get a few weapon mods from The Quartermaster. Under the Perks tab, you will be able to unlock Magazine mods for certain weapons and muzzles for 5.56 and 7.62 calibre guns, as well some scopes and grips. They’re pretty simple and are unlocked using SHD tech that you get as you play.
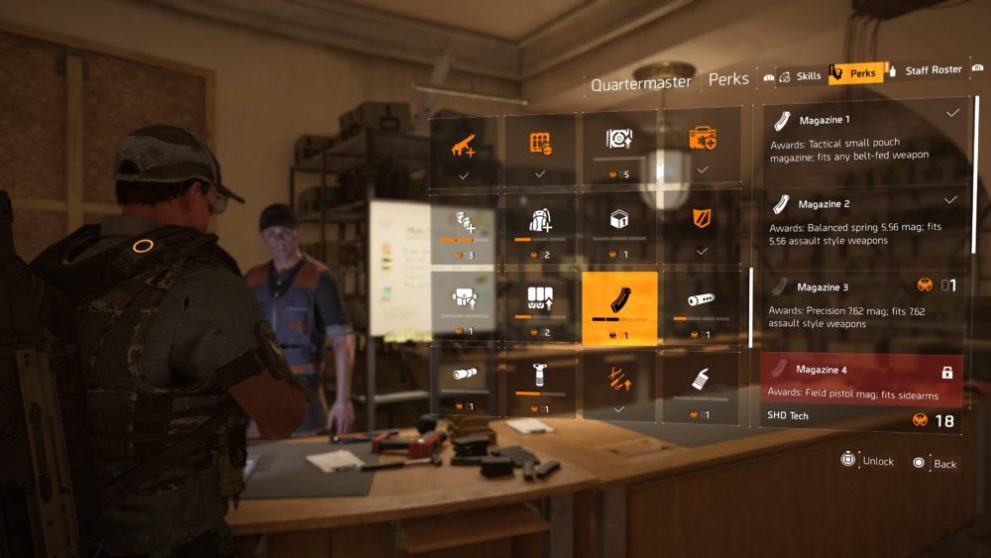
As you progress through The Division 2’s story, you will be start to get weapon mods or blueprints for them as rewards or loot. This won’t start happening until around the level 10 mark, so keep an eye out for them.
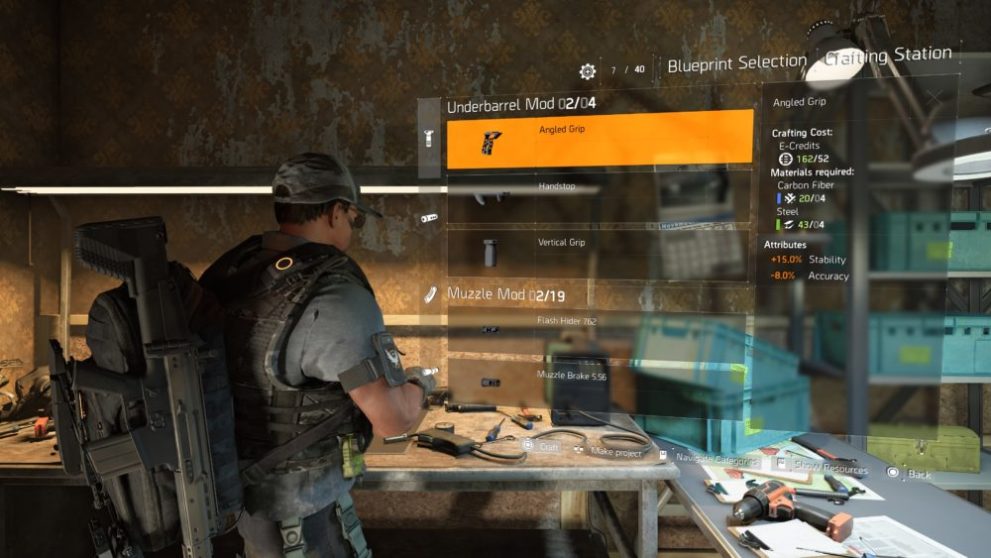
Finally, you are also able to unlock weapon mods by crafting them using blueprints that you get as you play. In the Base of Operations, you will find the crafting station, and there is a Mods/Misc section with a total of 77 items to unlock.
To craft weapon mods in The Division 2, you will need E-Credits (52 for most of them) and materials such as Steel or Carbon Fiber.
Once you have all the materials needed, which is shown by the numbers being green in the bar on the right hand side of the screen, you will be able to craft them by holding Square/X. They will then be added to you inventory to be equipped.
How to Equip & Remove Them in The Division 2
To equip weapon mods in The Division 2, you need to enter you inventory, which is done by pressing the touch pad if you’re on PS4 or the View button on Xbox One. Then, select either weapon slot.
When you’re presented with your list of weapons, select whichever one you want to mod by pressing Square/X. The number of weapon mods that the gun can have equipped is shown by the shapes on the bottom left of it’s icon, just below the image of the weapon itself.
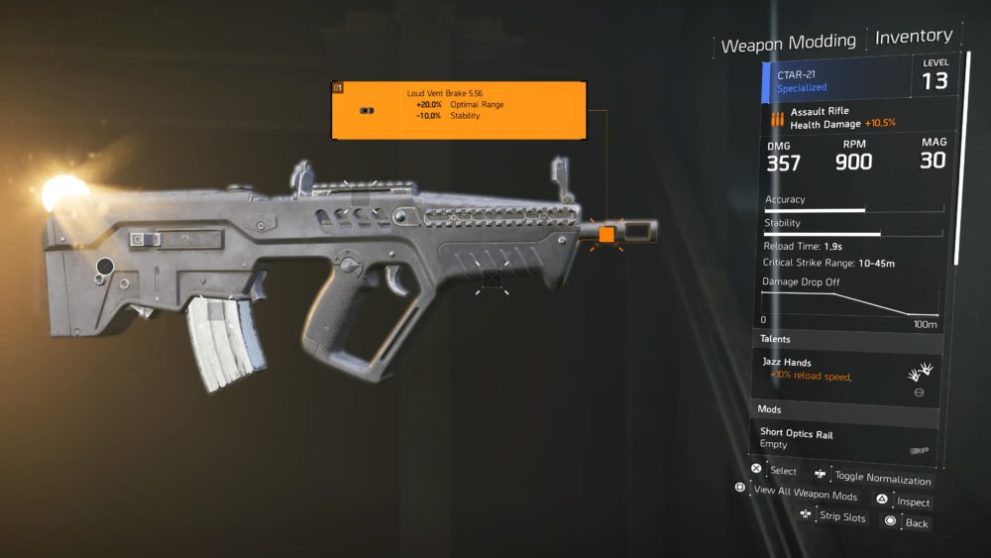
Then, to equip it, select the slot you want on the weapon by switching between them with the left thumbstick and pressing X/A. There will be a faint X in the box for the mod if you do not have one that can be equipped.
If you do have one available in The Division 2, you can press X/A on the slot and you will see all the weapon mods available to you. Select the one you want to equip by pressing X/A again, and remove it by doing the same action. Once it is equipped, the box for the slot on the weapon will fill orange.
That’s everything you need to know about how to get, equip, and remove weapon mods in The Division 2 and what they do. For more tips and tricks on the game, be sure to check out our Division 2 wiki guide.






Updated: Apr 12, 2019 12:47 pm