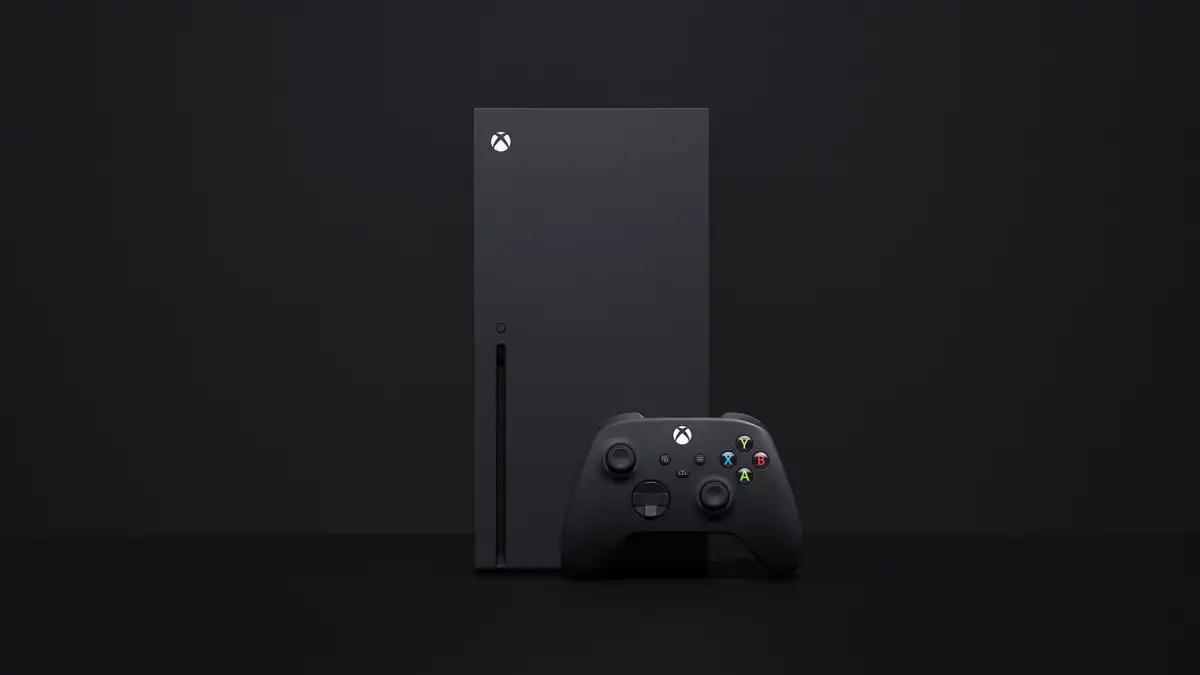
The Xbox Series X and Xbox Series S are Microsoft’s duo of next-gen consoles, offering 4K gaming, 120FPS and super speedy loading times thanks to the SSD tucked away inside their sleek exterior shells. In this guide, we’re going to talk you through how to update your Xbox Series X or Xbox Series S, so you’re always ready to play your games right away.
How to Update Xbox Series X & Xbox Series S
The good news is that updating your console is largely down for you. Whenever a new update is available for your console, you’ll be asked if you want to download it before starting any game.
When this happens, simply select the option to begin downloading and installing the update. The entire process may take a few minutes, but the on-screen instructions will take you through what you need to do and keep you up-to-date on the update’s progress.
How to Turn on Auto Updates
If you’d rather have your system automatically update, you can do so by heading to the following option within the system’s settings:
- Go to Settings
- Select ‘Systems’
- Choose ‘Updates’
- Check the box to ‘Keep Your Console up to Date’
As long as your console is on and connected to the internet, your Xbox Series X/ S will download and apply updates even when you’re not using the system. This is arguably the best way to update your Xbox Series X, as it means you’ll never have to worry about it yourself.
Keep in mind that these system updates are separate to game updates that, Call of Duty or FIFA for example may require you to do before you dive into the game.
That’s everything you need to know on updating the Xbox Series X. For more tips, tricks, and guides on both of Microsoft’s shiny new systems, be sure to search for Twinfinite or check out more of our coverage below.


Published: Nov 5, 2020 09:03 am