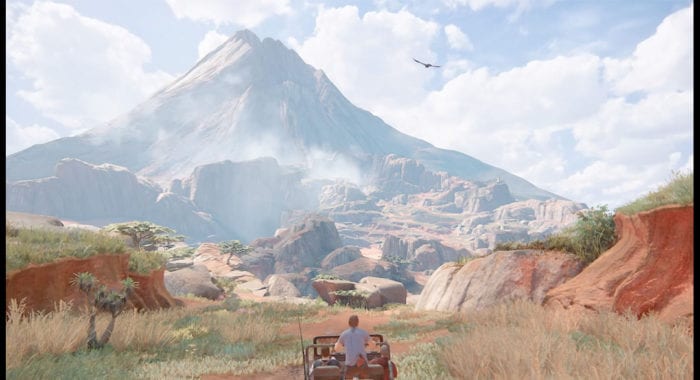
Uncharted 4: A Thief’s End has no shortage of collectibles and side objectives. Between Treasures, Journal Entries, and Optional Dialogue, there is plenty to keep an eye out for. Uncharted 4’s tenth chapter, The Twelve Towers, throws a new collectible into the mix: Cairns.
Cairns are piles of rocks which you have to knock over with your Jeep or shoot down with your gun. There are 16 in total for players to search for in the relatively open level of Madagascar. It is entirely possible for you to miss one and have to restart the level to backtrack. Nate, Sully, and Sam will have to move the Jeep to new heights every so often, blocking the opportunity to go back, so make sure to keep that in mind and follow the order we provide for you.
- The first Cairn is right in front of you when you first start the chapter. Simply plow into it and your hunt has begun.
- Continue on and you’ll locate another in the wide open area. Keep the waterfall to your left and look ahead.
- After obtaining the second Cairn continue towards the mud at the end and you’ll find another pile right before you actually enter the mud.
- Drive through the mud and before you reach the wooden bridge you’ll see one to your left.
- Drive over the bridge and find another Cairn to your left once again.
- Continue on as normal, following the path to progress the level. Eventually you’ll have to drive up a muddy hill that will take you to a new area with a river. Locate the large rock nearby and drive up it to find your sixth Cairn.
- There is another large rock further right than the one you drove up for the last Cairn. Drive up the short stream nearby to make your way onto it and knock down the Cairn.
- Now continue on and drive down a muddy hill where you’ll notice some ruins up ahead. Before reaching the ruins you’ll find a Cairn to your left.
- Drop down into this small, round area. At the end of it is another pile of rocks waiting to be toppled.
- Continue on with the chapter and destroy the wooden bridge. The area immediately afterwards will house a Cairn for you.
- At one point, you’ll be headed towards a tower. At the start of this segment you’ll see a caravan driving away. Enter the large area as you make your way and on your path you’ll see another Cairn. It will be near a small tree right before the large group of bigger trees.
- If you look straight ahead and up a bit you can see ruins atop a hill. Drive towards it and take the winding path up to reach it. On your way to those ruins you just saw from a distance you’ll find another directly on your path.
- After getting the last one, continue towards the ruins you saw previously. Just be careful driving on the rock ledge. After reaching the top you’ll be right next to the ruins of an old building. To the side of the building is your Cairn.
- Drive back down from where you are and start heading back towards the tower you were looking for. on a small hill, hidden in high grass is this Cairn.
- On a small hill right nearby the first tower. Very difficult to miss.
- After reaching the second tower, continue on and the game will lead you to drive around a mountain ledge. The last Cairn is directly on this path, making it almost impossible to miss.
Once you hit the very last Cairn, your Uncharted 4: A Thief’s End Trophy should pop. Congratulations. If you need any more help with Uncharted 4, check out our expanding wiki!


Published: May 11, 2016 02:21 pm