Minecraft offers a wide range of character skins, but if you’re not feeling satisfied with any of them, you can explore countless skins developed by the Minecraft community on The Skindex. However, if you want to use your own Minecraft skin, Mojang Studios has given us a reliable option to do that within the game. But the ultimate question is how one can create a Minecraft skin right from scratch. With that in mind, we will provide you with step-by-step instructions on how to make your own Minecraft skin.
How to make Minecraft skins
Creating your own Minecraft skin is relatively easy on a desktop/laptop. There are many Minecraft skin-maker tools available on the internet, and Skindex is one of them.
So without any further delay, here are the steps to create your own Minecraft skin:
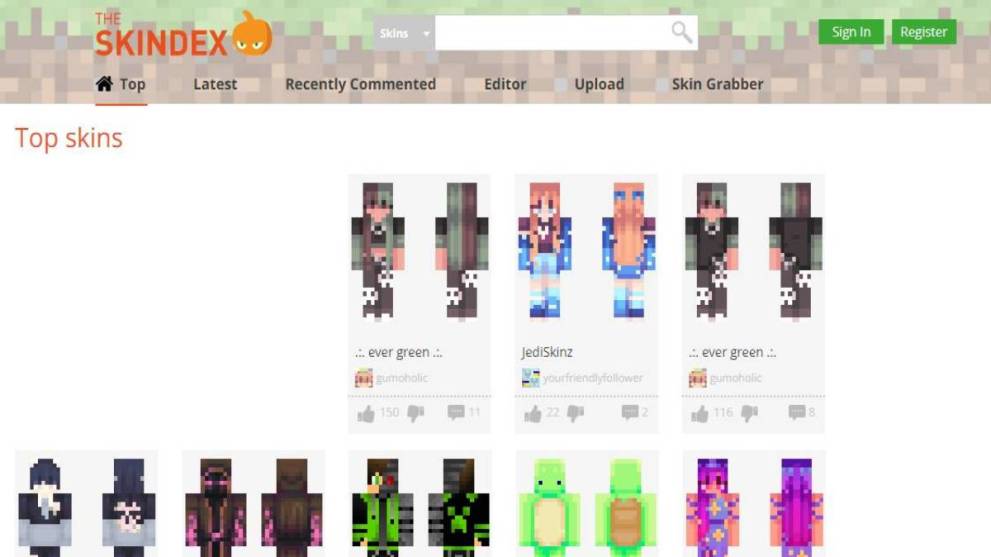
- Open the Skindex website on any internet browser.
Skindex is one of the most popular online Minecraft tools made specifically for creating and editing skins. Players can visit the official website to explore the most extensive collection of community-generated Minecraft skins.
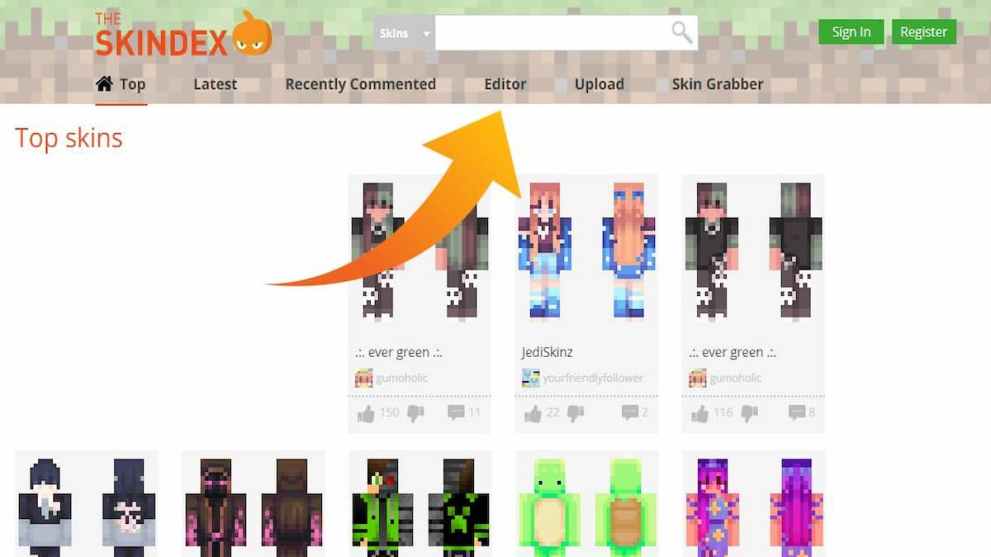
- Navigate to the “Editor” section.
Users can find the Editor tool on the top of the website, right next to the “Recently Commented” option.
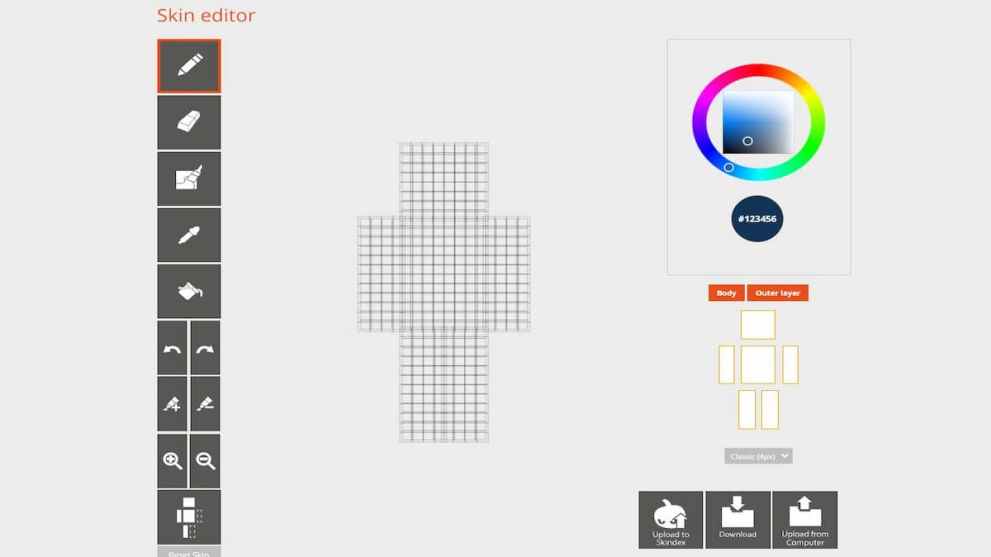
- Design your own Minecraft skin.
Once you’re into the Minecraft skin editor, you’ll see a blank space with a ton of empty boxes. You can fill these empty boxes using different tools like the pencil, paint bucket, eraser, and more to showcase your creativity.
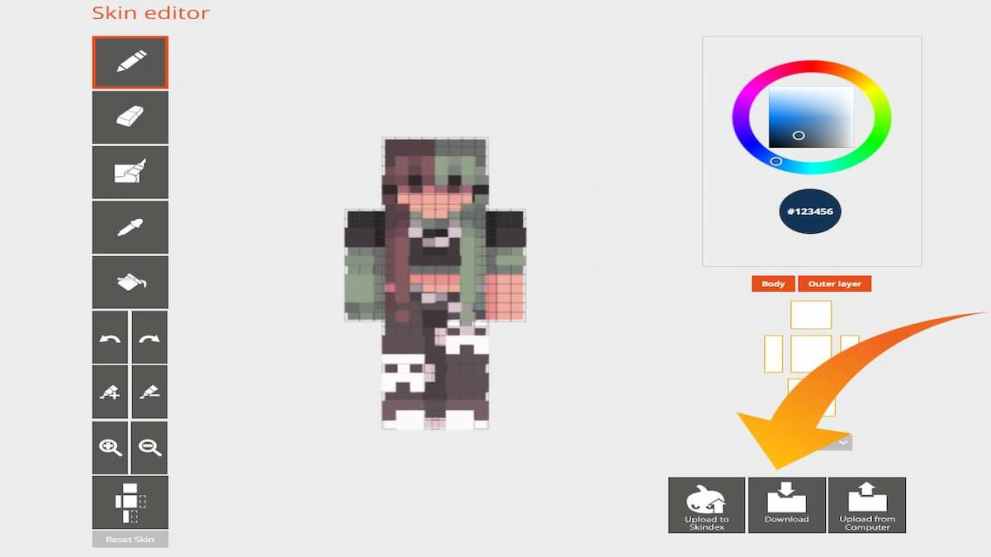
- Download your custom skin.
Once you’ve created your skin, you’ll need to download it into your system using the “Download” button. However, make sure that the file name has a .png extension.
- Upload the skin to Minecraft.
Launch the game and select Skins from the main menu to upload your skin to Minecraft. Next, select the “Browse Skin” option and navigate to the “Downloads” folder or to the folder where you saved the .png file and select the new skin.
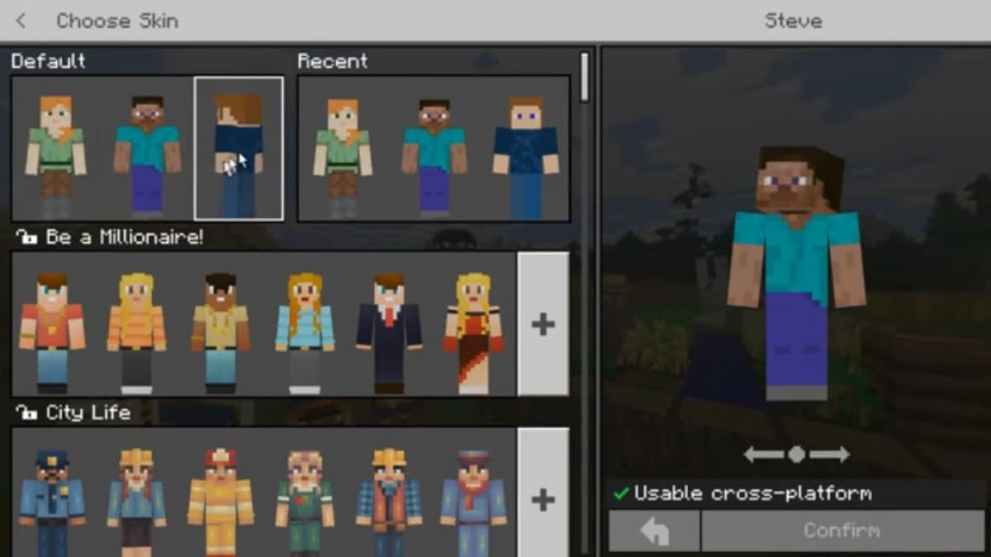
The next time you load your game or create a new one, your character will wear the new skin you created.
Apart from the above-listed method, you can also use other popular software such as Adobe Photoshop, Blockbench, QB9, etc. to create Minecraft skins. However, these options are done on an advanced level and require extraordinary editing skills.
So, there you have it. That’s everything you need to know about crafting Minecraft skins. For more tips and guides, be sure to search for Twinfinite.









Updated: Apr 25, 2022 11:09 am