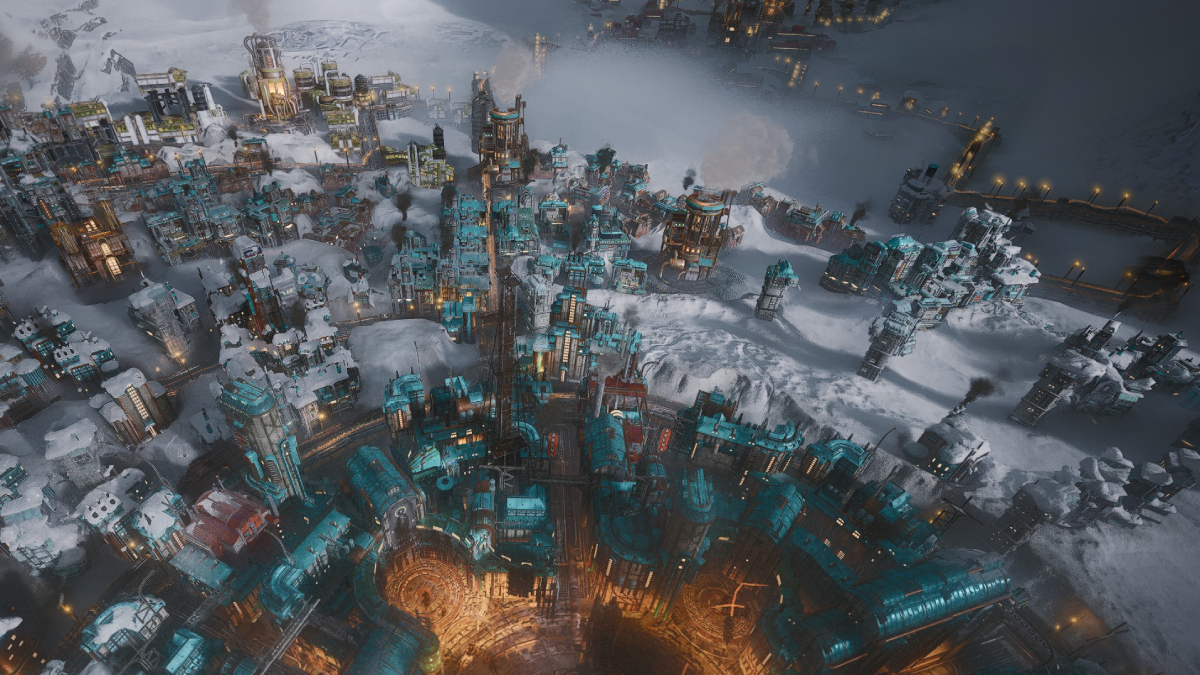
Wondering how to build Frostpunk 2 districts? 11 Bit Studio’s long awaited sequel has overhauled a number of game mechanics from the original city-building survival game, and construction is no exception.
In this guide, we’re going to cover how to build districts in Frostpunk 2, what they are, and how you can optimise them to get the most out of your limited resources. There’s a lot to catch up on in this game. Whether you’re after a Frostpunk 2 preview breaking down the beta, or just want to optimise your game with the best Frostpunk 2 graphics settings, we can help you out.
How Do You Build a District in Frostpunk 2?
To build a district, you’ll want to take the following steps in order.
- Ensure the ground you want to build on is prepared by Frostbreaking it.
- Make sure you’ve got the necessary resources for the district you want.
- Navigate to the bottom left of the UI, and click on the icon with three buildings titled ‘Districts and Hubs’. You can also use the shortcut key to open this menu – the “B” key on PC.
- Select the district you want to build, then select the tile you want to build on.
- Each district begins at six tiles in size, so you’ll need to select a total of six tiles.
Once that’s done, you’ll just need to wait for your citizens to construct the district. Keep in mind that every district has three requirements. You’ll need enough workers to build it, enough Heat Stamps – the default currency of the game – and you’ll want to make sure you’re producing enough Heat to supply the district with once it’s operational.
You can expand your available workforce by building Housing Districts. Heat Stamps are dependent on your population size and a steady flow of consumer goods, so we’d recommend building some Industrial Districts too.

How to Frostbreak Ground in Frostpunk 2
If you need more space for a district, you’ll first need to clear some ground of ice and snow to create a safe foundation. Doing this is pretty simple. First, select the saw blade icon in the bottom left of the UI, or use the “X” shortcut key.
This will highlight new tiles you can clear that are adjacent to already cleared ground in orange. Click on a tile you want to Frostbreak, then select another seven adjacent tiles. Once that’s done, workers in The City will start clearing ground automatically.
It’s vital to Frostbreak ground when you can. After all, certain districts need to be built on certain resources. For example, Logistic Districts are key to exploring the Frostpunk 2 Frostland, and are needed to build trails in Frostpunk 2 that connect back to your city. They can only be built on top of Old Waystations though, and you’ll need to Frostbreak your way to these stations at the perimeter of your city.

How to Optimise Your Districts in Frostpunk 2
There’s another caveat to building Frostpunk 2 districts: the districts adjacent. This is something you’ll want to keep in mind as you expand and plan your city, but different nearby districts can have particular interactions. Some of these are positive; Housing Districts built together, for example, benefit from excess Heat, lowering their overall requirements. But others can have downsides. An Extraction District next to a Food District for example will increase Squalor and Disease, as toxic fumes from the former poison the latter.
We’d recommend that wherever possible, you aim to group Extraction and Industrial Districts together, and group Food and Housing districts together. This will generally offer the most benefits and the fewest downsides.

How to Expand Districts in Frostpunk 2
Although it’s a different system to the building-by-building approach of its predecessor, specialised buildings haven’t yet gone the way of Frostpunk Tesla City in this iteration. You can still place a variety of buildings within the relevant districts, but to do this, you may find that you first need to expand a given district.
This is a fairly straightforward process. Click on the district you want to expand and it’ll open that district’s menu. On the bottom, you’ve got three options, and the right most of these is a symbol of four arrows diverging out from a starting point. This is your Expand District button. Simply click it, and as long as you have the resources, you’ll be able to choose three new tiles to build that district in to. Keep in mind though that this does mean fully surrounded districts can’t be expanded without demolishing another part of the city.
That’s everything you should need to know about how to build Frostpunk 2 districts, how to optimise them, and how to expand them. With all the changes this iteration brings though, it can be hard to keep on top of every mechanic and strategy you’ll need to know to survive in Frostland. So why not check out some more of our Frostpunk 2 guides while your here?


Updated: Apr 16, 2024 11:02 am