While they may continue to be a source of ongoing fan dispute with the game’s recent shift in content, Final Fantasy XIV’s Variant Dungeons have still become one of the most popular activities to date.
They’re flexible with party size, allowing players to even run them solo if they wish, and provide an abundance of puzzles and valuable loot from minions, to glam, to mounts.
Mount Rokkon was the second Variant Dungeon added to the game in Patch 6.45, and the mysterious, Kugane-themed temple brings with it plenty of new surprises for players, along with a special new mount as usual for those who complete every route and record. If you’re wondering how to go about unlocking all of them, here is our handy guide for FFXIV Aloalo Island – All Variant Dungeon paths.
All Routes in Mount Rokkon Variant Dungeon
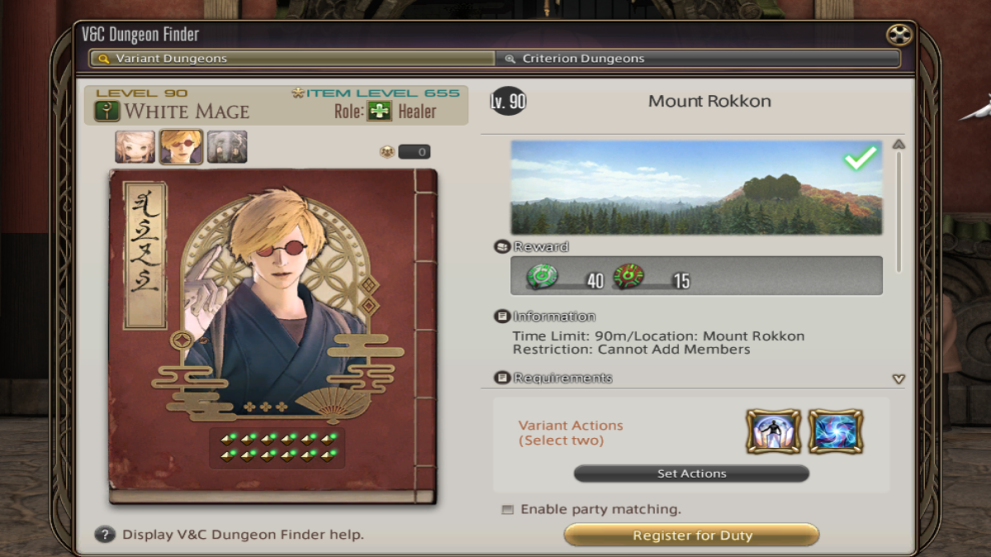
Below we’ve listed and described how to complete all 12 routes for Mount Rokkon’s Variant Dungeon in Final Fantasy XIV. Just as with other Variant Dungeons, accurate completion of a route rewards you with a new, uniquely named record, which you can keep track of at any time in your V&C Dungeon Finder menu.
If you haven’t unlocked Mount Rokkon yet, make sure you have the “Endwalker” Main Scenario Quest completed. You do not need to have completed the previously released Variant Dungeon (The Sil’dihn Subterrane) to access Mount Rokkon.
Then you can speak to Osmon in Old Sharlayan (X:12.0, Y:13.3) and then to the Roegadyn NPC The Shallow Moor nearby to pick up the “Mononoke Aware” quest. Fulfilling its objectives will bring you to the Bokario Inn in Kugane, where you’ll reunite with that peculiar fellow named Hancock. You need a Level 90 combat job with a minimum ilvl of 605 to queue for the dungeon.
We’ve indicated each route by the record you receive at the end of the duty.
Record #1 – Gift of the Onmyoji
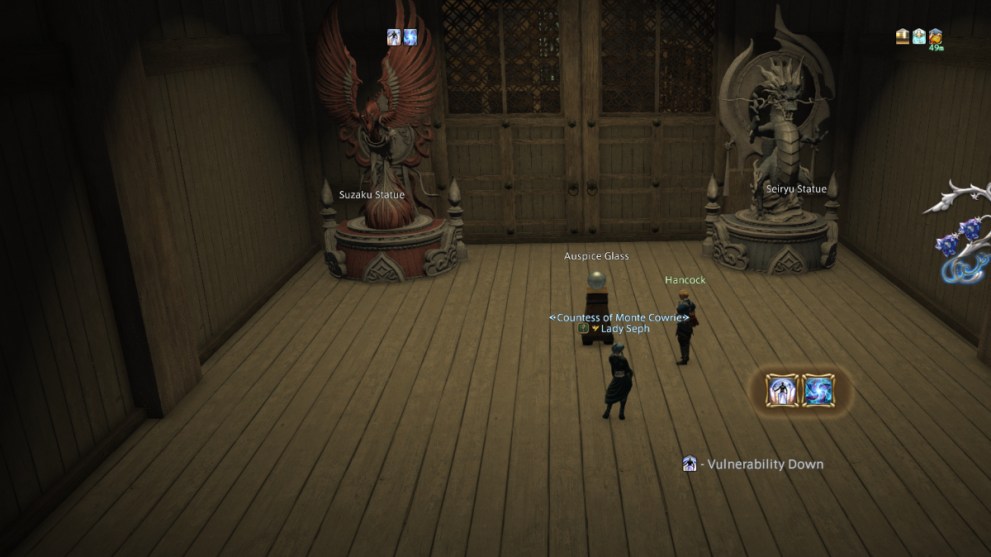
For the first record you’ll be starting off on the Left Path of the dungeon. Fight your way through the mobs and the first mini-boss, until you reach a hallway with two tall stone statues on either side of a locked door, and a crystal ball (“auspice glass”) on a pedestal in the center. Here, you want to ignore the statues and instead interact with the crystal ball. The door will open afterward, allowing you and Hancock to progress.
Defeat the mobs in the next area, making your way up each set of stairs until you see Hancock go to inspect a case with a katana in it sitting on a table near the last flight of stairs. After he walks away from it, close the case. Then proceed to the final boss to finish the dungeon.
Record #2 – The Crimson Sword
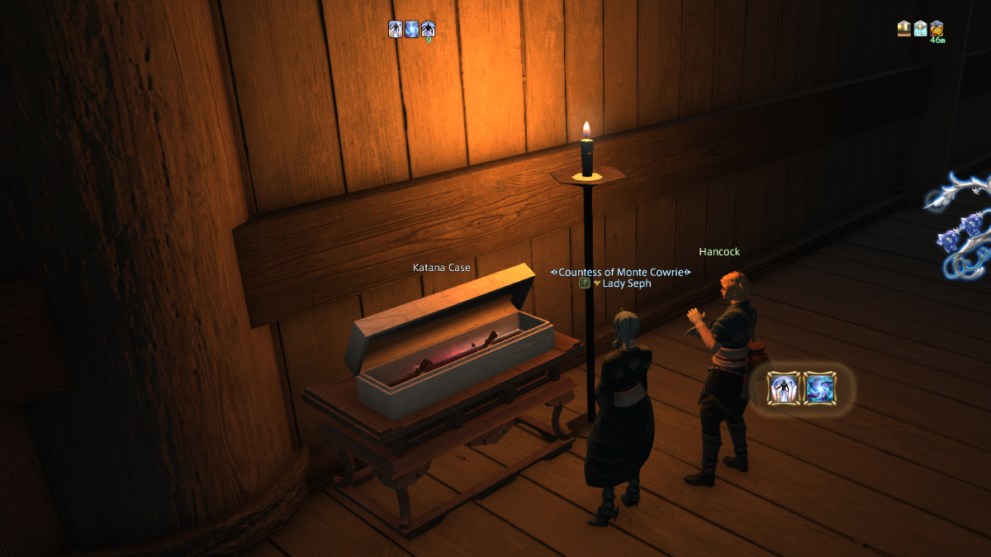
Take the Left Path again, and you’ll follow the same exact same instructions as Record 1, up to when Hancock inspects the katana case. This time, leave the case open instead and move along to the final boss as normal.
Record #3 – A Tale of Dead Men
Once again choose the Left Path. Upon reaching the locked door with two statues and the crystal ball, this time you’ll want to interact with the statues. The statue on the left side is of Suzaku, while the one on the right is of Seiryu. Rotate the Suzaku statue (90 degrees each turn) until it faces towards the door. Then rotate the Seiryu statue until it faces left, towards Suzaku.
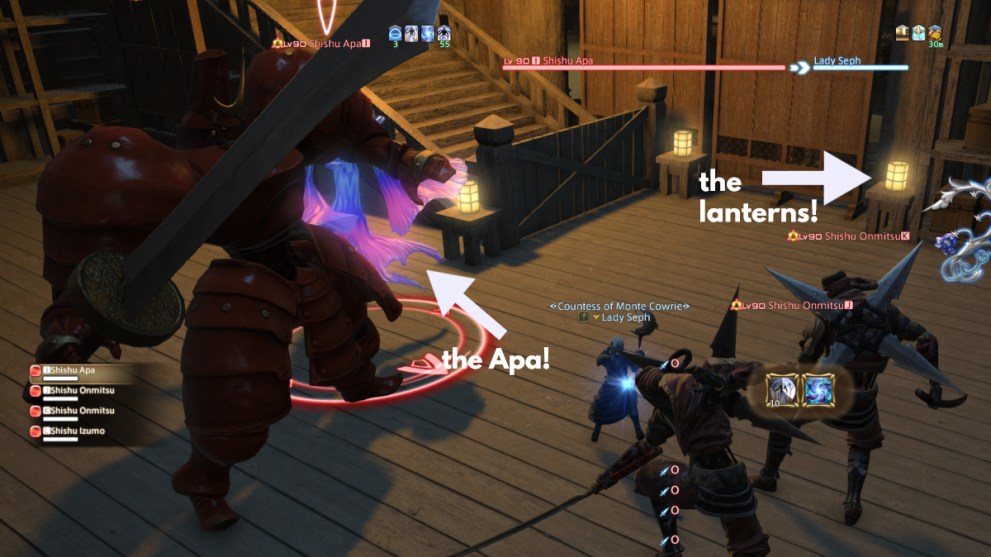
Then go interact with the crystal ball, and this time a hidden door will open in the wall to your left, revealing a new passage. Go through it and defeat the mobs ahead, making your way along the side of the building roof, then back inside into a new room. Here you’ll find a group of four enemies, including a floaty blue creature called a Shishu Apa. It will cast Water III to extinguish the lanterns around the room, and you want to let this happen. So make sure you don’t kill it until all lanterns are out.
Once that’s done, continue on to the final boss.
Record #4 – Forging a Legacy
Take the Left Path for the last time, and you’ll be following the same instructions as Record 3. Rotate the Suzaku and Seiryu statues in the same manner, then head through the hidden passage, killing all mobs. This time, when you reach the group with the Shishu Apa monster, do NOT let it cast Water III on any of the lanterns. If you’re a tank, the cast can be Interrupted. Focus it down first, then kill the rest of the group and move on to the end of the dungeon.
Record #5 – The Luthier and the Songstress
This time we’re taking the Middle Path, and take care of all the mobs in normal fashion up to the first mini-boss. There will be a rope you can interact with and pull before the boss, however it does not affect anything of importance in the dungeon. It slightly changes the mechanics of the upcoming fight, and will open either the left or right side doorway after defeating the boss. Both lead to the exact same destination, so again, it doesn’t matter if you pull it or not.
Afterward, you’ll come across a large eastern-style painting with a tiger on it. The creature will burst from the painting and attack you. Defeat it and move on to the next room that opens. Take the doorway at the far end to the right after picking up your Personal Spoils.
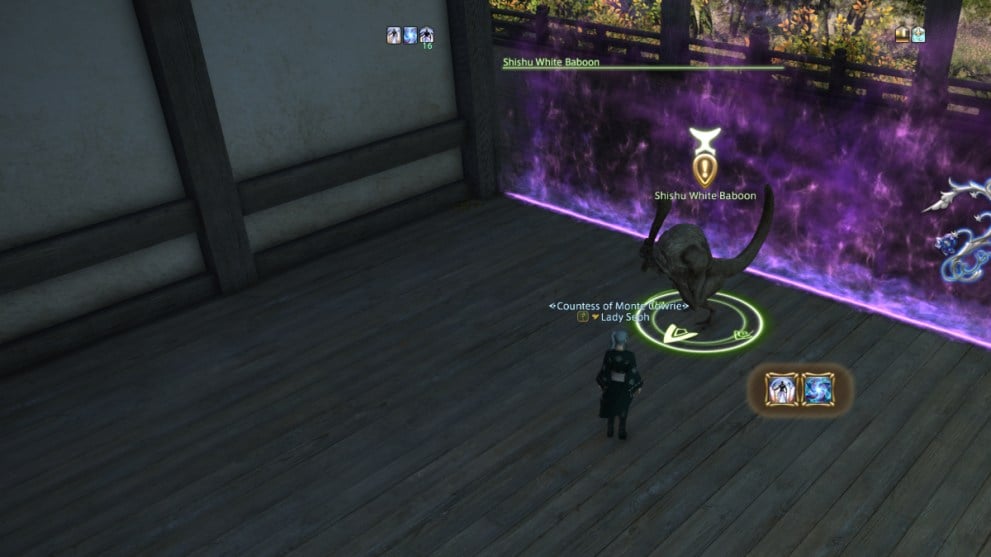
Soon you’ll encounter a Shishu White Baboon NPC being attacked by monsters. Take care of the mob, then interact with the Baboon. Choose to spare it (“Very well – we have a deal”) when given the dialogue option and continue on to the final boss.
Record #6 – Lost to Avarice
Choose the Middle Path again, and follow the same instructions as Record 5, up to when you again encounter the frightened Baboon. When given dialogue options, choose “Give me a moment to think”, which will cause the baboon to attack you. Defeat it and move on to the final boss.
Record #7 – Beyond the Lanterns’ Light
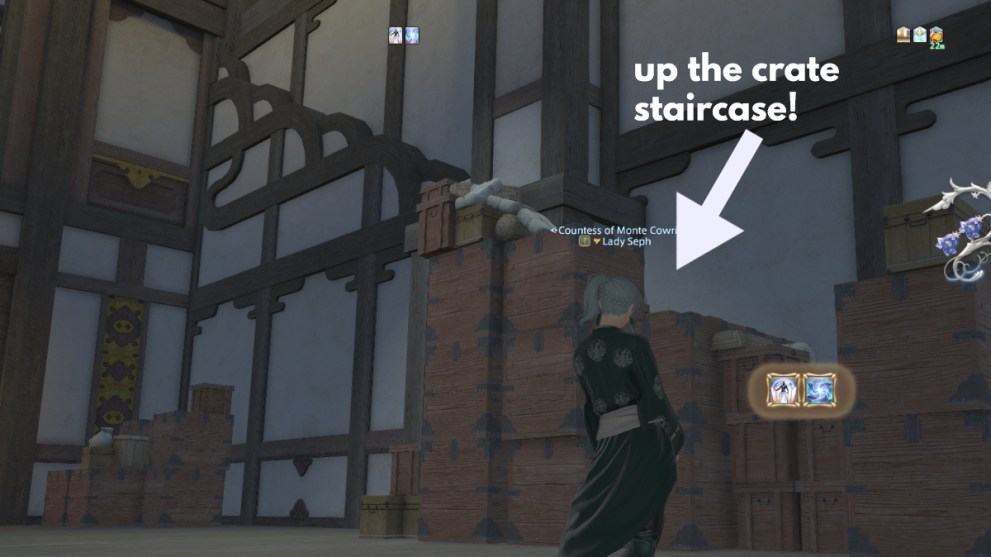
Up the Middle Path once again, and deal with all mobs, the first mini-boss, and the Tiger Painting as before. Upon entering the room after the painting, instead of going right, look to your left to see a tower of crates that resemble a staircase. Climb up it and along the curved, narrow wooden beams until you reach a room up top. Right in front of you will be a big red rope. Pull it, and it’ll open a new door for Hancock to join you.
Continue on to engage in a fight with a group of red lanterns (miniature versions of the mount). Defeat them and proceed on normally.
Record #8 – The Common Man’s Courage
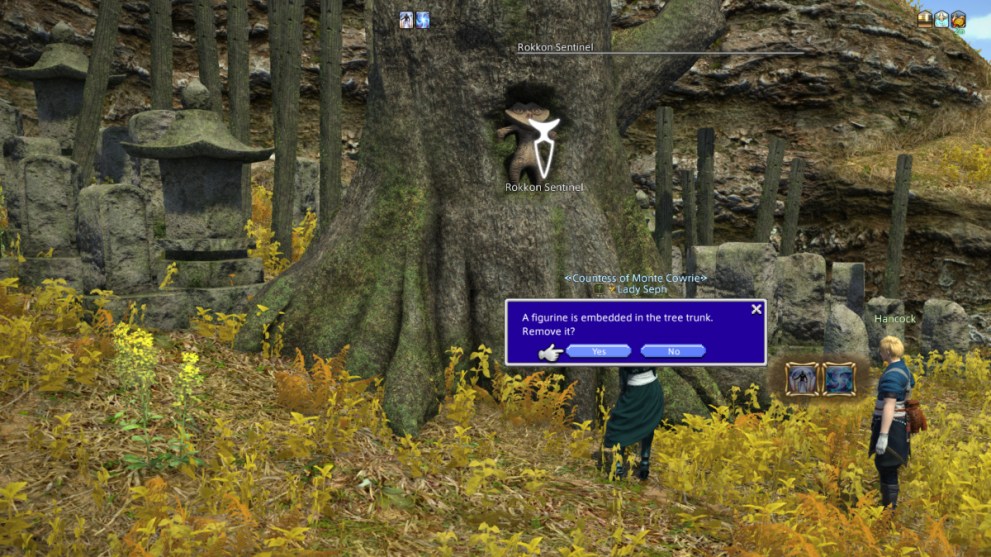
This time you’ll take the Right Path, and take care of the mobs you encounter along the way. At one point Hancock will point out a small Dogu Statue nestled inside a Rokkon Sentinel tree to your left, just before you turn up a hill. Ignore the statue completely for this record.
After you defeat the first mini-boss, look for a set of 4 large, moss-covered stones along your path while fighting more mobs. You need to clean off the moss from all of them, as this ensures the record will unlock. After that, simply make your way to the end of the dungeon.
Record #9 – Sound of the Stone
This is one of the most straightforward routes of the bunch. Head down the Right Path, clearing out all mobs in your way. Again ignore the Dogu Statue in the tree, and this time also ignore the moss-covered stones. Leave them as they are, and press on to the final boss.
Record #10 – The Seal of Silence
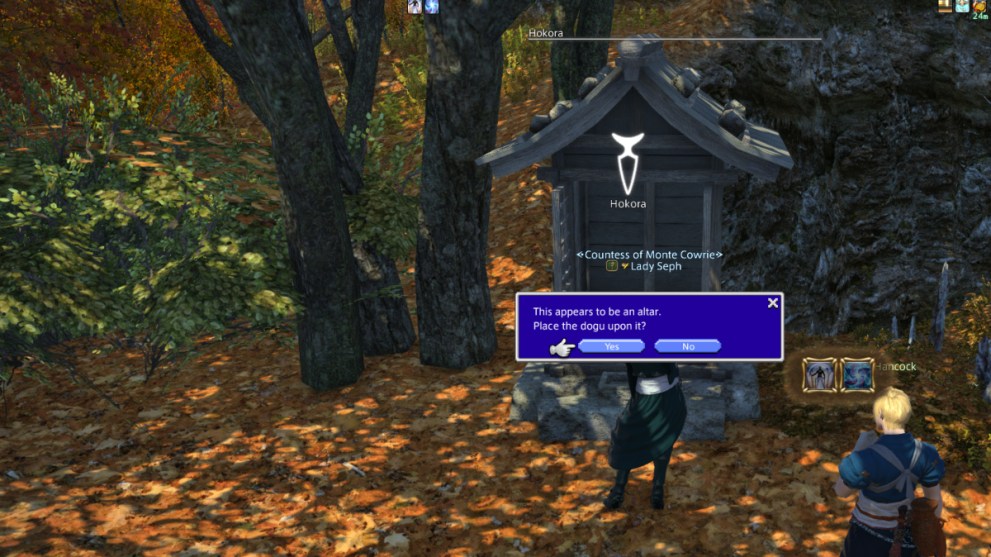
Choose the Right Path again, and this time you need to grab the Dogu Statue from the tree. Take care of the first mini-boss, and then look for a small wooden shrine up a hill, next to a small fence and a tree line. Walk up to it, and perform the ‘/easternbow’ emote in front of it, which will make the shrine open. Place the Dogu Statue inside.
Later on, you’ll arrive at a proverbial fork in the road, where you must choose between a Boulder and an Ancient Tree. Choose the Boulder, which will open a path to the final boss.
Record #11 – Seasons of the Fleeting
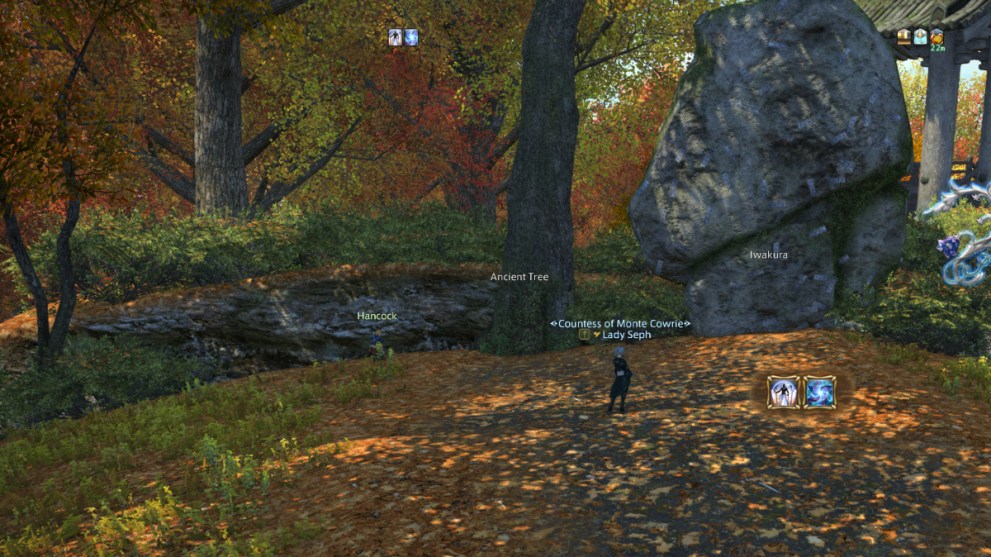
This is your last trip up the Right Path, and follow the same exact instructions as Record 10, up to when you have to choose between the Boulder and the Ancient Tree. This time, choose the Ancient Tree, and take the path that opens for you to the final boss.
Record #12 – The Ogiseru’s Fate
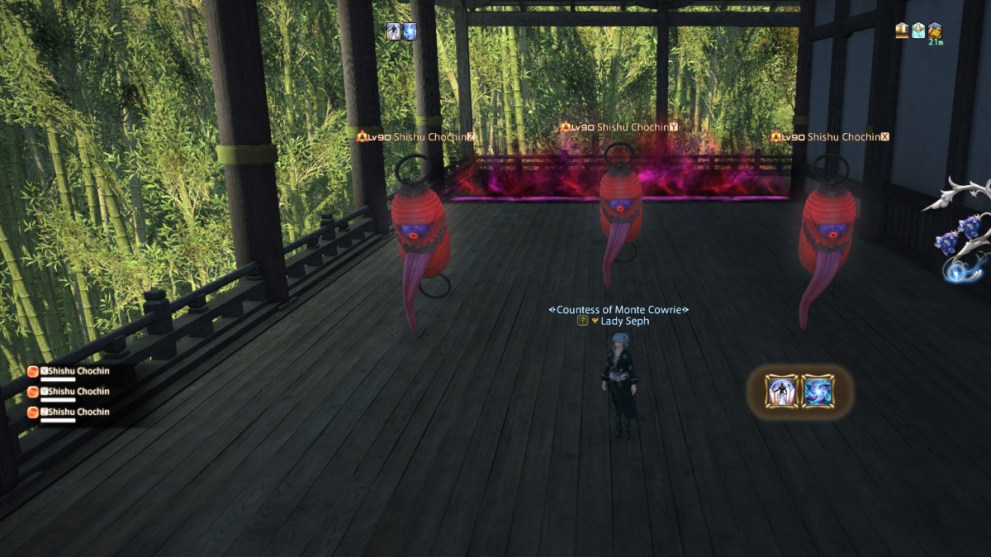
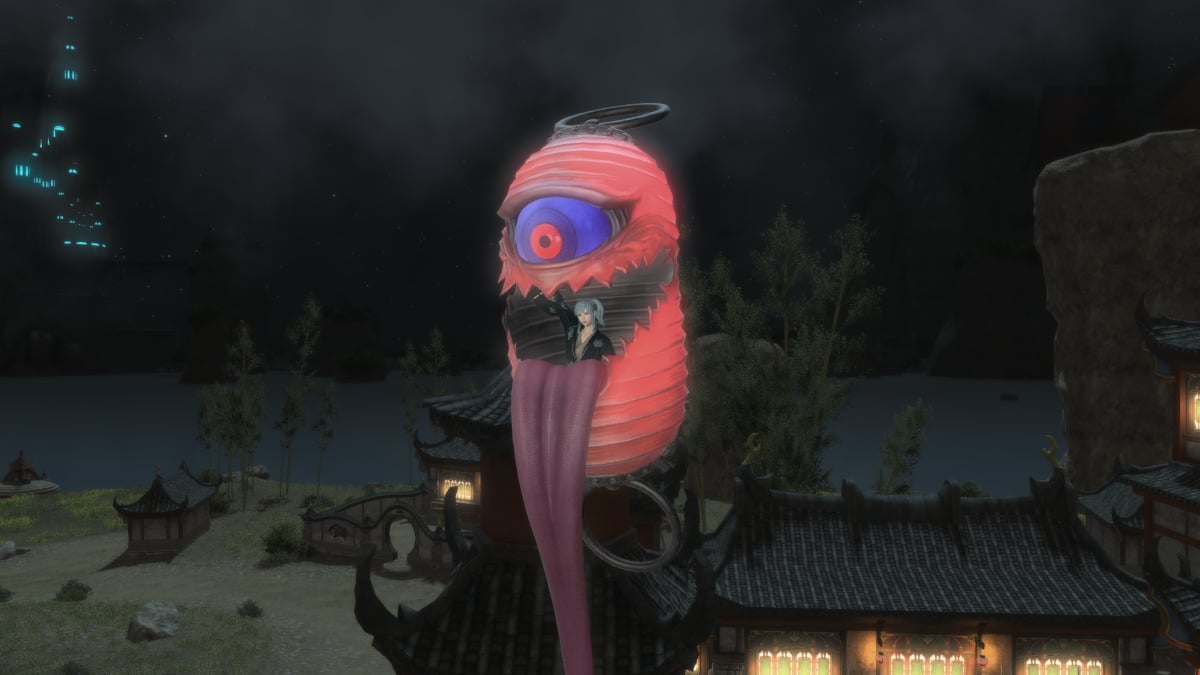
This is the final, secret route that not only brings you to a very scenic area, and a secret (and very cool) final boss, but rewards you with the Burabura Chochin lantern mount (provided that you’ve completed the previous 11 records).
This time you’ll be going back up the Middle Path, and after the first mini-boss and the tiger painting you’ll need to climb back up that staircase of crates again. After pulling the rope that allows Hancock to join you upstairs, run over to spawn the mob of Shishu Chochin lantern enemies that you fought once before. This time, however, you’ll want to pull them down the secret passage that Hancock ran up, back to the room where the tiger painting was.
You’ll notice that there are multiple lanterns on pedestals around the room, and your goal here is to light up the ones with gold banner decorations above them.
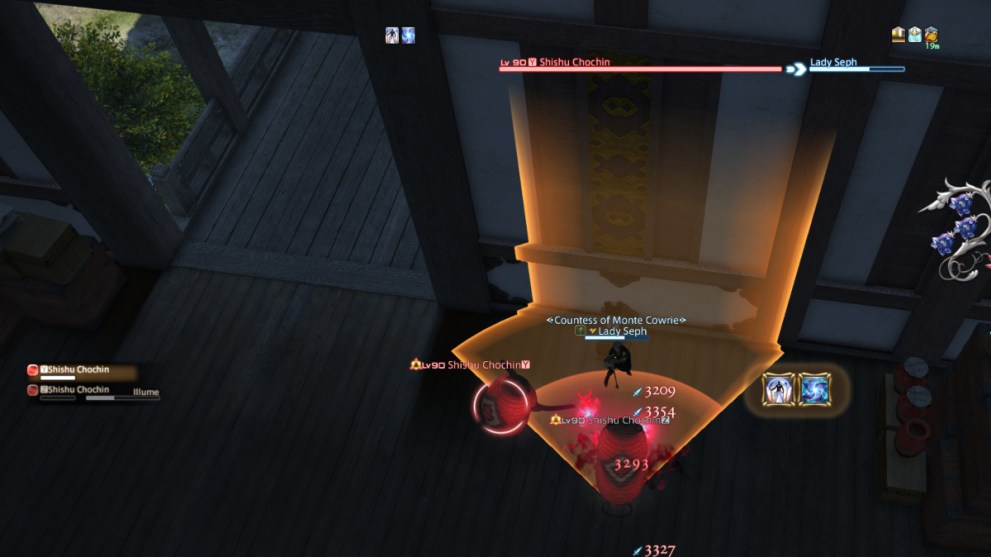
To do that, pull your mob of Chochin enemies (avoid using any DoT or AoE attacks whatsoever here) to each one. Focus target just ONE of your Chochins at a time, as you need one for each of the lanterns you need to light up. Right before they die, the Chochin will do a final, cone-shaped attack that will cause the lantern to glow bright red.
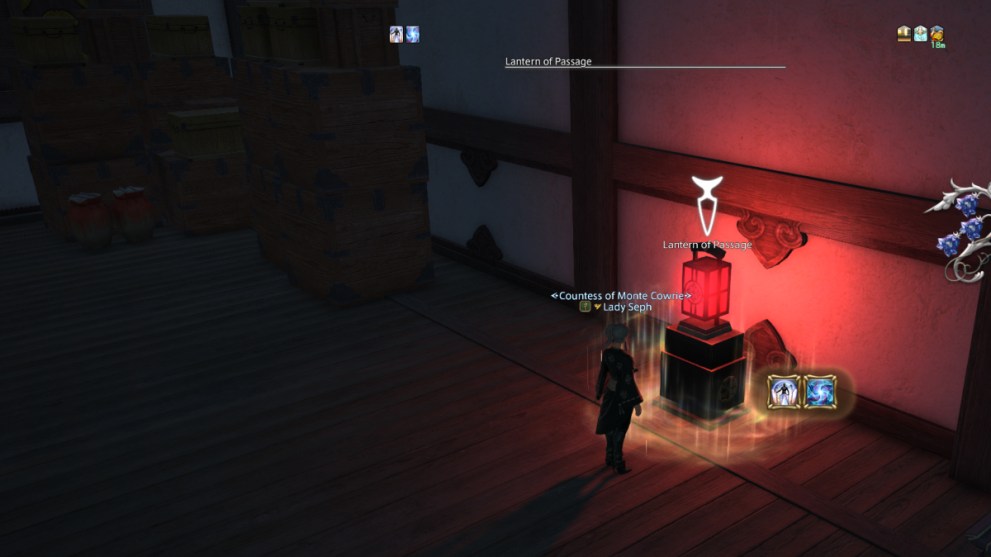
Do this for all 3 pedestal lanterns with gold banners, and you’ll know it worked when the other lantern you didn’t target glows red and Hancock comes to inspect it. A teleport portal will spawn, which will take you to the new, secret area. Head through it to discover the final boss and unlock the final record of Mount Rokkon.
That concludes our guide for FFXIV Mount Rokkon – All Variant Dungeon paths. We hope you found this helpful, and let us know which Variant dungeon is your favorite so far.
Be sure to check out all of our other guides for Final Fantasy XIV, such as our guide to all paths in the Aloalo Island Variant Dungeon.
