Tactical View is Your Friend
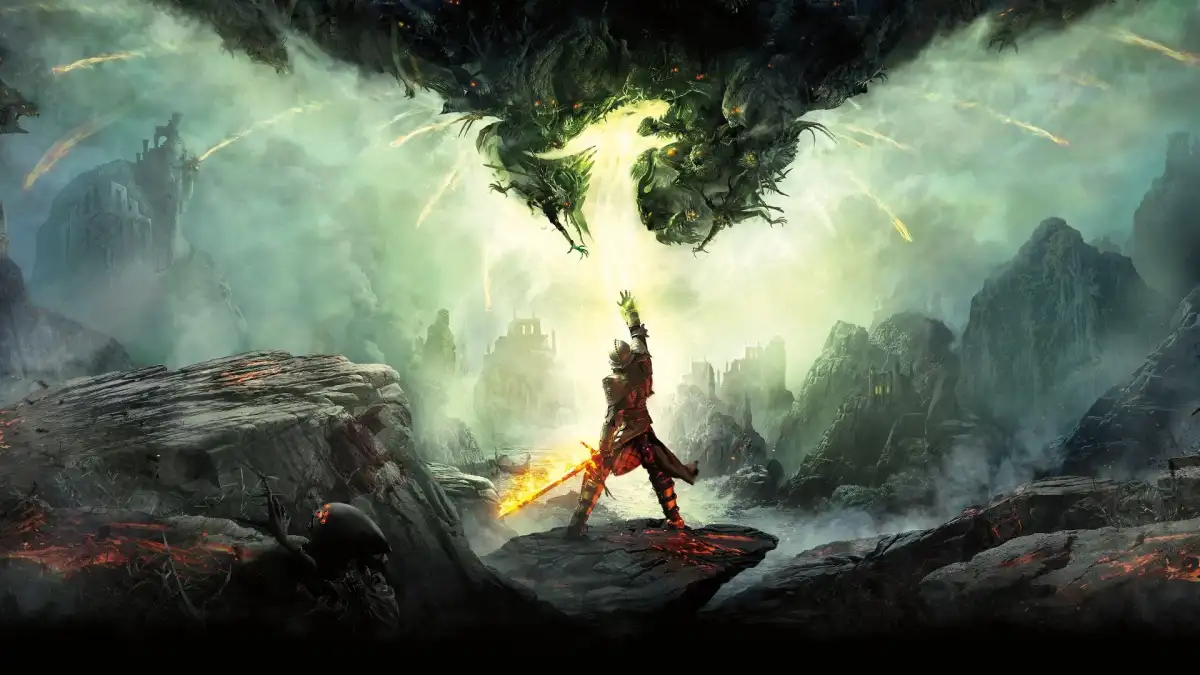
How to Kill Dragons in Dragon Age Inquisition
Tactical view has returned in Dragon Age: Inquisition and this time it is available on all platforms. For those of you who don’t know, it allows for you to freeze the action in order to take direct control over your party during combat and to gather information.
Unless you are a huge fan of strategy, you may not have found yourself using this feature much. But prepare for that to change during your bouts with high dragons.
You may be thinking to yourself “but I prefer standard combat, I don’t want to micro-manage my entire dragon fight”.
Don’t you worry, you do not have to use the Dragon Age: Inquisition tactical view for the whole fight if you don’t want to. What you will be using it for is the repositioning of your ranged fighters and to get a quick view of the dragon’s weakness.
Every high dragon is weak against one element, and highly resistant to another. Snap into tactical view as soon as the flying foe is in range and take a look at what you’ll need against it.
The sooner you know what you should and shouldn’t use the better, you don’t want to waste time and/or mana doing something that just will not work.
Now for movement, the tactical view will allow you to move any of your ranged fighters out of harms way.
Most ranged attacks are easily dodged so you don’t have to worry to much about those, but dragons will often switch to a position closer to your ranged fighters or pull your entire party in close. this is when you want to snap into tactical view.
Once close, the dragon will attack with its claws, teeth, tail and elemental attack allowing it 360 degrees of damage against anyone unlucky enough to get sucked in.
You can easily move out of its range one by one but that leaves the rest of your party in danger as you find a position. Using Dragon Age: Inquisition‘s tactical view allows you to move all of your ranged party members at once to a position where they can still wreak havoc but are also out of harms way.