
The Destiny franchise has seen several Raids come and go throughout the years, some featuring boss fights that made the franchise famous. Here are the top 10 Raid bosses in the Destiny franchise ranked by difficulty. This list will be specifically going over the difficulty of the encounter when it was first released, in contrast to the current sandbox and methods of completing them.
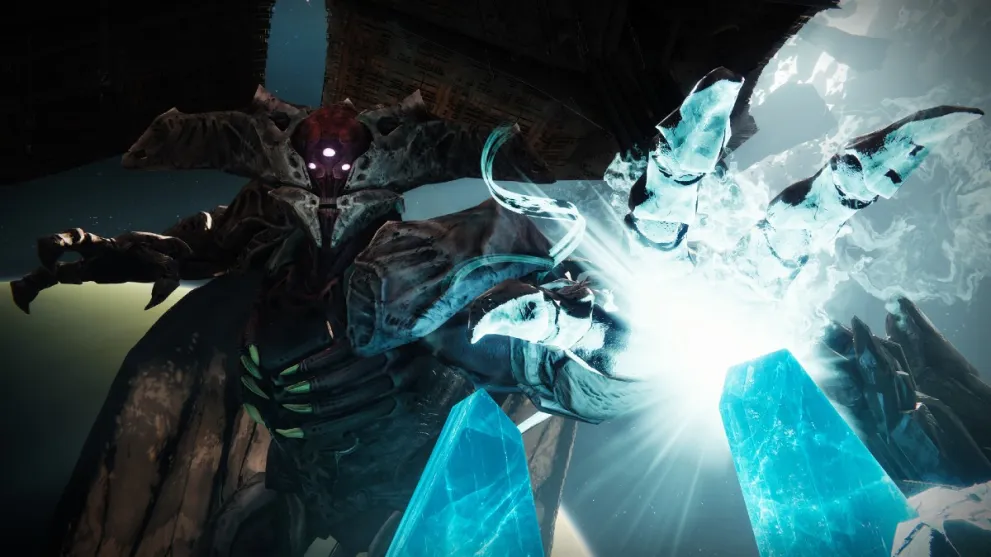
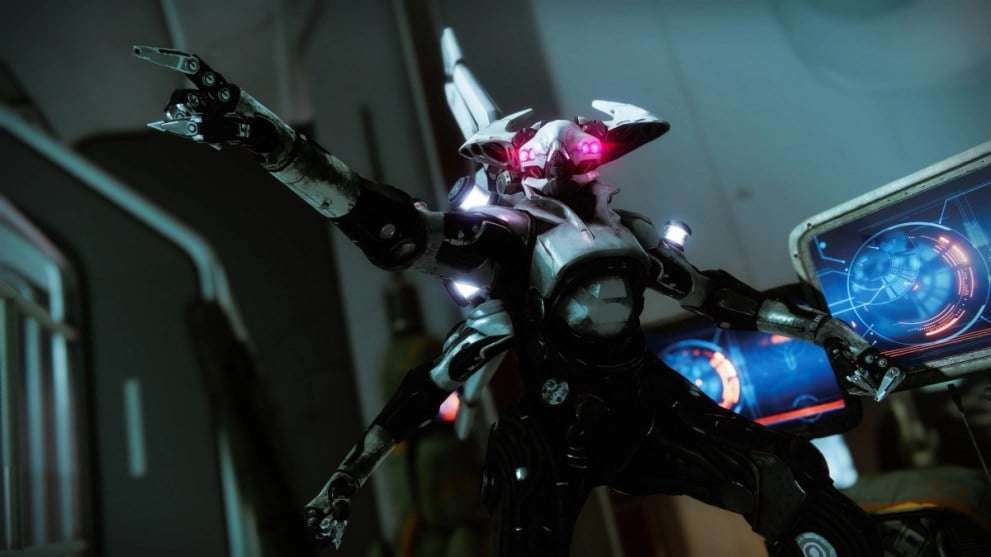
10. Zo’aurc, Explicator Of Planets

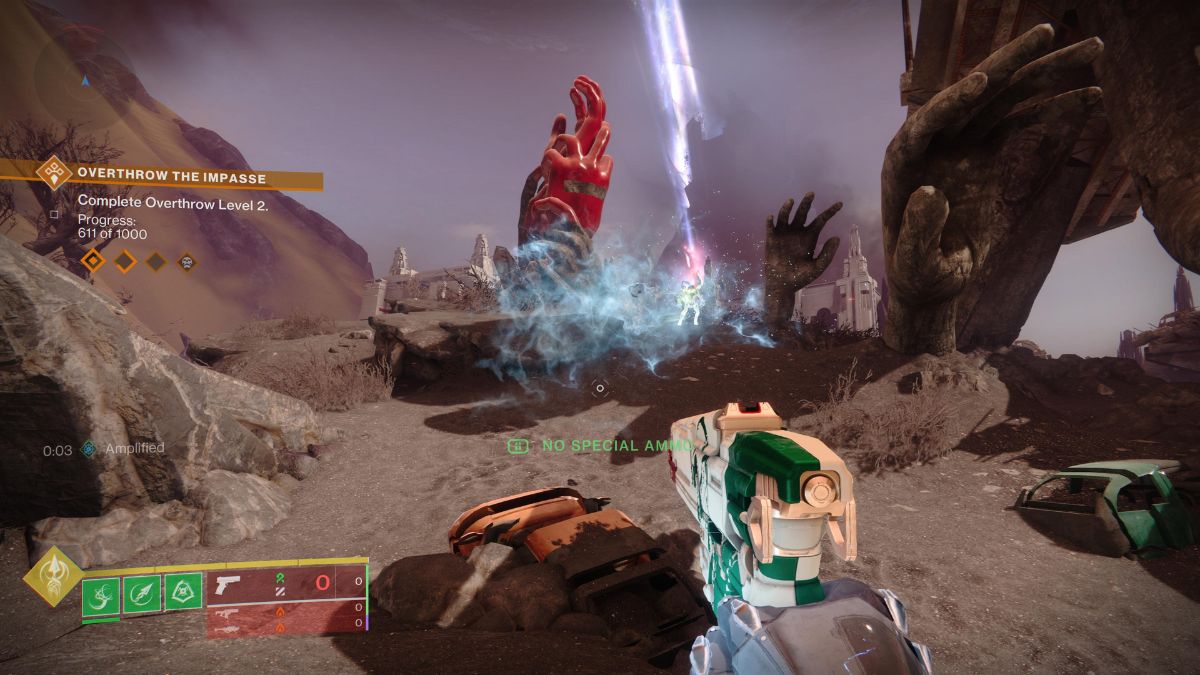
Kicking off the list is arguably one of the most “what the heck” moments in Destiny Raids: the first boss fight of the Root of Nightmares Raid, Zo’aurc, Explicator of Planets.
Until this point in the Raid, you and your fireteam have been learning the “light and dark” components, where you must switch the buffs back and forth throughout each encounter. However, when you reach Zo’aurc, none of the previous things you just learned apply. Instead, you must learn entirely new mechanics by switching the planets in the room.
After a period of time, players will be able to kill a Colossus that allows them to see which planets are light and which are dark. The team must then swap planets to the corresponding side of the room to enter a damage phase.
Compared to the final fight of the Raid, Zo’aurc provides enough chaos and mechanics to give even seasoned Raiders a run for their money.
9. Oryx, The Taken King (Destiny 1 Version)
The Raid boss that arguably made the Destiny franchise known to all, Oryx, The Taken King claims the ninth spot on the list.
While his reprised version in Destiny 2 definitely packs a punch, the original Destiny 1 version of Oryx was no laughing matter. Unlike in the series’ second entry, you couldn’t “damage” Oryx using standard weapons methods. Instead, you had to detonate Taken Bombs that would be created by defeating Light-Eater Ogres. On top of that, you also had to go from plate to plate to capture the Taken Essence to shield yourself and your team from Oryx’s Darkness blasts. Otherwise, your team would be wiped in no time flat.
There were so many moving parts in play that it essentially demanded absolute perfection from the group; especially on Hard Mode, where you couldn’t revive a teammate if they died. Oryx’s revamp in Destiny 2 made the fight much more manageable and fair for the average player, but the original King we met in Destiny 1 was far more unforgiving than the one we have now.
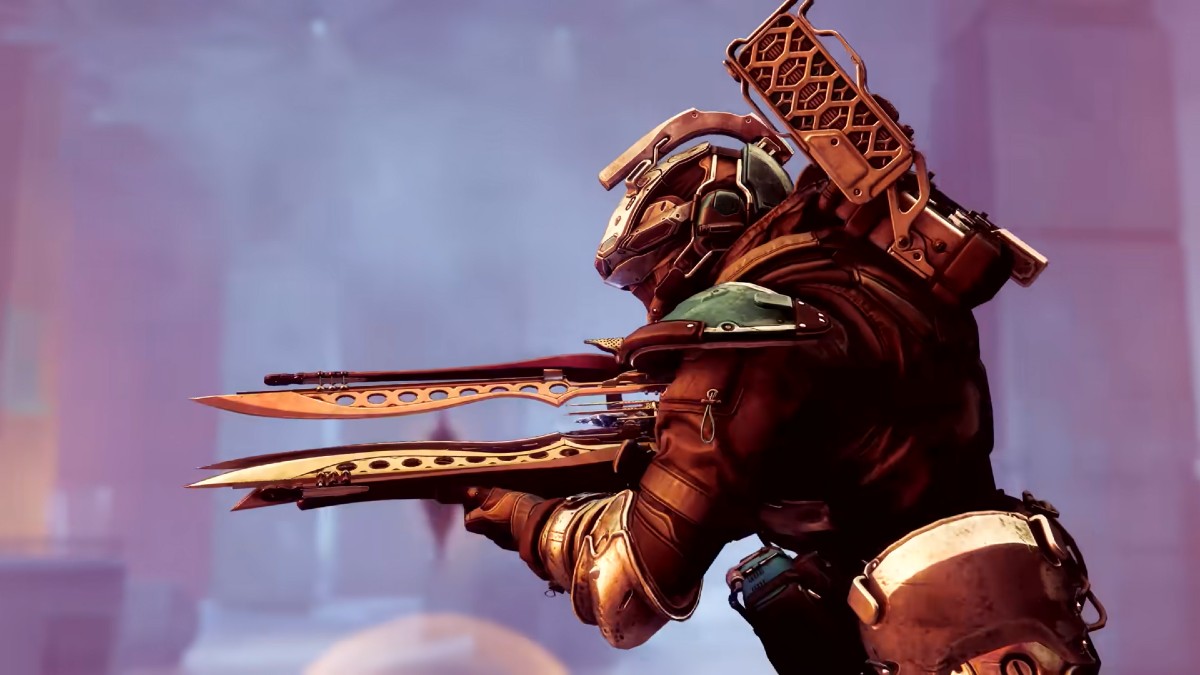
8. Rhulk, First Disciple Of The Witness
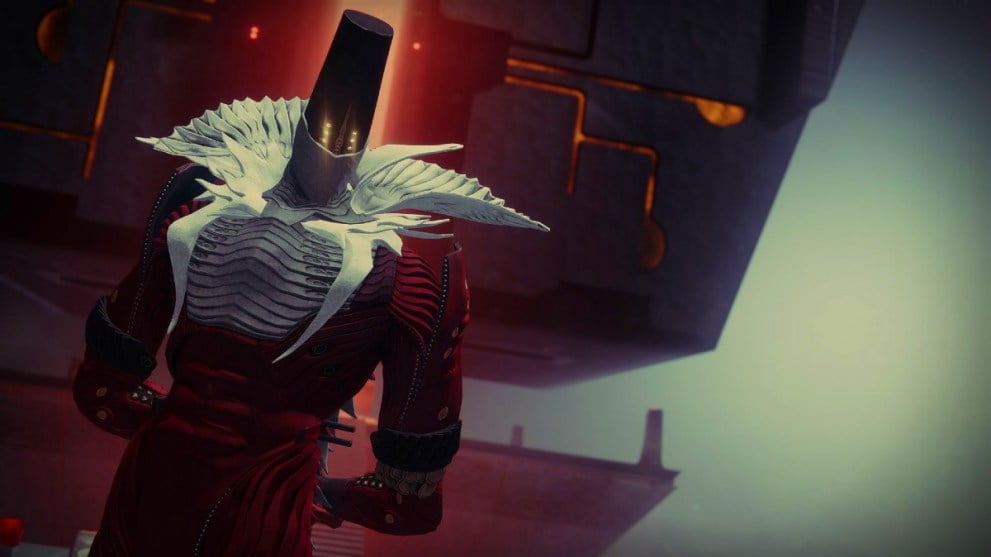
For numerous reasons, the Vow of the Disciple Raid has become arguably one of the most popular and widely-discussed Raids in Destiny 2, and the most crucial reason for this would be the introduction of Rhulk, the Raid’s final boss. We’ve fought Gods, Kings, Dragons, and more, but nothing like Rhulk.
What made the First Disciple so unique compared to other Raid bosses is his extremely high mobility. We’ve seen bosses that move around a little during the damage phase, but Rhulk would actively chase YOU instead. On top of that, if you were too close to him, he would unleash a deadly kick that would leave you crippled.
This all took place in a small cube arena where you can’t leave until the damage phase is over. As a result, players had to implement a run-and-gun strategy to try and damage him rather than stand in one place like most Raid bosses.
Undeniably, Rhulk is the most aggressive boss in the game and sets the bar for mobile bosses for future Raids.
7. The Sanctified Mind
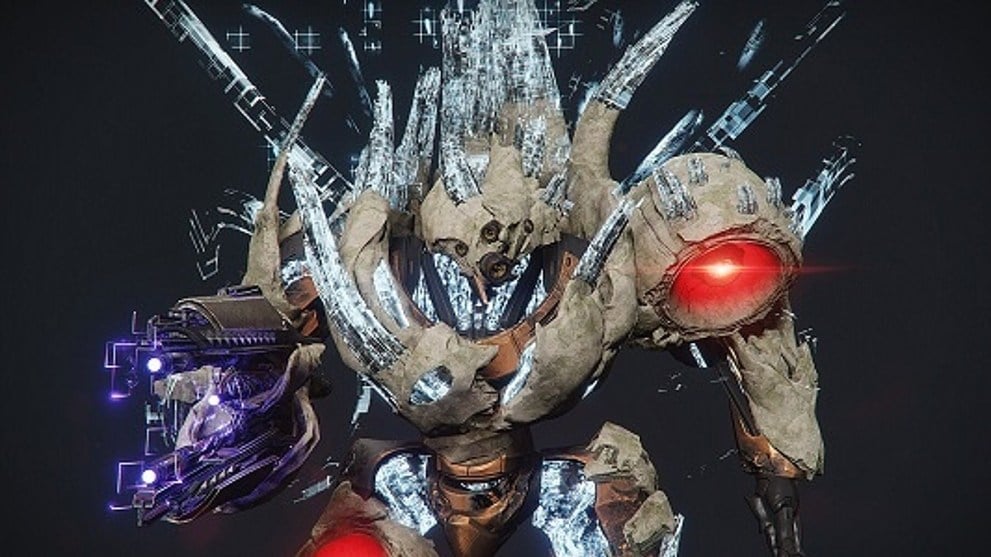
Released with the Shadowkeep DLC and the Garden of Salvation Raid, The Sanctified Mind arguably has one of the most complex fights Destiny has ever featured.
The fight starts by shooting either of the glowing red parts on his left arm or right leg, which will open two portals to separate areas. Each area has various Goblins and other Vex enemies to defeat and collect motes from.
If you don’t go through a portal, The Sanctified Mind will begin deleting platforms from where you stand, making you lose your footing and fall into the Vex milk, which deals constant damage.
The sheer chaos of this encounter makes The Sanctified Mind one of the most challenging boss fights in the series.
6. The Caretaker
The latest trend with Destiny 2 is to have an encounter serve as a major blocking point that weeds out those who can or cannot complete the Raids. The Caretaker was that blocking point for the Vow of the Disciple Raid.
The nature of The Caretaker fight is simply pure chaos, and the teams need to try and control that chaos in an organized fashion. Enemy density can get out of control very quickly, and The Caretaker’s damage output is overwhelming.
The two Guardians preventing it from reaching the center pillar must constantly bait the boss into revealing its back so they can stun it. However, there’s a delay in which the boss can be stunned, so the Guardians must be careful of its attacks during these periods. That also applies to the rest of the fireteam, whom the boss can snipe with its Arc blasts.
The Caretaker is easily staggered in the damage phase, making headshots incredibly difficult and annoying to maintain. Plus, each damage phase takes place on a different floor, where The Caretaker’s position varies. The first floor is very close and compact, making shotguns ideal, but then it spreads out further on the upper floors and makes them useless.
Given all this, it’s no surprise that this fight prevented many Guardians from completing the Raid initially, especially during the Day One race.
5. The Warpriest (Destiny 2 Version)
Many players were expecting the Warpriest encounter of the King’s Fall Raid to receive a rework when it was brought up in Destiny 2, but nothing could have prepared Guardians for the wall that was revamped Warpriest. There were two critical differences in this new version.
The first is the Warpriest’s damage and health pool. Not only does he hit much harder, but his total health skyrocketed, turning him from a pushover to one of the game’s tankiest bosses. It takes three to four phases for most teams to finally take him down.
The second change is the switching of the empowered buff. In the first Destiny, a single Guardian would hold onto the empowered buff to let their team damage the Warpriest. The Guardian would have to shoot an Acolyte to keep the buff going until the timer ran out.
But in Destiny 2, the buff would only stay for about twenty seconds, and players then had to find and kill an orange-bar Taken Knight and go to the teammate with the buff to swap it with them. This made the damage phase much more hectic and kept players on their toes to maintain proper damage. If the team failed to kill the boss after four phases, they’d wipe and have to start again.
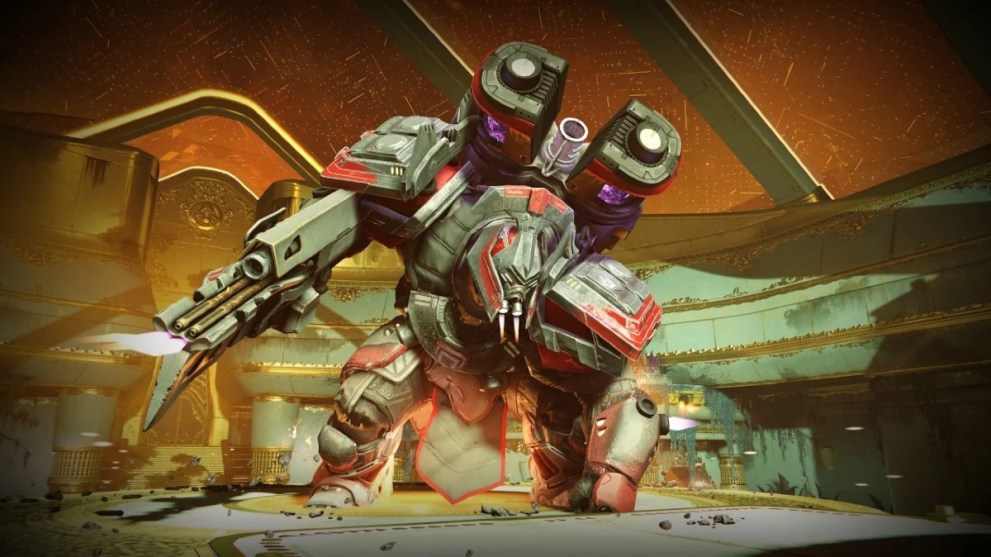
4. Atraks-1, Fallen Exo
Keeping the trend of “wall” enemies is the one who started it all: Atraks-1, the Fallen Exo from the Deep Stone Crypt Raid.
The sandbox was very different back in the Beyond Light era, and while there were some gems here and there, it wasn’t enough to truly hurt Atraks. It took a team of six to beat the Raid when it was first released to open an Exotic quest for everyone to participate in, and weapons like Lament or the infamous Falling Guillotine Sword were some of the only weapons in the game that could genuinely hurt the juggernaut.
Simply put, Atraks had too much health for the current sandbox to deal with in contest mode. Pair that with the sheer chaos of enemy numbers, and this encounter stopped many fireteams in their tracks. Every Raid moving forward would use Atraks as the blueprint of “wall” enemies, serving as the gatekeeper for those who complete the Raid and those who wouldn’t.
As mentioned above, while Atraks is considered a joke now in the current sandbox, that doesn’t change that for one season. This boss put a halt to many fireteams looking to complete the Raid.
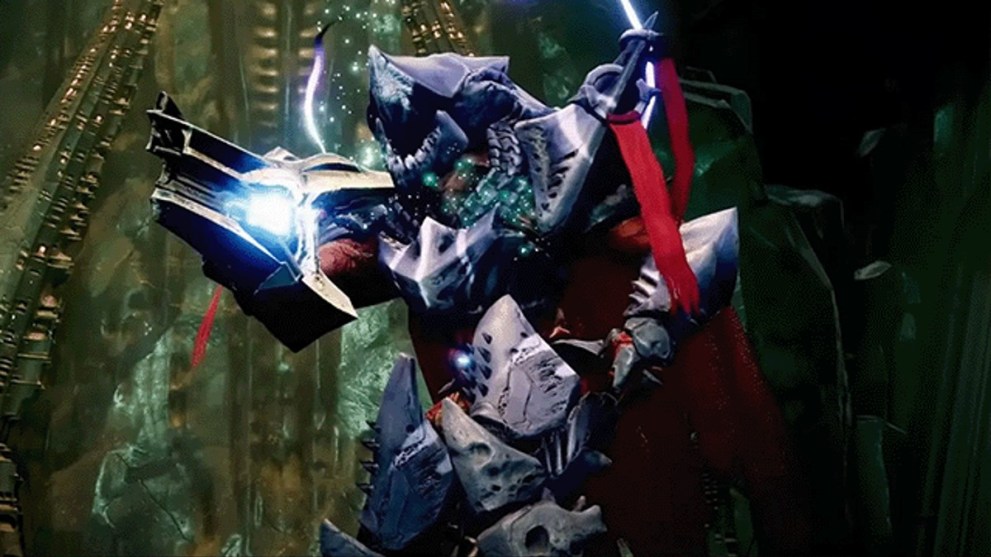
3. Crota, Son Of Oryx (Destiny 2 Version)
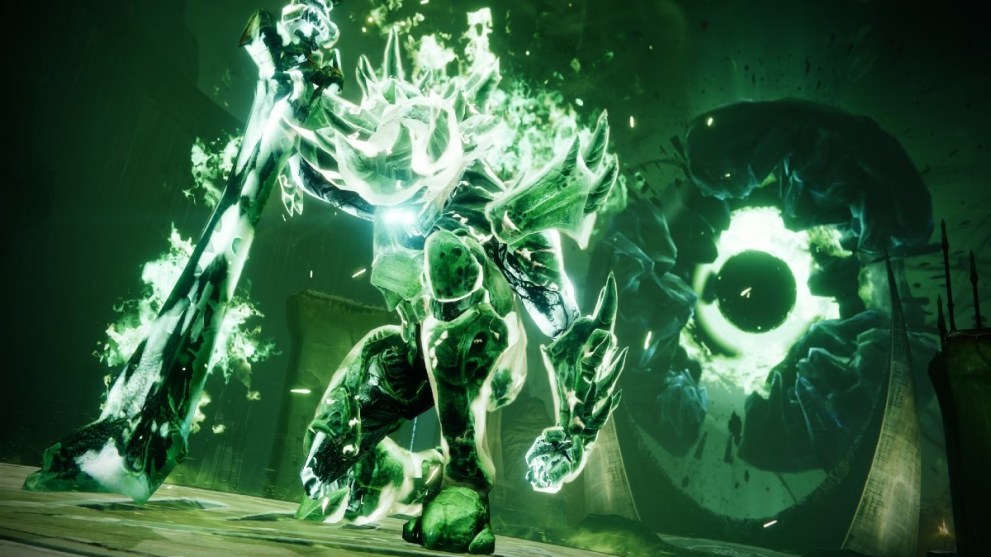
Bungie stated that the Destiny 2 reprisal of Crota’s End Raid would be much more difficult compared to the original Destiny 1 version. And they weren’t lying because claiming the number three spot on the list is the final boss of the Raid, Crota, the son of Oryx.
Crota received some massive upgrades in his transition into Destiny 2. For starters, you can properly damage him outside the usual Hive Sword. While contest mode was active, Crota was extremely tanky and very mobile during the damage phase, making him incredibly annoying to fight. On top of that, he dealt enough damage to break a Well of Radiance with just three swings of his sword.
Similar to Atraks, the only way to deal decent damage to him was with the Exotic Lament Sword, and even then, you would barely have enough damage to finish him off. Bungie clearly heard all of the jokes about how easy Crota was in Destiny 1, and they took it to heart.
However, the sheer number of enemies that would spawn in preparation for the damage phase are what made the fight so difficult. You have four “Boomer” Knights, two on each side of the arena; an endless wave of Thrall; and numerous Hive Wizards that would spawn throughout the fight.
On top of that, Crota will be running around the map with his immunity shield, sniping you with his own Arc blasts. The only way to survive was to essentially stay out of his sight line the whole time. Otherwise, a couple of hits from his shots would mean instant death.
Crota came back with a vengeance in Destiny 2, which clearly shows, given that only 875 teams defeated him in the first 24 hours (which is pretty low amongst Destiny 2 Raids). It was a fantastic reprisal for one of the biggest memes in the Destiny franchise, and now we’re eagerly waiting to see what Bungie does for Aksis, the final boss of the Wrath of the Machine Raid.
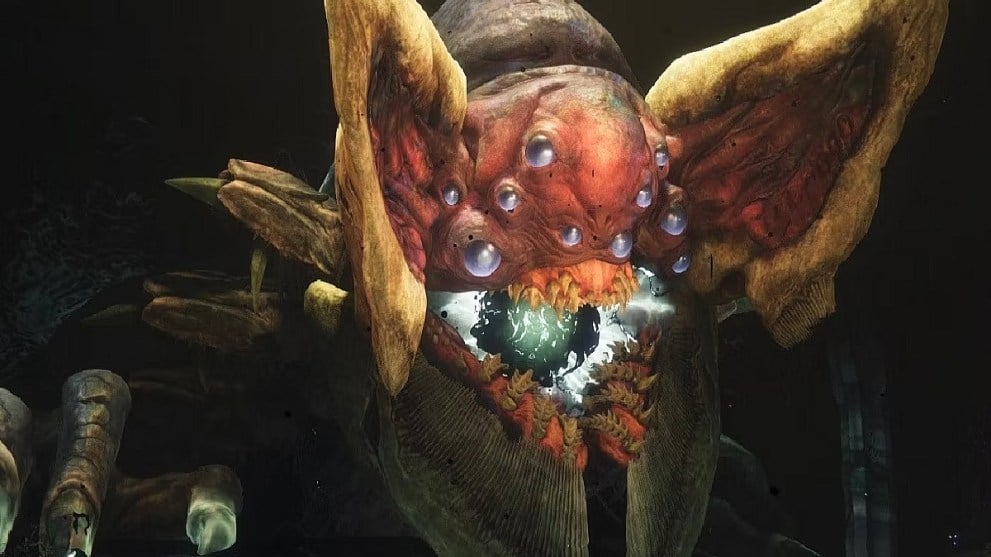
2. Val Ca’uor, Commander Of The Red Legion
The last Raid lair introduced during the Forsaken Era, the Spire of the Stars, featured the final boss Val Ca’uor, who became everyone’s worst nightmare.
In terms of new mechanics to learn, this encounter has the second most of any Raid in the franchise. There are so many moving parts to this encounter. Meanwhile, waves of Cabal Legionaries and Gladiators will spawn, and the Gladiators could almost one-shot you back then.
On top of that, you only get a short window to damage Val Ca’uor, and he’s very tanky, making this fight a test of endurance more than anything. This brutal encounter has one of the lowest completion rates of any Day One Race, with only 19 teams completing it in under 24 hours.
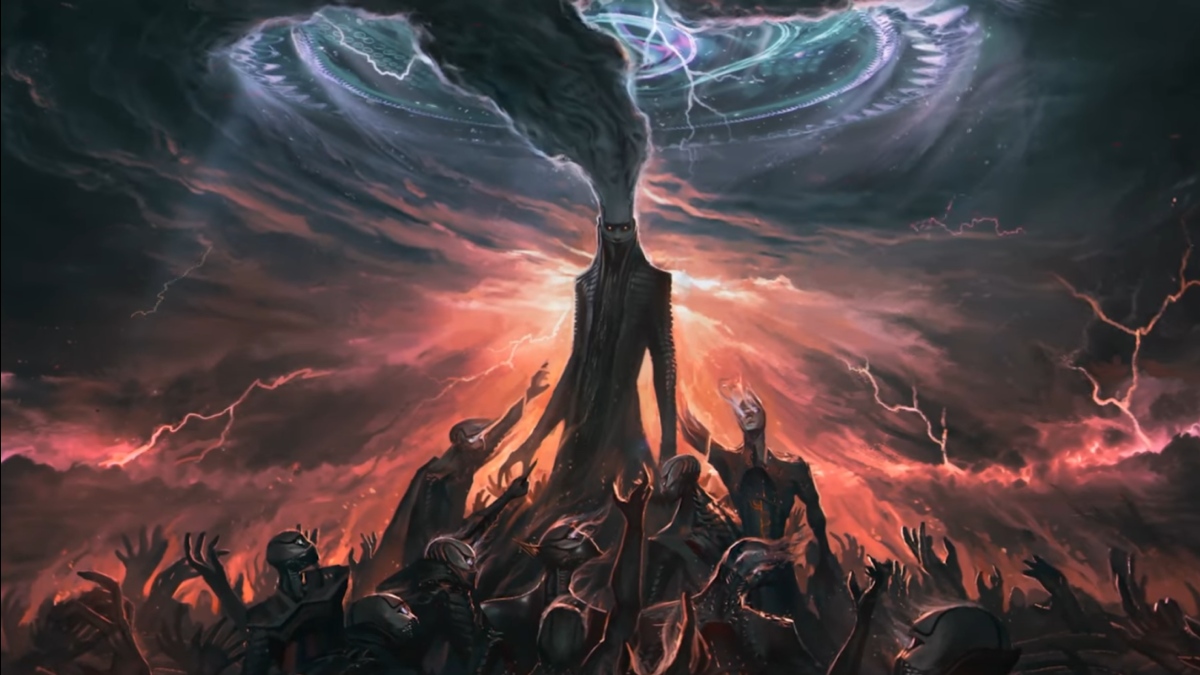
1. Riven, The Last Ahamkara
Finishing off this list is the infamous Wish Dragon, Riven, the last Ahamkara. This shouldn’t surprise most players, as to this day, most of the player base still don’t know how to do Riven’s encounter properly due to a glitch allowing them to bypass its intended fight. Those that do take her on as Bungie designed it are faced with a truly brutal ordeal.
Similar to Oryx, Riven requires absolute perfection when it comes to her mechanics. Otherwise, everyone dies. It’s undeniably the most complex encounter in Destiny history. Out of the hundreds of thousands of players who participated in the Day One race, only twelve Guardians managed to complete the Raid in under 24 hours. This remains the lowest completion of a Day One Raid in Destiny history. It’s harrowing, pulse-pounding, and easily the hardest Destiny Raid boss thus far.


Updated: Sep 24, 2023 12:21 pm