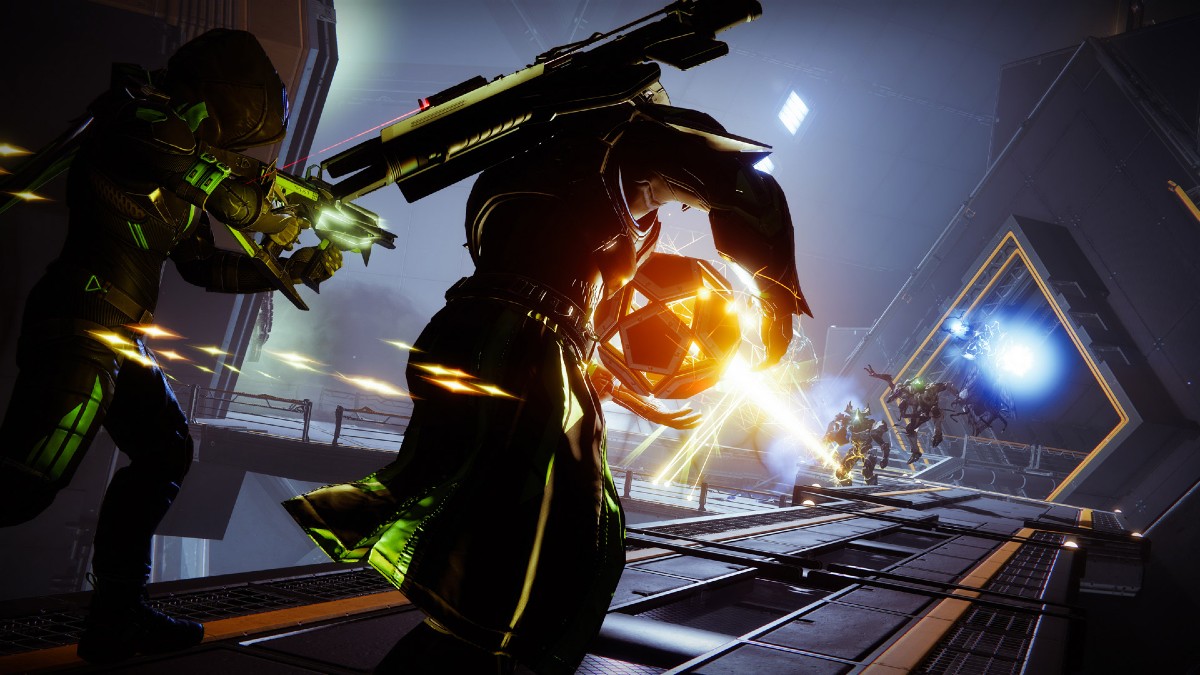
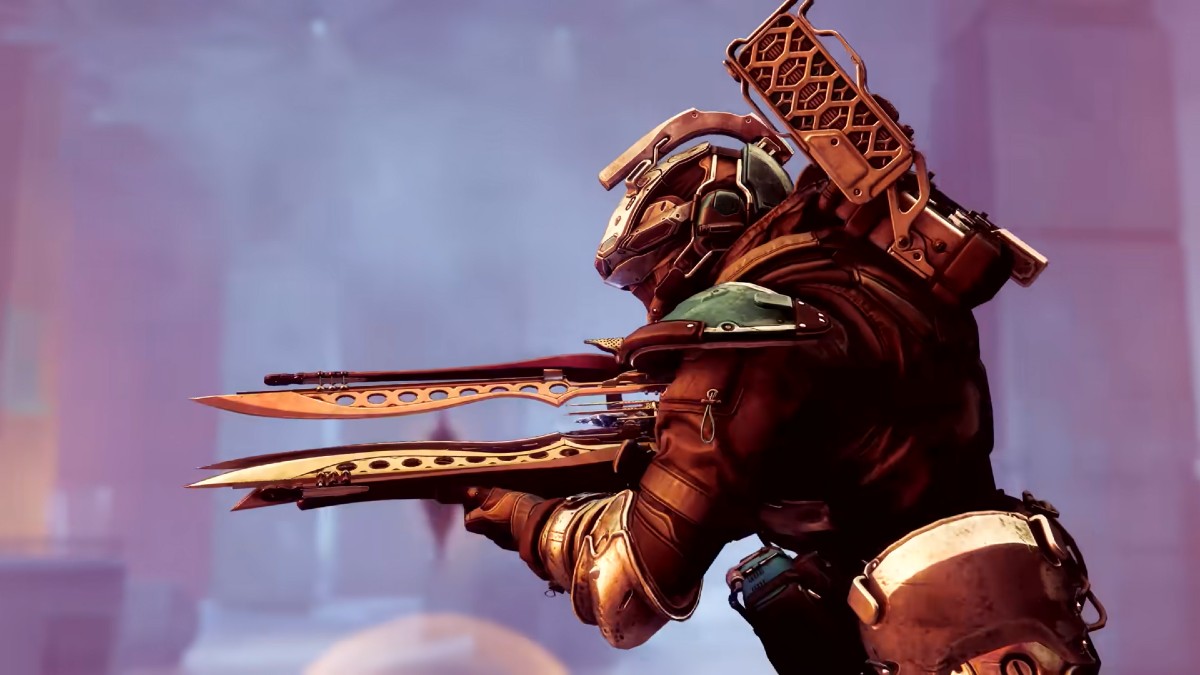
Grandmaster Nightfalls are some of the most challenging PvE activities Destiny 2 offers. Some are easier than others. However, some were borderline impossible to complete when they first debuted. With that in mind, we’re going over the top 10 most difficult Grandmaster Nightfalls in Destiny 2 ranked by how challenging they were when they first released.
10. The Scarlet Keep
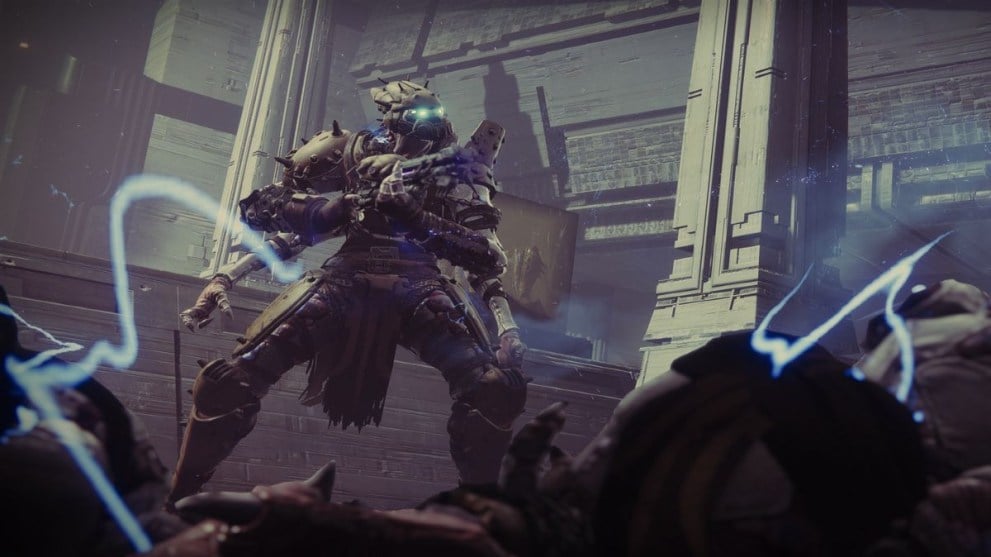
The Shadowkeep DLC brought us The Scarlet Keep Strike, one of the most prolonged Strikes the game has ever seen up until this point. It’s “literally” a long journey from outside the Fortress to the very top of the Scarlet Tower, where the final boss, Hashladun, awaits you.
This Strike is filled with an abundance of Unstoppable and Anti-Barrier Champions, requiring proficient loadouts in stunning them to keep them at bay. Not to mention the waves of Thralls, Acolytes, and Knights that will constantly be swarming you.
However, the main difficulty lies in the final fight against Hashladun, who uses a variety of gimmicks to send your fireteam to orbit. While she deals a lot of damage, her attacks won’t immediately one-shot you. That said, she compensates for this by using her Hive abilities to occasionally throw you up into the air, and then push you backward, similar to a Psion blast. Depending on your positioning, you’ll be either sent into a nearby wall, or off the map. It’s incredibly tedious to fight against as there’s virtually no way around it aside from using abilities like Daybreak and Icarus Dash to fly back up.
The last hurdle is the appearance of two Unstoppable Ogre Champions when the boss falls below 50% health. Destroying them as soon as possible should be a top priority, or they will wipe you in one slam of their fist.
Overall, while the Scarlet Keep Grandmaster isn’t too complicated compared to the rest on this list, it has many features that can make a situation go from bad to worse instantly, making it a challenging experience.
9. Garden World
One of the oldest Strikes in the game that has now been sunset, the Garden World Grandmaster Nightfall is arguably the most unique addition on this list. It was only available as a Grandmaster for s short time before it was sunset, but it didn’t fail to disappoint in terms of difficulty.
Similarly to another addition to this list, the central portion of the Strike isn’t too difficult up until the final boss fight where everything becomes chaotic.
For the first time, a Vex Cyclops, Dendron, the Root Mind, is the final boss awaiting you at the top of the Vex spire. What makes this fight so tricky is the vast open arena that allows the boss to cover you and your fireteam constantly. One blast from its eye can either cripple or kill you with ease.
To make things worse, when enough damage is dealt to it, giant yellow-bar Minotaur’s, and Overload Minotaur’s, will swarm you to protect the boss.
While there were ways to shield yourself from the oncoming assault, such as with a Bubble or Well of Radiance, the enemy density and the constantly rotating boss make this Grandmaster fearsome to overcome. Hopefully, it will be un-sunset one day so we can experience it once again.
8. Exodus Crash
The Exodus Crash Grandmaster Nightfall is arguably one of the few exceptions where the Strike isn’t too difficult to run through, except for the final boss fight.
While there are plenty of enemies that players will have to fight through to get to the boss, it wasn’t difficult enough to send entire teams to orbit. That said, the final boss is an entirely different story.
The final boss is a giant Marauder Vandal that become invisible and is constantly running around the map. The Vandal doesn’t deal too much damage, unless it melee’s you, which is guaranteed death if that happens.
However, what made this fight so difficult was the presence of the Electric Shanks that would run electricity on the floor, disabling the player’s ability to jump or run. This would keep them in place, making them easy prey for the oncoming waves of Vandals, Dregs, and Anti-Barrier Servitors, which would also protect the Shanks if the Guardians tried to destroy them.
The only way to survive this was to stand behind a stack of boxes in the far corner of the arena and continuously use a Well of Radiance to heal the fireteam. At the same time, they had to destroy the Shanks and Anti-Barrier Servitors before it became impossible to move when the Well would run out.
This is arguably one of the most brutal final boss fights amongst all of the Grandmaster Nightfalls; however, the relative ease of everything until the fight brings it down to the sixth spot.
7. Birthplace of the Vile
Introduced as the second Strike alongside the Witch Queen DLC, the Birthplace of the Vile wasn’t as scary as the Lightblade, but still a formidable experience nonetheless.
Scorn are the name of the game for this Strike, and they make it incredibly annoying to fight against as they constantly shower the field with their Void beacons that make them immune to incoming damage.
Add-control builds will work wonders here, as there’s almost a never-ending supply of waves of Scorn coming after you throughout the Strike. However, without a solid build, if you aren’t adept at slaying waves of enemies with ease, their sheer density will overwhelm your team fairly quickly.
The final boss fight against a giant Scorn Raider, Heimiks, Warden of the Harvest, is arguably one of the most annoying fights in the game, as the boss will constantly run around in its “shade” form, becoming immune to all incoming damage. Meanwhile, waves of Scorn appear around the arena, making the fight very chaotic if they aren’t destroyed immediately.
This Strike does a great job of maintaining enemy density and keeping things Chaotic at all times.
6. Hypernet Current
The newest Strike added with the Lightfall DLC, the Hypernet Current, is an excellent addition to the Nightfall list. The Strike does a great job of keeping you on your toes the whole way through.
Most fireteams don’t make it out of the first hurdle, a giant yellow-bar Tormentor unaffected by abilities like Strand or Stasis. As one would expect, the Tormentor is incredibly tanky and can more or less one-shot you easily with any of its attacks. The best way to deal with it is to keep your distance and stick to higher ground to avoid its lethal melee attacks.
Many players can confidently say the most terrifying portion of the Strike is the sparrow section. The Sparrow section is a long stretch where players must race as fast as they can to the end. However, Taken Blights and Taken Hobgoblins are awaiting them on the sides that can very easily one-shot and destroy your sparrow, thus killing you in the process. Luckily, only one of you needs to make it through, as everything will despawn when one person reaches the end. It isn’t an understatement to say this section involves the most “RNG” of any portion of a Nightfall.
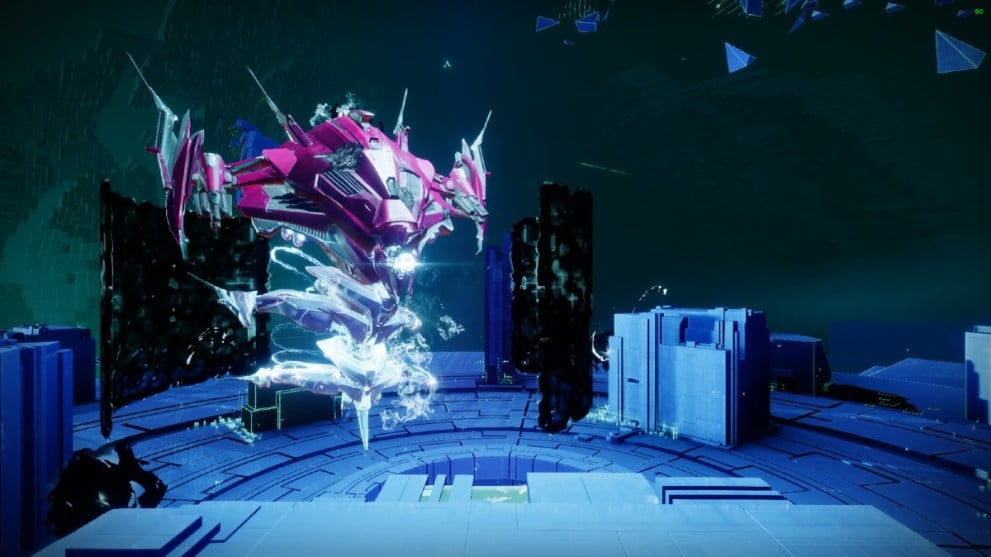
Finally, the final boss awaits you at the top of the Network, a giant Taken Hydra, Parthenios, the Drifting Mind. Similarly to the Garden World boss fight, the fireteam will be placed in a vast open arena with the boss constantly circling around it. Since it’s a Hydra, it has three shields also circling it, protecting it from incoming damage, making it incredibly annoying to fight.
However, the main difficulty lies in the enemy density. When enough damage is dealt to the boss, waves of Taken Goblins, Hobgoblins, Minotaur’s, and Centurions will spawn. Defeating all of them as swiftly as possible should be your top priority, as they can overwhelm you and your team in a heartbeat.
Overall, the Hypernet Current was a great addition to the Nightfall list with the Lightfall DLC, and we’re eagerly looking forward to what The Final Shape brings next year.
5. Proving Grounds
We typically don’t get new Strikes in the middle of a Season, but Season of the Chosen introduced Proving Grounds, one of the most formidable Strikes the game has ever seen.
Proving Grounds is broken into three sections: the opening area, the tank room, and the final boss arena.
The opening area is a slow and steady climb up to the giant land tank, where the final boss awaits you and your fireteam. You will be met with heavy resistance, including a slew of Champions, Turrets, and a giant yellow-bar Colossus. This portion isn’t too difficult to deal with, but may use up a life or two if some Guardians aren’t careful. However, the worst is yet to come.
The tank room is arguably the most challenging portion of the Strike and has led many fire teams back to orbit in a short matter of time. Guardians will drop down into a giant open room filled with numerous Cabal enemies, including two Cabal Interceptors on the left and right sides. Clearing out the enemies isn’t too difficult. However, the two Interceptors can and will one-shot players regardless of distance. The best way to deal with them is by sniping the Psion controlling it, or dealing enough damage to blow up the Interceptor.
When both Interceptors are destroyed, the next phase will begin, where two Cabal Tanks will appear on the left and right sides of the room, along with another wave of enemies, and Champions. As one would expect, the tanks can very easily one-shot players, even in a Well of Radiance. At the time, the only way to deal with them was to use a Titan Banner Shield to dispose of them quickly. Banner Shield has yet to be of significant use since that time.
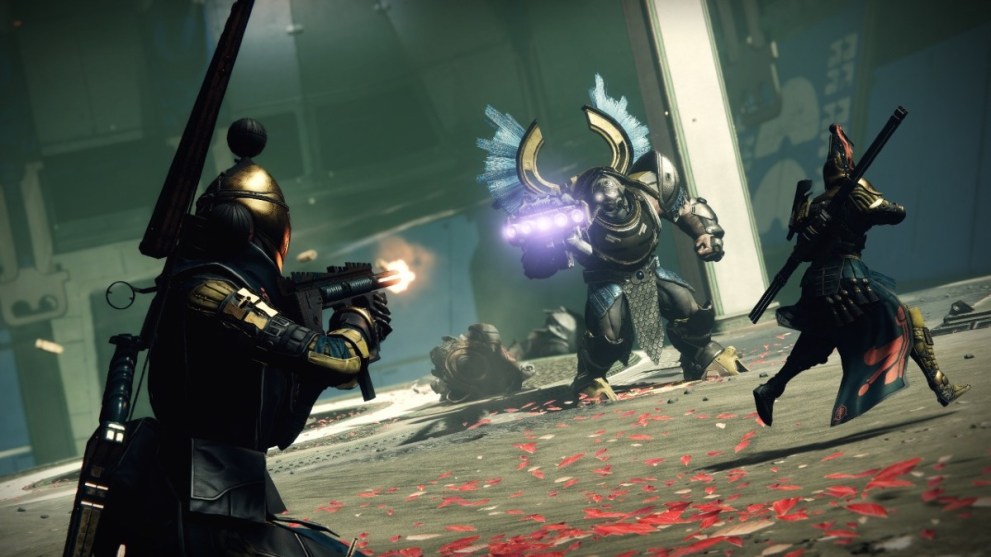
Last but not least is the final boss arena, where you’ll be met with the Champion, a giant Cabal Centurion who can repeatedly shoot fireballs from their back. Thankfully, the fireballs can be shot out of the sky, but will one-shot you if they make contact.
When enough damage is dealt, the boss will retreat to the far platform constantly shooting fireballs while two Unstoppable Champions are sent after the fireteam. However, the fireballs can be “ranged out” if players stick to the back of the room where they first entered.
Overall, this Grandmaster was incredibly tough for most players then, and only a tiny handful could complete it when it was first released.
4. Heist Battlegrounds: Mars
Introduced as the first seasonal activity to become a Grandmaster Nightfall, the Heist Battleground: Mars quickly put the fear of the traveler into Guardians.
Enemy density is the name of the game here, and by the end of the Strike, each Guardian will have hundreds of kills under their belt. The Heist Battleground: Mars is divided into two sections: the opening area and the final boss fight.
The opening area is the entrance to the Bray Complex, where Guardians need to unlock it by capturing three points spread across the region. Two of them are surrounded by Hive forces, while Taken enemies engulf the third. The fireteam must capture all three to proceed to the next area.
However, what makes this portion so challenging is the sheer enemy density on each point, making it incredibly difficult to capture. From legions of Thrall and Acolytes to giant yellow-bar Knights and Ogres, not to mention your slew of Champions, most fireteams don’t make it out of this section alive.
Luckily, if you were strong enough to make it through the opening section, the remaining half of the Strike isn’t too difficult until the final boss fight.
Guardians will be met with a familiar face when entering the final boss arena, a Darkblade Knight. Darkblade Knights have a generic theme of starting slow, then rapidly becoming dangerous when enough damage is dealt to them, and this Knight is no exception. However, while the Darkblade himself isn’t too difficult to deal with, the endless waves of Hive Wizards and Acolytes makes the difficulty spike very quickly.
While many players weren’t thrilled with a seasonal activity becoming a Grandmaster Nightfall at first, the difficulty it provided was an excellent way to counterbalance the hate it received.
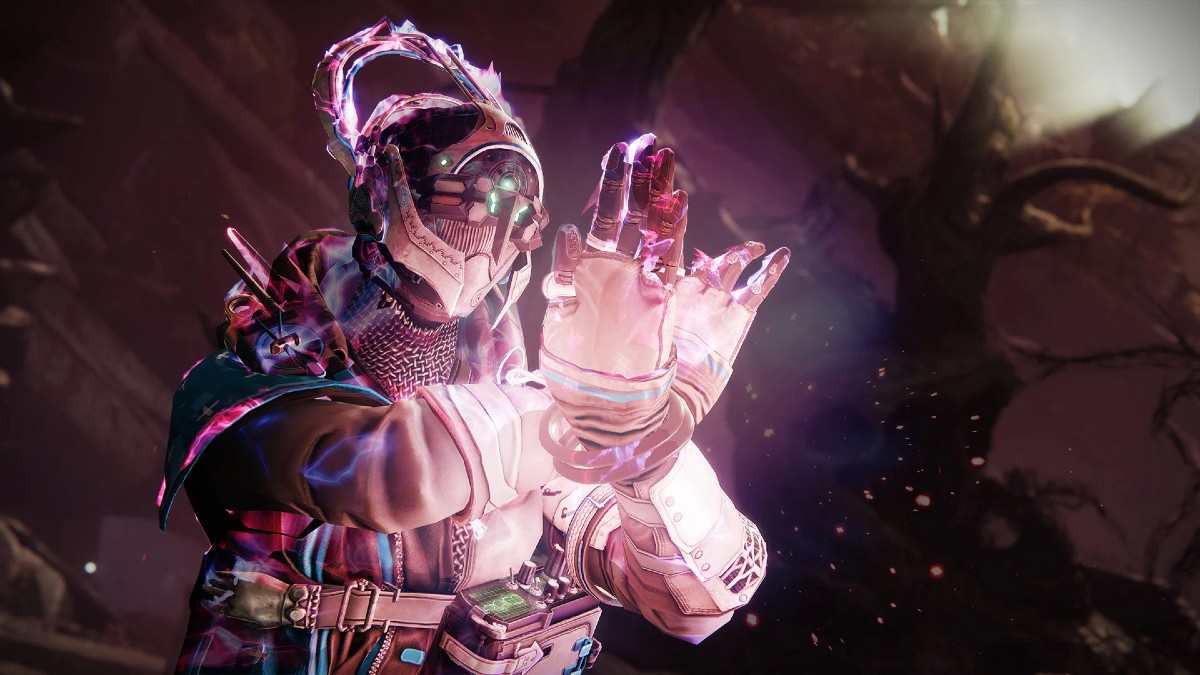
3. Psi-Ops Battleground: Moon
Re-shaped into a Grandmaster Nightfall this Season, the Psi-Ops Battleground: Moon quickly became one of the most challenging PvE activities in the game.
Players have been asking for activities with high enemy densities for quite some time now, and Bungie was clearly listening when turning this Battleground into a Grandmaster Nightfall. As soon as you load into the strike, you are met with hundreds of the Lucent Brood, including numerous Anti-Barrier and Unstoppable Champions, not to mention a couple of Lucent Knights. Add-clear builds like Arc Titans or Void Warlocks will be ideal here, otherwise you will be overwhelmed pretty quickly.
Following that is the Ritual room. The fireteam must defeat Hive Wizards that drop tributes, which must then be deposited into three altars on each side of the room. This must be done twelve times, all while being swarmed by never-ending waves of Wizards, Knights, Acolytes, and Thrall. After six tributes have been dunked, two Lucent Acolytes, and some Champions, will also spawn on each side. This portion is highly chaotic, and if even one member of the fireteam dies, it’s challenging to recover from since the enemies never stop spawning.
The final boss fight against the Lucent Wizard isn’t too difficult, except for one big problem, the appearance of the Witch Queen, Savathun, and multiple of her. When the boss’s health reaches the first gate, a shade of Savathun will appear, who will use her Super abilities to one-shot you. The only way to remove Savathun from play is to damage her with the Psionic Spear that spawns in the middle of the arena. However, the spear is guarded by a small army of Acolytes, and an Unstoppable and Anti-Barrier Champion.
Savathun is incredibly difficult to fight as she constantly throws Nova Bombs and Lightning Strikes down at you and your fireteam. To make matters worse, once the boss’s health reaches 25%, two more Shades will appear on the left and right side of the arena.
While it isn’t a proper strike, the Battlegrounds have been a great addition to the Grandmaster list in terms of pure difficulty.
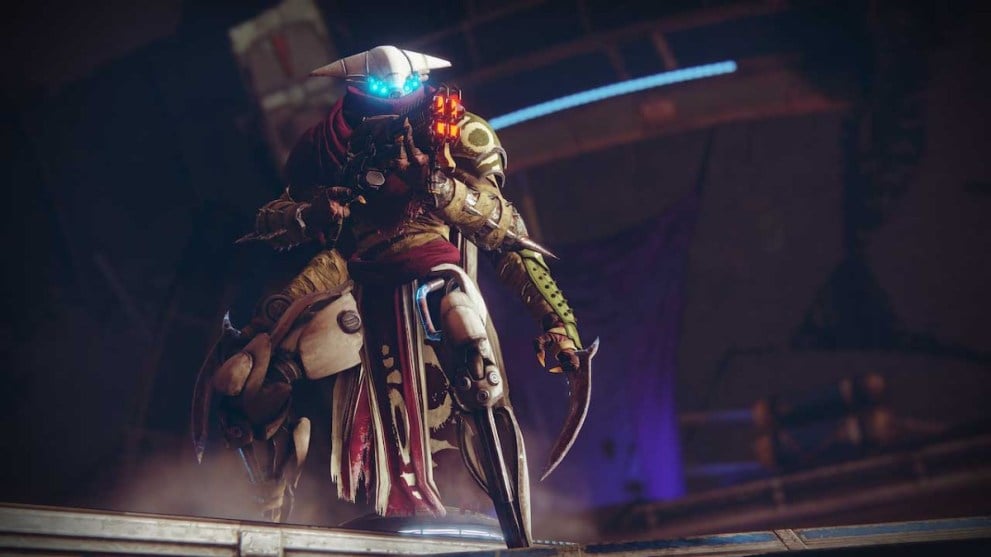
2. The Lightblade
Introduced with the Witch Queen DLC, Alak-Hul, the Darkblade Knight from Destiny 1, has returned with a vengeance, reborn as a Lucent Hive. The Lightblade is arguably the most chaotic Grandmaster for several reasons.
Starting out, the fireteam will be met with numerous Anti-Barrier Champions and a Lucent Knight. The Lucent Hive are borderline unfair to fight against, especially the Knight, as the Knight can throw one-shotting suppressor grenades and more. To make things worse, when you defeat the Lucent Hive, you also have to finish their Ghost off before it respawns the Knight. You have to repeat this process three times, as after the first Knight is defeated, two more spawn at the front of the room where you first entered. Most teams don’t make it out of this room.
However, if you manage to survive the onslaught of Lucent Hive, the next hurdle is the swamp. When you enter the swamp, you’ll be hit with the darkness debuff where you will gain stacks of darkness and be constantly slowed. Meanwhile, waves of screebs and Scorn snipers will be hunting you down. The only way to remove the darkness is to stand next to pillars of light, similar to those featured in the Destiny 1 Crota’s End Raid. This section is brutal, and constantly forces you to be on the move, and if you stay still too long, a screeb will creep up on you and explode.
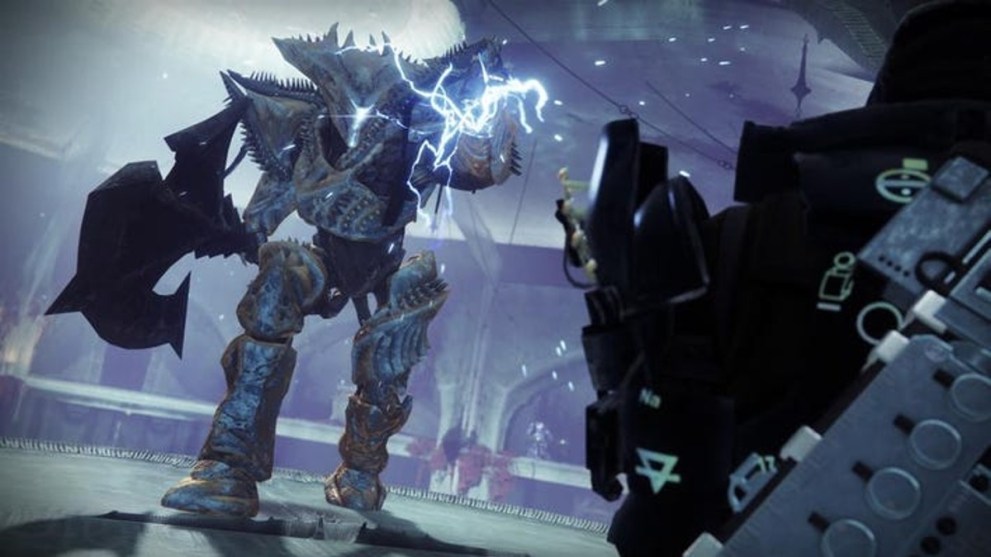
Finally, the Lightblade will await you in a small circular arena. He starts the fight relatively slow and simple, walking around at a snail’s pace, shooting Arc blasts at you. Keep in mind, the Arc blasts will one-shot you, and he fires up to ten in a single go. However, things go from zero to a hundred very quickly.
After his health reaches the first gate, he will teleport away, and two yellow-bar Knights and a Lucent Knight will spawn. Defeating them will make the Lightblade appear once more. However, when enough damage is dealt to him, his helmet will come off, and all hell breaks loose. The Lightblade will begin running at full speed at the player closest to him while firing his Arc Blasts. To make things worse, two Anti-Barrier Knights will spawn on each side of the arena while the Lightblade is chasing you. Simply put, this entire fight is the embodiment of chaos.
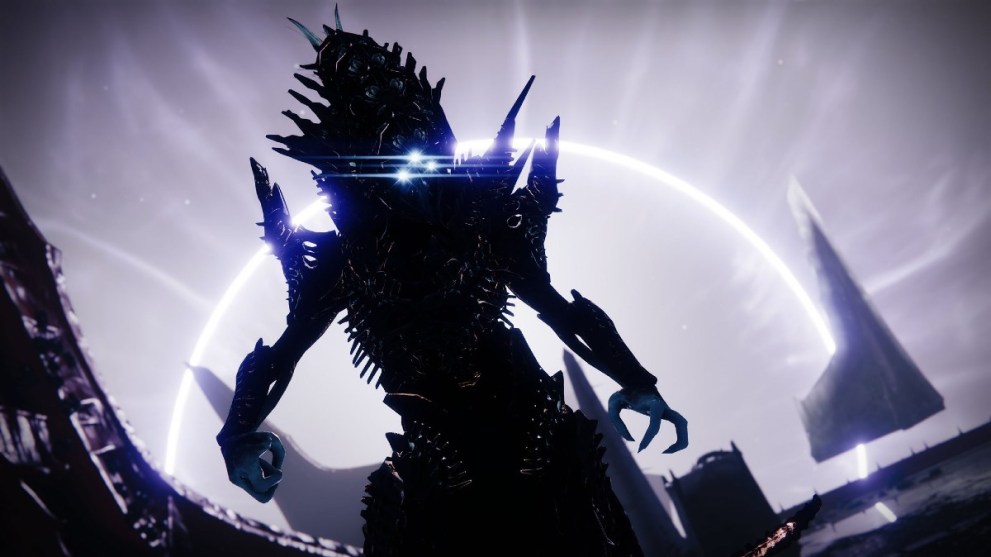
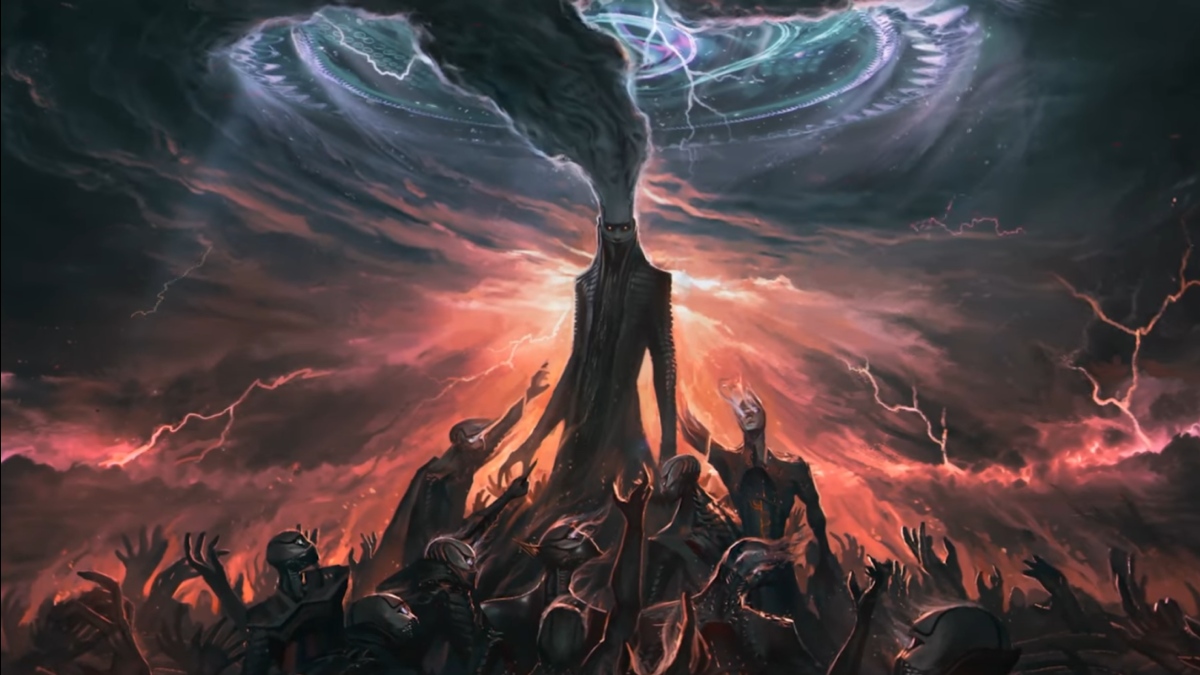
1. The Corrupted
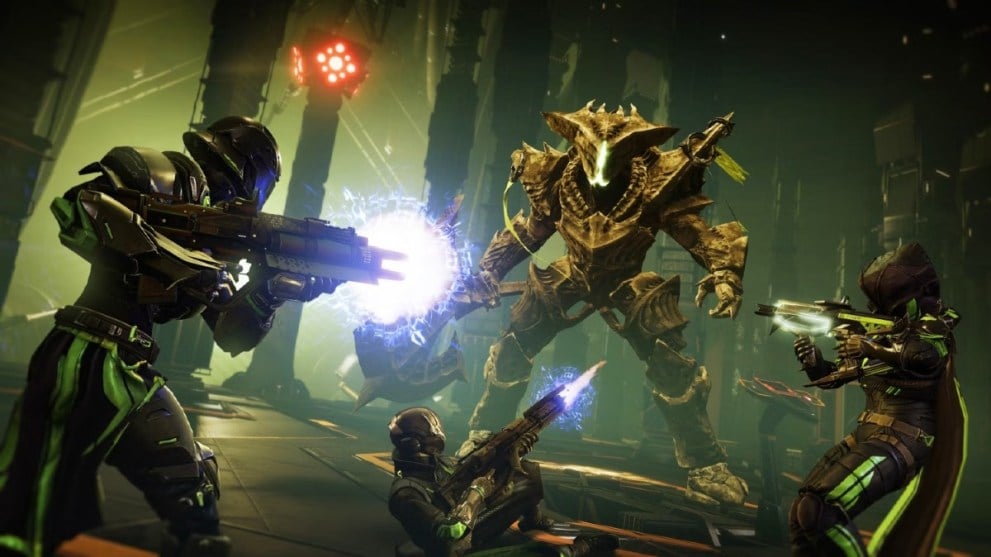
It’s no secret how The Corrupted climbed its way to becoming the most difficult Grandmaster Nightfall on release. This Strike is jam-packed with a devious combination of Scorn and Taken enemies, including the most Champions in a Grandmaster at the time.
Right out of the gate, players are first met with an abundance of annoying Overload Champions to enter the temple. Immediately after, the fireteam must survive the “elevator” section. Players must endure numerous waves of powerful enemies, who also have immune shields that can only be removed by having an orb tossed at them. A lot of fireteams don’t make it through this section unscathed.
Following the elevator is the double Ogre boss fight. The fireteam will be met with a giant yellow-bar ogre in the normal realm. However, roughly every 20 seconds, they will be teleported to the Taken ascendant realm where they must also slay a giant yellow-bar Taken Ogre. The Guardians will be flip-flopping back and forth between realms until both Ogres are slain. This doesn’t even include the numerous waves of enemies coming after them, including Champions to stop them from slaying the Ogres.
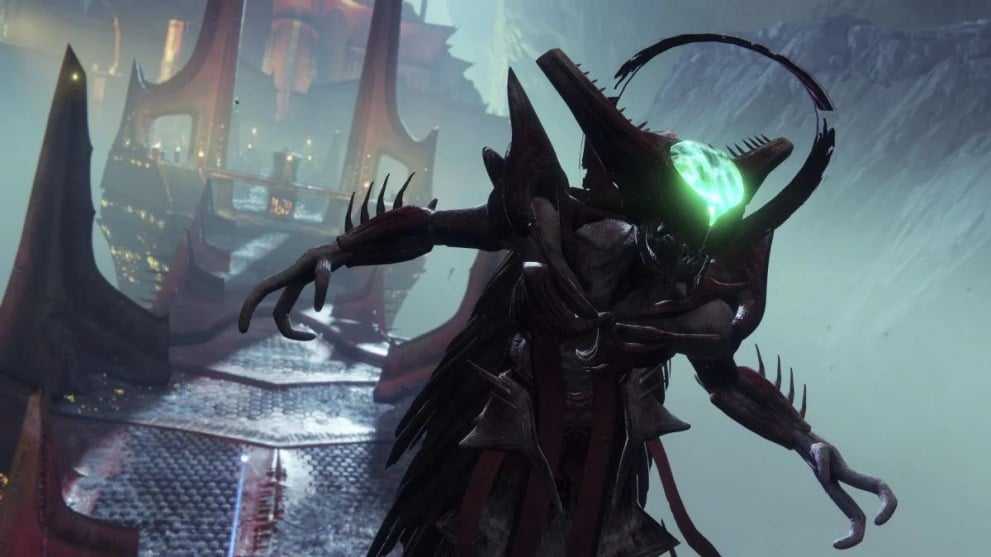
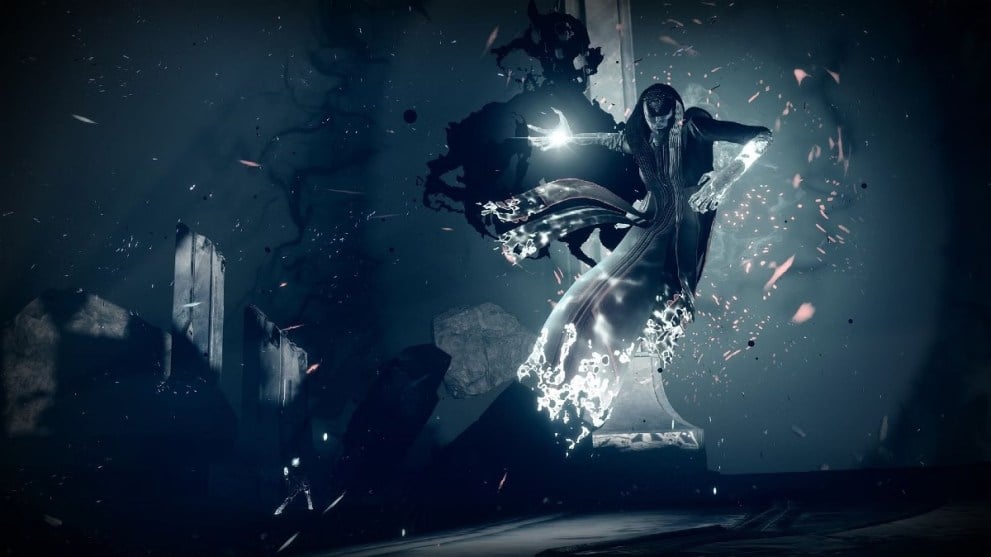
Assuming you make it through all that, you still have the final boss to deal with, Sedia, one of the many Techeun Witches of Queen Mara Sov’s court. Putting it bluntly, fighting Sedia at the time of release was a fight against RNG. There are so many moving factors to this fight that it’s hard always to keep track of everything.
Unlike most bosses, Sedia is highly mobile, constantly changing positions, and never staying in one place for too long. This makes it incredibly annoying to damage her properly, and that’s only after you fend off waves of Taken Psions and Knights. Then, when allowed to damage her, you can’t be in her line of sight for too long, as all of her attacks will one-shot you.
Finishing the fight is also a nightmare, as after her health reaches 50%, she teleports to the Taken Ascendant plane to a small coliseum area where there’s little to no cover to avoid her attacks. Undoubtedly, The Corrupted was, and still is, the toughest Grandmaster Nightfall.


Updated: Aug 13, 2023 08:45 pm