Acting as one of the swan song exclusives for the PlayStation 4, Ghost of Tsushima shows off the console’s true graphical potential. As you explore its beautiful world, you’ll surely want to take pictures of the landscape, foxes, and cherry blossom trees along the way. So that you can do so quickly, here’s everything you need to know about how to use photo mode in Ghost of Tsushima.
There are loads of options in Ghost of Tsushima’s photo mode, allowing you to make the most of the incredible world that Sucker Punch has created.

The options include things like color grading and depth of field, as you’d expect from a modern open world game, but you can also change some things that are more specific to Ghost of Tsushima. You can tinker with the wind motion and movement options, or even change the particles that are floating around in the air to different types of leaves or even fireflies.
You can even create videos via the in-game photo mode, using the various pieces of music that make up the game’s soundtrack.
How to Use Photo Mode in Ghost of Tsushima
It’s also a lot easier to use photo mode than it is in other games. You don’t have to enter the menu or pause the game before being able to take a photo.
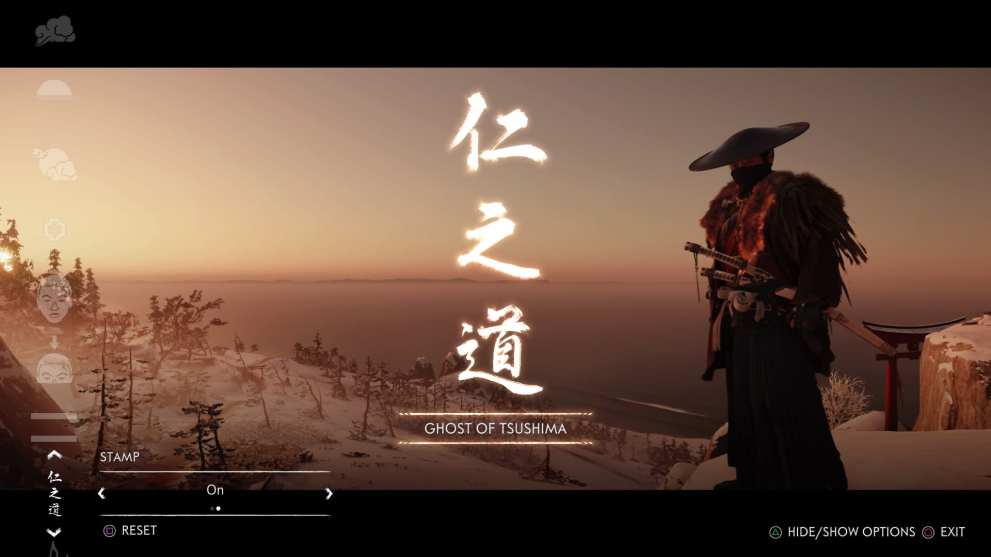
All you need to do to use photo mode in Ghost of Tsushima is press right on the d-pad on your controller.
Then, once you’ve changed all the settings and taken the photo, you can then back out by pressing the right d-pad button again. You’ll then be free to carry on with exploring the world and completing quests.
That’s everything you need to know about how to use photo mode in Ghost of Tsushima. For more tips and tricks on the game, be sure to check out our wiki guide or search for Twinfinite.






Updated: Jul 16, 2020 08:21 am