After completing Act 1 of Cyberpunk 2077, players will find they’ve got the ‘Human Nature’ side quest to go and pick up V’s car from the garage. Upon heading here and climbing inside the car, a Delamain car goes rogue, crashing into you, making your car undrivable in the process. This then kicks off the ‘Tune Up’ and ‘Epistrophy’ quests in Cyberpunk 2077, and we’ll talk you through them both here.
Tune Up Quest
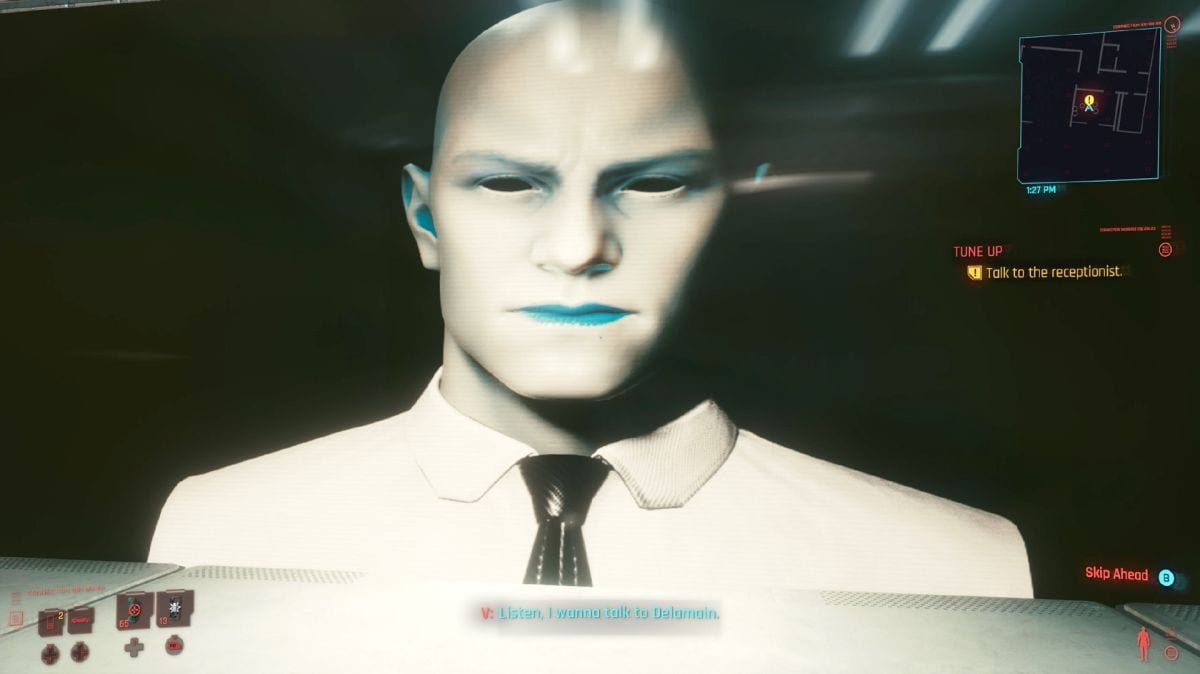
Before you can unlock Cyberpunk 2077’s Epistrophy quest, you’ll need to complete the ‘Tune Up’ quest which requires you head to Delamain HQ in Vista Del Rey.
Once you’re here, talk to the receptionist and agree to speak to ‘the’ Delamain. You’ll be ushered into the back and a little drone will guide you into the control room.
Delamain will explain that a number of his vehicles have basically gone rogue, and he needs your help to use his special scanner to communicate with the vehicles and bring them back to Delamain HQ.
Pick up the scanner out of the box and you’ll then begin the Epistrophy quest in Cyberpunk 2077.
How to Complete Epistrophy Quest in Cyberpunk 2077
You now have to find each of the rogue Delamain vehicles scattered across Night City. We’ve explained roughly where you can find each one below, and what you’ll have to do to get them to return to Delamain HQ and complete the ‘Epistrophy’ quest.
- Wellsprings – This first one can be found on the coast road by Parque Del Mar’s fast travel point. Its rough location is marked on your map, so head here and then look out for the wayward car speeding around the place. Once you’ve found it, get within range of the vehicle to automatically begin scanning it. You then need to deal damage to it to have it return to Delamain HQ.
- North Oak – Head to the marked area on your map and then keep an eye out for a roundabout with a bunch of palm trees on it. This cab is all depressed and scared and requires you to hop inside it and drive it very slowly and carefully back to Delamain HQ.
- Badlands – This one can be found in the middle of a landfill. Head over to it, sit inside and you’ll complete this one.
- Glen – This Delamain cab can be found on the road right next to the river. When you approach it’ll speed over to the edge by the river. You need to talk it down and convince it that suicide isn’t the solution. If you really want to, you can just ram the car into the river, but we didn’t have the heart without reloading.
- Northside – This one is kind of hidden away and you won’t have an exact tracking location as it’s gone insubordinate. To find it, head to the Longshort North fast travel point. Across the road you’ll find it parked up. Drive over to it and then follow it until it crashes.
- Coastview – For this one, you need to head to the objective marker and then follow the car around. The car will eventually stop under a bridge, luring you into an ambush from goons. Kill the enemies and once they’re cleared the car will return back to Delamain HQ.
- Rancho Coronado – Head to the area marked on your map and chase after the car while you communicate with it. Once you’ve scanned it, you’ll then have to help it defeat the flamingos… yes, garden flamingo ornaments. Go and smash up eight and it’ll return to Delamain HQ.
After you’ve returned all seven cars safely, return to the Delamain HQ and hand back the scanner on the reception desk. Del will thank you for your help and reward you some Eddies for your troubles.
Completing Cyberpunk 2077’s Epistrophy quest will also unlock the ‘Don’t Lose Your Mind’ side quest which carries on the Delamain mystery.
That’s everything you need to know on completing Cyberpunk 2077‘s Epistrophy quest. Head on over to our wiki for more tips and tricks, or check out more of our coverage below.


Updated: Dec 14, 2020 12:35 pm