With the release of patch 5.3, FFXIV players will finally get to continue the YoRHa: Dark Apocalypse storyline as the second raid gets released. Here’s how to clear the Puppets’ Bunker Alliance raid in FFXIV if you’re having trouble with it.
FFXIV Puppets’ Bunker Alliance Raid Guide
There are a total of four bosses in this raid, and we’ll be running through all of their major moves down below.
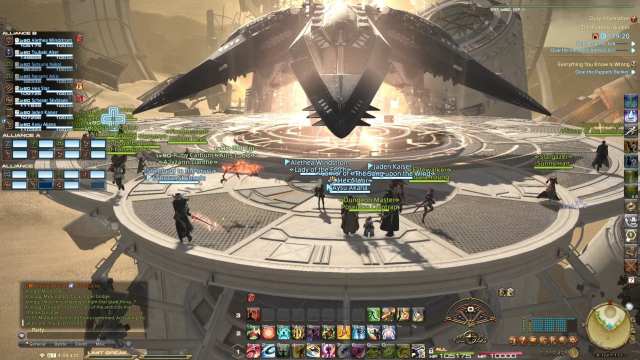
First Boss: 813P-operated Aegis Unit
- Firing Order: Anti-Personnel Laser: Tank buster, heal through and use cooldowns as necessary.
- Maneuver: Beam Cannons: Multiple cone AoEs spawn and move along the ground. The beams will overlap in three spots and you want to make your way to one of the overlapping areas and stand there till they pass over you, creating a safe space. The trick is to look for where the beams are passing over the fastest: that’s where you want to stand.
- Maneuver: Collider Cannons: AoEs spawn and start spinning across the arena. Wait for them to stop spinning and dodge accordingly.
- Firing Order: Surface Laser: One player gets targeted with a red marker. Move away from the group and then get out of the way immediately as the AoE drops.
- Aerial Support: Swoop: Look out for three Flight Units outside the arena. They’ll target three random players and you need to move out of the way of their swoop.
- Maneuver: Refraction Cannons: AoE blasts fire from the boss’ winged blades. Dodge as necessary.
- Maneuver: Diffusion Cannon: Raid-wide AoE, heal through as necessary.
- Aerial Support: Bombardment: Three Flight Units spawn in the arena. Take them down ASAP.
One final move to take note of during this fight in the Puppets’ Bunker is that the boss can fire out a white ring of runes that float outwards. Look out for the spaces between the rings and stand there to avoid damage. There is no telegraph for this attack.
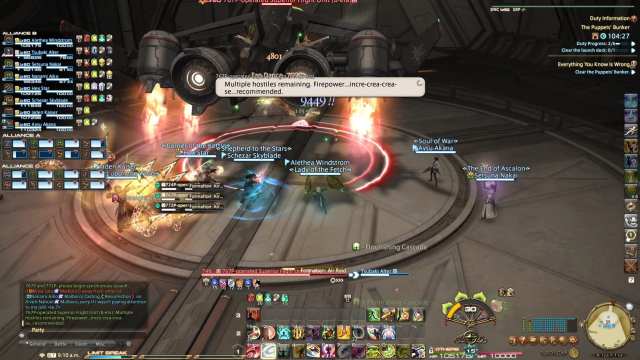
FFXIV Puppet’s Bunker Second Boss: Superior Flight Units
- Maneuver: Missile Command: Raid-wide AoE, heal through as necessary.
- Maneuver: Incendiary Bombing: Two players from each Alliance get targeted with red markers. Move away from the party to drop the AoE attack.
- Maneuver: High-powered Laser: One player from each Alliance gets targeted with an orange stack marker. Stack to spread damage, but be careful not to point it towards the other Alliances.
- Formation: Sharp Turn: The three Flight Units will get into a triangle formation. Look at their blades; if the blades are pointing inwards, stand outside of the triangle. If they’re pointing outwards, stand inside the triangle.
- Maneuver: Precision Guided Missile: Tank-buster, heal through and use cooldowns as necessary.
- Formation: Air Raid: Circular AoEs will spawn at the corners of the arena, with arrows indicating which direction they’re moving in. Move out of the way and dodge accordingly.
- Formation: Sliding Swipe: The Flight Units head to the sides of the arena. You’ll need to watch which sides they move their swords to, then stand on the opposite side of it.
- Maneuver: Area Bombardment: Players get marked with target markers. Move away from each other to drop the AoEs and dodge accordingly.
- Maneuver: High-order Explosive Blast: Star-shaped AoEs form on the ground. Stand in between the pointed sides to avoid damage.
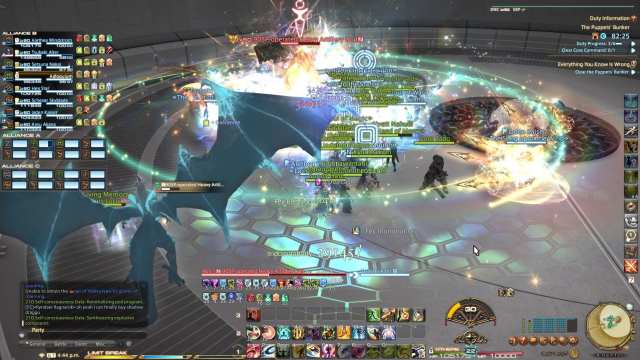
Third Boss: 905P-operated Heavy Artillery Unit
- Maneuver: Volt Array: Raid-wide AoE, heal through as necessary.
- Operation: Activate Laser Turret: AoEs start spreading all over the arena from the center. Look out for the higher sets of lasers on the machine and stand in that cone area. The lasers will move towards you in sections, allowing you to move to a safe spot once the AoE disappears.
- Maneuver: High-powered Laser: All three tanks get targeted for a tank-buster. Point the attack away from each other and the party, heal through and use cooldowns as necessary.
- Maneuver: Unconventional Voltage: Four players get marked with an orange marker. Spread out from each other, and be careful not to point it towards the party.
- Energy Bombardment: Pink balls start flooding into the arena, avoid as necessary.
- Maneuver: Impact Crusher: Three players get targeted with circular AoE attacks, and the boss will jump on them in order.
- Maneuver: Revolving Laser: Donut AoE centered on the boss, dodge as necessary.
- Operation: Pod Program: Take note of the numbers that appear on the screen. R010 means the Pods at the side will fire line AoEs into the room. R030 means they’ll create a large circular AoE at their positions. You’ll want to stand in between two Pods to avoid damage.
- Operation: Synthesize Compound: Five pads appear in the arena, each is connected to a screen indicating how many people need to stand on it.
FFXIV Puppet’s Bunker Fourth Boss: The Compound
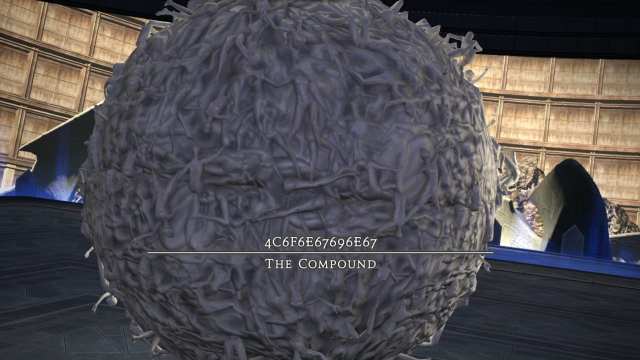
The final boss of the Puppets’ Bunker Alliance raid has two phases, and we’ll break them down accordingly.
- Mechanical Lacerations: Raid-wide AoE, heal through as necessary.
- Mechanical Dissection: Two red lasers appear on the sides of the orb, telegraphing an incoming AoE line attack. Dodge as necessary.
- Mechanical Decapitation: Lasers shoot out from the boss, covering the arena. Stand inside the boss’ hitbox to avoid damage.
- Mechanical Contusion: Multiple players get targeted with circular AoE attacks, dodge as necessary.
Partway through the fight, the Compound will transform into Compound 2P, the real final boss of the Puppets’ Bunker raid.
- Centrifugal Slice: Raid-wide AoE, heal through as necessary.
- Relentless Spiral: Two players get targeted with circular AoEs, dodge as necessary.
- Prime Blade: There are three variants of this attack. If she crouches, run out of her melee range. If she holds the sword above her head, stand to her sides. If she plunges the sword into the ground, stand in her hitbox.
- Three Parts Disdain: One player gets marked with an orange stack marker. Stack to spread damage as you’ll be hit three times. Each hit knocks the party back, so position yourself so that you don’t get knocked into the walls.
- Four Parts Resolve: Four players will be numbered from 1 to 4, and the boss will jump at them and slash. Spread out, and everyone else should not stand near the marked players.
- Energy Compression: Six pads appear on the ground, and at least one player needs to stand in each of them. Once that’s done, another six will spawn.
- Forced Transfer: Two pads will be tethered to two possible transfer locations for 2P’s clone. Look for the brighter tether and stand in that location to avoid damage.
And those are all of the bosses and their major moves for the Puppets’ Bunker Alliance raid in FFXIV. Be sure to search for Twinfinite for more tips and information on the game.