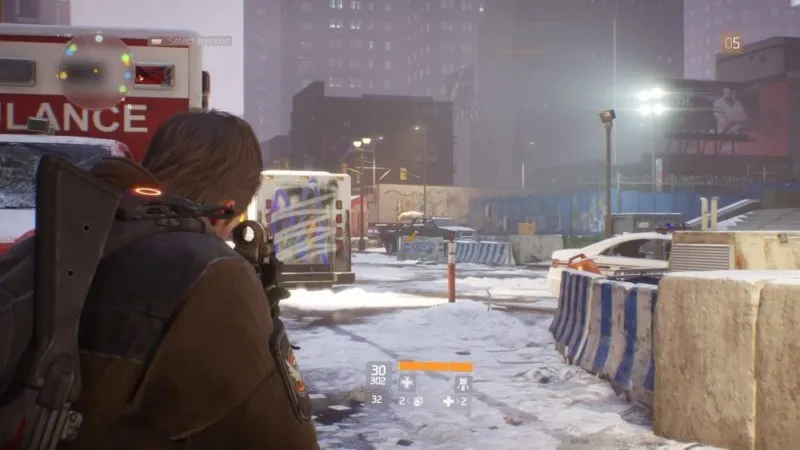
During The Division, you’re going to find yourself engaging with large groups of enemies. In most cases, you’ll be able to take these down with an Assault Rifle and the aiming reticle on your screen. However, sometimes you may find that your enemy is tucked away in the distance and your standard white cross reticle just isn’t giving you the accuracy you need to nail them with a headshot.
The Division does allow you to look down the sights of your weapon, but this does require a little qualifier before you can do so. You can’t simply look down the sight of every weapon in your armory. Instead, you’ll have to modify your weapon to attach a sight.
These sights can be picked up through taking down enemies, purchasing them from vendors, or they may just come as part of a weapon that you pick up on your missions through The Division. If you pick up a Red Dot Sight, ACOG Scope or any other sight, simply bring up the in-game menus and go to your weapons screen. Once here, select the weapon that you want to modify and hit the Square button (X on Xbox One). Once you’re in the weapon mod screen, you should see slots next to each corresponding part of the gun. Simply head over to the slot toward the top of your weapon, labelled ‘Sights’, select it and then choose from the sights that you’ve picked up on your adventure.
Once this has been equipped, hit the R3 button and voila, you’ll have a zoom on your sights. It’s important to note here that only some sights will actually bring up a view of you looking down some form of scope. While you can attach Reflex sights and the like, these will only help to narrow down your standard aiming reticle and put a nice little red dot in the middle. Perfect for nailing those headshots.
For more The Division tips and guides, check out our ever-expanding wiki!


Published: Mar 8, 2016 12:34 am