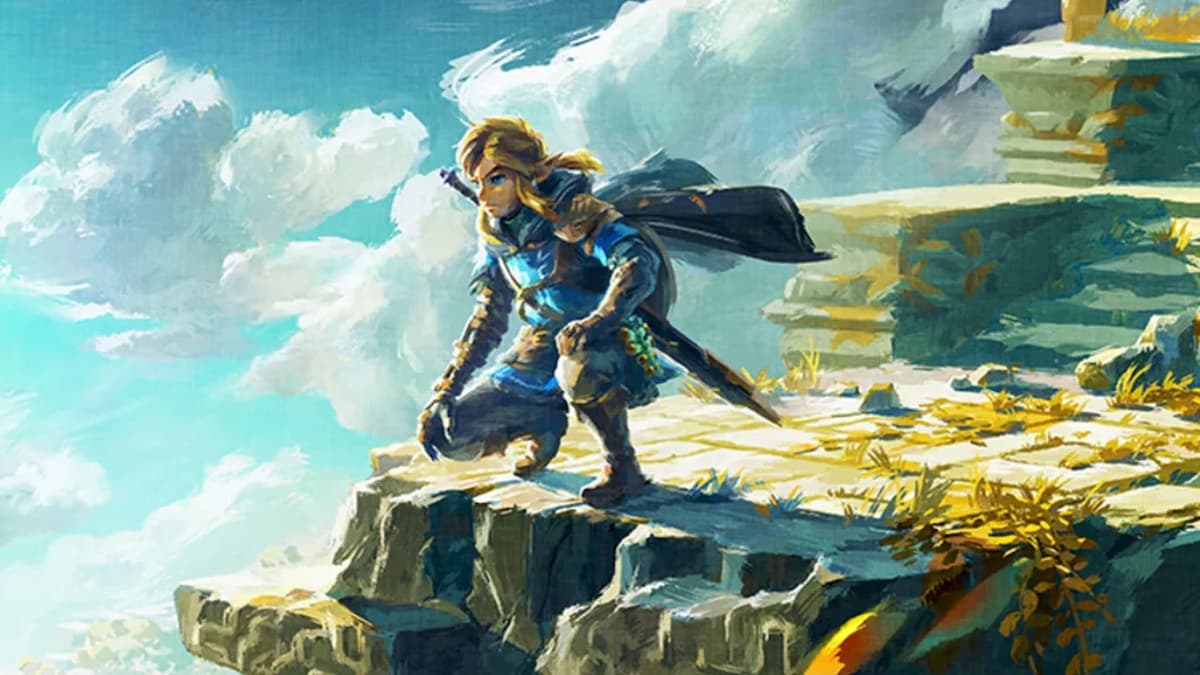
The Legend of Zelda: Tears of the Kingdom has a wide variety of Shrines scattered all throughout the Hyrule world map for your to discover during your adventure as Link. By exploring these Shrines and solving the puzzles inside, you can receive extra Lights of Blessing, allowing you to upgrade Link’s max health and stamina, as well as some rare and useful items from hidden chests. If you’re stuck with he Sifumim Shrine, we have all the information you’ll need. Here’s everything you need to know about how to solve the Sifumim Shrine puzzle in Zelda: Tears of the Kingdom.
Sifumim Shrine Puzzle Solution in Zelda: Tears of the Kingdom
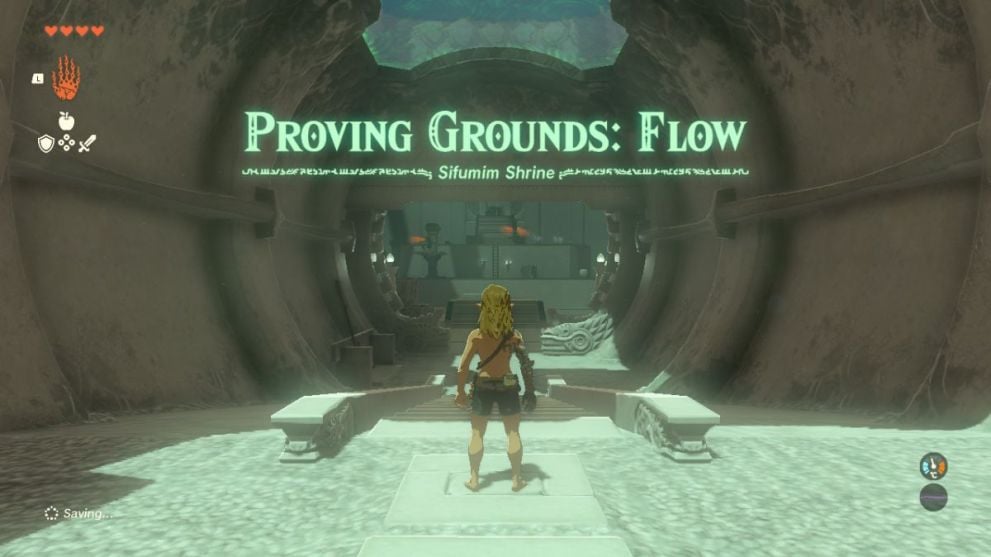
In Zelda: Tears of the Kingdom, Sifumim Shrine is quite a complex and difficult Shrine to complete in comparison to the high frequency of more easy and simplistic Shrines. Sifumim Shrine holds the puzzle titled Proving Grounds: Flow, where Link will need to utilize all of his various abilities in combat to survive and progress to the end.
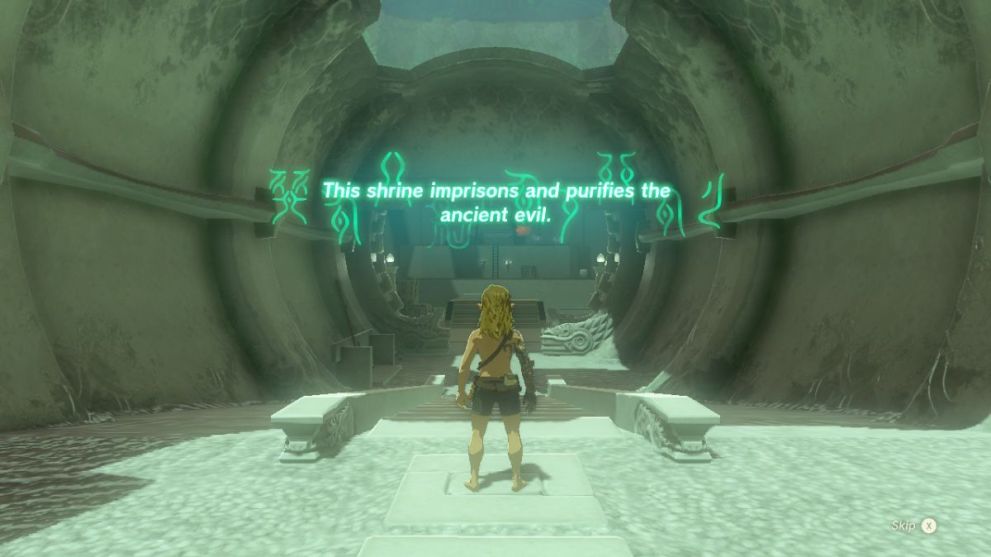
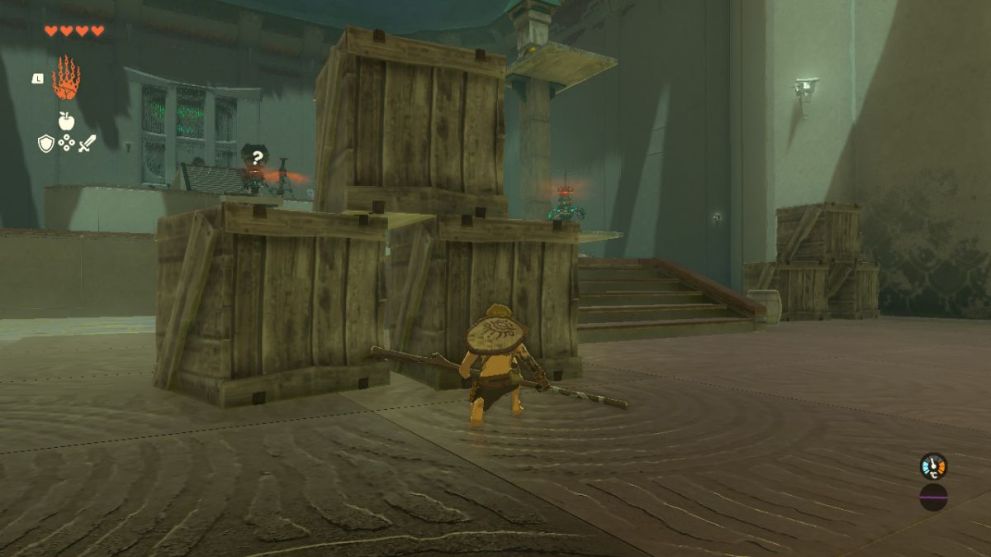
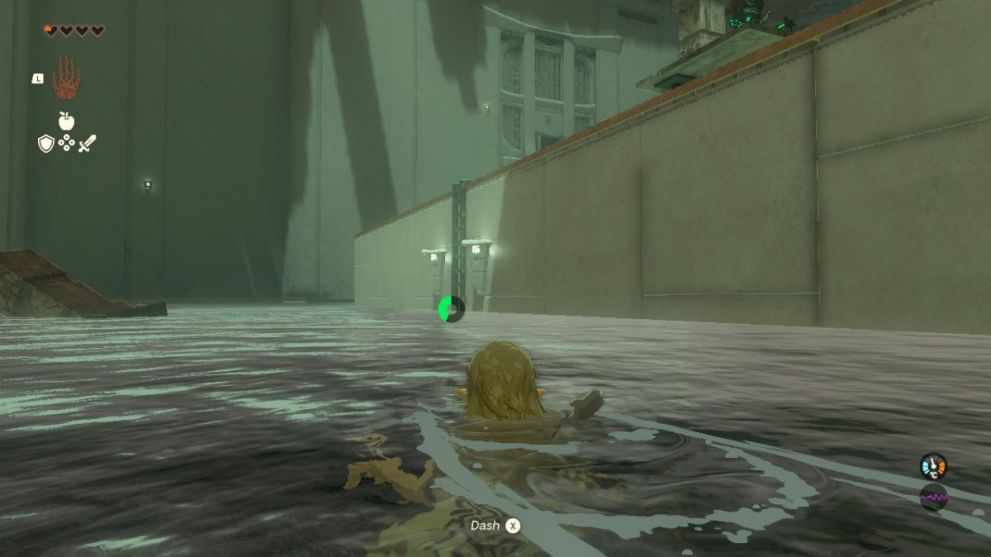
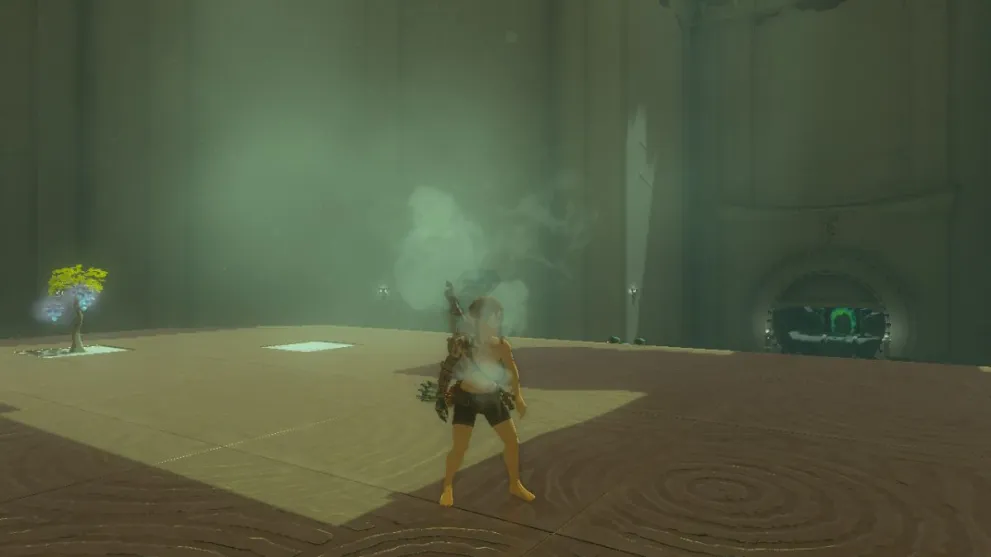
After entering this Shrine, Link will be stripped of all food, armor and weapons, leaving him in the default underwear and without any ways to restore health that he loses. However, near the entrace to the Shrine, there are several basic weapons for you to use, so head over and pick them all up.
After picking up these weapons, slowly approach the first room of the Shrine. Located in this room are several Soldier Constructs. These Soldier Constructs will be located in the water on several raft platforms that will rotate down the stream. As you move closer to range, the Soldier Constructs will sound the alarm, and start to shoot Electric Arrows at you.
Because of this, you will need to sneak up on them and remain hidden. Use crouch to hide behind the boxes at the edge of the ramp, and once the first platform holding the Soldier Construct gets close to you in the water, activate Link’s Ultrahand ability. Now use Ultrahand to quickly move the raft to the side, causing the Construct to fall into the water and die.
Once the Construct is dead, a series of items will drop into the stream, so move quickly to pick them up. This will add some food to your inventory, as well as a Bow and Arrow. As you scoop these items up, quickly continue to follow the stream around the bend until you come to a ladder.
Climb up this ladder, keeping your eye on the next floor of platforming. This platform will also have a stream, and will feature three different Constructs on rafts that will rotate around following the current of the stream. Be very careful not to alert these Constructs, as they have powerful attacks that can easily take you out in as little as two hits.
Follow the platform around, moving each raft to the side with Ultrahand to shake off the enemy constructs and kill them. Here you will probably need to dodge quite a few attacks, so use your stamina wisely to zip around, pick up items, and reposition yourself when needed. You can also dive back into the stream below, and swim around to the next ladder to approach from various angles.
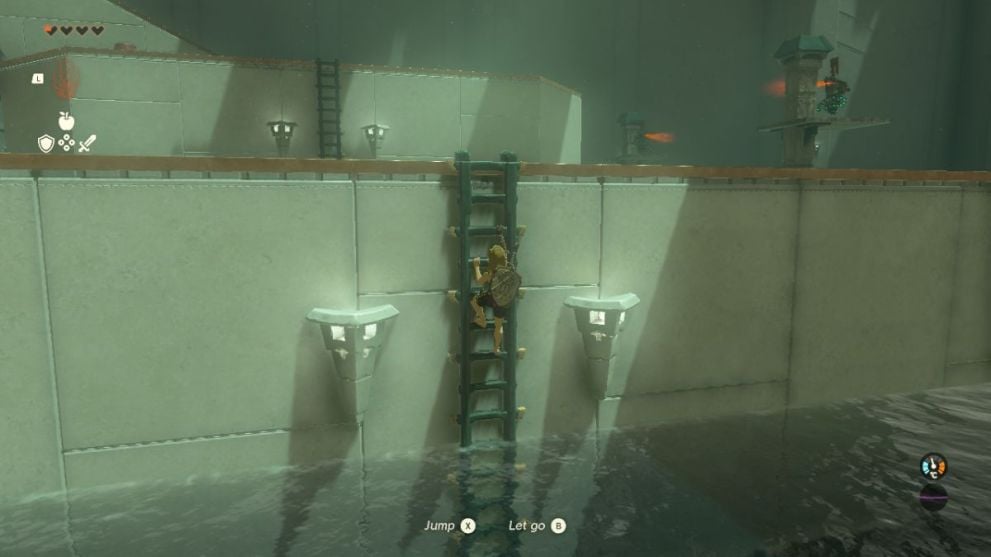
Personally, I chose to make use of the ladders to hide and wait for each raft to swing around, then use Ultrahand to deal with each enemy Construct before they could raise the alarm. After getting rid of one, I jumped back down into the water, climbed the ladder up again, and waited for the next victim.
Next, head to the ladder and start climbing up towards the third platform. If you’ve been lucky enough not to alert the last enemy Construct sitting up here, then use the ladder to climb up behind it and hide. You will notice three barrels of explosives nearby.
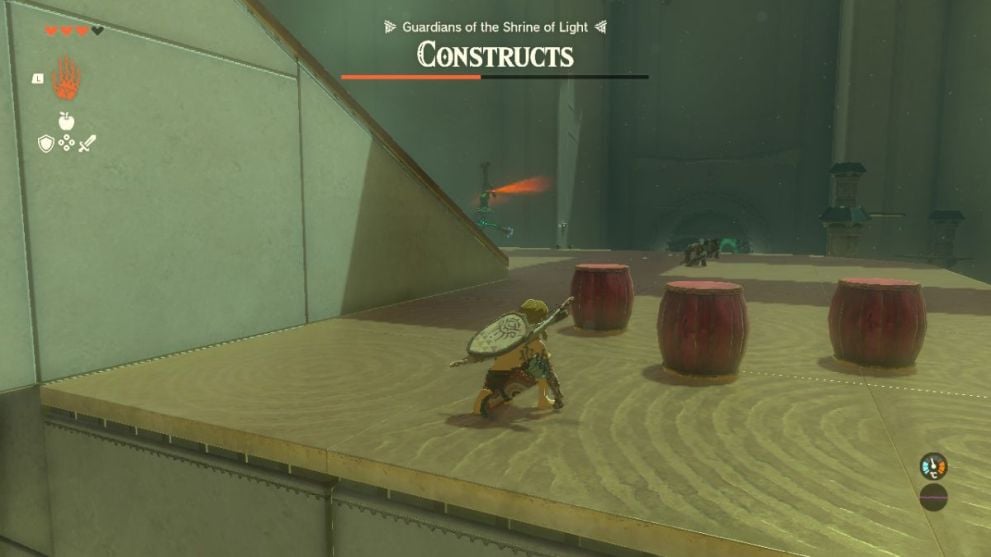
Use Ultrahand to attach these together, creating a combined explosive. Now, while sneaking, stay hidden from sight and use the up and down keys on your D-Pad to move and lift these attached barrels above the construct. Once you have them all lined up, release to drop the explosive on top of it, dealing a heavy blow of damage.
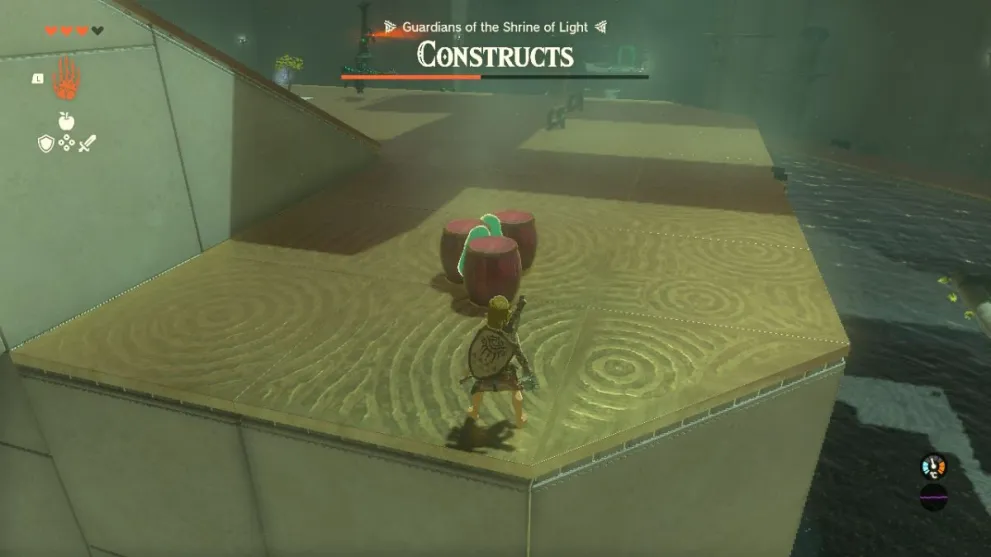
This should be enough to kill off the enemy construct, ending the boss fight. Just be careful not to get too close when dropping the barrels, as I made the silly and unfortunate mistake of also taking the explosive damage on impact. This was nearly enough to kill me and force me to restart the whole Shrine, which would have been a definite rage quit moment. Remember, gamers – you’ve been warned!
After defeating this Construct, you will get a message prompt telling you that your items will be returned, and Link will be re-equipped with his various armor, food, and weapons that were taken from him at the start. The gate leading to the exit of the Shrine will also now unlock.
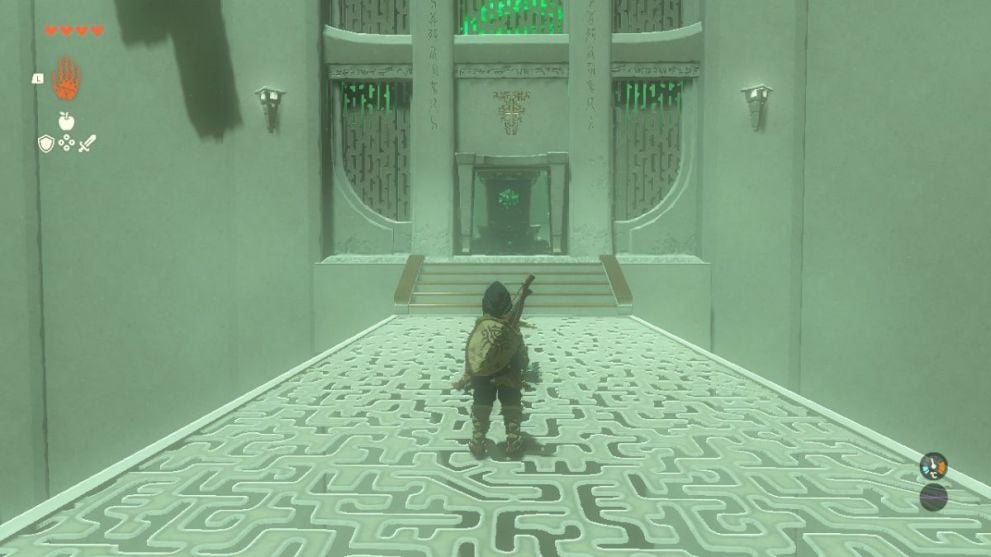
Go ahead and make your way up this final staircase and through the recently unlocked gate. At the end of this pathway, just before the end zone of the Shrine, you will find the treasure chest sitting and waiting for you.
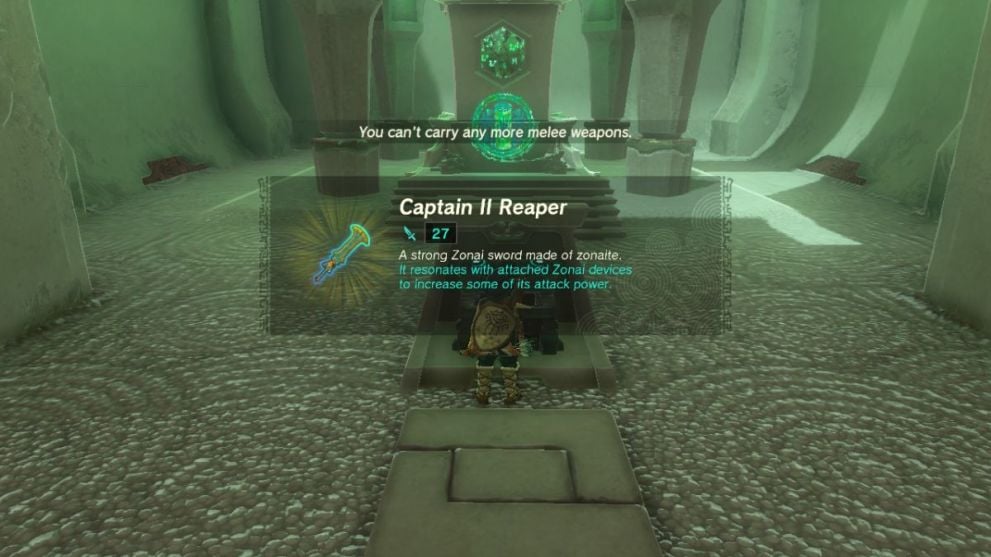
Walk up to it and open it to receive a Captain II Reaper and add it to your inventory. This is quite a decently powerful weapon, so if you have something weaker in your inventory that you don’t mind getting rid of, I’d highly recommend swapping it out.
Now, all that’s left to do is interact with the statue at the end to mark the Shrine puzzle as cleared and receive your Blessing of Light.
That’s everything you need to know about how to solve the Sifumin Shrine puzzle in Zelda: Tears of the Kingdom. For more helpful gameplay guides, news, and lists, check out the rest of our content here at Twinfinite. We have a wide variety of Zelda topics covering everything you’ll need to assist you on your Tears of the Kingdom adventure, so feel free to scroll down and look through our related links below for more help.


Updated: Jul 6, 2023 08:20 pm