Once you find the Grandmaster Smith in The Witcher 3: Blood and Wine, you’ll be able to start the Treasure Hunt for the Grandmaster level diagrams for each school’s gear. One of those sets is for a school yet to be seen in The Witcher 3, the Manticore School.
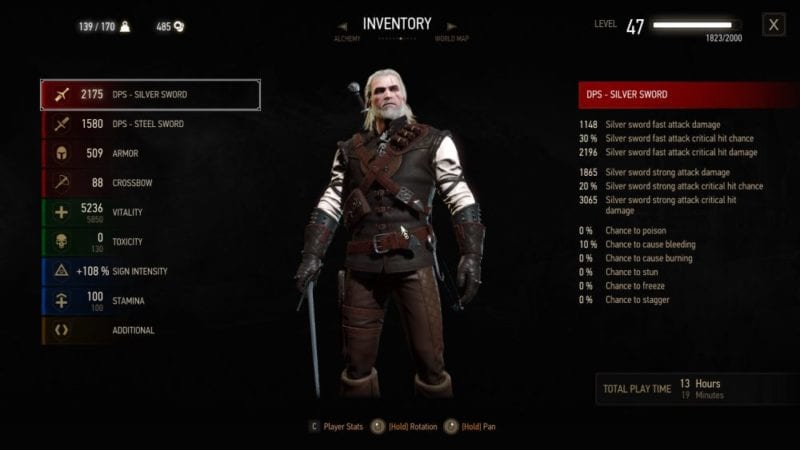
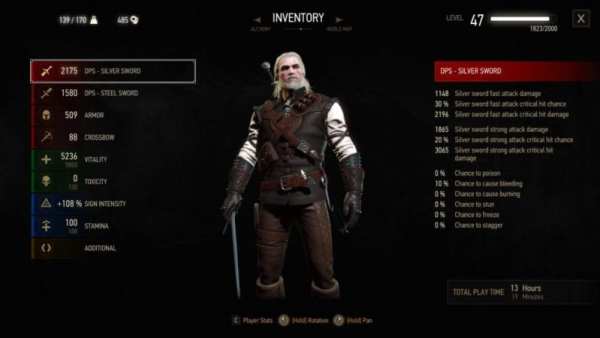
This particular set is for level 40 players and above, and provides bonuses to Alchemy. That means stronger potions, bombs, and toxicity resistance, while also providing certain damage resistances as well. The bonuses you can activated with this gear are:
- Bonus for 3 Pieces: Critical hit chance and critical hit damage also apply to bombs.
- Bonus for 6 Pieces: The maximum number of charges for each alchemy item is increased by 1.
Now let’s get started.
Manticore Steel Sword
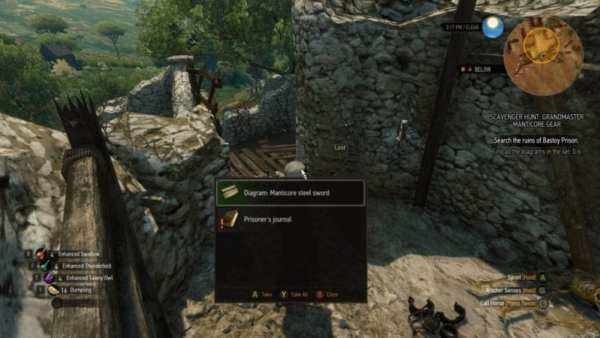
The first piece you’ll obtain is in the ruins of the Bastoy Prison. This is the starting point of your Treasure Hunt, so it’s the easiest, but that doesn’t mean it’s safe. Be prepared for a pair of Bruxae (female vampires who like to go invisible). Yrden will keep them at bay and make them easy to take down. When they’re dead, climb the stone tower.
You’ll want to use your Witcher Senses to locate a red stone on the wall. In here you will find your first Manticore diagram (the Steel Sword), and a Prisoner’s Journal leading you to your next waypoint.
Materials for Steel Sword
- 2x Leather Scraps
- 2x Dimeritium Ingot
- 1x Ruby Dust
- 1x Monster Saliva
Manticore Armor
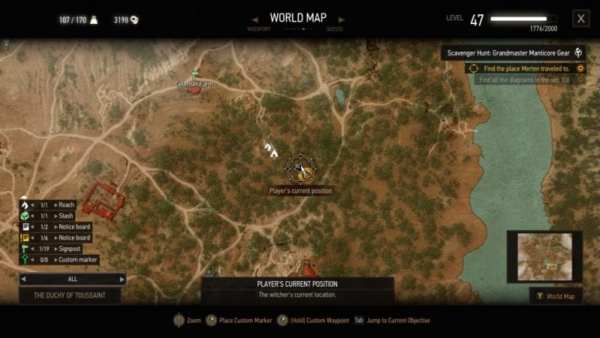
The journal will lead you to a weird chamber. It’s a long ride from the first piece, so prepare to become very acquainted with Roach. Alternatively, if you happen to have the Gelenser Farm fast travel point, it’s only a short distance from there. Once you locate the chamber, you’ll find a bunch of hand-written notes attached to the walls.
Interact with the notes you find until you find your next clue scribbled on the back of the armor diagram. Collect it and then prepare for another long ride. Also, have Quen at the ready, because some guest will be waiting for you when you arrive.
Materials for Armor
- 1x Cured Draconid Leather
- 2x Dimeritium Plate
- 2x Monster Ear
- 2x Monster Eye
Manticore Trousers and Boots
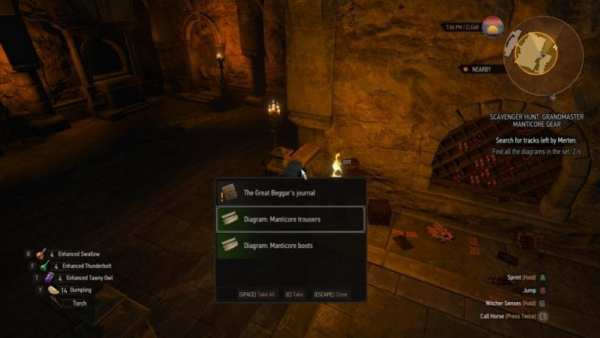
The next stop will bring you to Lebioda’s Temple. The pathway to the entrance is narrow and guarded by two large Panthers. They’re easy to deal with as long as you don’t allow yourself to be flanked by both. The real threat lies inside where you fight a Wraith known as the Great Beggar. This Wraith doesn’t have much health, but he deals a surprising amount of damage and is very fast. Use Quen to defend yourself and quickly dispatch this foe with a couple of combos.
Once he’s dead, loot the small chest nearby for another clue and two more diagrams.
Materials for Trousers
- 1x Cured Draconid Leather
- 1x Dimeritium Ingot
- 1x Monster Claw
- 2x Monster Blood
Materials for Boots
- 1x Cured Draconid Leather
- 1 x Dimeritium Plate
- 4x Monster Claw
- 2x Monster Blood
Manticore Silver Sword
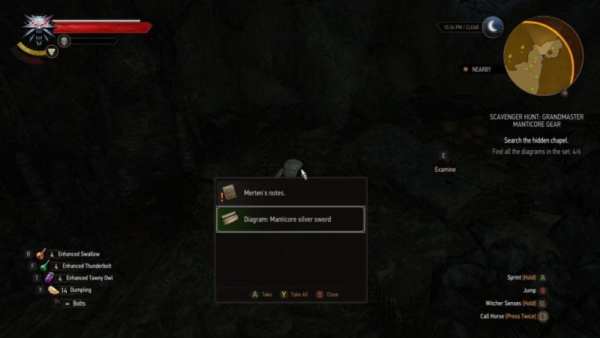
Obtaining the diagram for the Manticore Silver Sword is the longest part of the quest. You must enter a hidden cave located just south of the Palace Gardens. In here are three trials of sorts. The first are naked women, which are apparently a trial of temptation. If you’ve played Blood and Wine for any amount of time then you already know these are actually vampires and they need to be brought down.
Continue on and you’ll find a group of beggars with a pile of coins sitting nearby. Pick up the coins and give alms to each beggar by interacting with them. The final trial is a bunch of Kikimore’s. They’re large, tough insects that move incredibly quick and deal a lot of damage. Keep Quen active and you should be fine as you tear them apart.
Once that’s done, continue on and you’ll see a spirit sitting by an altar. Don’t worry though, it will vanish, leaving a diagram and one final clue.
Materials for Silver Sword
- 2x Leather Scraps
- 2x Dimeritium Ingot
- 1x Monster Brain
- 1x Ruby
Manticore Gauntlets
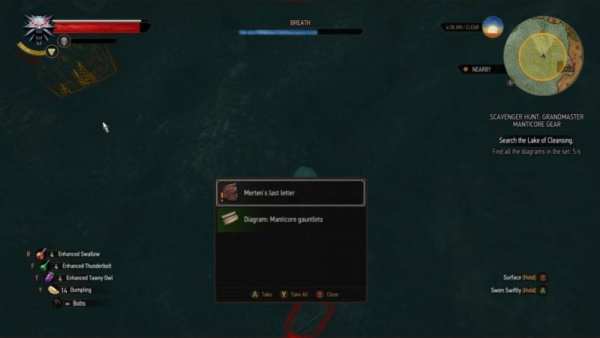
The last piece, the Gauntlets, is yet another easy one to find, just like the first. You simply have to head to the Lake of Cleansing and dive right in. You’ll find the gauntlet diagram in a sack at the bottom, just use your Witcher Senses and head for the red. Once you have this piece you can head to the Grandmaster Smith and have it all made.
Materials for Gauntlets
- 1x Cured Draconid Leather
- 1x Meteorite Silver Plate
- 1x Monster Hair
- 1x Monster Blood
For more guides, tips, tricks, and features on The Witcher 3: Blood and Wine, be sure to check out our wiki.


Published: May 31, 2016 06:32 pm