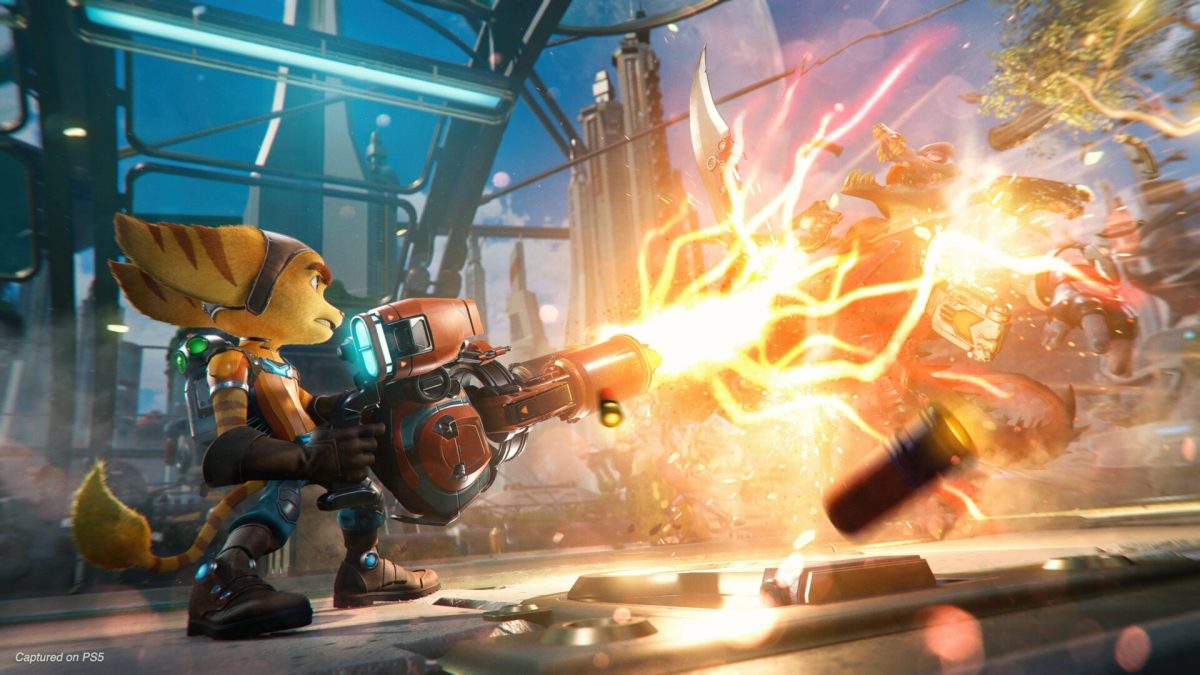
On your journey through dimensional rifts with Ratchet, Rivet and our shiny boy Clank, you’re going to come across some rather spectacular sights. Be it the brilliant particle effects in the middle of combat, or the sprawling futuristic skylines, there’s a good chance you’ll want to use photo mode in Ratchet & Clank: Rift Apart to capture the moment. Here’s everything you need to know.
Using Photo Mode in Ratchet & Clank: Rift Apart
To use photo mode, press the Options button on your controller, and then select ‘Photo Mode’ from the menu that appears. You can also setup a shortcut on your d-pad for future use, making it easier to grab slick-looking action shots in the middle of combat.
Once you’re in the photo mode, players have the option to change the outfits of their characters, remove them entirely, zoom in on miniscule bugs floating around the world, move the camera, change the angle and depth of field.
Players can also change the lighting of the scene, from the intensity, type of light, color and light distance to allow you to really get creative with the look of your photos.
When you’re all set to take your photo, simply hide the UI and press the ‘Share’ button on your DualSense controller. You can now press the ‘Take Screenshot’ option that appears on-screen to snap your shot.
Where to Find Your Photo Mode Creations
Your screenshot will automatically be saved on your PS5 console. To access it, simply load up your Media Gallery from the home screen.
You should see your most recent screenshots and Rift Apart photo mode creations here.
That’s everything you need to know on using photo mode in Ratchet & Clank: Rift Apart. For more tips, tricks and guides, head over to our wiki, or see more of our coverage on the game below.





Updated: Jun 11, 2021 04:39 am